Push (12 min)
01 Getting Started
02 Identifying the User
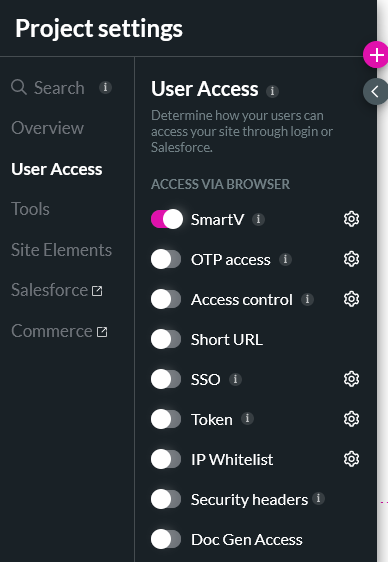
It is important to identify your end-user. This ensures that any data is saved to the correct corresponding Salesforce Object. Implementing our User Access tools can do this. Make sure you check out our course on Security and Access.
This project was set up to allow users to log in with existing credentials or create a new account. If an existing user signs in, their details must populate the project form. If a new user signs in, the first form must be empty to capture their details.
03 Setup
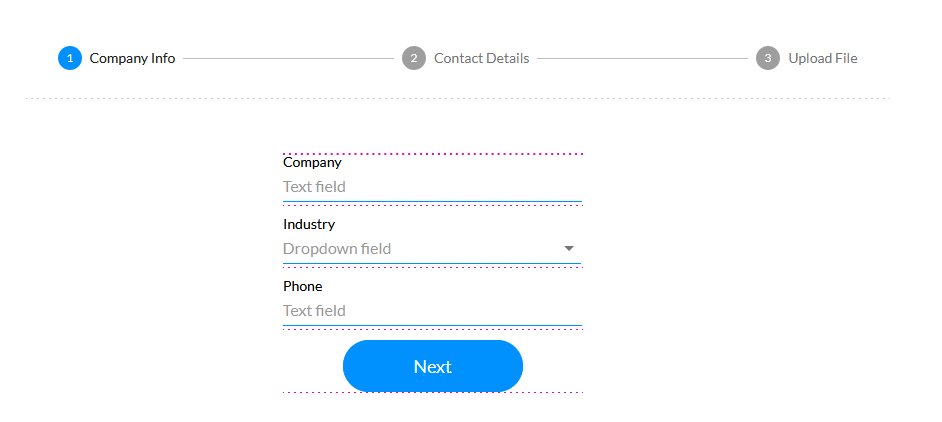
A stepper element was used to create three different steps.
- Step 1 will create an account or display an existing account if the logged-in user is already associated with an account.
- Step 2 will display the existing contact information for the associated account and allow for the Push of updated information to Salesforce.
- Step 3 will upload a file attachment to the contact.
Two buttons were inserted into each form to push the data to Salesforce at every step.
- Back button - To navigate back to the previous step in the stepper.
- Next button—Push the data to Salesforce and navigate to the next step. This Push will store the user's data in the mapped Salesforce fields. If you would like to store the data in separate fields first, you can create dummy fields in your Salesforce.
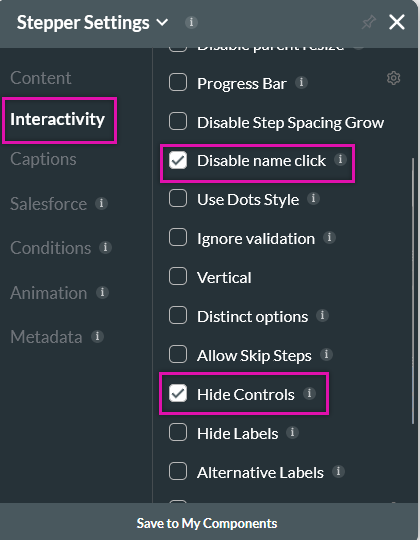
To ensure that the users interact with the buttons that were configured to Push the Salesforce data, the following two functions were enabled in the Stepper settings Interactivity menu:
- Disable Name Click
- Hide Controls
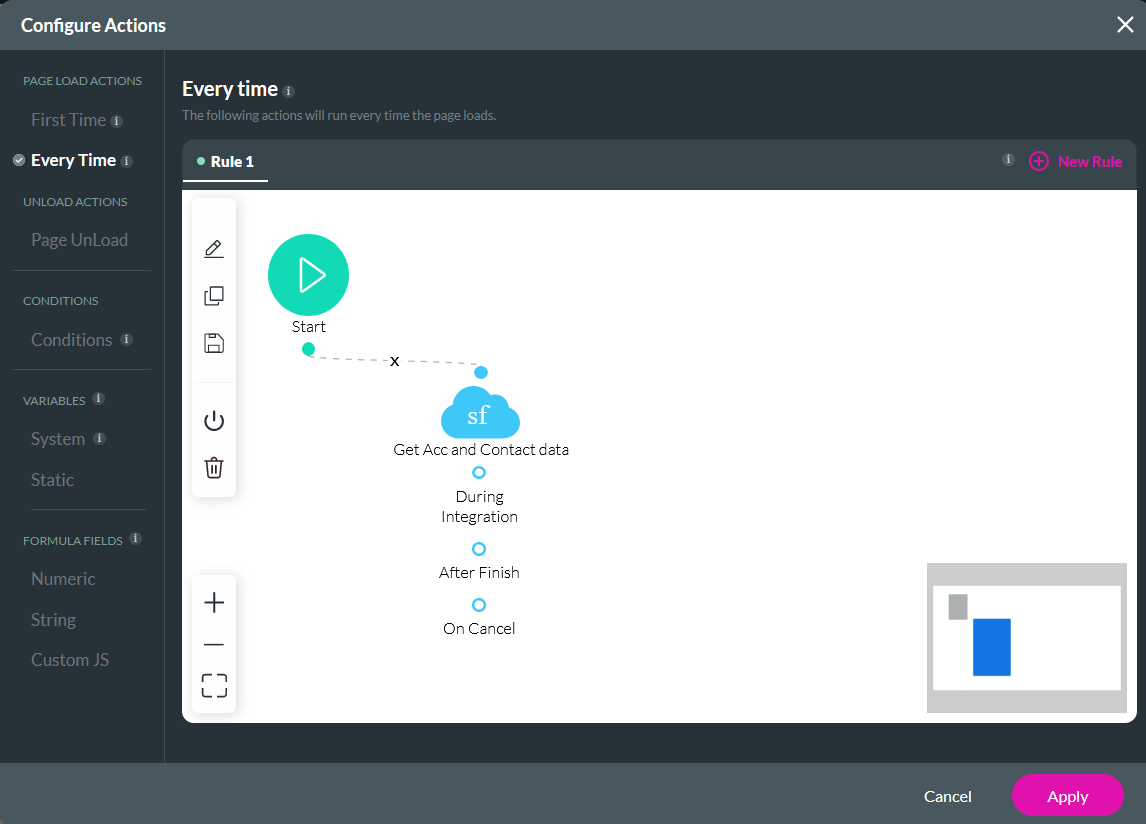
04 Page Actions
Two Every Time actions were configured: one to retrieve the account data and another to retrieve the contact information. These Get actions will run in parallel.