Scheduler (18 min)
Completion requirements
01 Getting Started
This tutorial covers the scheduler widget. The scheduler widget schedules meetings and events using dynamic Salesforce data.
02 Select Source
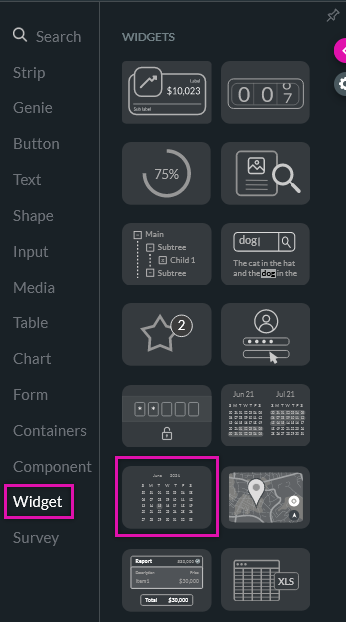
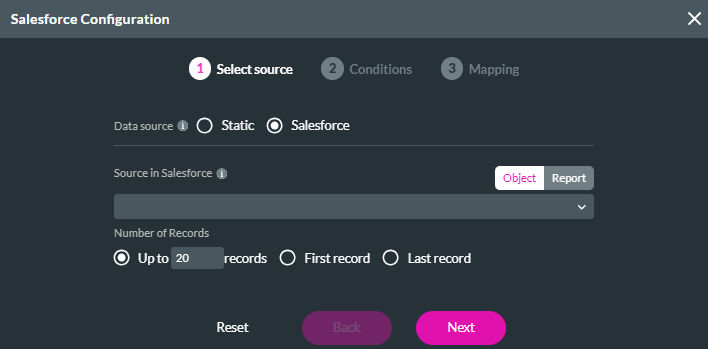
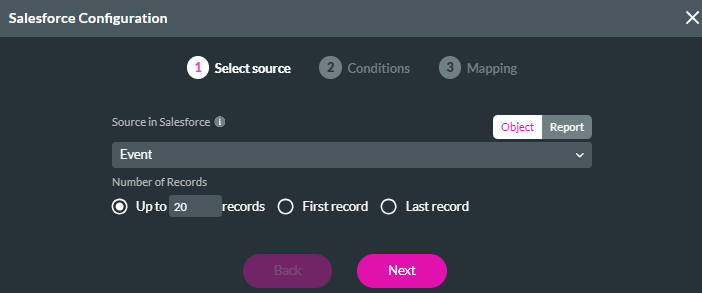
A configuration window displays when you first add a scheduler to your project.
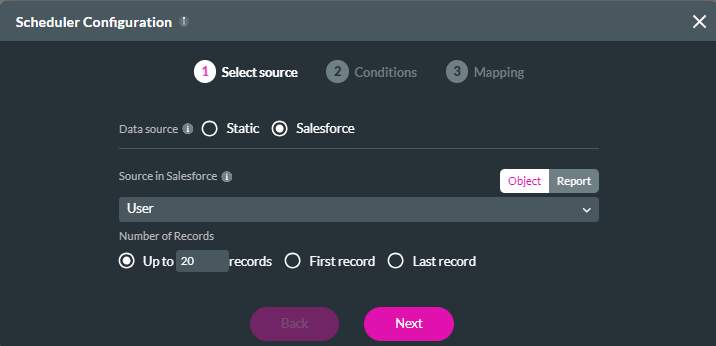
The first step is to select your source, which is the attendees of your event. This could be static or dynamic Salesforce data.
The first step is to select your source, which is the attendees of your event. This could be static or dynamic Salesforce data.
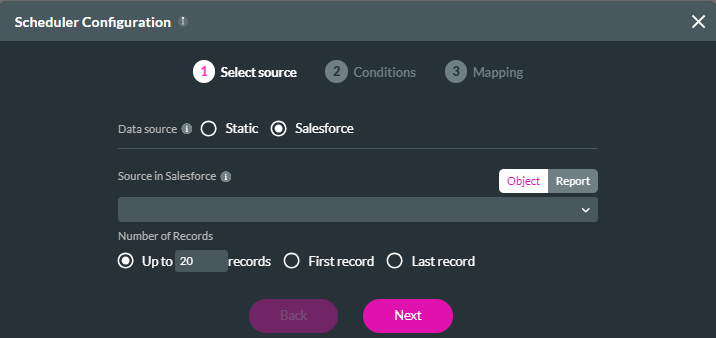
1. Static Attendees
To configure static attendees, click the Static radio button and click Next.

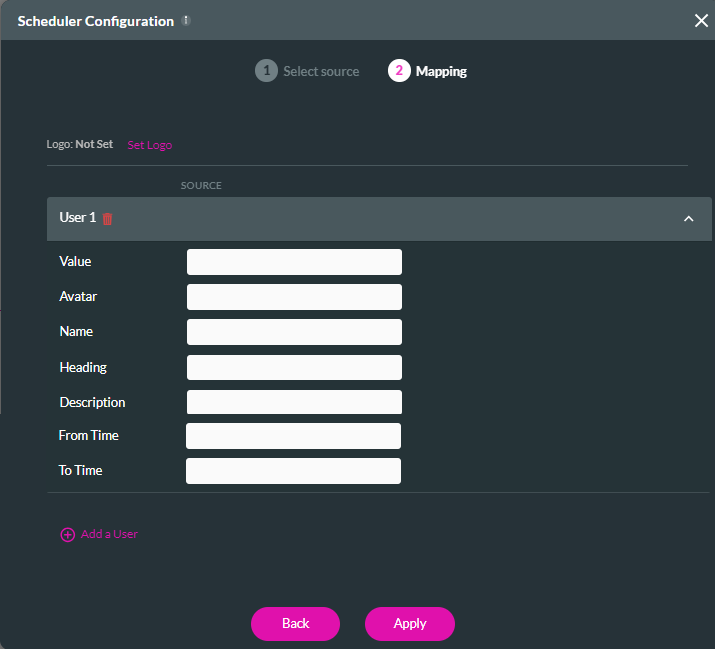
In the Mapping step, you can manually add each attendee's details.
2. Dynamic Salesforce Attendees
By choosing the Salesforce option, you can schedule events using your Salesforce data, such as your Salesforce Users.
1. Use the dropdown to select the Source in Salesforce and configure how many records to pull, for example, User. Click Next.
The scheduler will now be displayed in your project.
03 Conditions
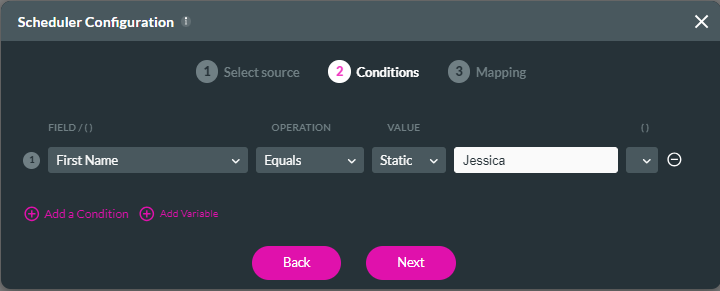
In the Conditions step, you can use the dropdowns to configure any
condition that will be used to filter your Salesforce source. For
example, the first name of the user must be Jessica. Click Next.
04 Mapping
In Mapping, you can use the dropdowns to configure each field. Depending on your Salesforce source chosen in step 1. For example, since we selected User, we will map User ID to the value. Click Apply.

The scheduler will now be displayed in your project.
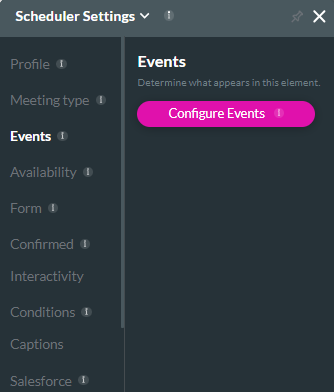
05 Scheduler Settings
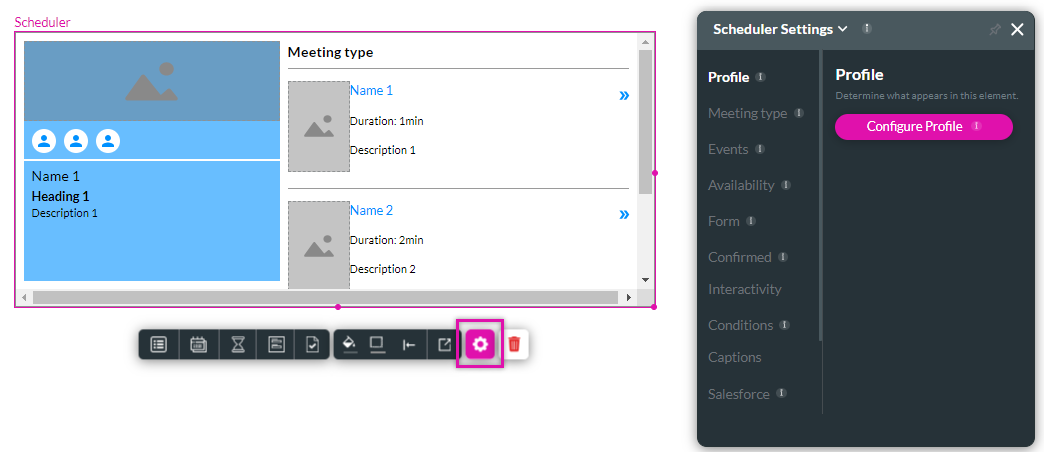
1. Click the Scheduler gear icon to open the Settings menu.
06 Meeting Type
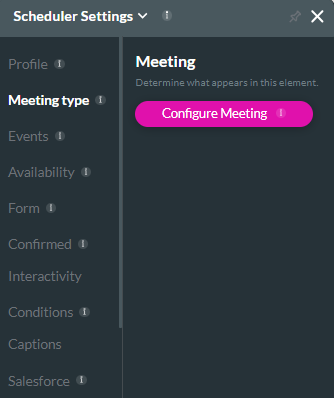
In the Meeting Type tab, click the Configure Meeting button.
Here, you can configure the type of events people can schedule. You can create static events or use a Salesforce object that references the event types you need.
We will be using the Static option for our example. In the Mapping step, we can configure the different meeting types. You can enter the details for each meeting type.
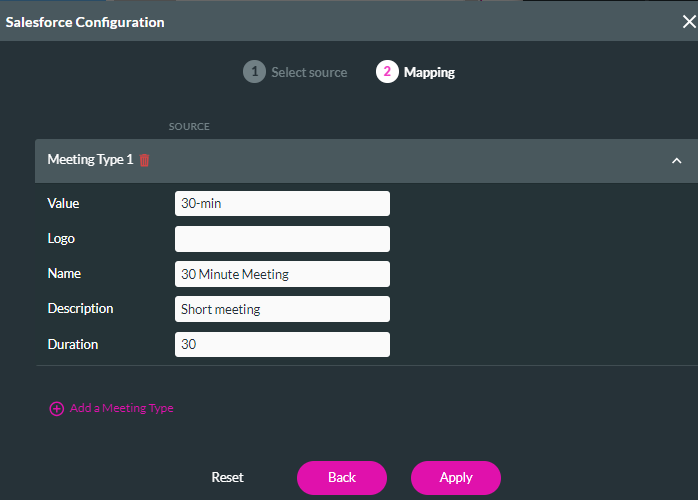
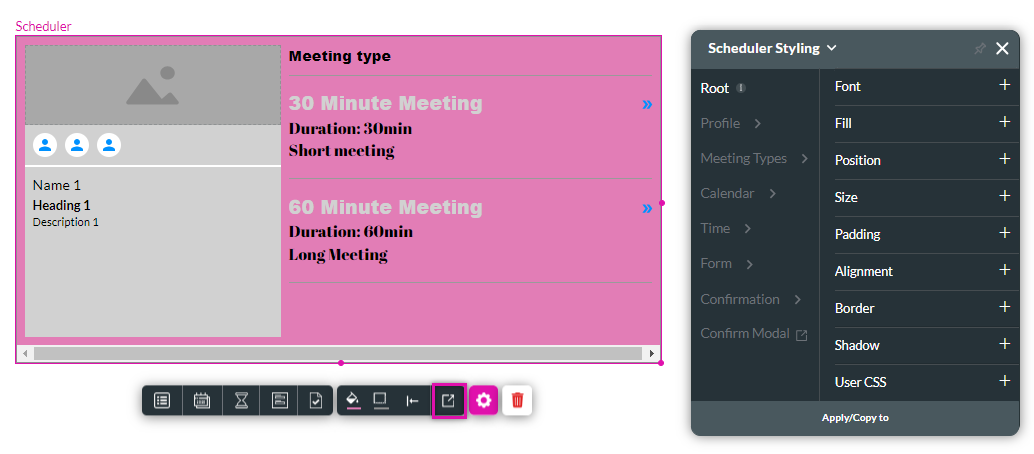
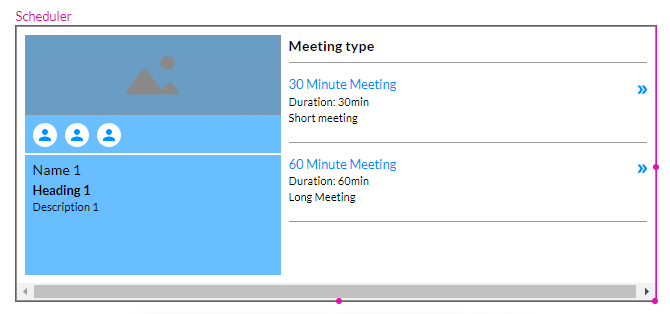
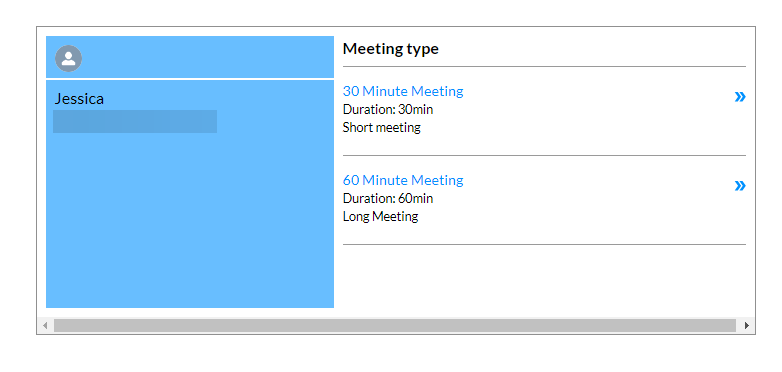
Once you have configured your different meeting types, they will be displayed in the scheduler.
Here, you can configure the type of events people can schedule. You can create static events or use a Salesforce object that references the event types you need.
We will be using the Static option for our example. In the Mapping step, we can configure the different meeting types. You can enter the details for each meeting type.
Once you have configured your different meeting types, they will be displayed in the scheduler.
07 Events
The next tab to configure is Events. Events are timeslots marked off in the schedule, blocking a timeslot so that no conflicting events can be scheduled.
Using the dropdown, you can choose any object in Salesforce, such as an Event. You can also choose the Number of Records to pull. It is important to keep in mind the number of events a user can have. For example, a user could have more than 30 events scheduled.
When configuring Conditions, you can set any criteria to filter specific events. For example, you want to display only future events and events assigned to your specific Salesforce user.

In the Mapping step, you can configure your Salesforce source to the corresponding field.
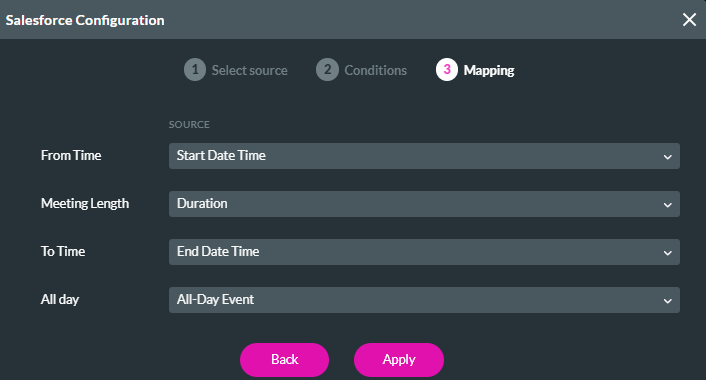
Using the dropdown, you can choose any object in Salesforce, such as an Event. You can also choose the Number of Records to pull. It is important to keep in mind the number of events a user can have. For example, a user could have more than 30 events scheduled.
When configuring Conditions, you can set any criteria to filter specific events. For example, you want to display only future events and events assigned to your specific Salesforce user.
In the Mapping step, you can configure your Salesforce source to the corresponding field.
08 Availability
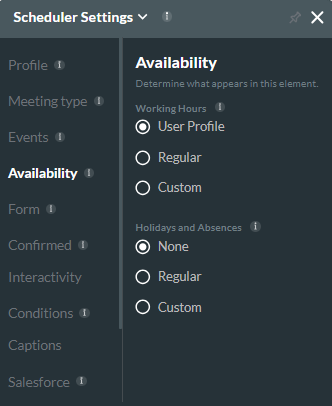
Under Availability, you will find two sections: Working Hours, Holidays, and Absences.
Working Hours:- User Profile allows you to schedule events only if the user is available.
- Regular - This allows you to schedule events between 9 and 5 from Monday to Friday.
- Custom - This option allows you to configure a Salesforce source containing specific dates and times.
Holidays and Absences:
- None
- Regular holidays and absences - These are synced from Salesforce.
- Custom - This option allows you to configure a Salesforce source containing specific dates and times.
09 Form
This is the information the person scheduling the Event will provide.
You can configure a form to capture the details the user provides. You can also choose to turn the Confirmation messages on or off and configure how they open.
The submit button allows users to click it once they have submitted their information. From there, you can configure the submit action that must run once the button is clicked.
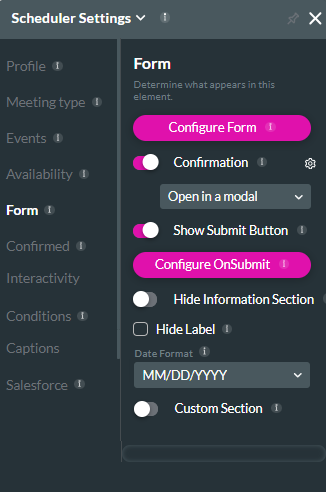
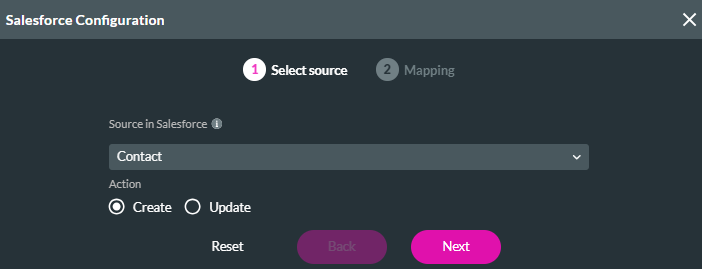
To configure the Form, click on the Configure Form button. You start by choosing the Salesforce Source object and then, based on the information provided, choosing whether to create or update a record in Salesforce. For example, you can choose to create a contact.
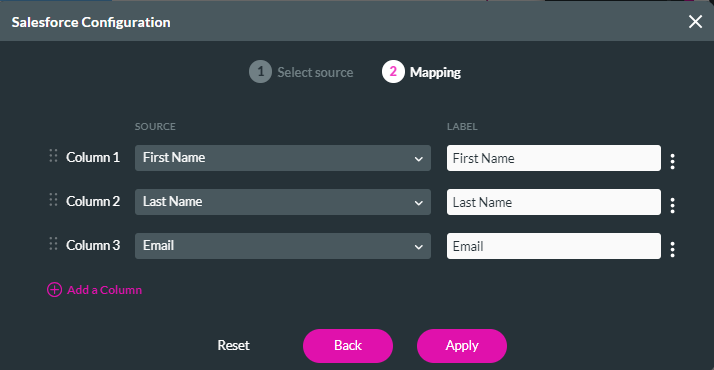
In the Mapping step, you can add columns to capture details that will be saved to your Salesforce to create the Contact record. This will automatically create a Salesforce Push action.
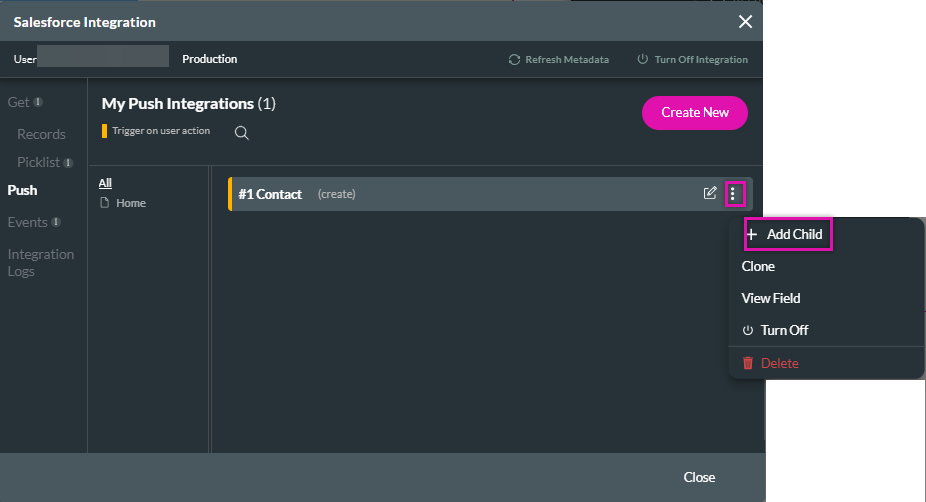
Now that you have configured the contact details to be captured, we need to create a child push to create an event automatically.
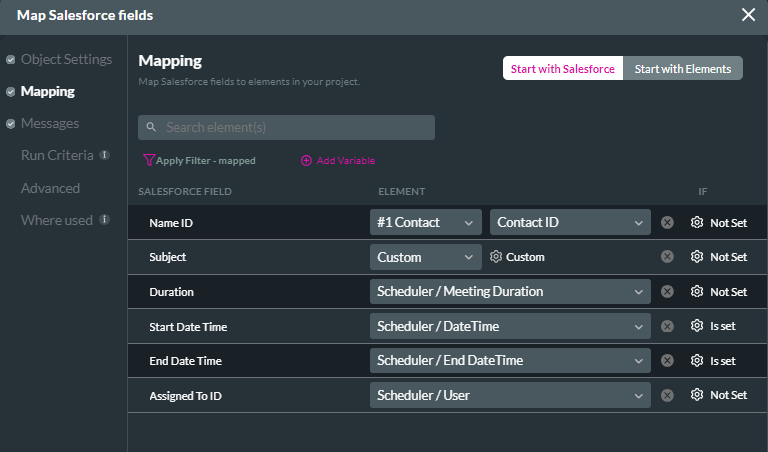
In the Object Settings tab, configure Event as the Salesforce object, Create as the action, and add a description.

In the Mapping tab, Titan will automatically map your contact field. For this example, we configured a custom subject and mapped the Salesforce fields to the corresponding project elements.
Now that your Salesforce action has been configured, you can assign it to your On Submit button.
You can configure a form to capture the details the user provides. You can also choose to turn the Confirmation messages on or off and configure how they open.
The submit button allows users to click it once they have submitted their information. From there, you can configure the submit action that must run once the button is clicked.
To configure the Form, click on the Configure Form button. You start by choosing the Salesforce Source object and then, based on the information provided, choosing whether to create or update a record in Salesforce. For example, you can choose to create a contact.
In the Mapping step, you can add columns to capture details that will be saved to your Salesforce to create the Contact record. This will automatically create a Salesforce Push action.
Now that you have configured the contact details to be captured, we need to create a child push to create an event automatically.
In the Object Settings tab, configure Event as the Salesforce object, Create as the action, and add a description.
In the Mapping tab, Titan will automatically map your contact field. For this example, we configured a custom subject and mapped the Salesforce fields to the corresponding project elements.
Now that your Salesforce action has been configured, you can assign it to your On Submit button.
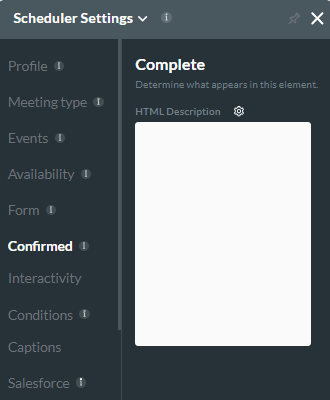
10 Confirmed
Using this tab, you can create a custom message to display to the user once they submit their form. You can also customize your text using a variety of formatting options.
11 Interactivity
Using the options under the Interactivity tab, you can configure how the element displays and how users interact.
This can also control when users can schedule meetings and events.

This can also control when users can schedule meetings and events.
12 Preview
When previewing your scheduler, you will see the people you can schedule events with and the types of events you can schedule. To book an event, select the event type and follow the steps.
13 Styling
To customize your widget, you can use the styling menu options.