Barcode Generator, Barcode Reader, and Capture (7 min)
01 Getting Started
This tutorial covers using the Barcode Generator to generate barcodes and the Barcode Reader to scan them.
02 Use Case
To demonstrate how to use these widgets, we will use an event registration form that collects information from the user when they click submit. A Salesforce action will run to store all the information in Salesforce and redirect the user to a second page in the project.
On the second page, we want a QR code to be generated for the newly created contact.
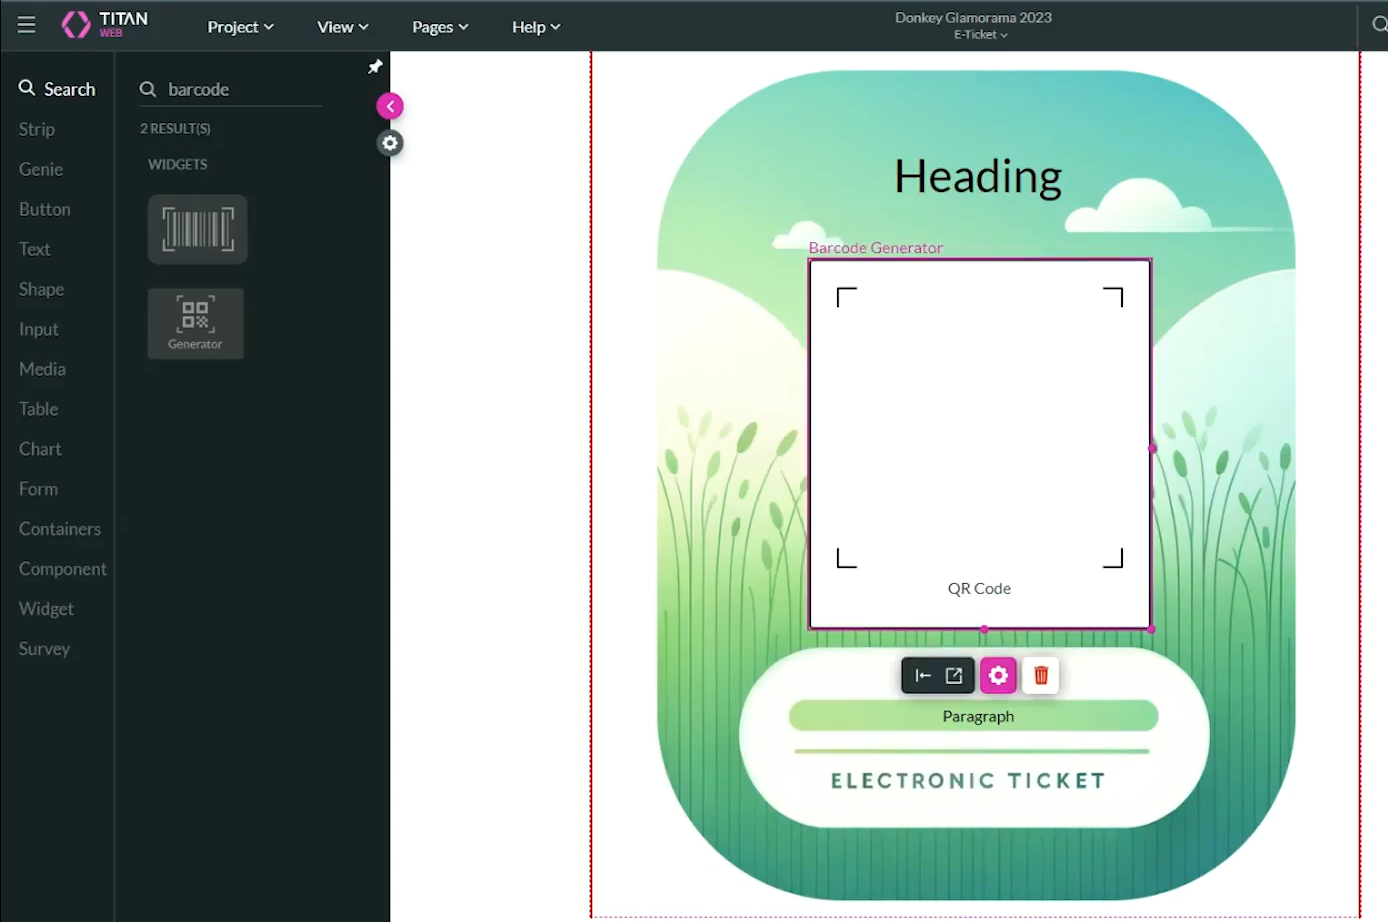
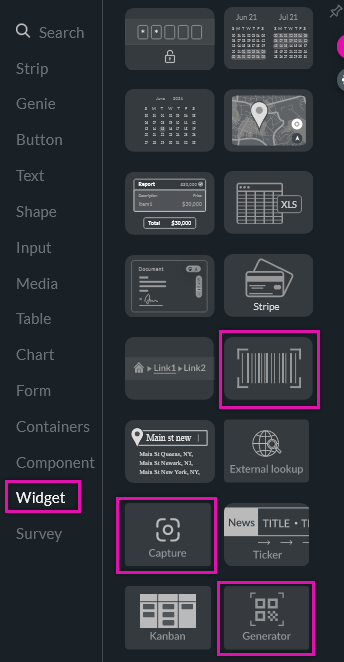
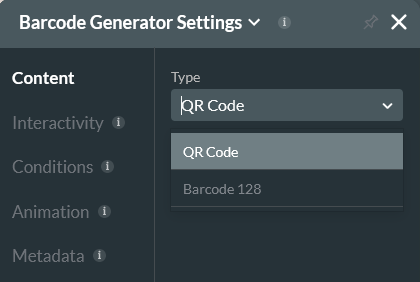
03 Barcode Generator
In the Content tab, you can choose between QR code and Barcode 128.
When the second page loads, we want a Salesforce Action to run and pull the newly created contact record. This will be used to generate the contact's record QR code.
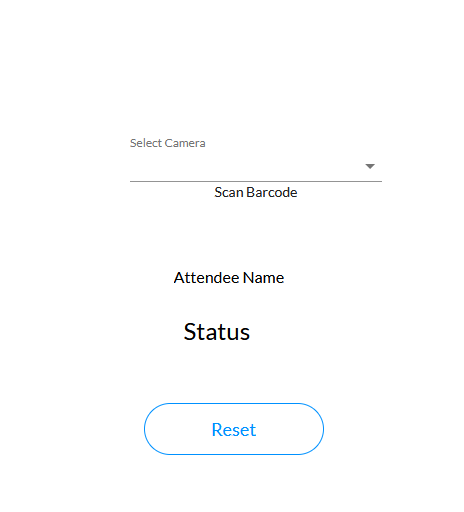
04 Barcode Reader
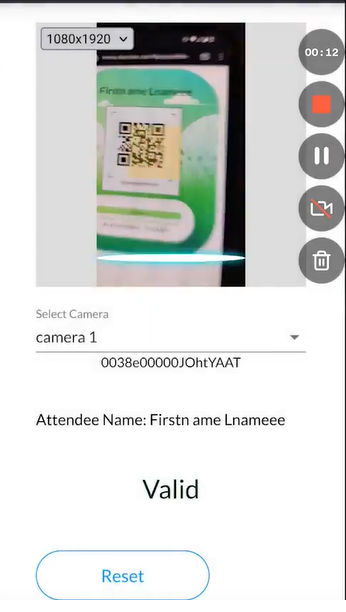
In a separate project that will be used to validate each contact’s barcode, the barcode reader will indicate whether the barcode is valid.
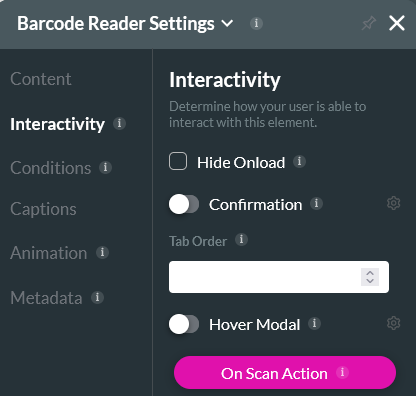
1. Navigate to the Barcode Reader Settings menu and click the Interactivity tab.
2. Click the On Scan Action button.
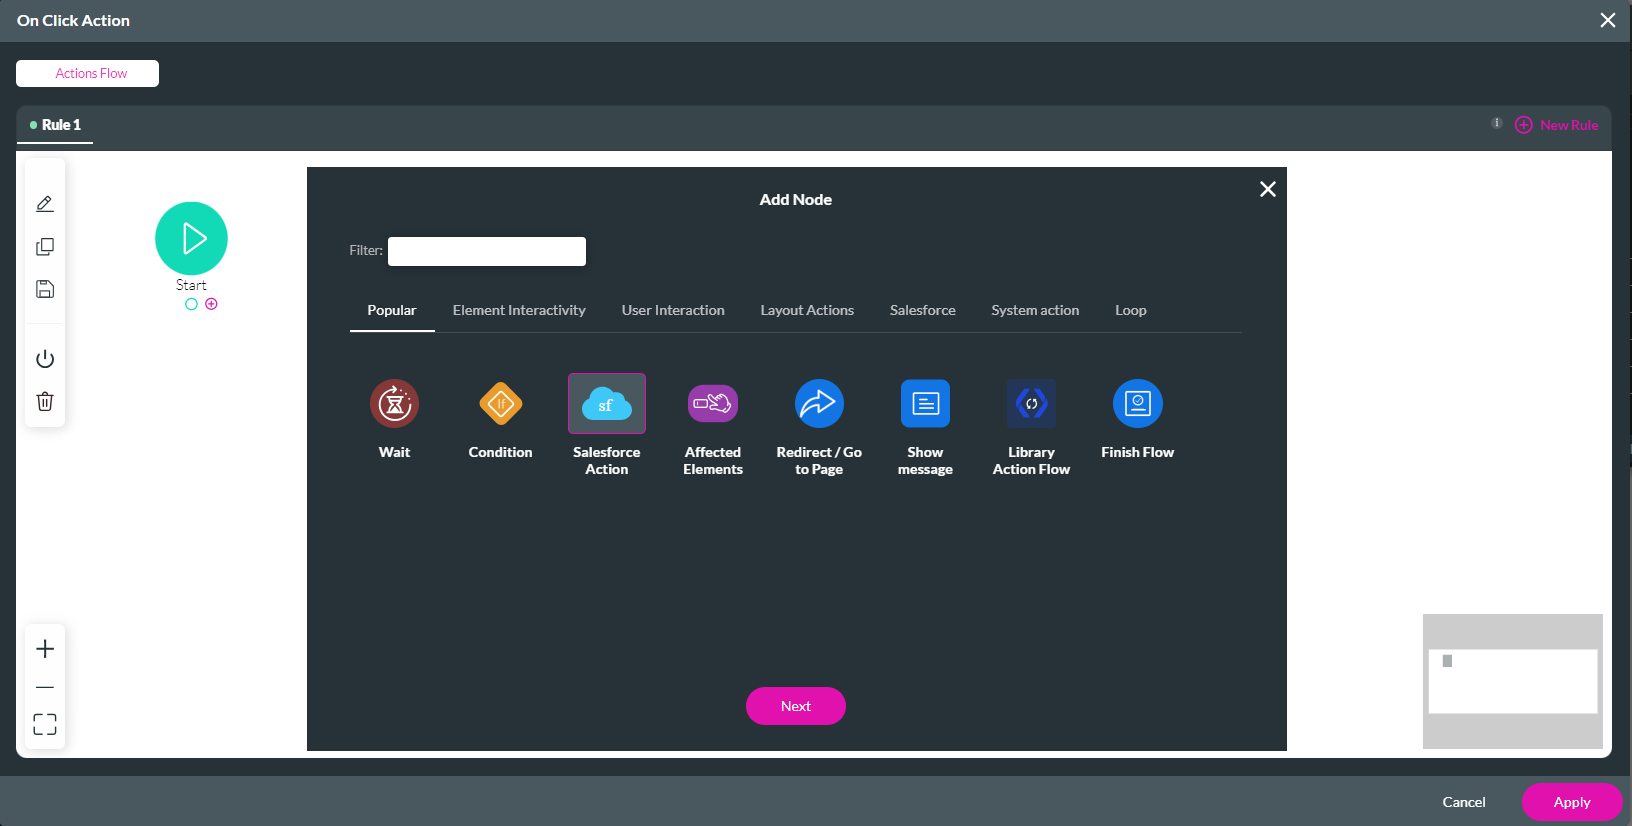
3. Click the Start + icon and choose Salesforce Action. Here we will configure an action to run and pull a Contact record. The barcode generator in our other project will be used to hold the Contact ID.
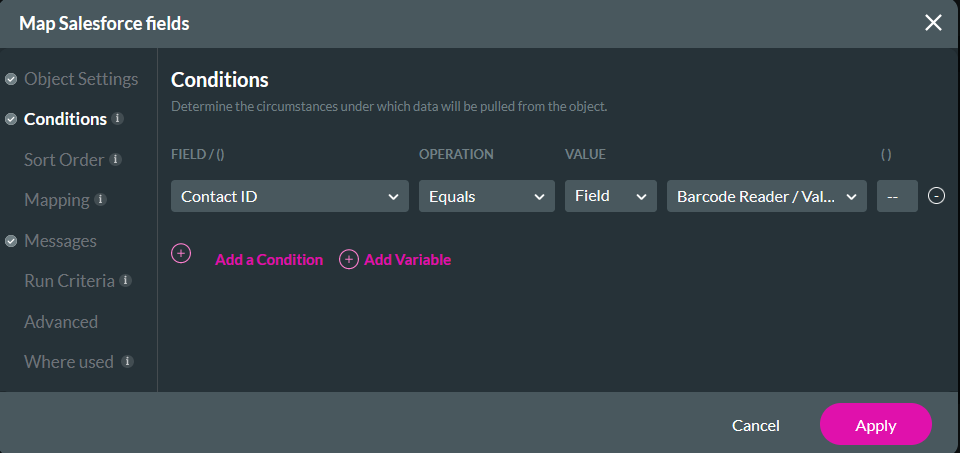
When configuring the Salesforce Get, it is essential to create a condition that the Contact ID must equal the Barcode Reader Value.
Under the Mapping tab, your project elements are mapped to the corresponding Salesforce field. In addition, add a mapping of the Total Rows to a corresponding variable (in this use case, we called the variable total_results).
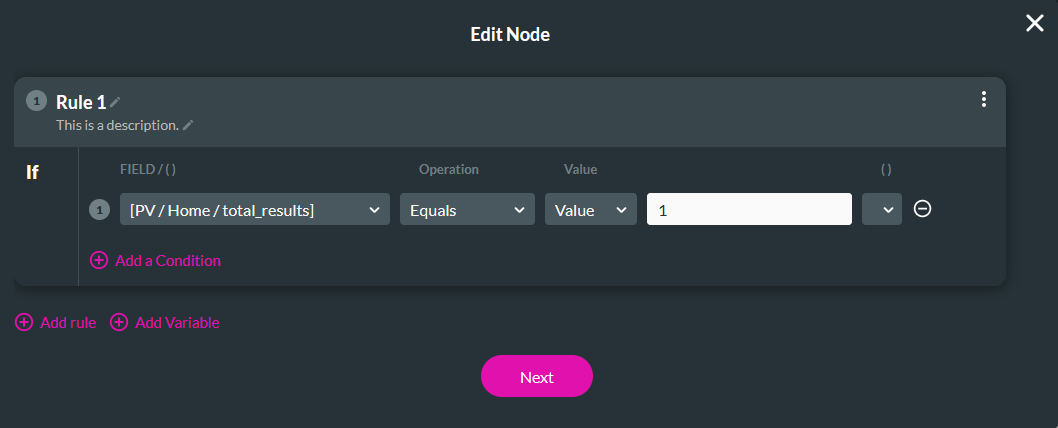
After the Salesforce action, we added a condition that evaluates the total_results variable if it equals 1.
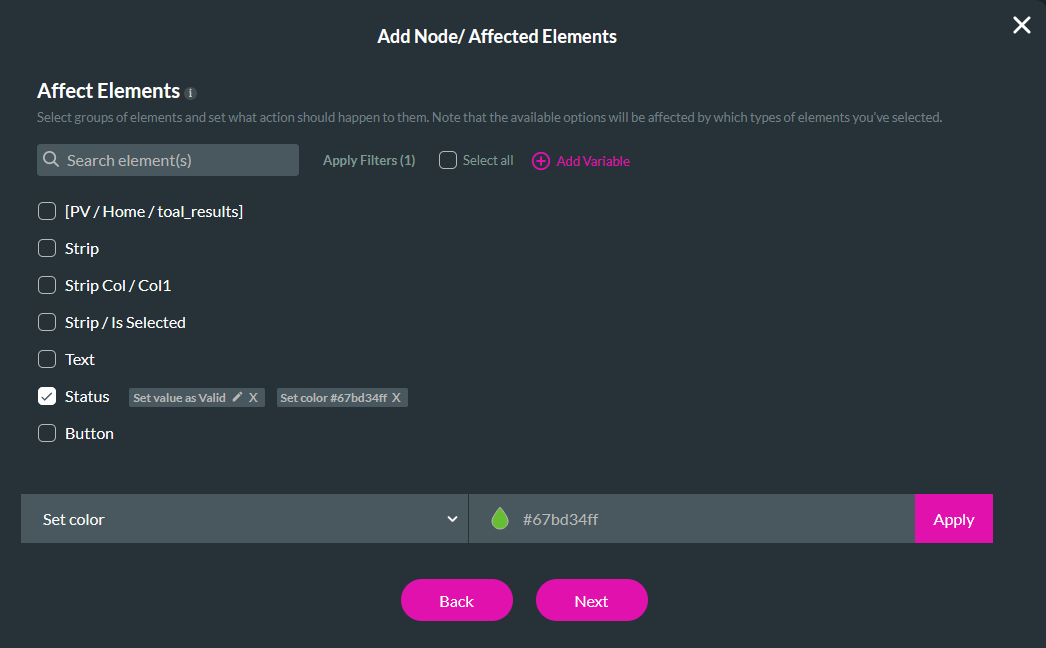
On the previous Condition node, an Affected Element action was added to set the status value to Valid and give it a green color. A similar action has been added to the Else condition, this time setting the status to Invalid.
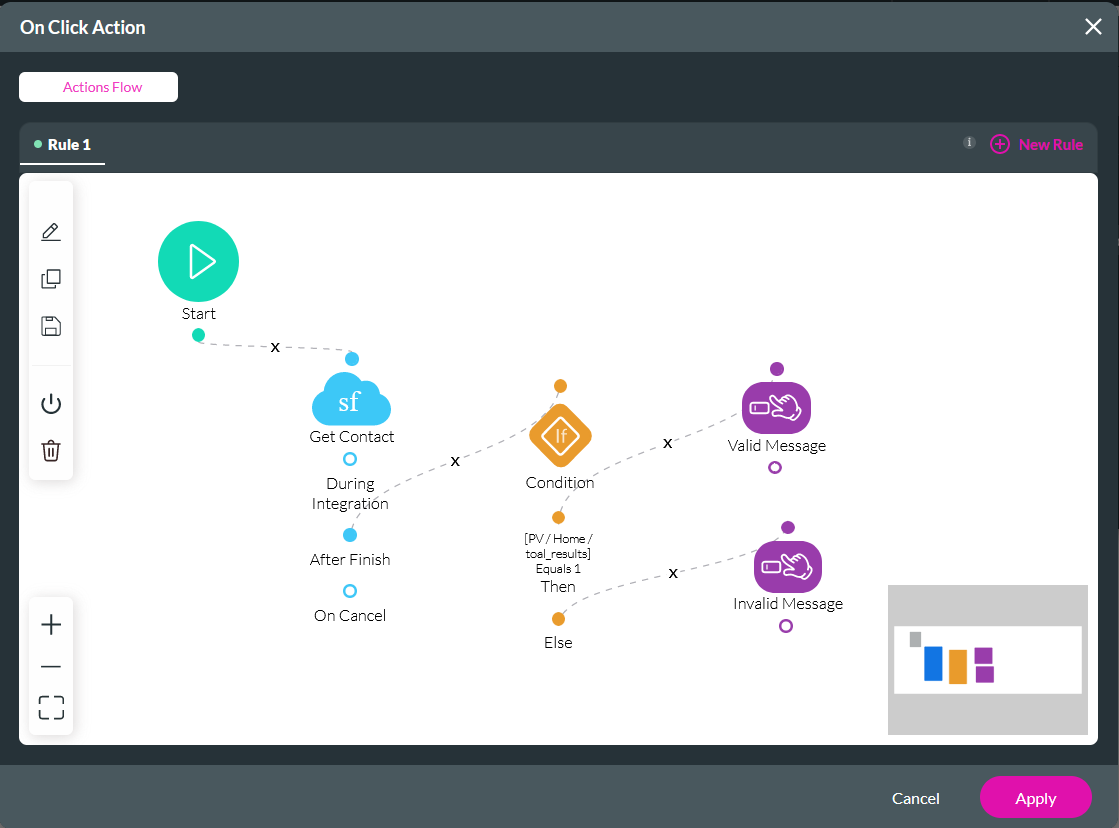
At the end, the On Click Action screen should look as follows:
05 Preview
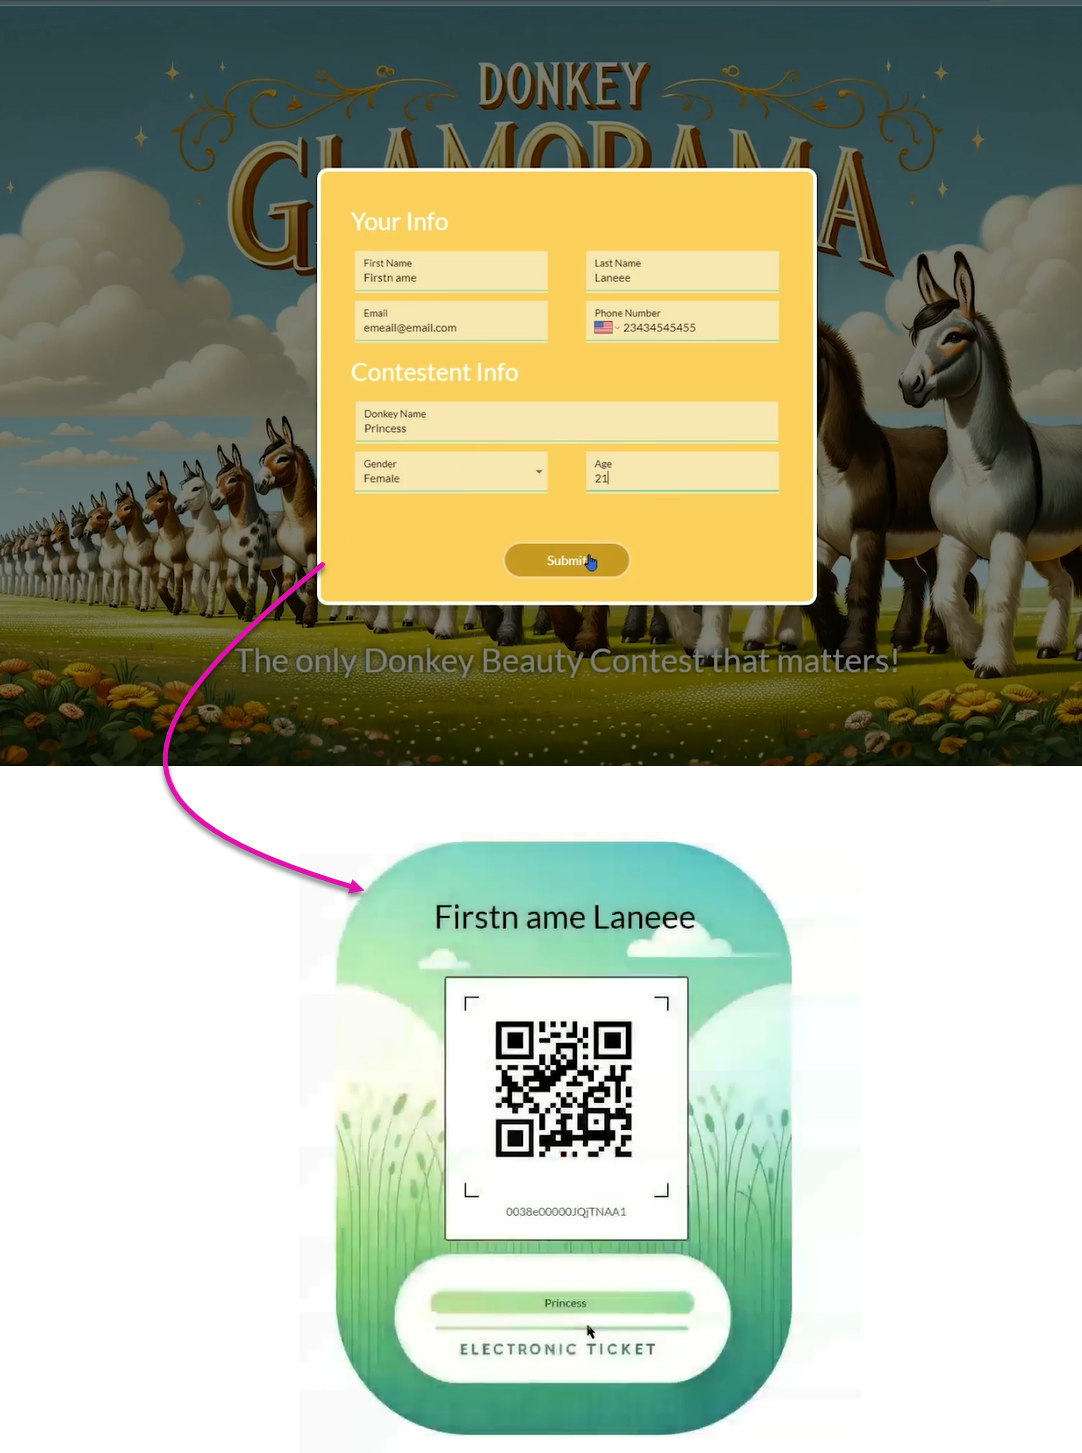
Now, users can enter their details in the Registration project and click Submit. After clicking Submit, they will be taken to the next page on which the QR code is generated.
To verify that their registration is valid, the user will navigate to the second project, where the Barcode Scanner will check the QR code to determine whether it is valid.