Site Elements Settings (4 min)
01 Introduction
In this lesson, we will learn how to create a unique look and feel using the Site Elements tab available on TITAN Survey and the different options it provides for your Web Surveys.
02 The Site Elements Tab
The Elements Tab is composed of the following features:
- Custom Favicon - allows you to change the default browser favicon.
- Page Loader - lets you add a page overlay on your survey.
- Custom Loader - can be used to customize a loading icon.
- Custom 404 Page - creates a custom 404 Page to prevent a poor user experience.
- Accessibility Toolbar - keeps every respondent in mind when creating surveys.
- Tab Order Wizard - can be used to control the elements tab order in your survey.
- Preview Tags - display snippets of content hosted from other websites.
- Captions - provide instructions or correspondence to survey takers.
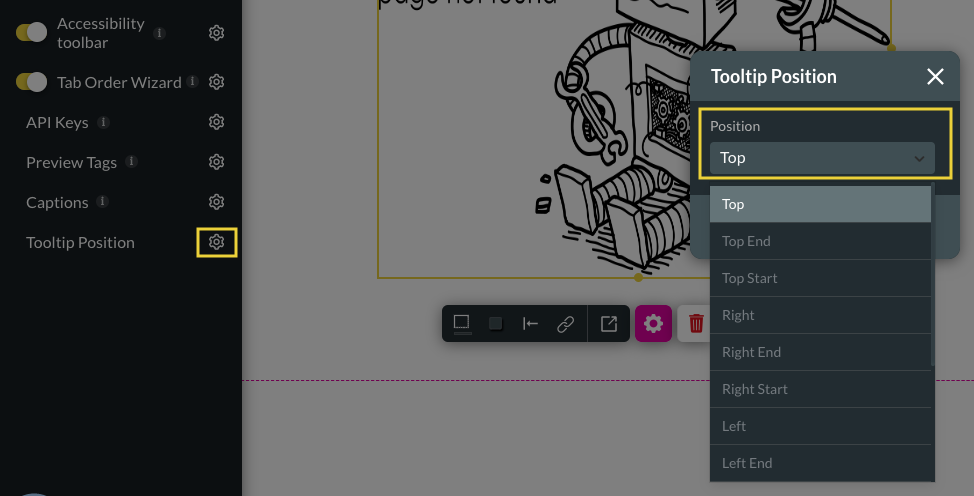
- Tooltip Position - offers additional information to respondents when they hover over an element.
03 Accessing the Site Elements Tab
Select the Project Settings button and then choose the Site Elements tab.
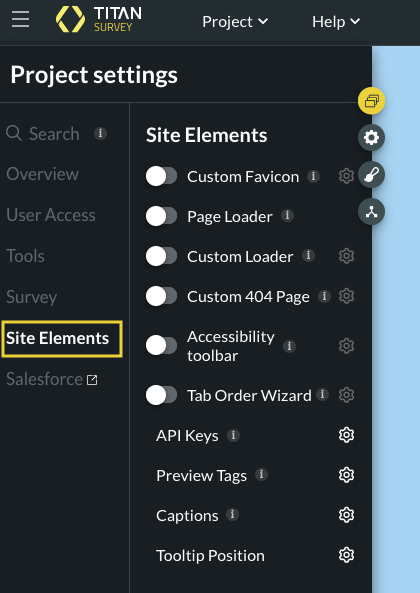
04 Configuring the Site Elements Options
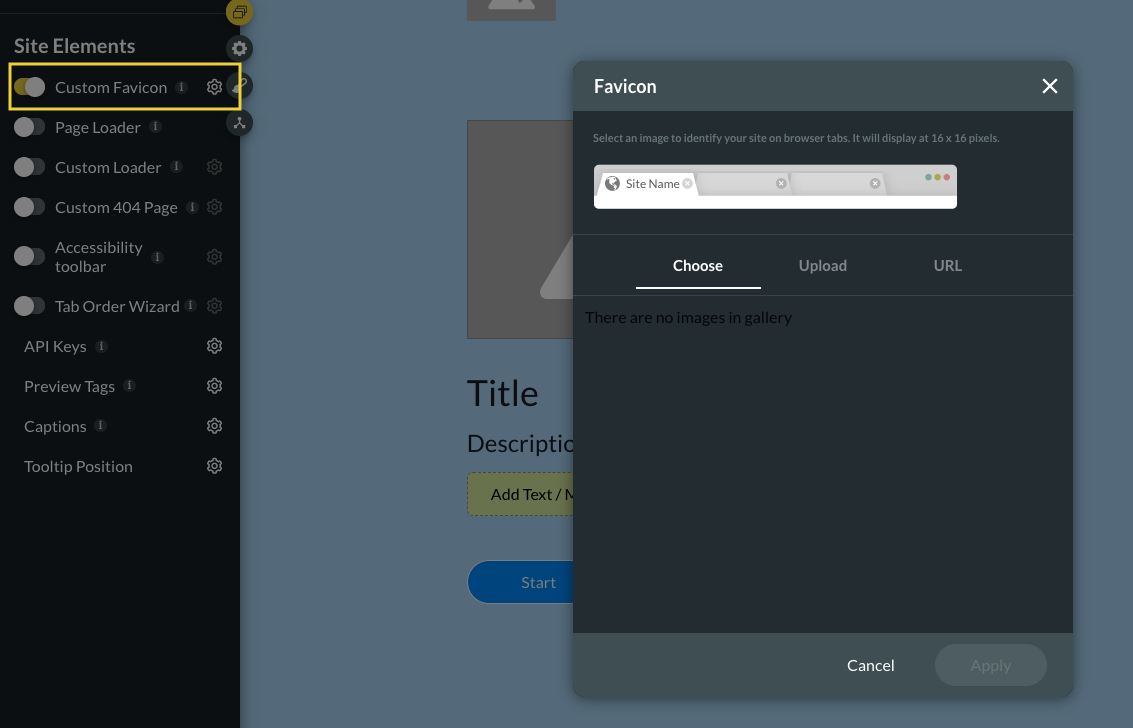
1. To change the default browser favicon enable the Custom Favicon toggle switch and select the settings button to open the Favicon box.
2. Activate the Page Loader toggle switch to add a page overlay to your survey that respondents can interact with.
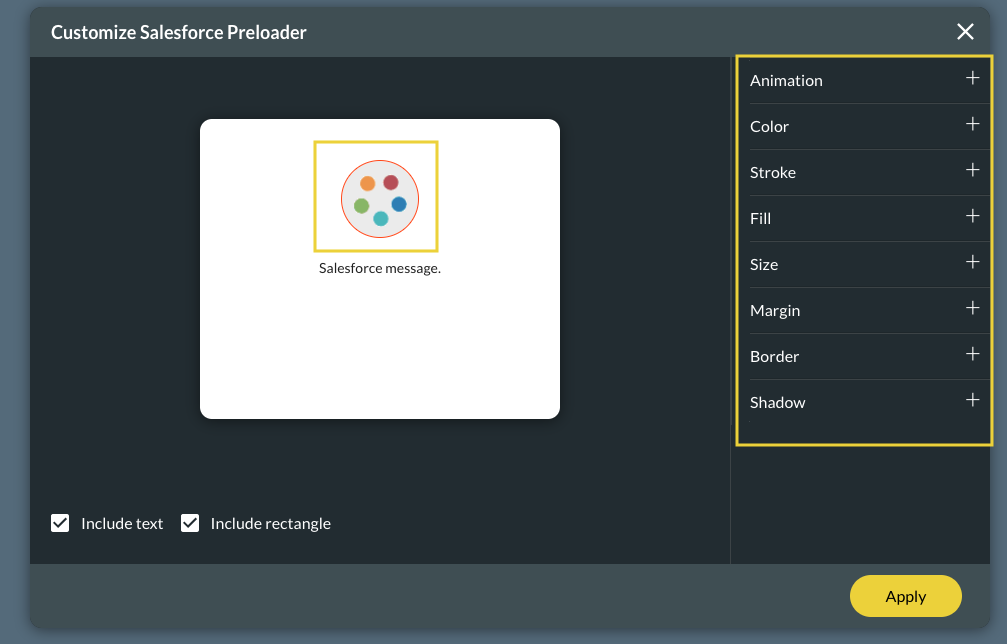
3. Customize a loading icon by turning the Custom Loader toggle switch on and then selecting the settings button to open the Customize Salesforce Preloader box.
*This icon will be displayed to survey takers when content is loading from Salesforce.
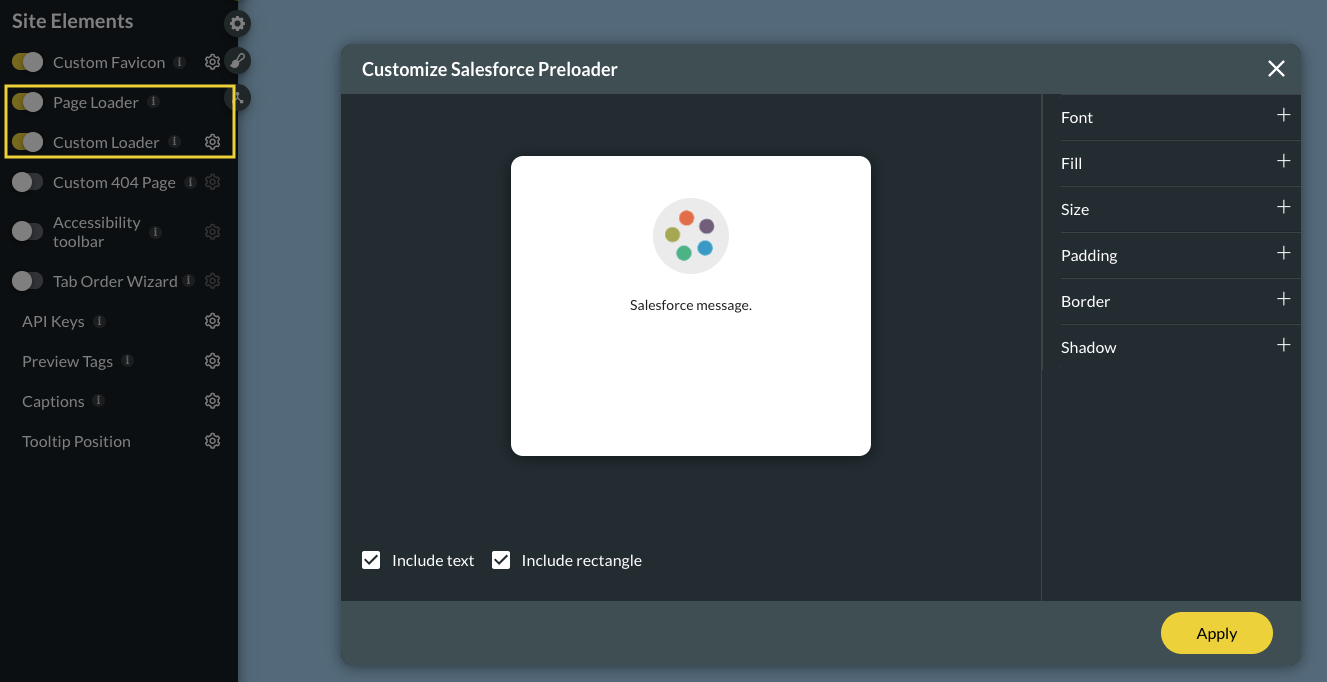
4. Customize the Loading icon by selecting the icon. There are a range of styling options available.
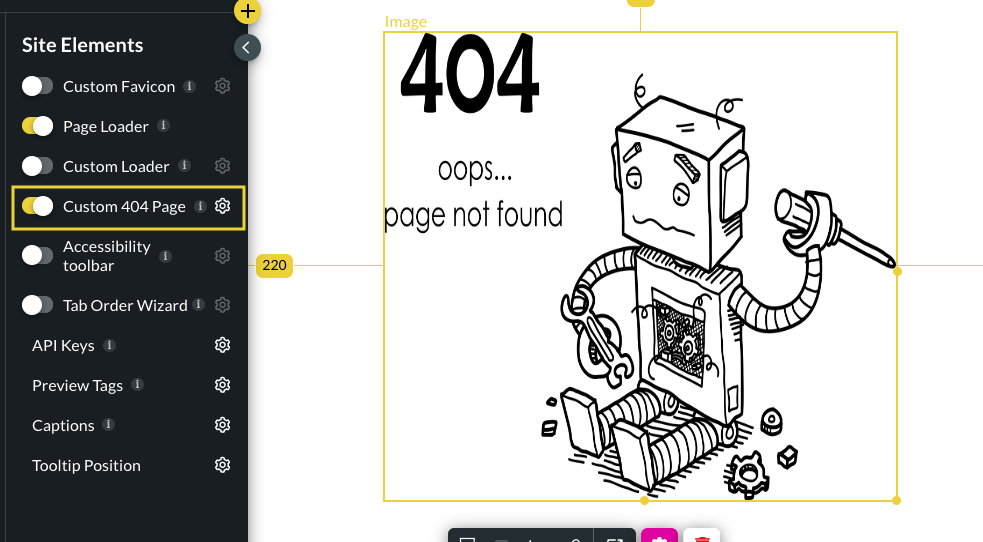
5. To enhance the user experience, create your own 404 Page by enabling the Custom 404 Page toggle switch.
6. Access the 404 Page by selecting the settings button.
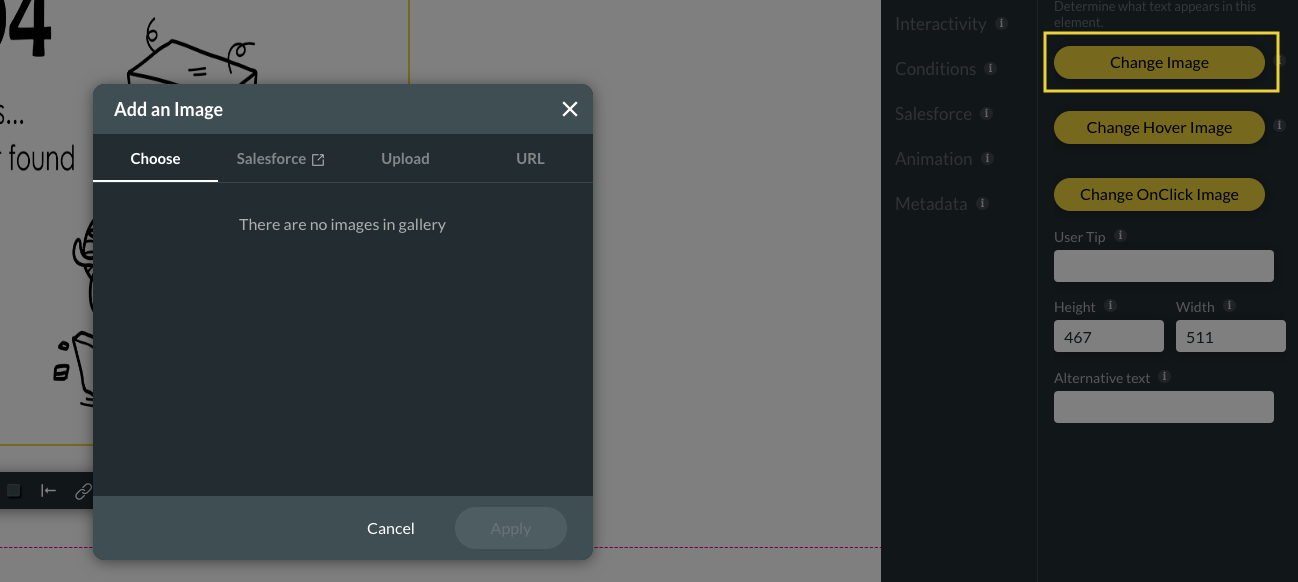
7. Select the Change Image button to add a new image to your 404 Page that matches your survey’s branding.
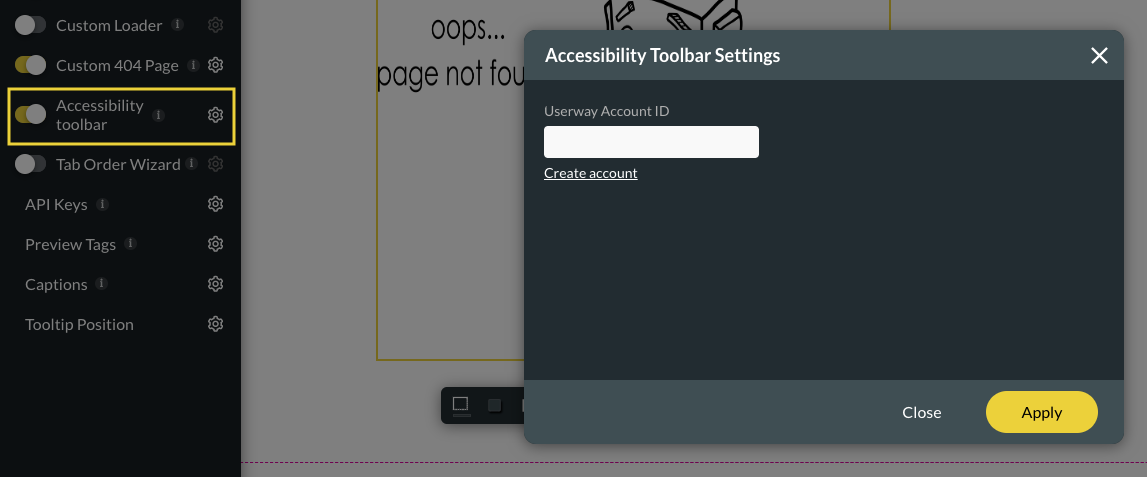
8. Enable the Accessibility toolbar toggle switch and select the settings button to insert the Userway Account ID for access to text-to-speech tools and site indicators.
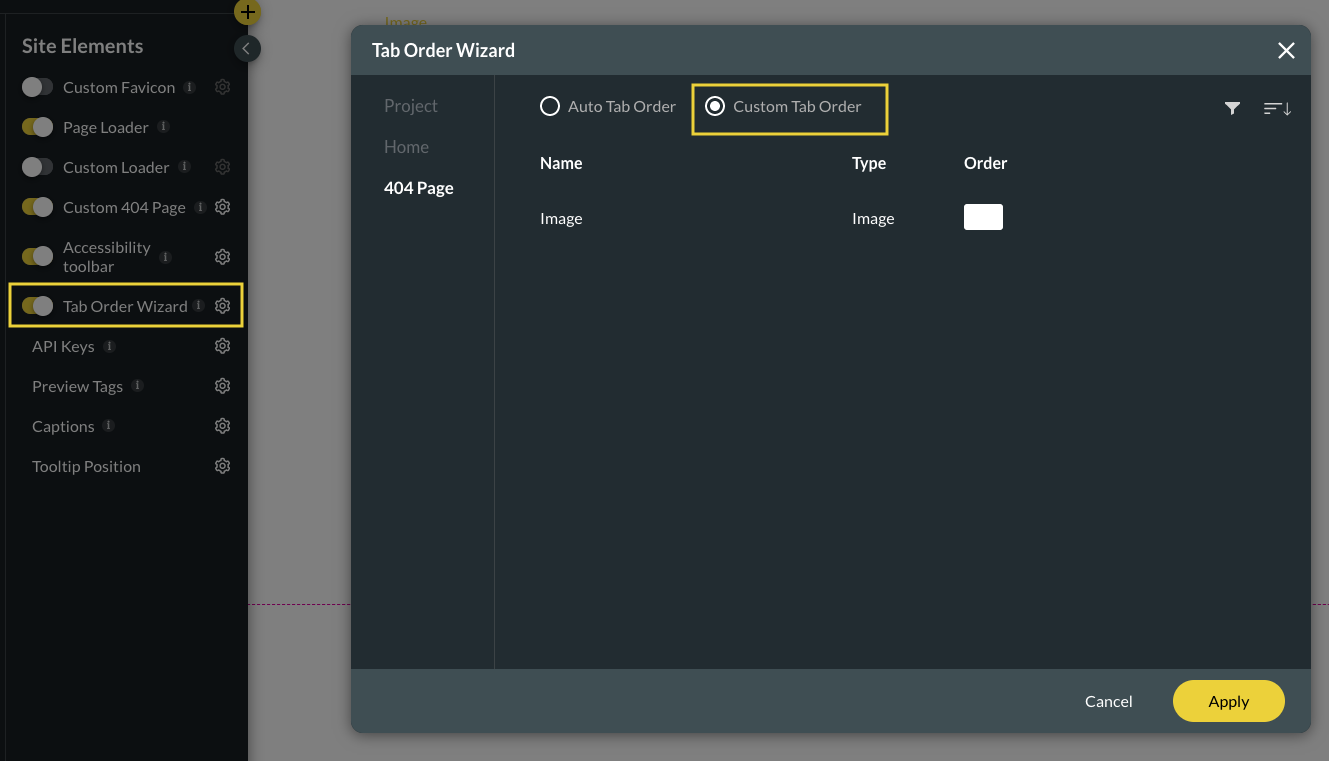
9. To control the elements tab order in your survey, activate the Tab Order Wizard toggle switch and select the settings button.
10. Choose the Custom Tab Order radio button.
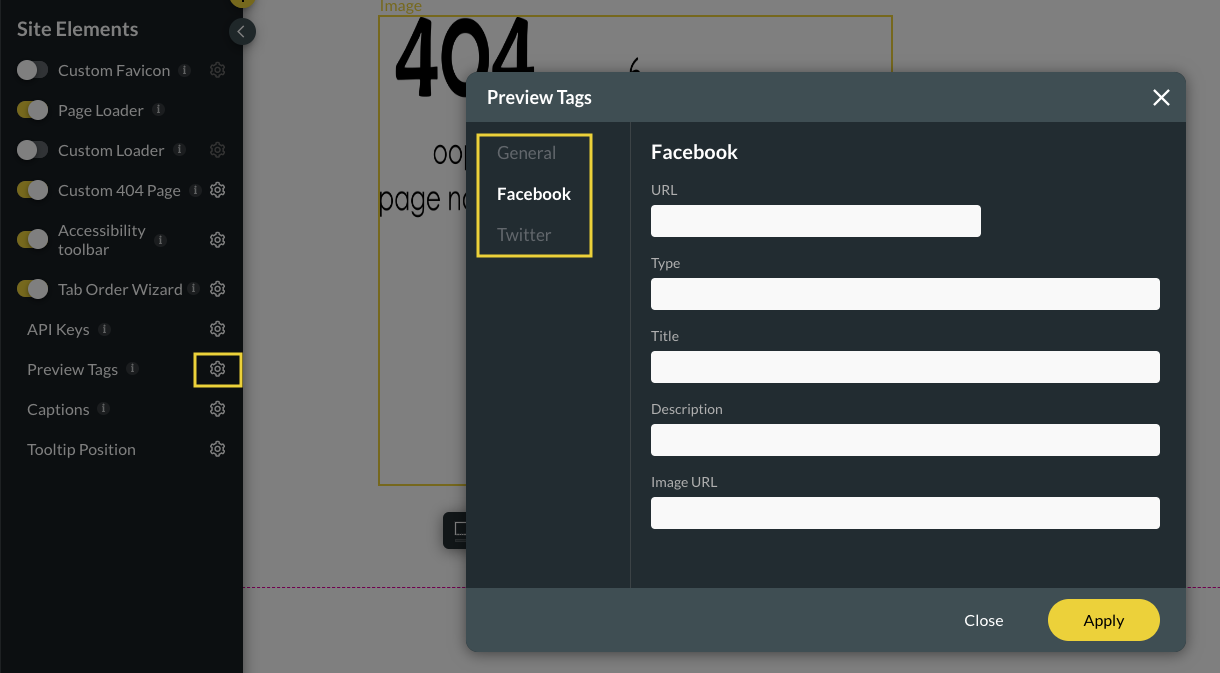
11. Select the Preview Tags settings button to display snippets of content hosted on different sites like Facebook or Twitter.
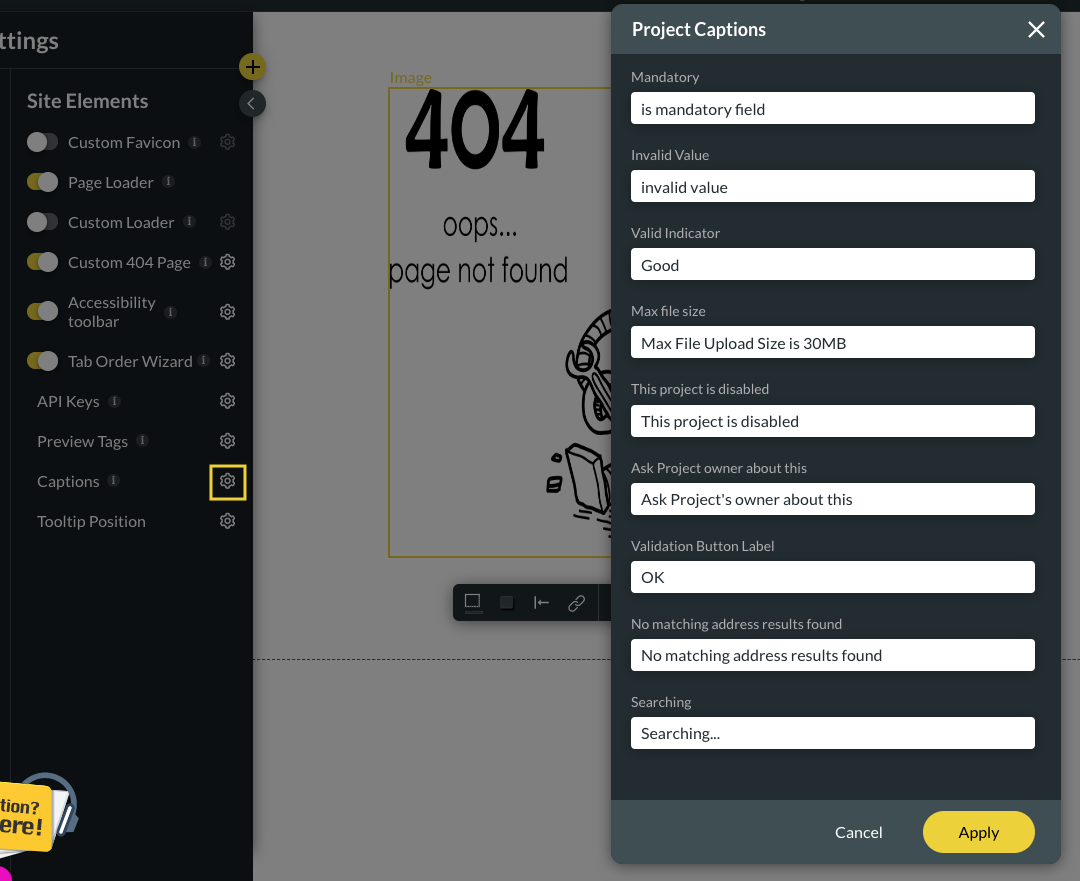
12. Configure captions for your survey by selecting the Captions settings button and filling out the relevant information in the Project Captions box.
13. Set up the Tooltip position for your survey by selecting the settings button and choosing a position from the drop-down menu.