Elements Settings Menu (4 min)
01 Introduction
In this lesson, we will learn how to configure elements using the element settings menu.
The element settings menu enables us to control how the element is displayed, when it is displayed, and how the respondents will interact with it.
The steps below use TextArea and Survey List elements as an example.
02 Text Area Element Settings
1. Add a Text Area element to the slide.
2. Click the element to open the element settings menu. The content tab is open by default.
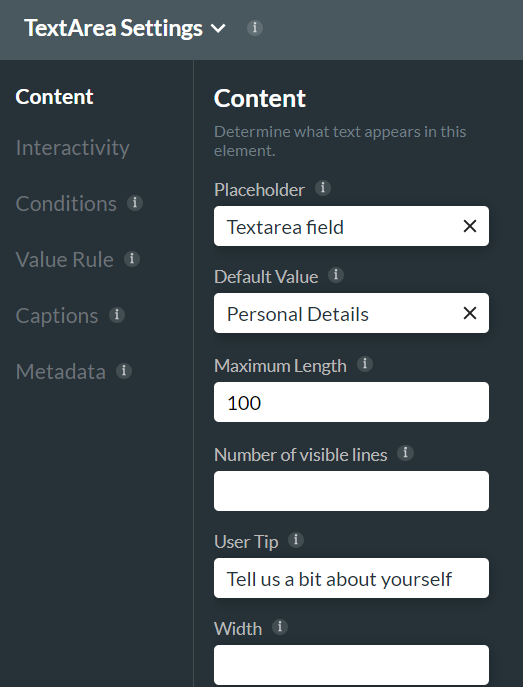
Content Tab
1. Set a default value. This value is automatically filled in when respondents open the survey.
2. Insert a user tip to help respondents know what information to provide.
3. Set the maximum length parameter to limit responses to a specific number of characters.
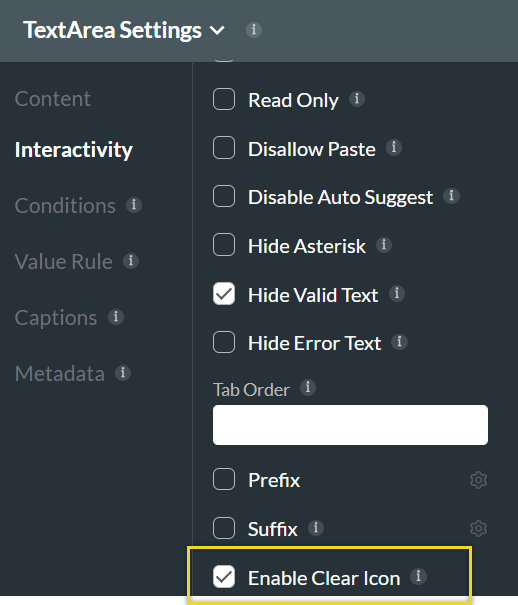
Interactivity Tab
1. Click on the Interactivity Tab.
2. Enable the Clear icon. This is commonly used for text input elements. This deletes all current input and helps respondents retype their answers if needed.
03 Survey List Element Settings
1. Add a Survey List element to the slide.
2. Click the element to open the element settings menu. The content tab is open by default.
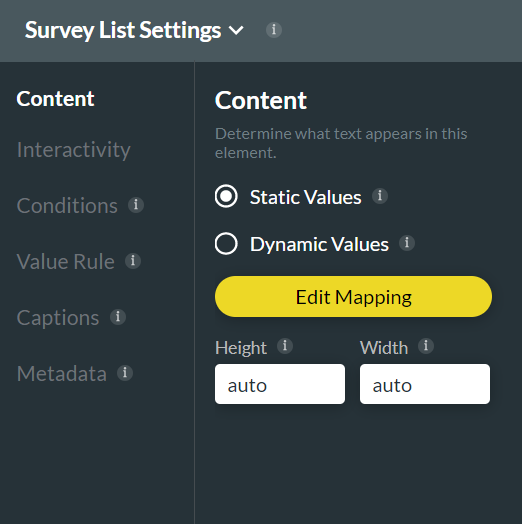
Content tab
1. Use the radio button to select which type of values to map.
- Static values are entered manually.
- Dynamic values are mapped from Salesforce. Dynamic Values will be discussed extensively in our Advanced course, and additional information is also available on our support center website.
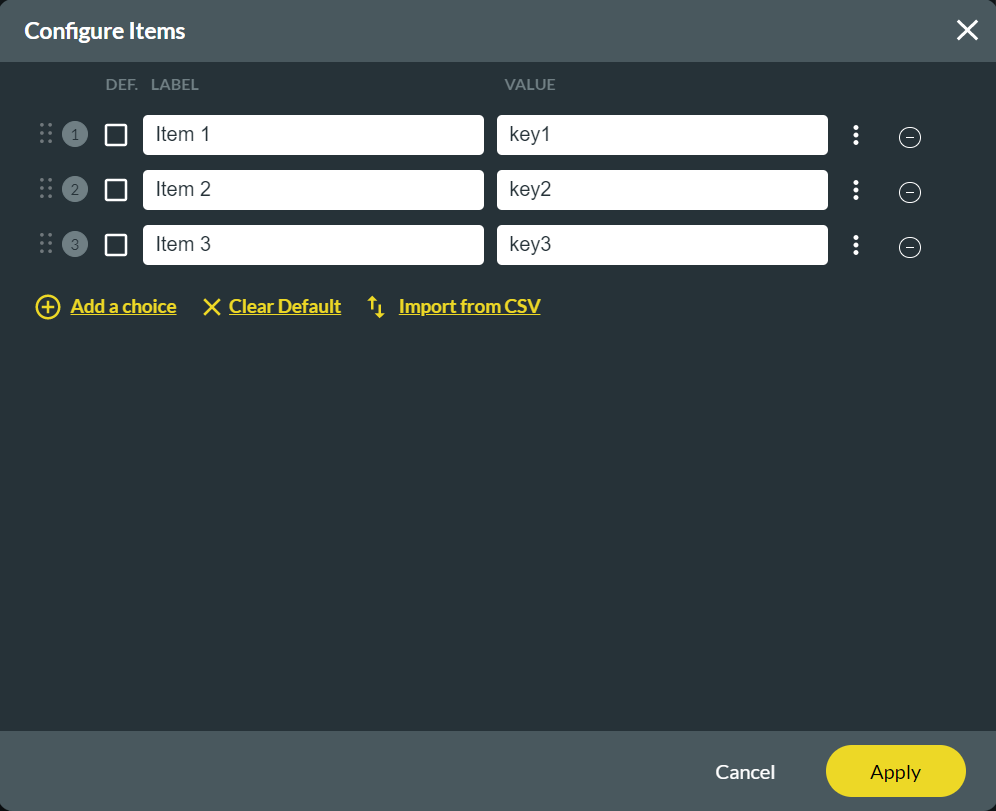
2. Select the Static Radio Button and click Edit Mapping. The configure item screen opens.
3. Type the Label and Value in the fields. A label is presented to the user, and value is what stands behind it (and is not shown). Labels and values can be the same or different. For instance, the user can select an item with a different value. When users push data to Salesforce, they can decide to push the label or value
4. To add or remove choices from our list, use the add or delete buttons.
- There are several additional options in this menu, including uploading values from a CSV file. To learn more about these options, visit the support center on our website.
Interactivity Tab
1. Click the Interactivity Tab.
2. Enable the Shuffle Answers function. Each respondent receives the options in a different order. This is effective when using Titan Survey to conduct tests.
3. Enable the mandatory function. By enabling this parameter, we will force the respondents to answer the question.
