Using Web Survey Styles (4 min)
01 Introduction
In this lesson, we will examine the Web Survey Styles Menu.
Styling surveys enable us to align the look and feel of content with our business brand or chosen theme.
02 Style the Slides
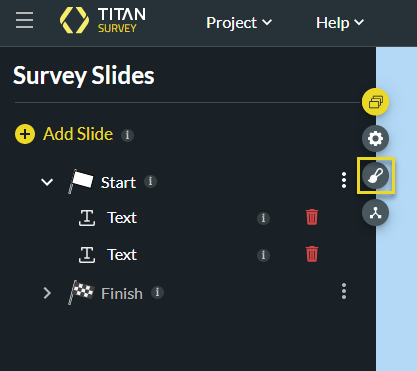
1. Click on the Styling button.
2. Under the Web Survey Styles drop-down, use the drop-down list to select the font family.
3. Use the Color icon next to the Font Family drop-down list to change the font color.
4. Use the drop-down list to select the font size. The options are:
- Small
- Medium
- Large
- Extra large
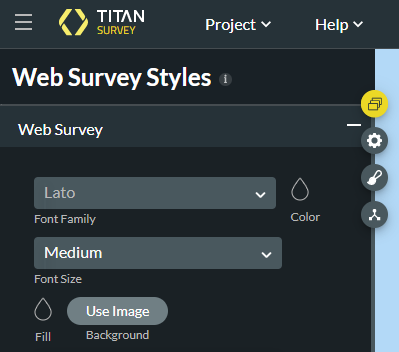
5. Click on the Fill icon to open the color selector.
6. Select a color for the slide’s background color.
7. Alternatively, click the Use Image button to add a background image to the slide.
8. Type a percentage to change the content width field that controls the width of the slide and how the elements are displayed on the slides.
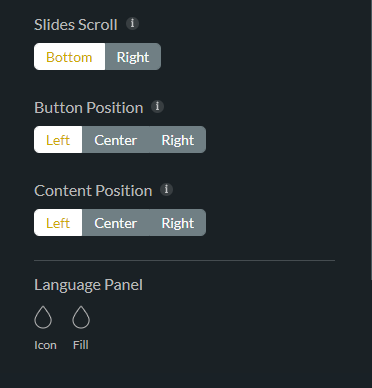
9. Select the slice scroll by clicking on a button. The options are:
- Bottom
- Right
10. Select the button position by clicking on a button. The options are:
- Left
- Center
- Right
11. Select the content position by clicking on a button. The options are:
- Left
- Center
- Right
12. Change the colors for the language panel by clicking on the Icon and Fill icons. These are relevant when Translations have been activated.
03 Style the Logo
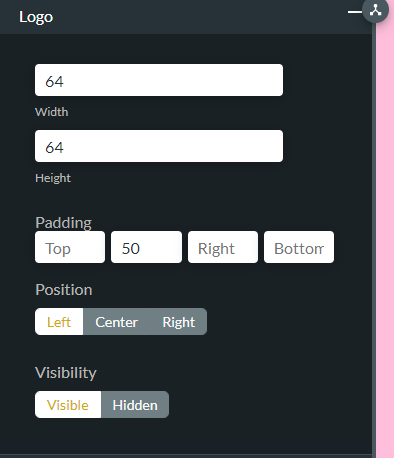
1. Minimize the Web Style drop-down list and click on the Logo option.

2. Click on a button to select whether the logo must be visible or hidden.
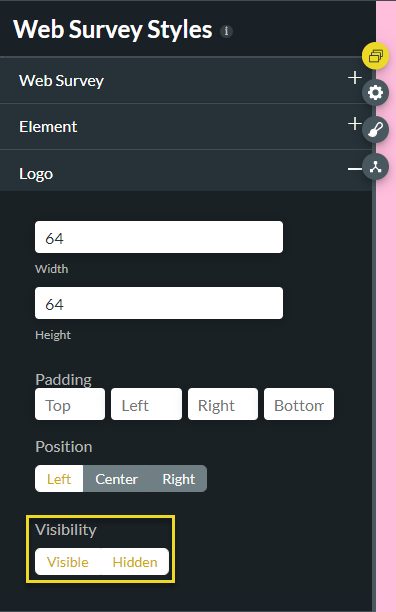
3. If the logo is visible, set the width and height by typing pixel values in the Width and Height fields.
4. Type a value in one of the fields to set the padding. The options are:
- Top
- Left
- Right
- Bottom
5. Click on one of the buttons to select the logo’s position. The options are:
- Left
- Center
- Right
5. Click on one of the buttons to select the logo’s position. The options are:
- Left
- Center
- Right
04 Style the Start and Finish Slides
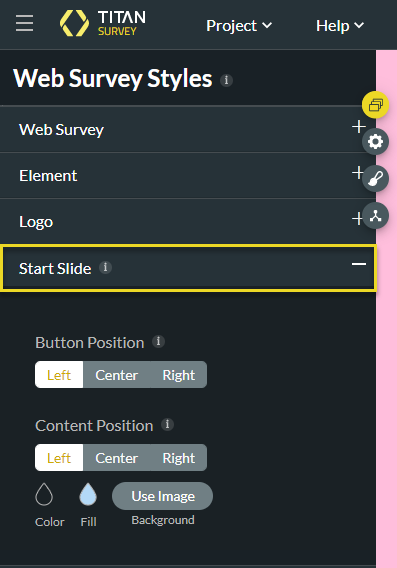
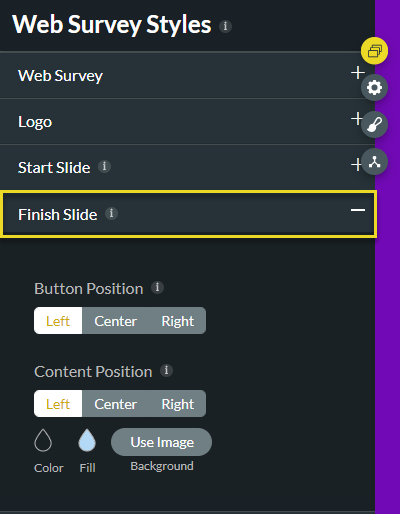
2. Set the position of the buttons on the Start slide by clicking on one of the following options:
- Left
- Center
- Right
3. Set the position of the content on the Start slide by clicking on one of the following options:
- Left
- Center
- Right
4. Change the colors for the text on the Start slide by clicking the Color icon.
5. Change the Start slide’s background colors by clicking the Fill icon.
6. Alternatively, click on the Use Image button to add an image to the background.
05 Style the Questions
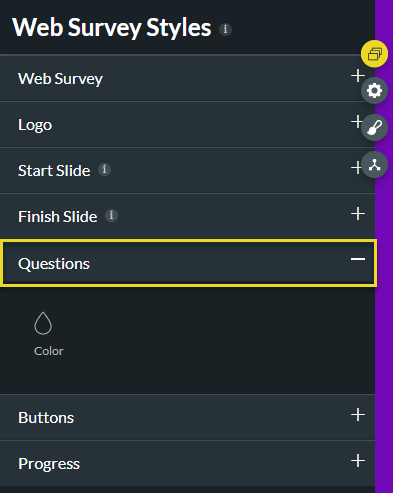
2. Change the font color for the questions by clicking the Color icon.
06 Style the Buttons
1. Minimize the Questions drop-down list and click on the Buttons option.

2. Change the color for the text, fill and borders of the following buttons:
- Start
- Back
- Next
- Submit
- Again
07 Style the Progress Bar and Slide Scrolls
1. Minimize the Buttons drop-down list and click on the Progress option.
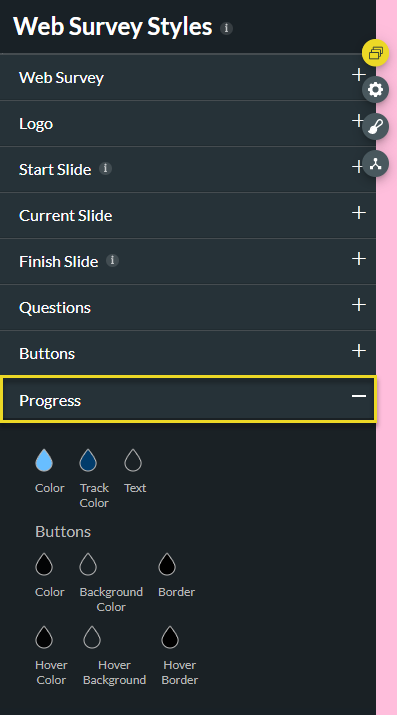
2. Change the color for the color, track color, and text by clicking on the relevant option.
3. Change the color, background, and border for the buttons.
4. Change the hover color, hover background, and hover border for the buttons.