Login and Conditions (3 min)
Completion requirements
01 Getting Started
This tutorial covers Smart V Login and its conditions.
02 Enable Smart V
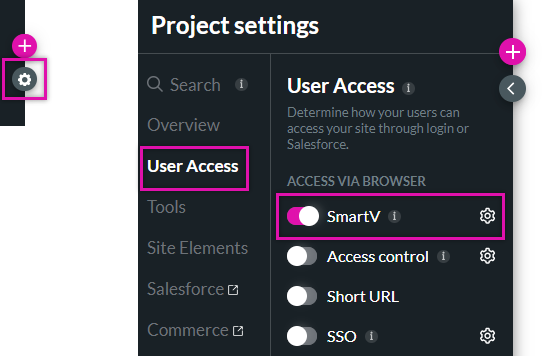
1. Click the Project Settings gear icon and select the User Access tab.
2. Activate the Smart V toggle switch.
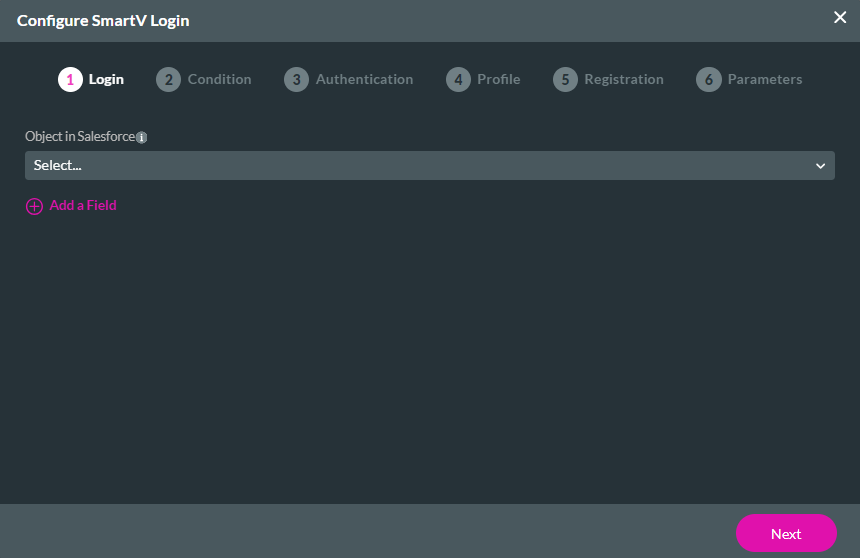
The Configure SmartV Login screen opens.
2. Activate the Smart V toggle switch.
The Configure SmartV Login screen opens.
03 Login
1. Using the dropdown, select the object in Salesforce. This can be either a custom or standard object, such as a Contact.
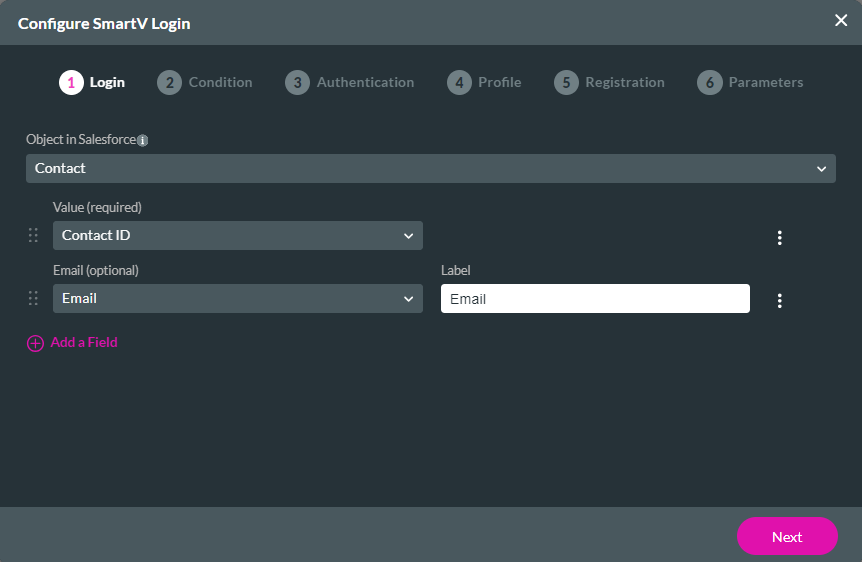
2. Next, Select a Value, such as Contact ID. You should select the record ID of the object you are using for SmartV.
This value will be returned from the login record and added to your Titan project. You can use this information to keep an activity log of that record, update the record, or create related records.
3. Use the dropdown to select an email option.
You can use any email field in your object. This information will be used to validate the user when they log in. You can create a custom label for this field.
Click Next.
04 Condition
Use the condition tab to control which users can log in based on information associated with the record.
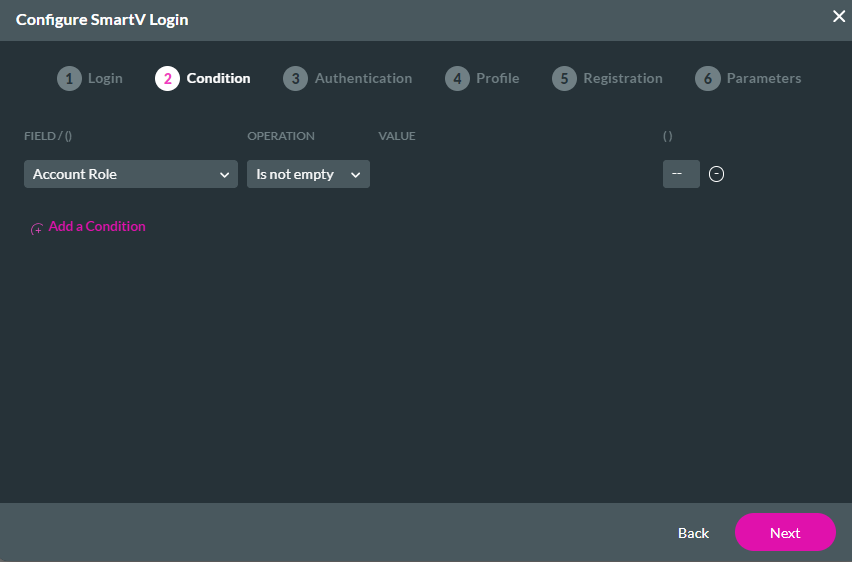
1. Using the drop downs, select the Field and condition operation. For example, only users with an Account Role will be allowed to log in.
Click Next.