Submission (15 min)
01 Getting Started
02 Identifying the User
It is important to identify your end-user. This ensures that any data is saved to the correct Salesforce Object. Implementing our User Access tools can do this. Make sure you check out our course on Security and Access.
This project was set up to allow users to log in with existing credentials or create a new account. If an existing user signs in, their details must populate the project form. If a new user signs in, the first form must be empty to capture their details.

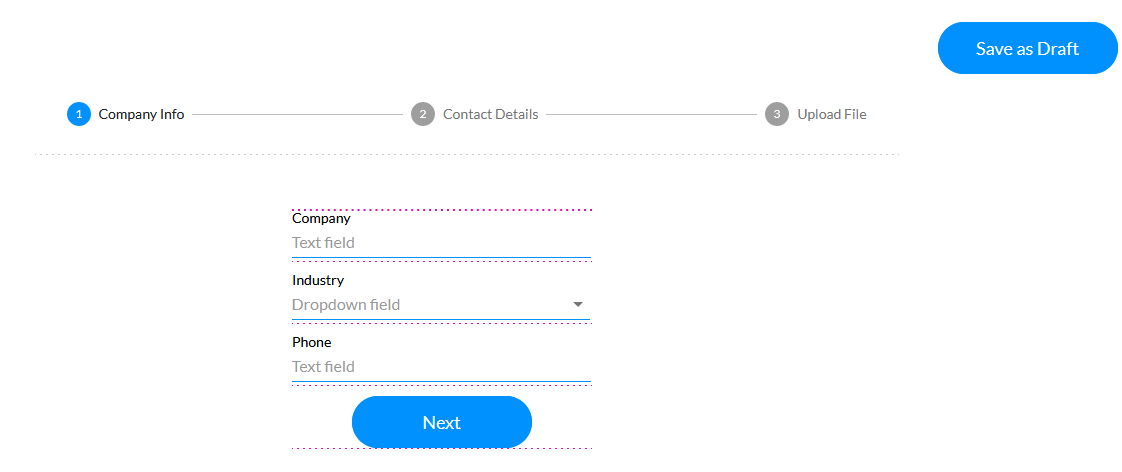
03 Setup
A stepper element was used to create three different steps.
- Step 1 will create an account or display an existing account if the logged-in user is already associated with an account.
- Step 2 will display the existing contact information for the associated account and allow for the push of updated information to Salesforce.
- Step 3 will upload a file attachment to the contact.
A button was configured to save data at any stage of the form completion process. When the user clicks this button, their data is saved and stored, so if they come back to the form, their previously provided data will be populated.
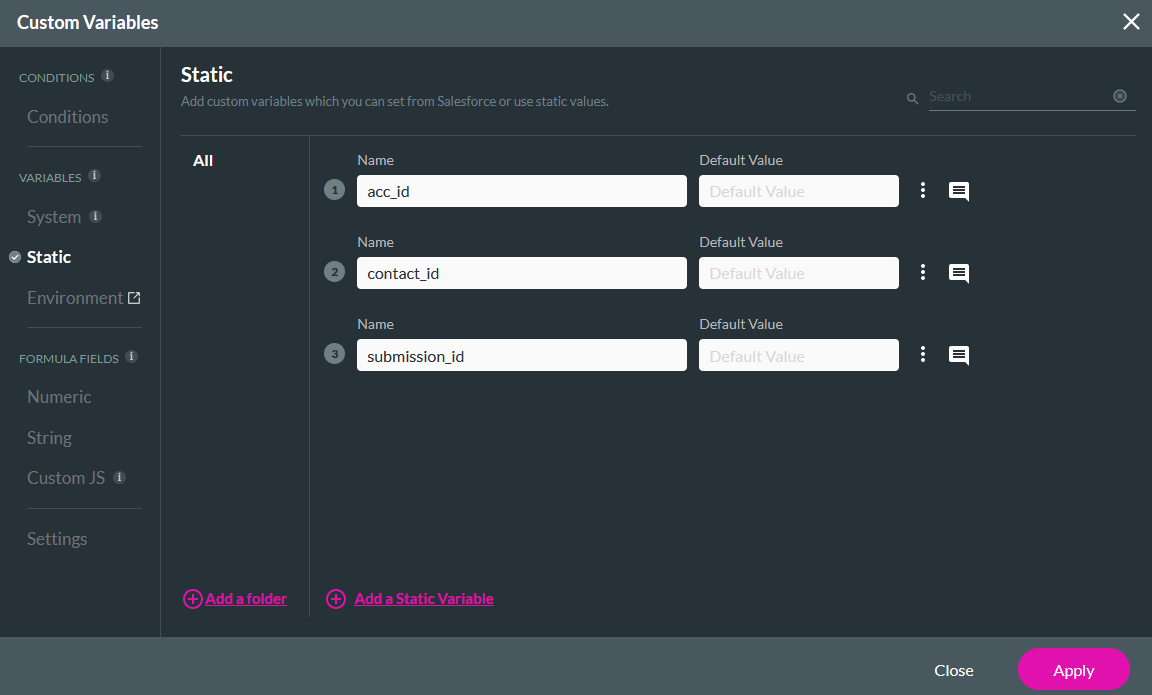
04 Variables
Three Static Variables were created for this project:
- acc_id - This will store the account ID and pass it to the contact to ensure the contact is associated with the correct account.
- contact_id - This will store the contact ID and pass it to the file to ensure it is pushed to the correct contact.
- submission_id - This will be used throughout the project.
05 Submissions
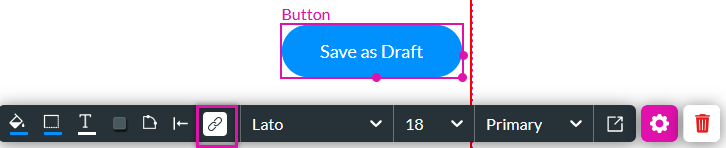
To configure the button to save the data to Submissions when clicked:
1. Select the Interactivity icon from the button menu.
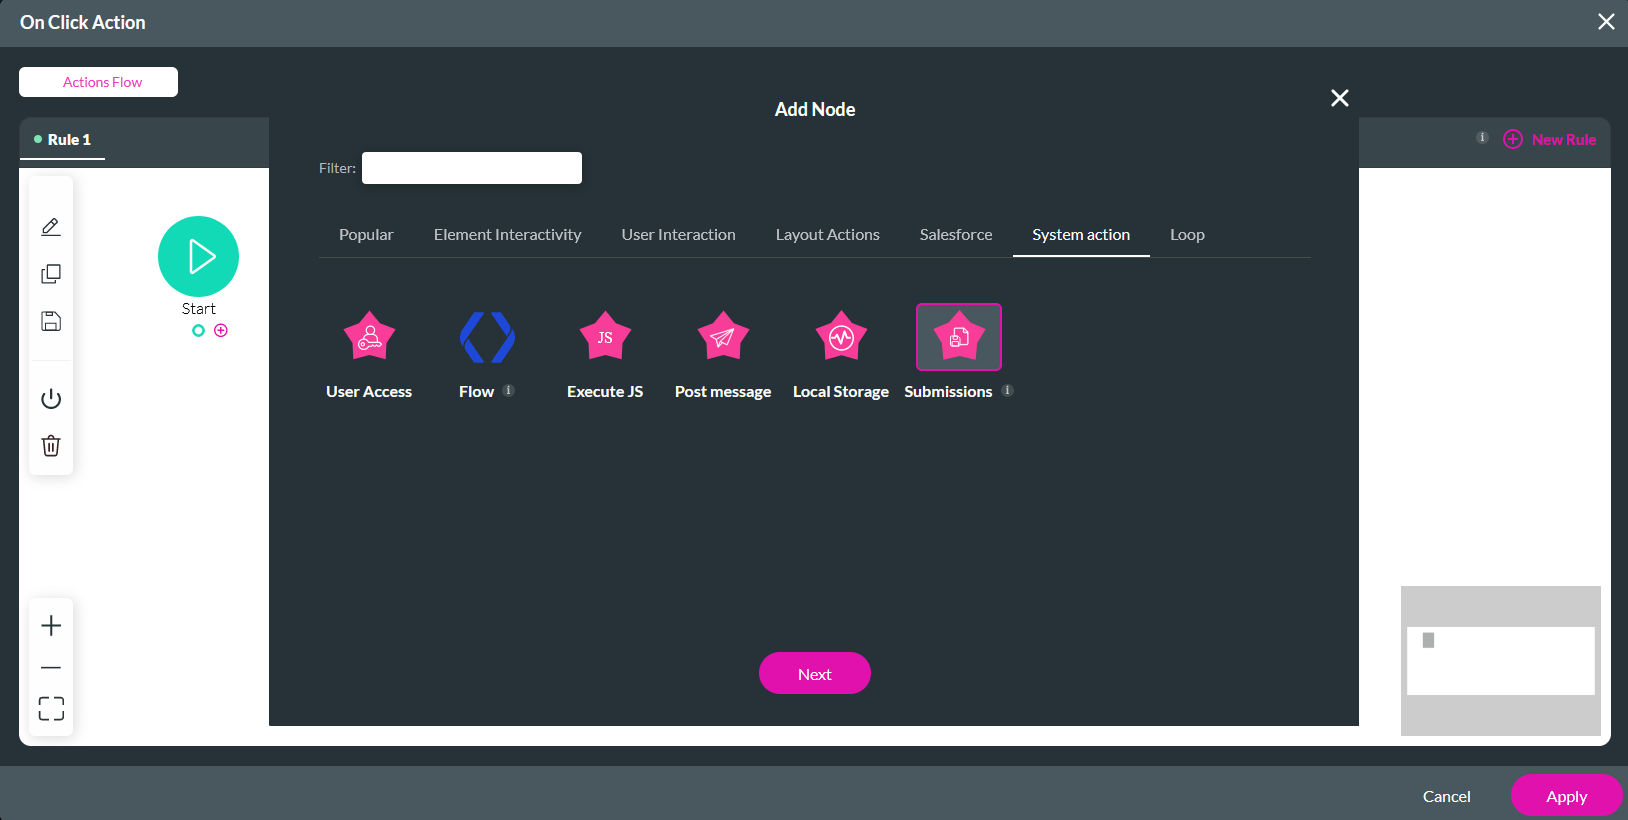
2. Select the Start + icon, choose Submissions as the node, and click Next.
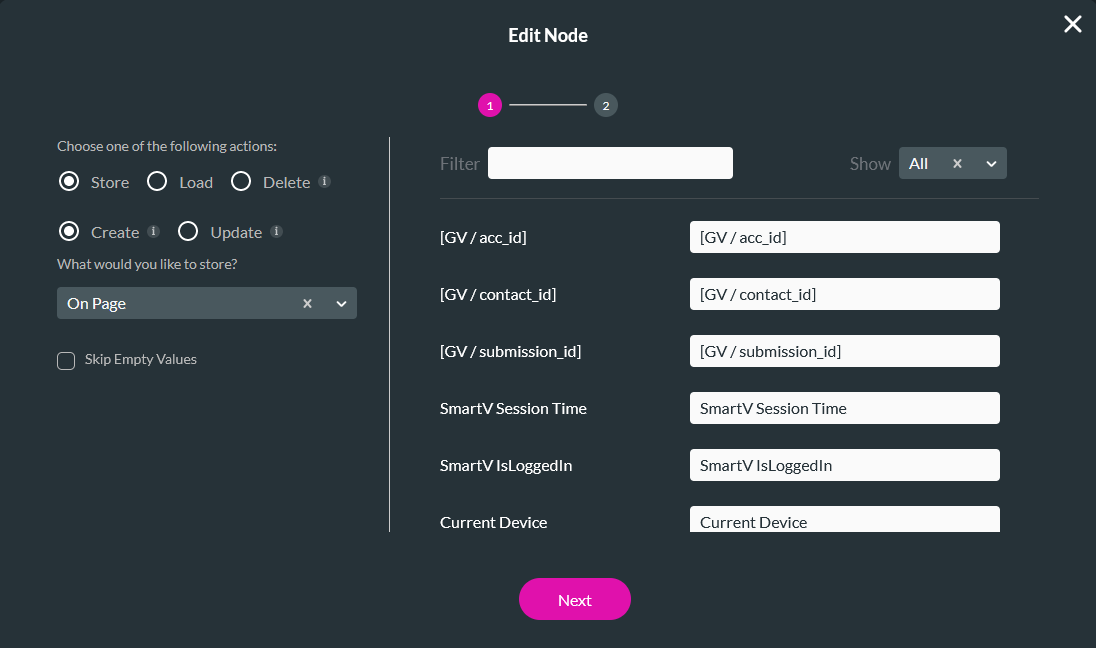
3. Configure the following and click Next.
- Action - Store and Create
- What would you like to store? - On-Page (or choose any of the available dropdown options)
- Skip Empty Values - Disabled
Your JSON will have automatic tags assigned. You can change this text by typing it into the fields.
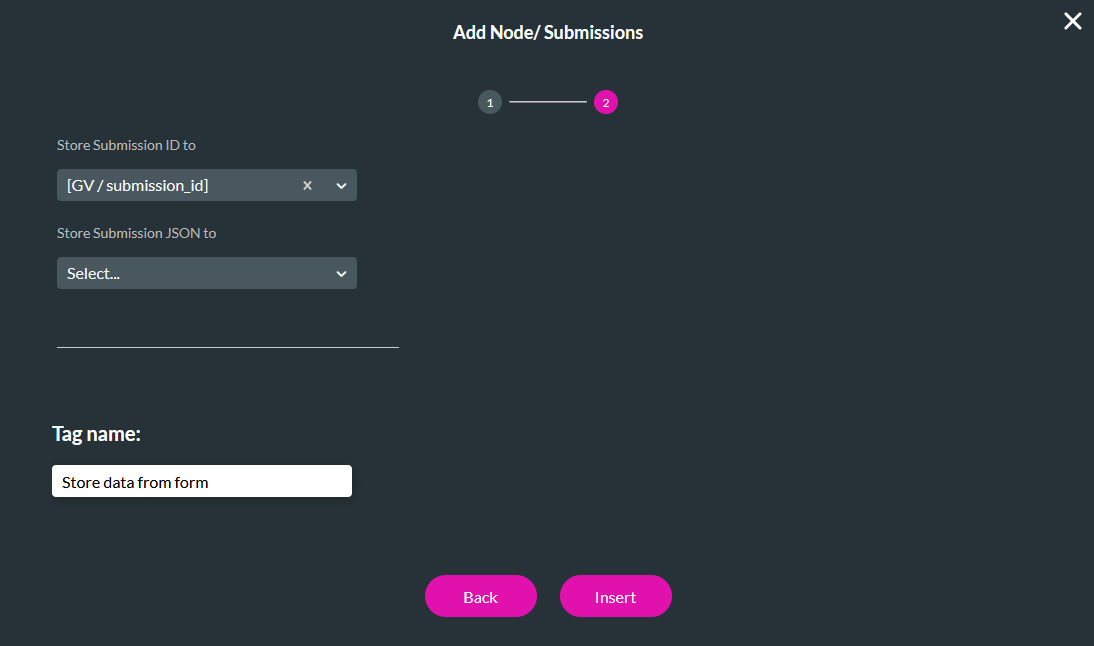
4. Use the Store Submission ID dropdown to select the submission_id variable. You can leave the Store Submission JSON dropdown blank. This dropdown is useful if you want to store the JSON in a specific area of your project. Once you create the JSON in Salesforce, you can store it within your project.
5. Enter a Tag and click Insert.
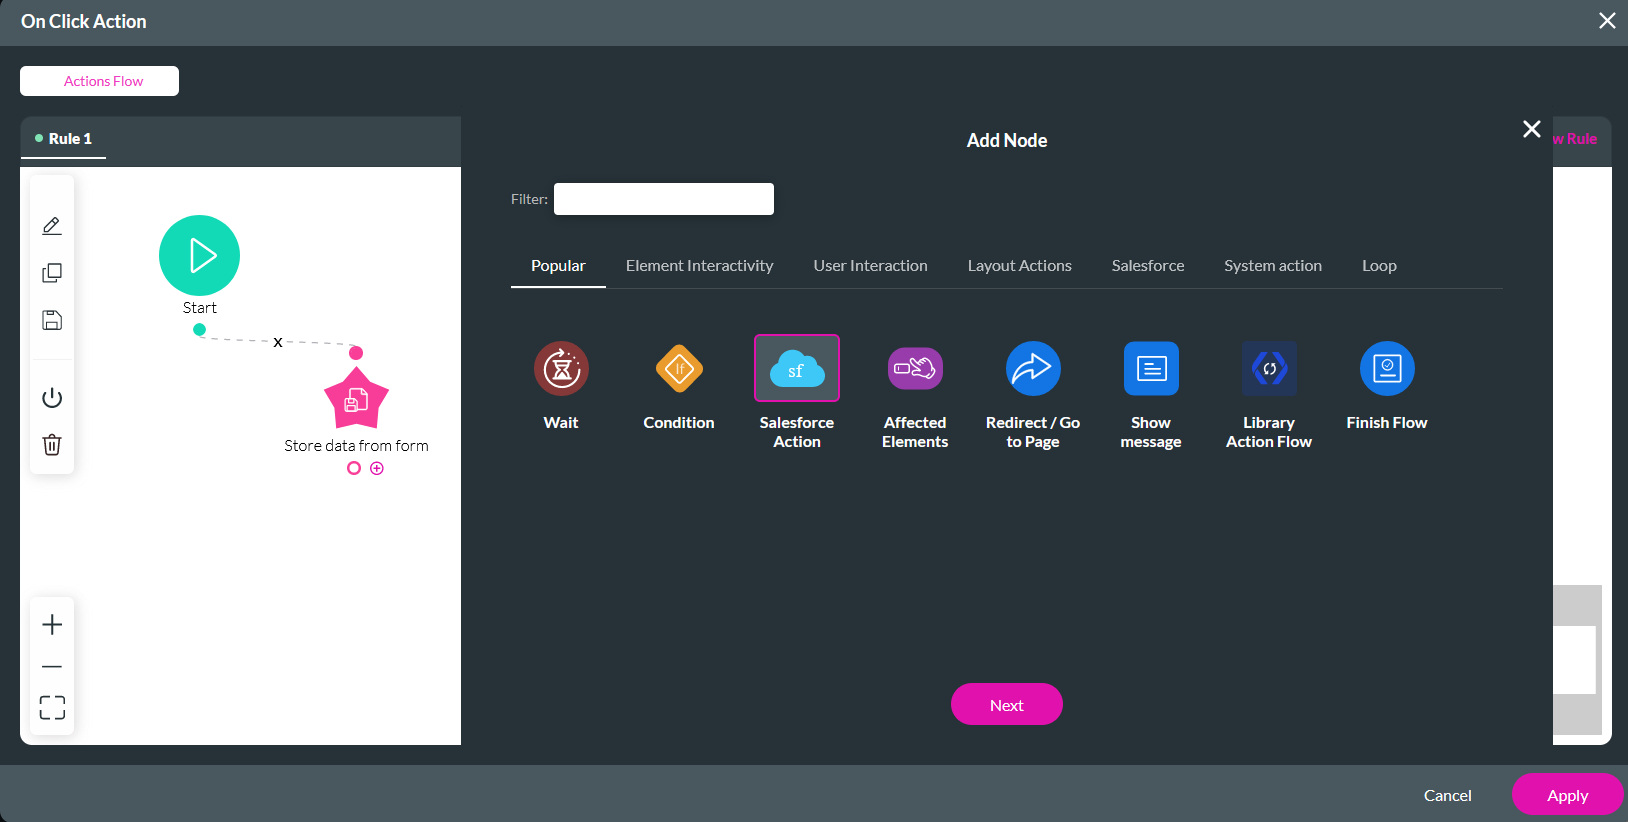
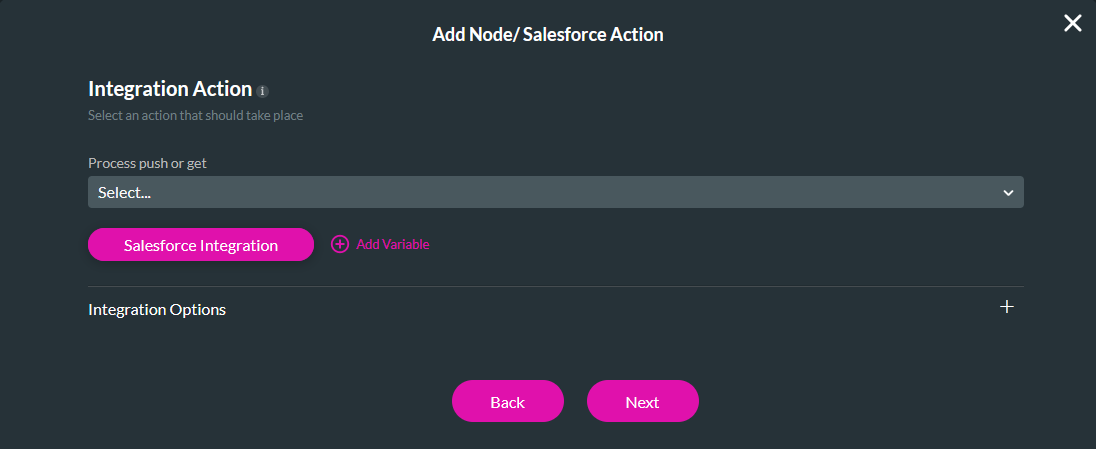
6. Click the Submissions + icon, choose Salesforce Action as the node, and click Next.
7. Click the Salesforce Integration button.
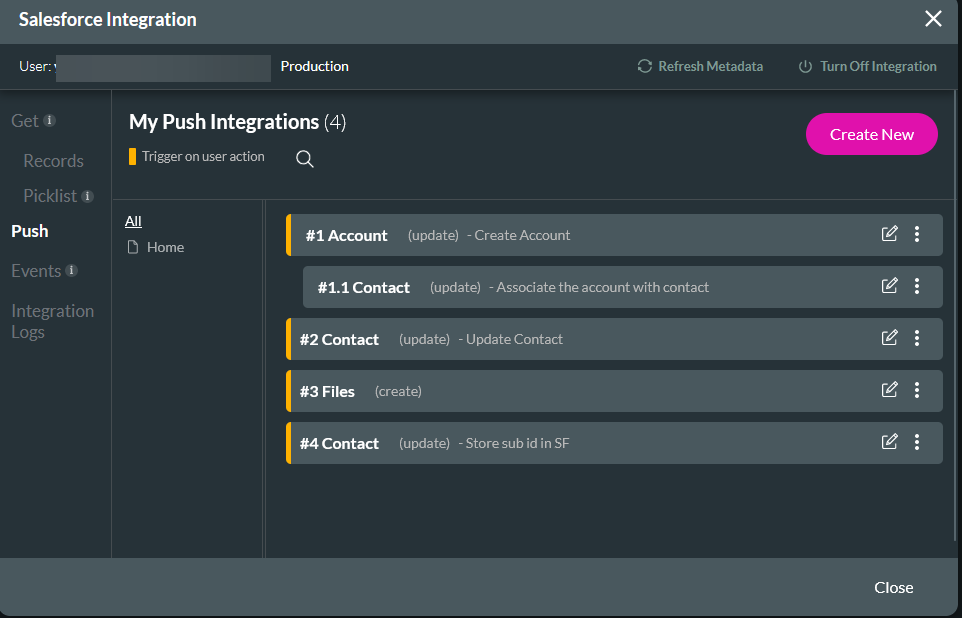
8. Select the Push tab and click Create New.
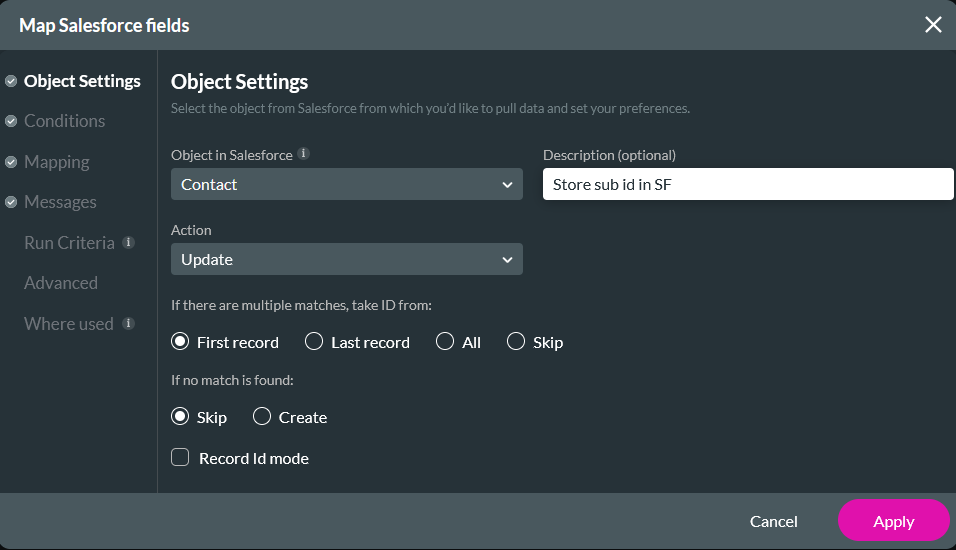
9. In the Object Settings tab, configure Contact as the Salesforce Object, Update as the Action, add a description and configure multiple match criteria.
10. In the Conditions tab, configure: Contact ID equals ID field.

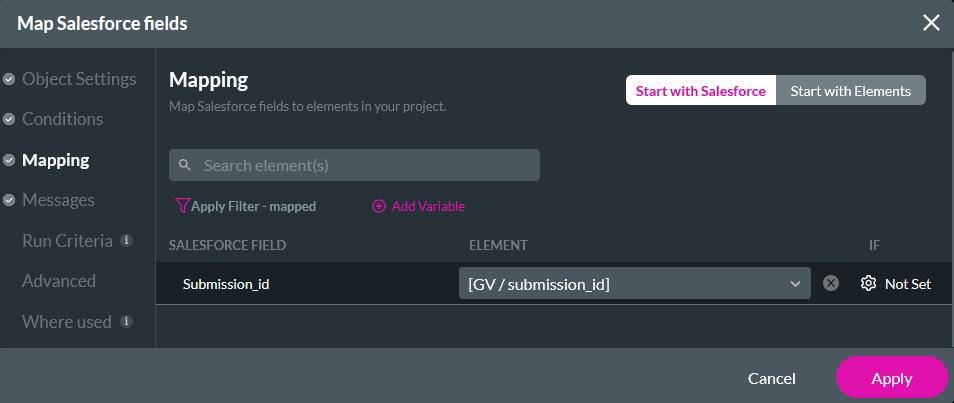
11. In the Mapping tab, map the submission_ID Salesforce field to the submission_id variable. Click Apply.
12. Use the dropdown to select the configured Push and click Next.
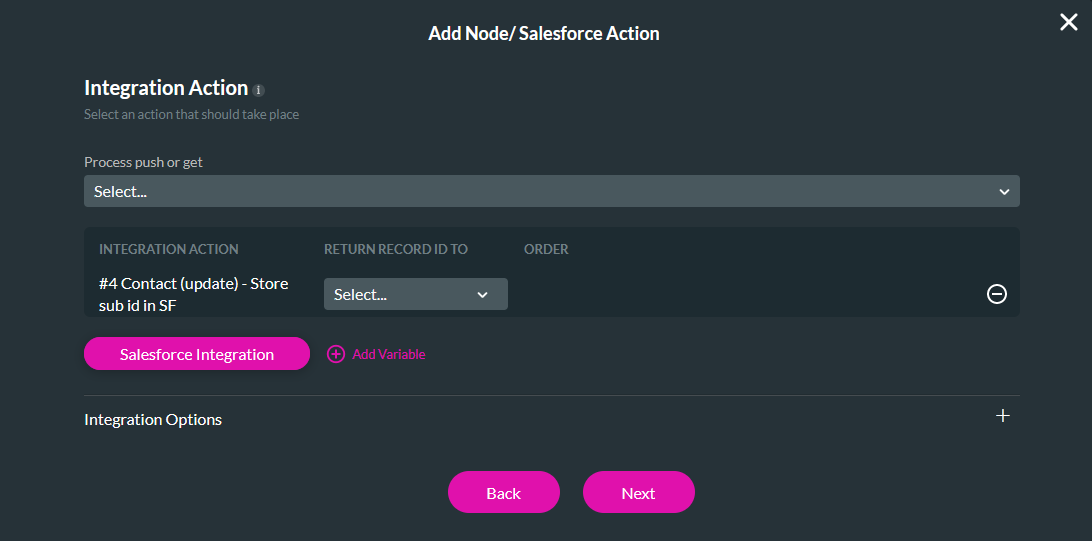
13. Enter a Tag and click Insert.
06 Loading the Data
You will need to configure a page action to ensure the users' data is loaded when they return to your project page.
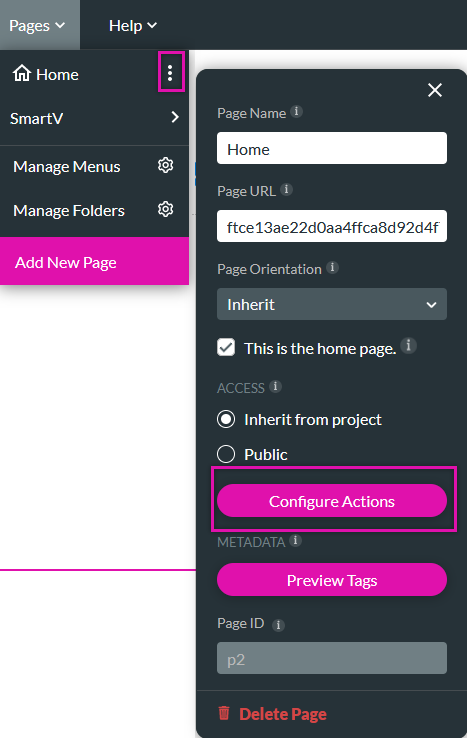
1. Expand the Pages dropdown, click the ellipsis menu of the page that requires the action, and select Configure Actions.
2. Select the Every Time tab and click the Start + icon.
3. Choose Submissions as the node and click Next.
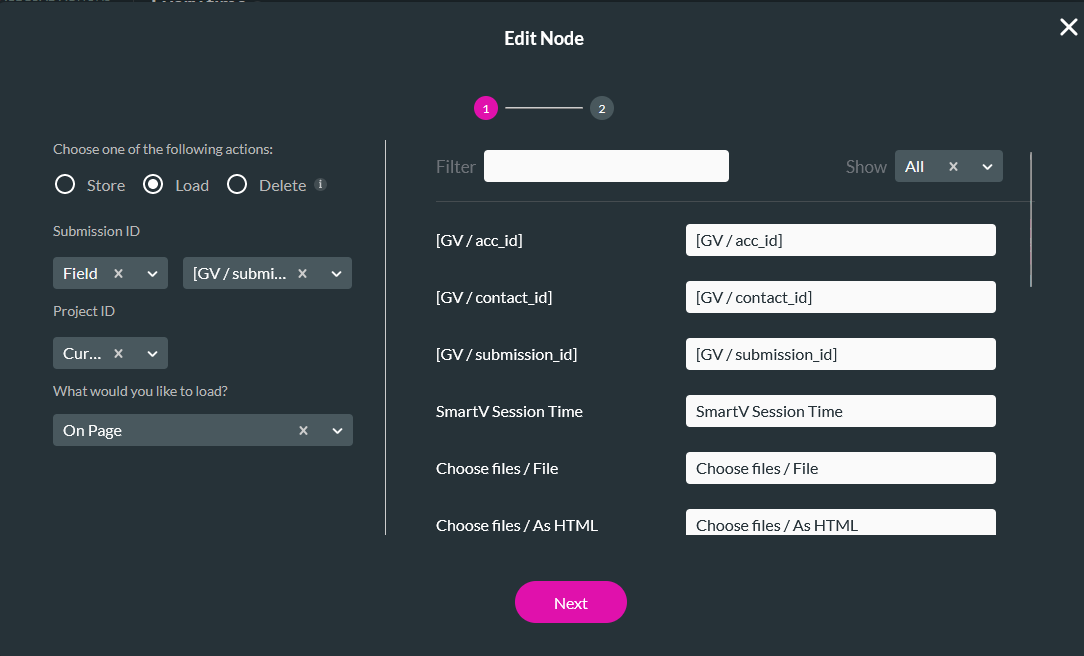
4. Configure the following and click Next.
- Action - Load
- Submission ID - Field / submission_id
- Project ID - Current Project
- What would you like to load? - On-Page
5. Enter a Tag and click Insert.
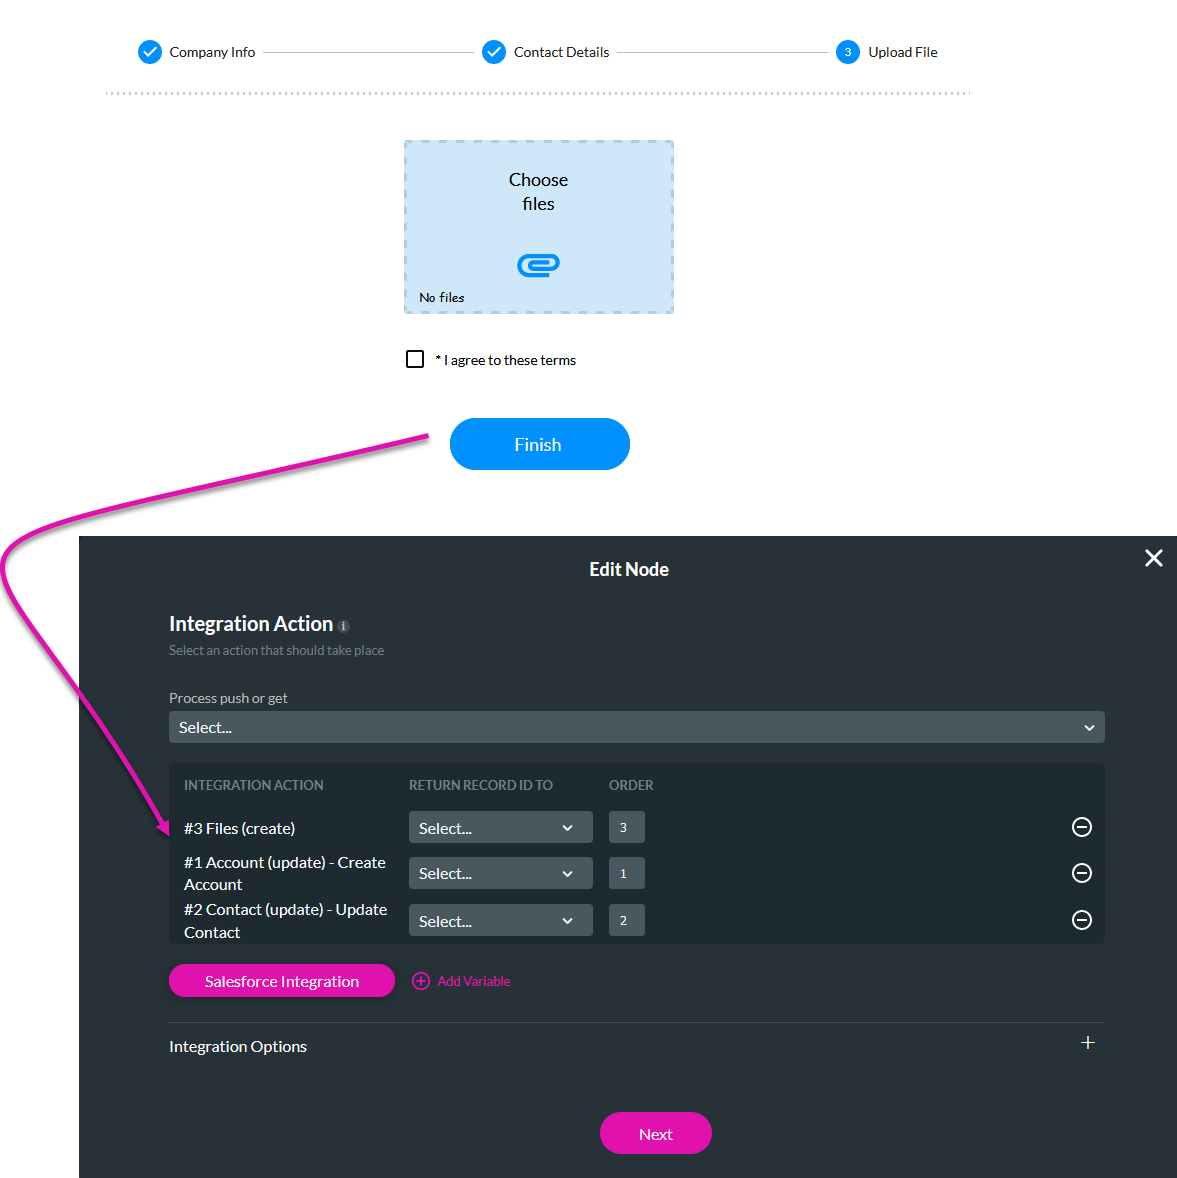
07 Stepper Finish Button
The Finish button on the last step was configured to run three push actions:
- First, to create an account
- Second to create a contact associated with the account
- Third, create a file associated with the contact