Mapping (8 min)
01 Getting Started
02 Setup
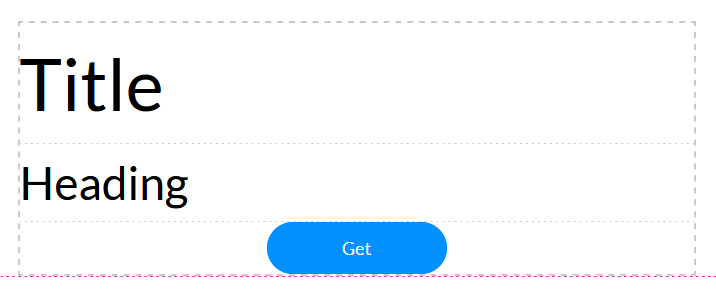
For demonstrative purposes, a simple form consisting of a Title, heading, and a button element was used. When the button is clicked, the Salesforce Get is triggered.
03 Mapping Tab
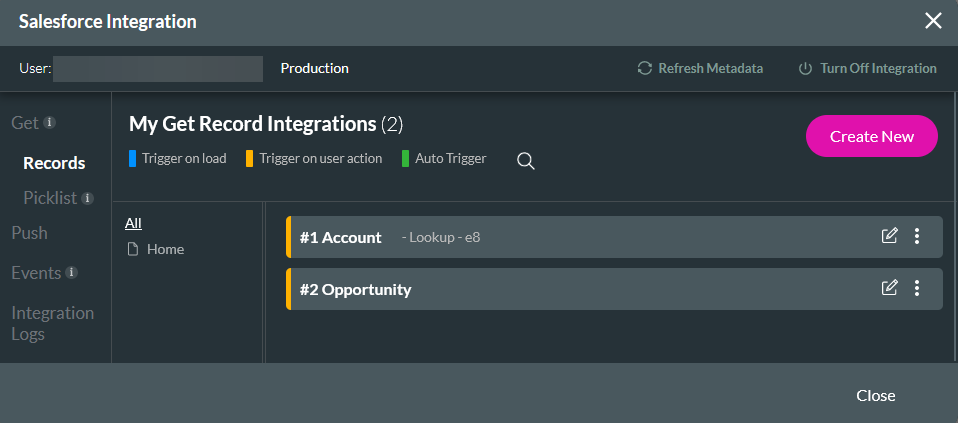
1. Navigate to the Salesforce Integration window.
2. Select Create New under the Get Record tab or click on an existing Get.
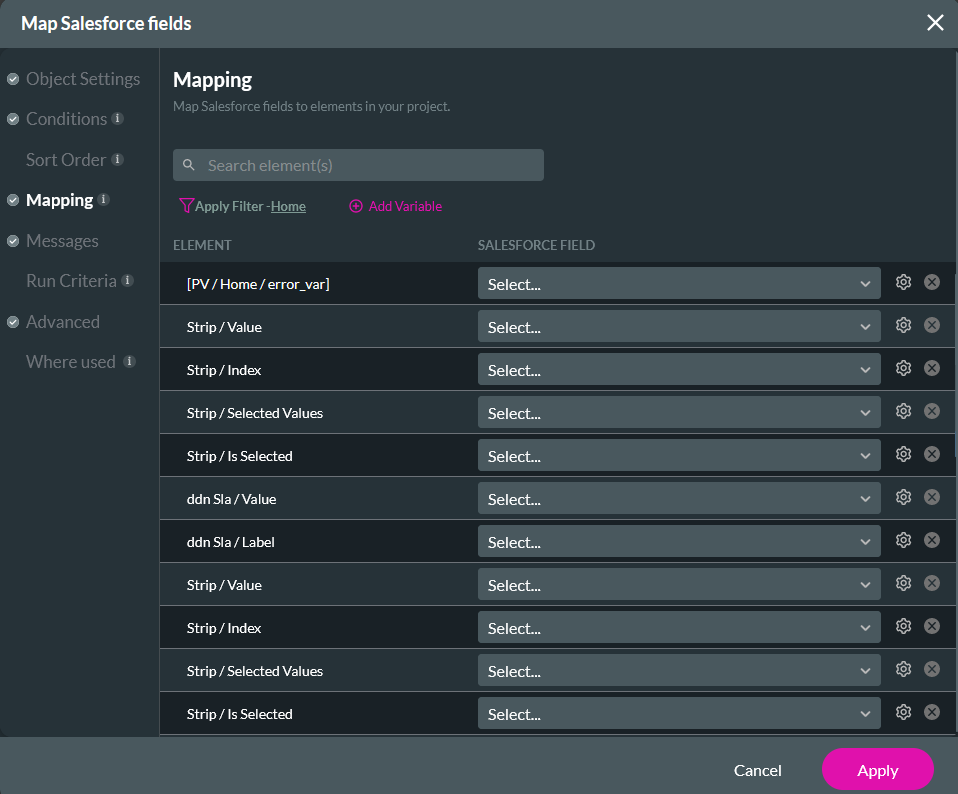
3. Click the Mapping tab.
04 Mapping Formatting
When mapping specific Salesforce fields to your project elements, these fields’ format will follow the standard Salesforce format. For example- numbers, dates, rich text, etc.
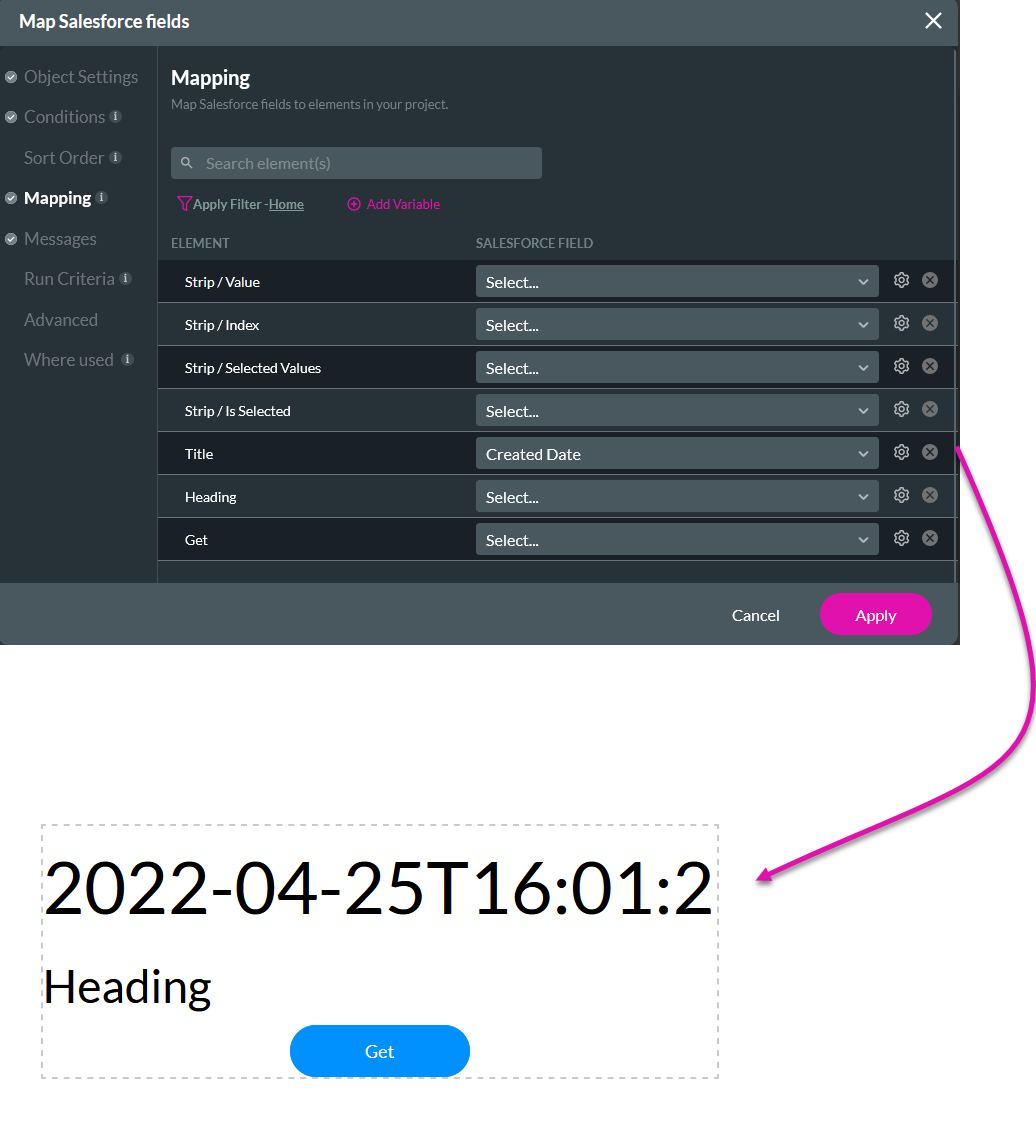
If you want to change the formatting, navigate to the Mapping tab and click the gear icon next to the relevant mapped Salesforce field.
![]()
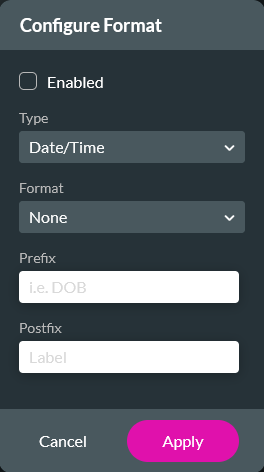
You can configure a format and insert a prefix or suffix using the Configure Format window. Ensure the Enabled checkbox is selected for your formatting to apply.
05 Set Reference
The Set Reference functionality allows you to pull related information without having to configure a separate Get, using references from lookup fields on your mapped object. For example, if you have configured a Get of a Contact, you can use the set reference option to pull through the related Account data. Click the Set Reference gear icon.
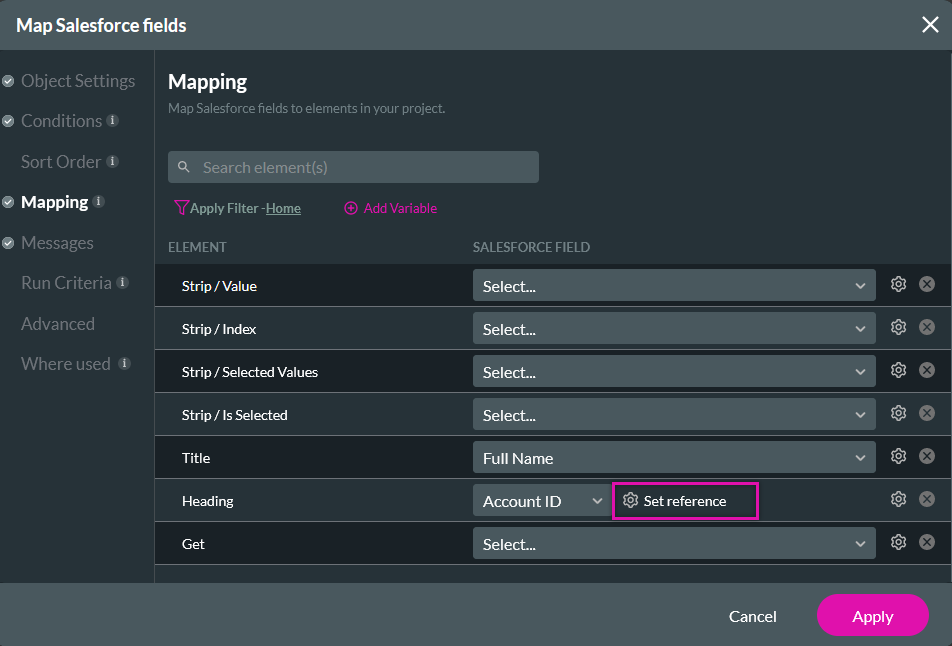
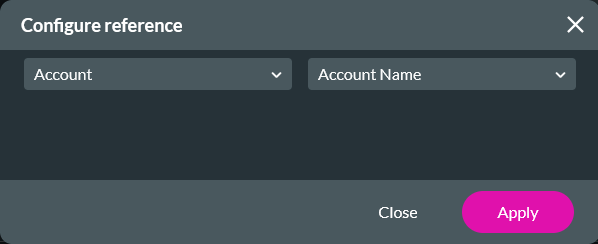
In the Configure Reference window, use the dropdowns to configure your reference - for example, we created a Get to retrieve a contact’s full name. For this Contact, we also want the account name of the account to which the contact is assigned.
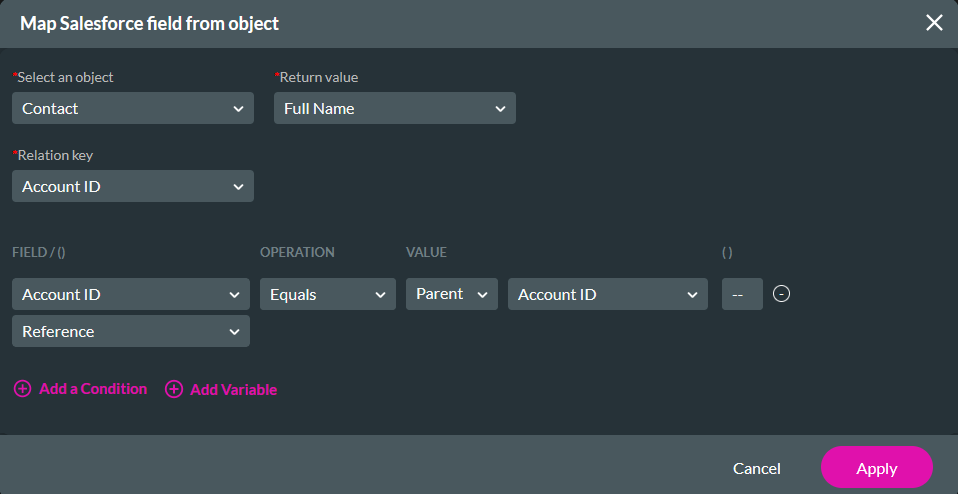
06 From Object
The From Object allows for more flexibility than the Set Reference. Using the mapping dropdown, select From Object and click the Configure gear icon. Using the dropdowns in the Map Salesforce Field from Object, you can configure which Salesforce object you want to reference and configure conditions.
