Advanced (8 min)
01 Getting Started
02 Advanced Tab
1. Navigate to the Salesforce Integration window.
2. Select Create New under the Get Record tab or click on an existing Get.
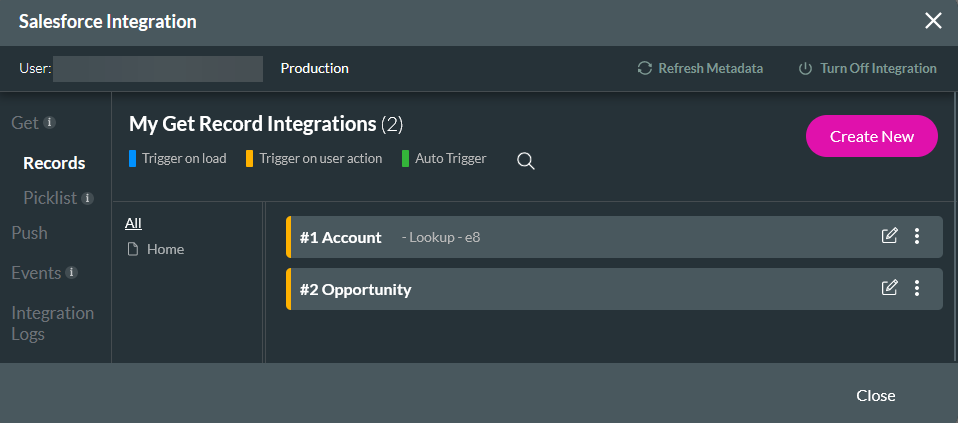
3. Click the Advanced tab.
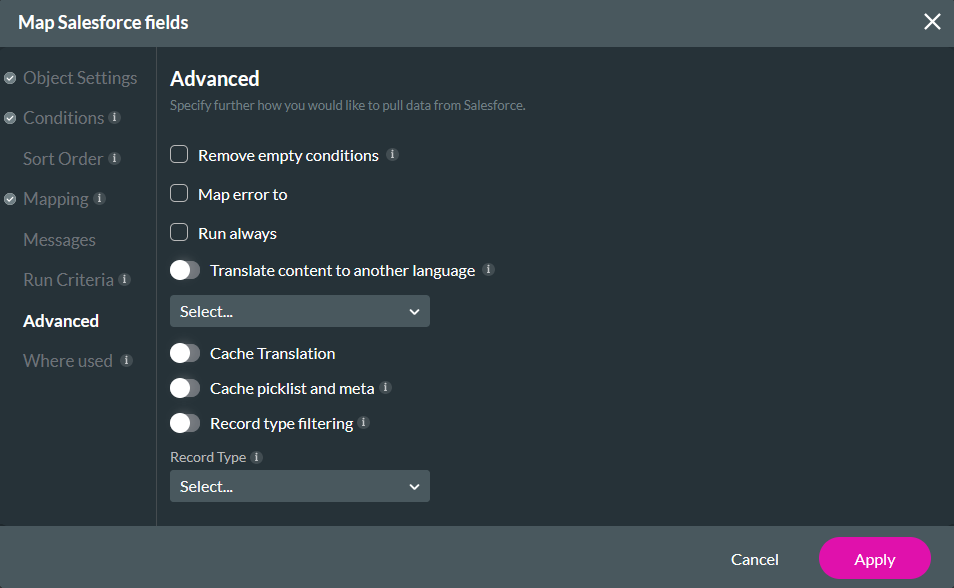
03 Remove Empty Conditions
04 Map Error To
This feature allows you to map any errors returned from Salesforce to a variable. Before using this feature, you must create a static variable in your project. When you enable the Map error to checkbox, use the dropdown to select the variable to which the error will be mapped.

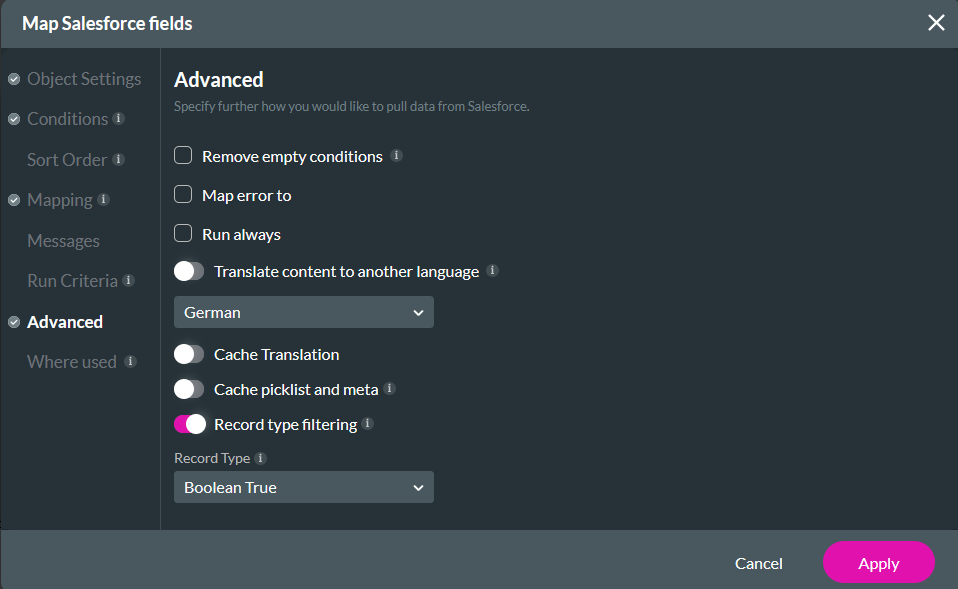
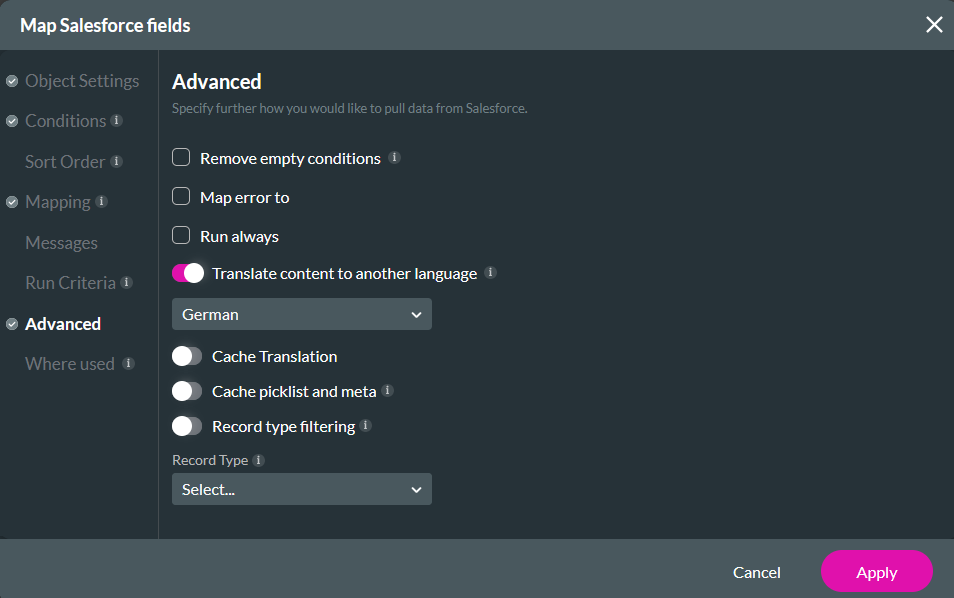
05 Translate Content to Another Language
You can choose to translate content. The translated content must be stored in Salesforce—for example, a dropdown picklist dynamically mapped to Account SLA. Enable the Translate content to another language toggle switch and select the language from the dropdown.
06 Record Type Filtering
You can filter your values according to a Salesforce record type. Enable the Record type filtering toggle switch and use the dropdown to select your Record Type.