Bulk Push (11:30 min)
Completion requirements
01 Getting Started
This tutorial covers bulk pushes to Salesforce, including:
- Pushing records to Salesforce without using bulk.
- Using bulk batches.
- Update records in Salesforce using bulk.
02 The Set Up
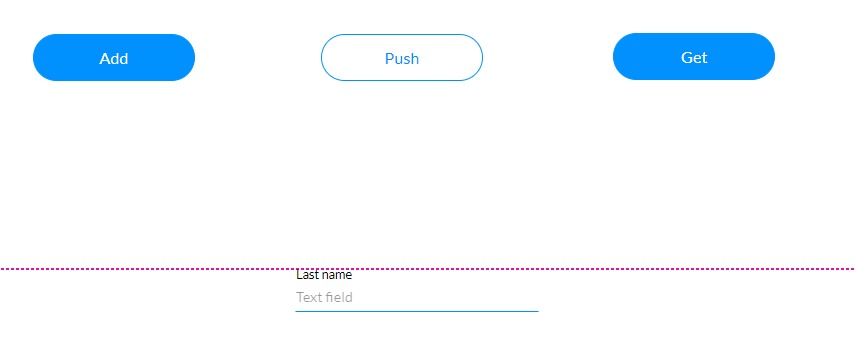
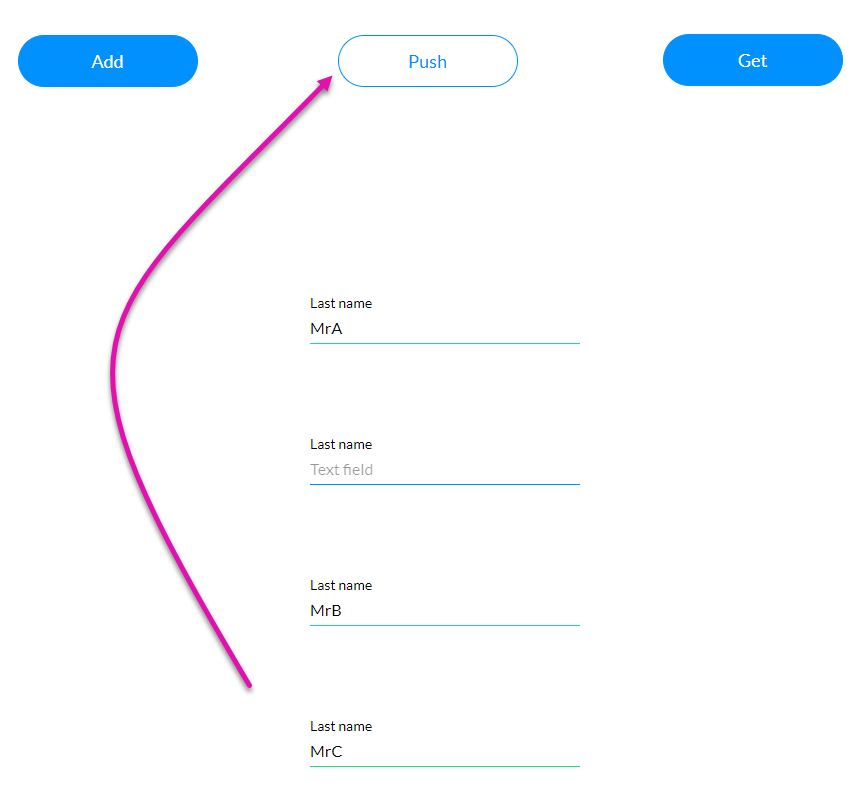
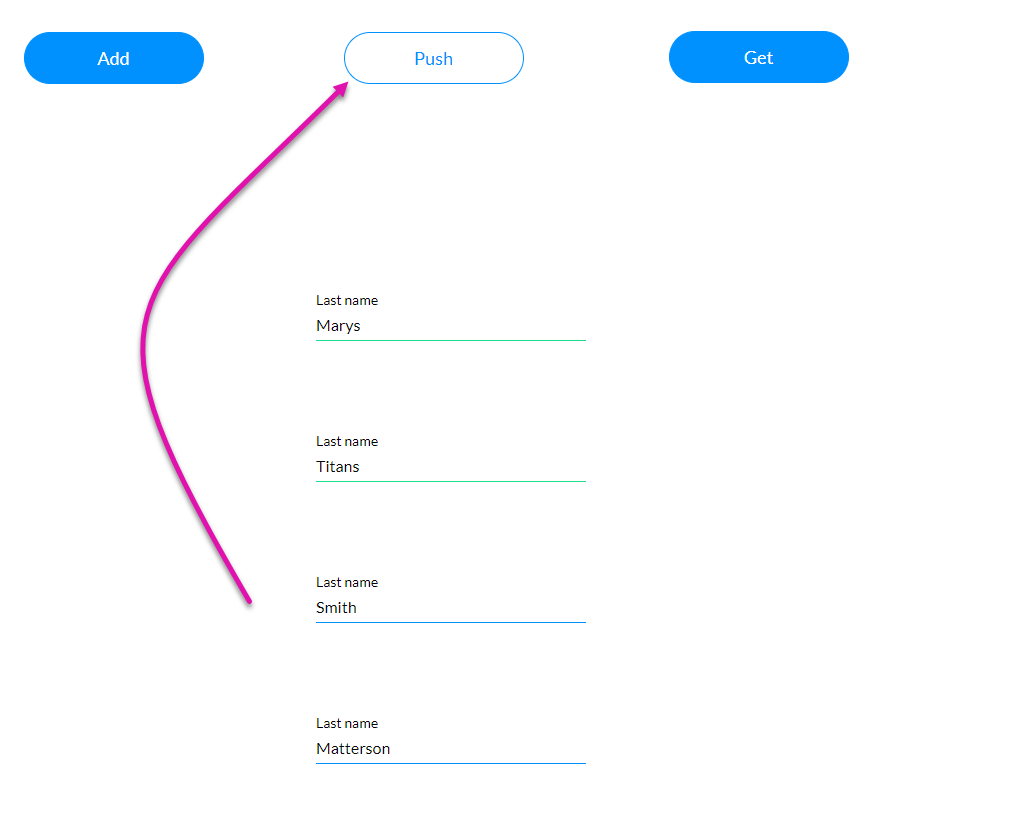
A repeat strip containing a text field labeled Last Name will be used to push the last names of contacts. Three buttons with the following on-click actions were configured:
- Add - Adds multiple indexes to the strip to push multiple contacts.
- Push—This will push contacts to Salesforce. The Last Name Salesforce field was mapped to the Last Name field in the repeat strip when configuring the Salesforce push mapping.
- Get - Will pull contact information from Salesforce.
03 Push Button
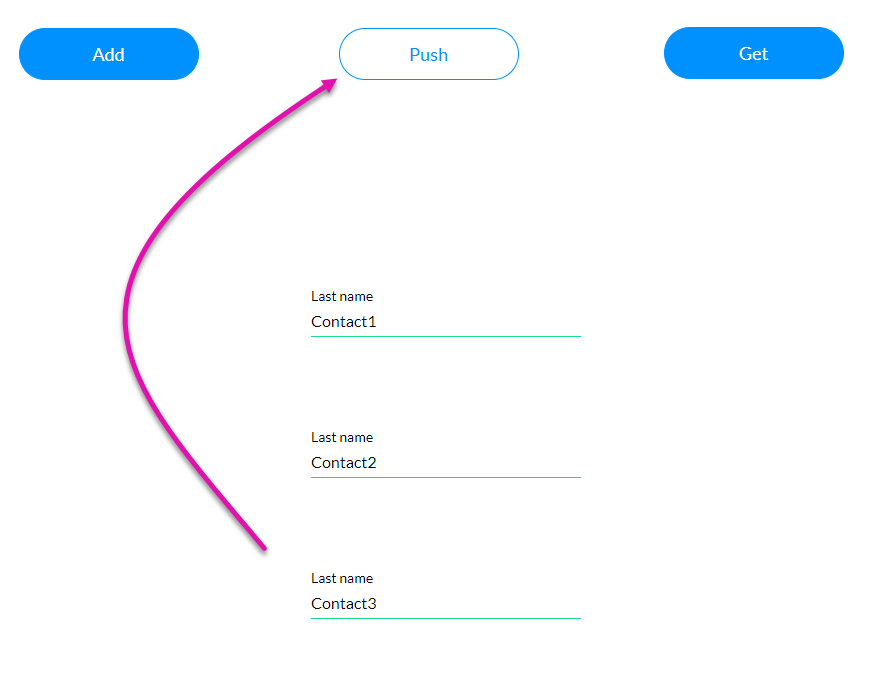
Add more fields to your project in preview mode by clicking the Add button. Enter different names into each Last Name field and click the push button.
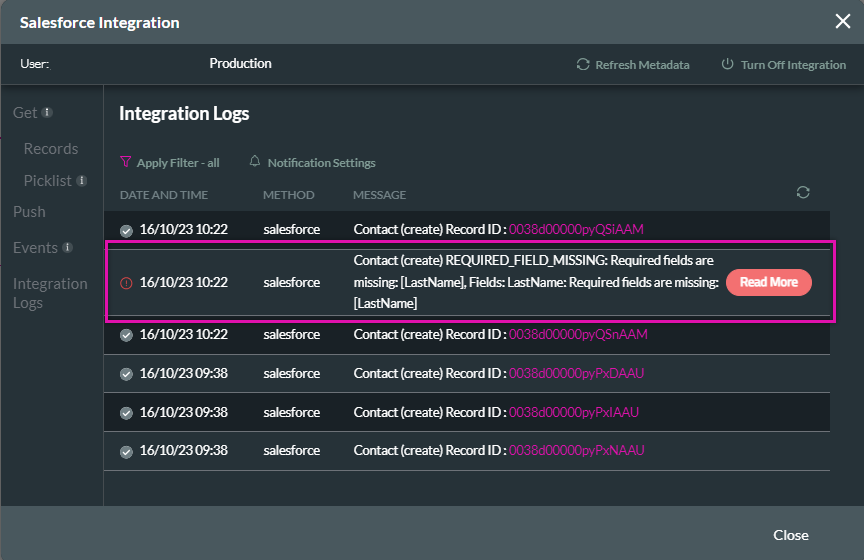
Go back to your project and navigate to your Salesforce Integration window. In your integration logs, you will see three different pushes for each last name.
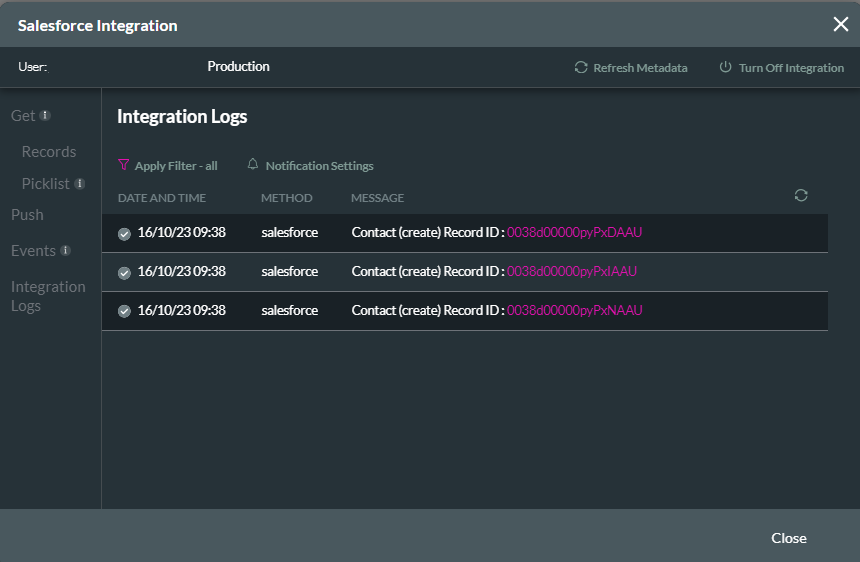
Note: If one of the fields is left blank and when the push runs, this integration will fail as there is nothing to push to Salesforce.
You can find details about the error in your Salesforce integration logs.
Go back to your project and navigate to your Salesforce Integration window. In your integration logs, you will see three different pushes for each last name.
Note: If one of the fields is left blank and when the push runs, this integration will fail as there is nothing to push to Salesforce.
You can find details about the error in your Salesforce integration logs.
04 Bulk Push
Enabling the bulk mode feature allows you to push your Salesforce data in one bulk push instead of running each push separately.
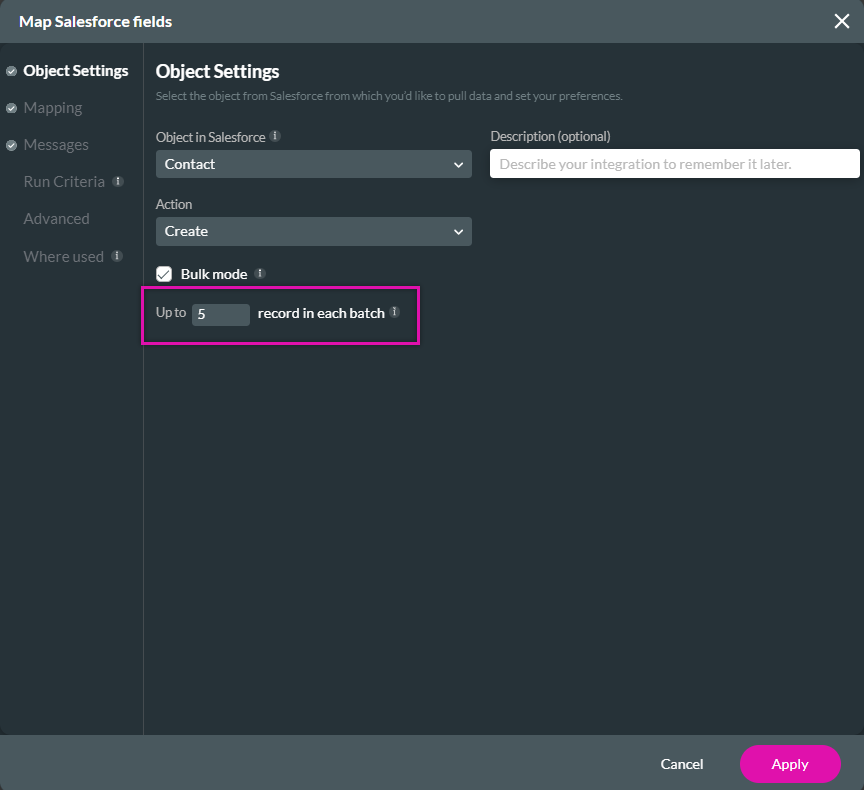
1. Navigate to your Salesforce push.
2. In the Object Settings tab, enable Bulk Mode and configure the number of records to push in each batch. We recommend smaller batches to ensure your data is moved safely.

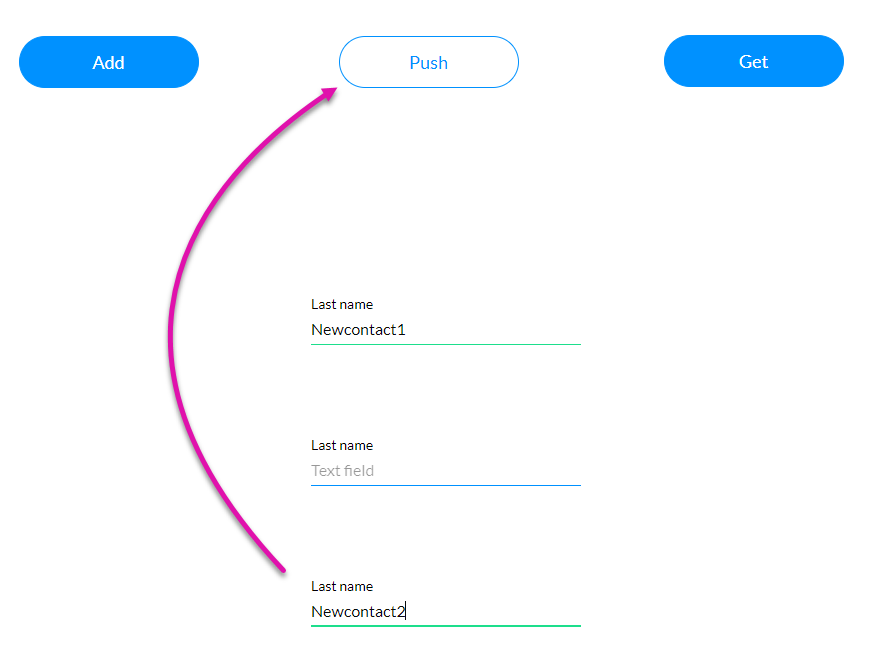
Save and preview your project. The second last name field was left empty to demonstrate how bulk mode affects your integration logs.
Navigate back to the integration logs. The push actions are now combined into one. Note that there is no error message for the blank field, as this was pushed in bulk. In general, bulk pushes can be slower than pushing data separately.

1. Navigate to your Salesforce push.
2. In the Object Settings tab, enable Bulk Mode and configure the number of records to push in each batch. We recommend smaller batches to ensure your data is moved safely.
Save and preview your project. The second last name field was left empty to demonstrate how bulk mode affects your integration logs.
Navigate back to the integration logs. The push actions are now combined into one. Note that there is no error message for the blank field, as this was pushed in bulk. In general, bulk pushes can be slower than pushing data separately.
05 Batches
The Salesforce bulk push will run according to the batches you create. For example, if 10 contacts are created, they will run in two separate batches of 5.
06 Running Updates in Bulk
The bulk option is unavailable if you choose the Update action when configuring your Salesforce action.
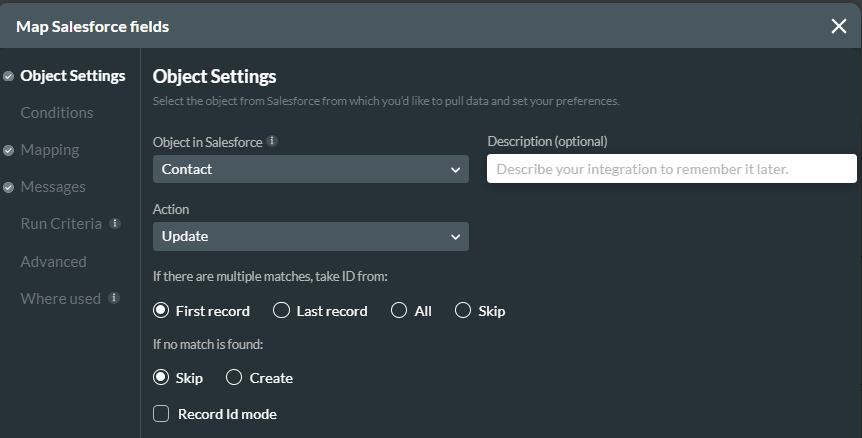
If you enable Record ID mode, the bulk option is displayed.
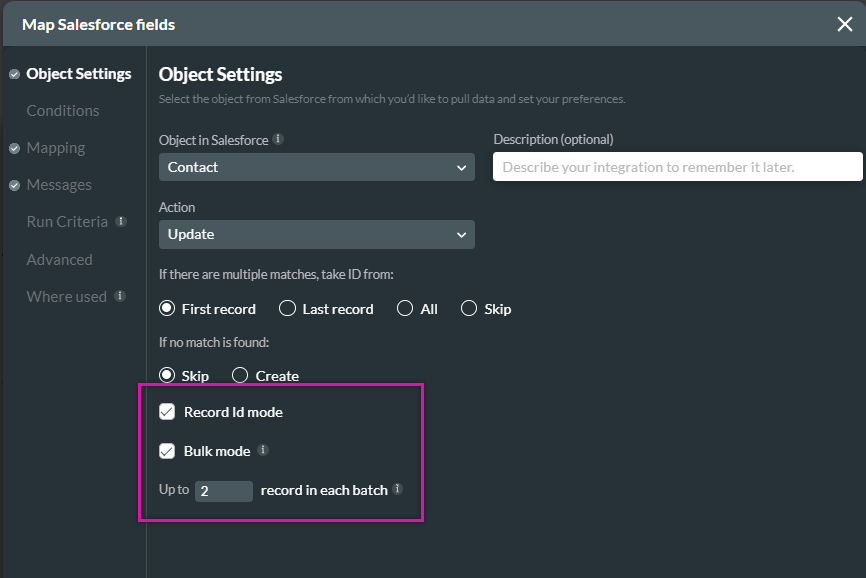
Record ID mode allows you to update a record only if a condition is based on the records' Record ID.
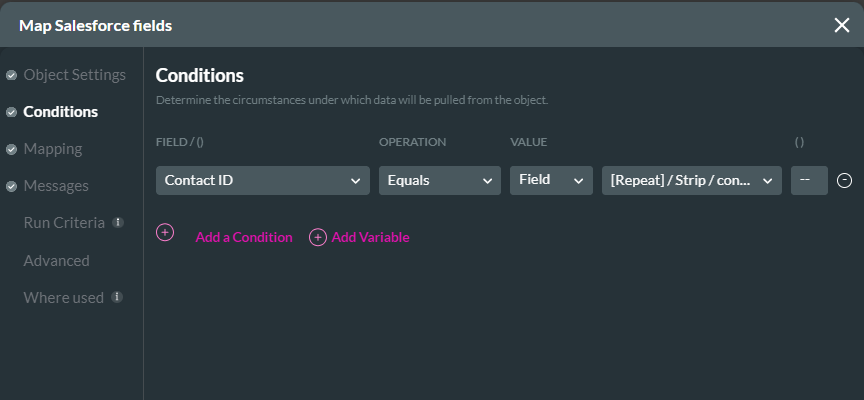
Save and preview your project. Click the Get button to pull through your contact's last name and update a few surnames. When the updates are pushed to Salesforce, only content that matches the condition will be moved to Salesforce.
If you enable Record ID mode, the bulk option is displayed.
Record ID mode allows you to update a record only if a condition is based on the records' Record ID.
Save and preview your project. Click the Get button to pull through your contact's last name and update a few surnames. When the updates are pushed to Salesforce, only content that matches the condition will be moved to Salesforce.