Animations (7 min)
Completion requirements
01 Getting Started
This video covers the animation element, including:
- Using images in the animation element.
- Setting animations for images.
- Working with Lottie files.
02 Images in the Animation Element
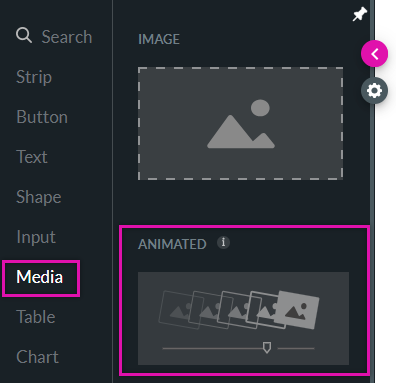
The animation element is found under the media tab in the element menu.
To start configuring your animation element:
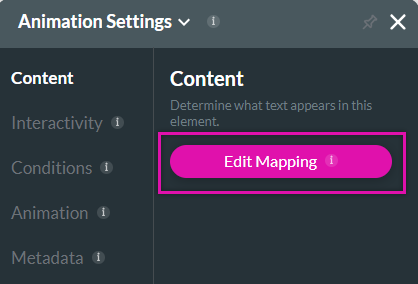
1. Navigate to the Animation settings menu and click Edit Mapping.
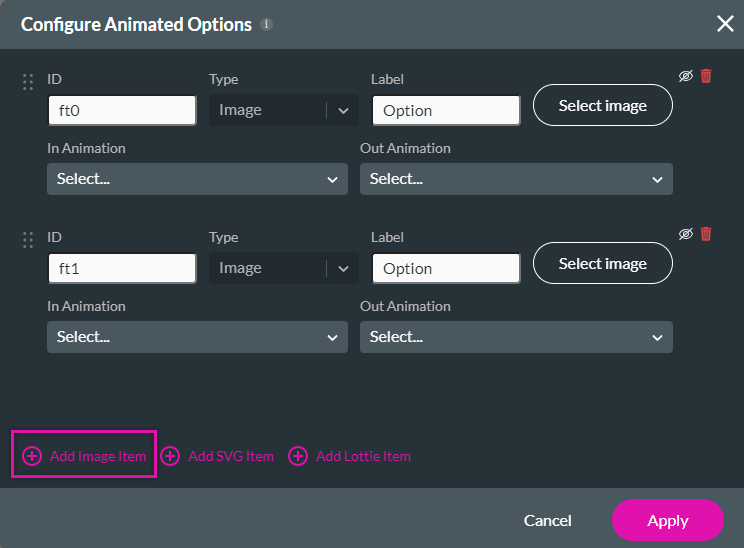
2. Click Add Image Item. You can choose to upload more than one image.
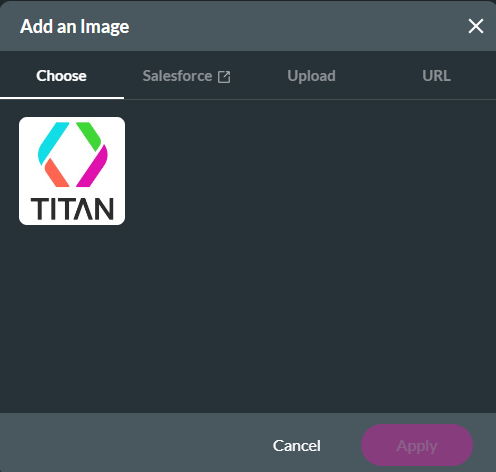
3. Click Select Image. You can choose a previously uploaded image, or an image in Salesforce, link a public image URL, or upload an image from your PC.
4. Using the Animation In and Animation Out dropdowns, choose how each image will animate in and out.
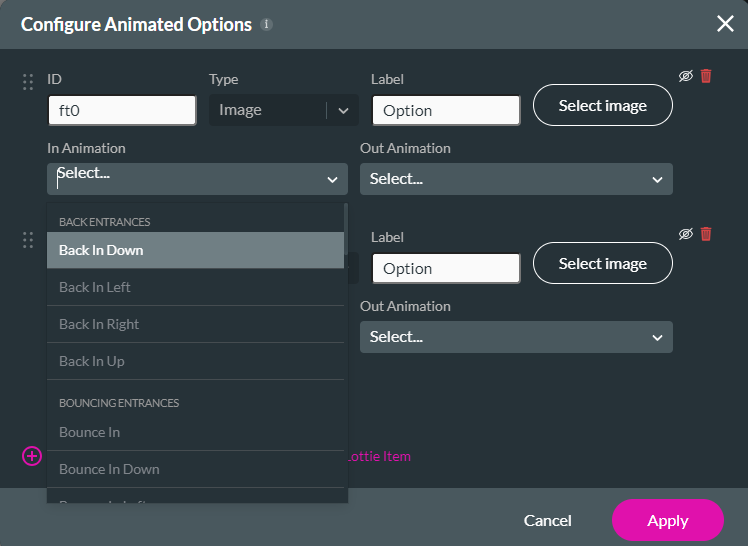
You can configure on-click actions that will affect your animation element.
To start configuring your animation element:
1. Navigate to the Animation settings menu and click Edit Mapping.
2. Click Add Image Item. You can choose to upload more than one image.
3. Click Select Image. You can choose a previously uploaded image, or an image in Salesforce, link a public image URL, or upload an image from your PC.
4. Using the Animation In and Animation Out dropdowns, choose how each image will animate in and out.
You can configure on-click actions that will affect your animation element.
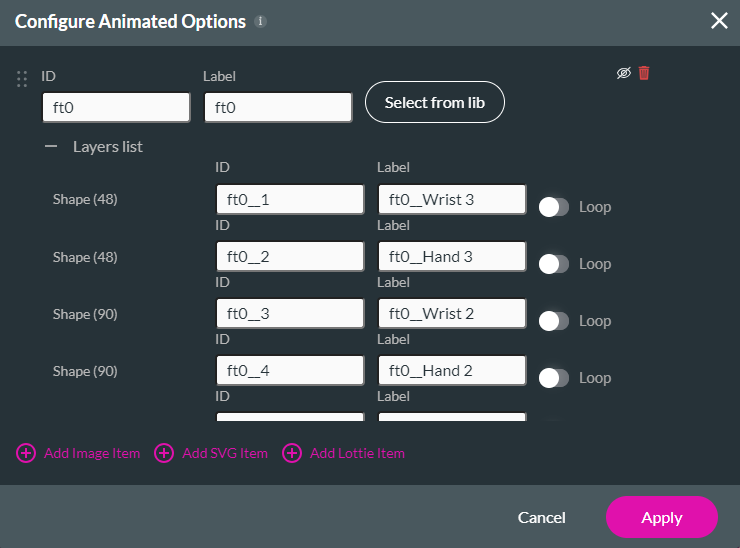
03 Working with Lottie Items
You can upload several Lotties if required.
1. When uploading an item, select the Add Lottie Item option.
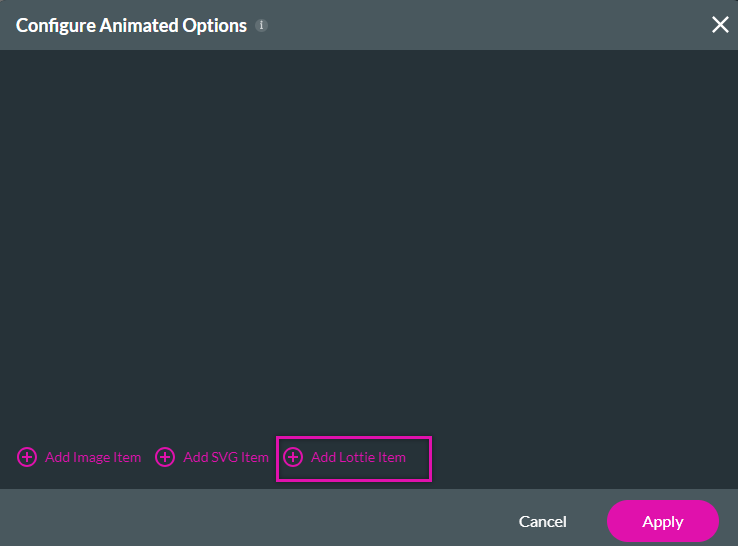
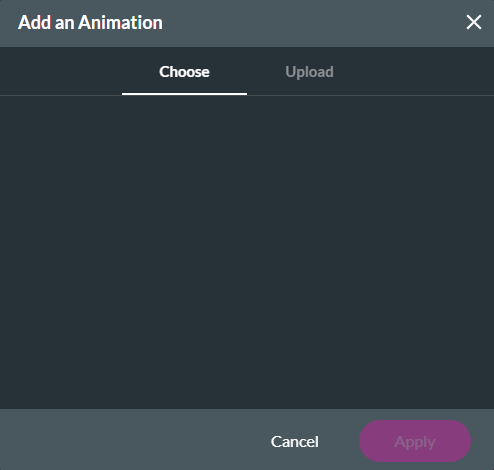
2. You can choose from your previously uploaded Lottie items or upload a new one.
There is a separate layer for each part of the Lottie; you can choose whether to loop specific Lottie layers.
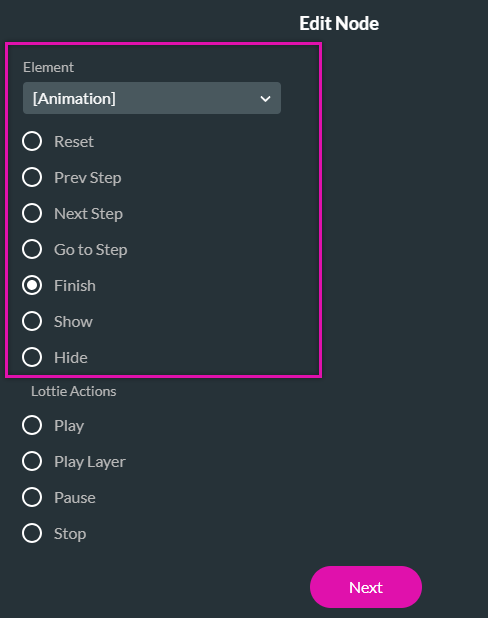
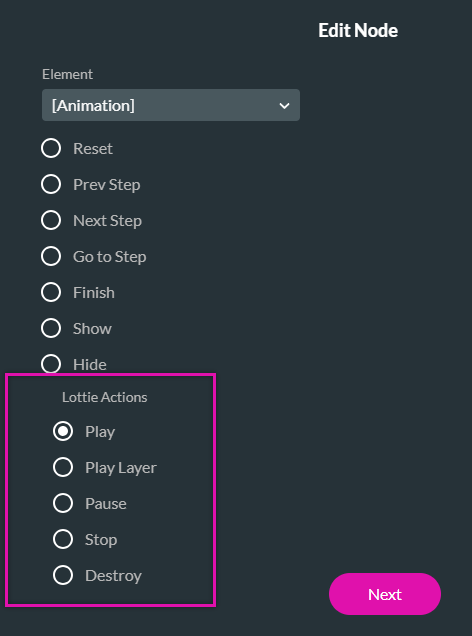
You can use the Lottie animation options when configuring an on-click action for a Lottie.
1. When uploading an item, select the Add Lottie Item option.
2. You can choose from your previously uploaded Lottie items or upload a new one.
There is a separate layer for each part of the Lottie; you can choose whether to loop specific Lottie layers.
You can use the Lottie animation options when configuring an on-click action for a Lottie.