Values and Formatting (8 min)
Completion requirements
01 Getting Started
This tutorial covers text elements, including:
- Populating text elements with values from Salesforce.
- Using the formatting options.
02 Set Text Values
You can use any of the options available under the text tab.
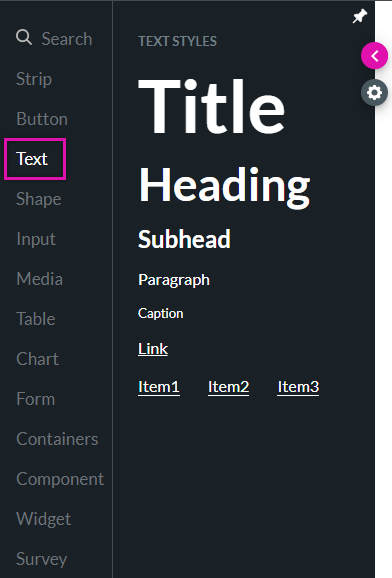
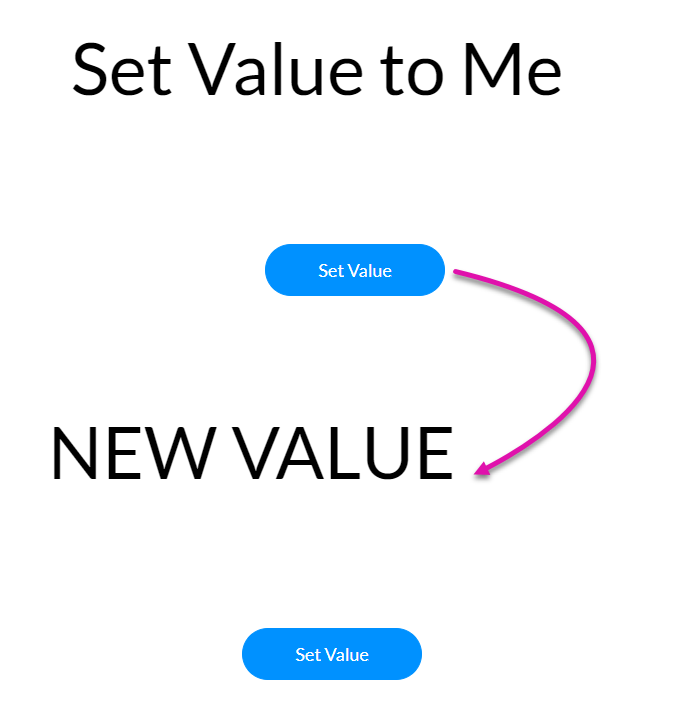
For this demonstration, a title and button were inserted into the project.
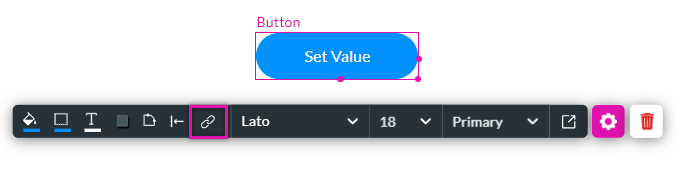
To affect the text element:
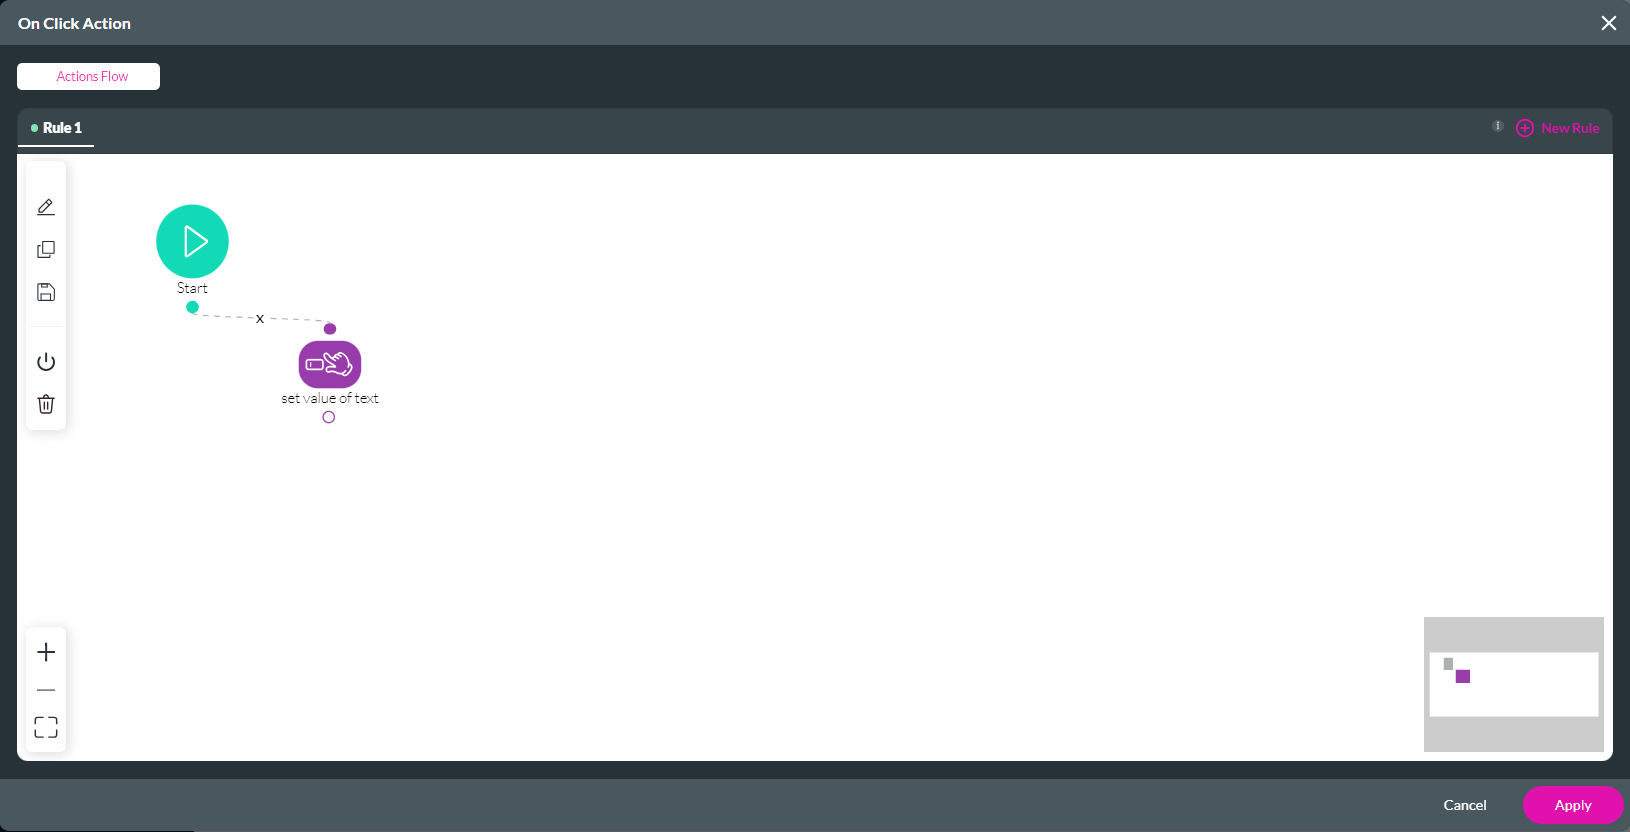
1. Click On the button interactivity icon. The On Click Action Screen opens.
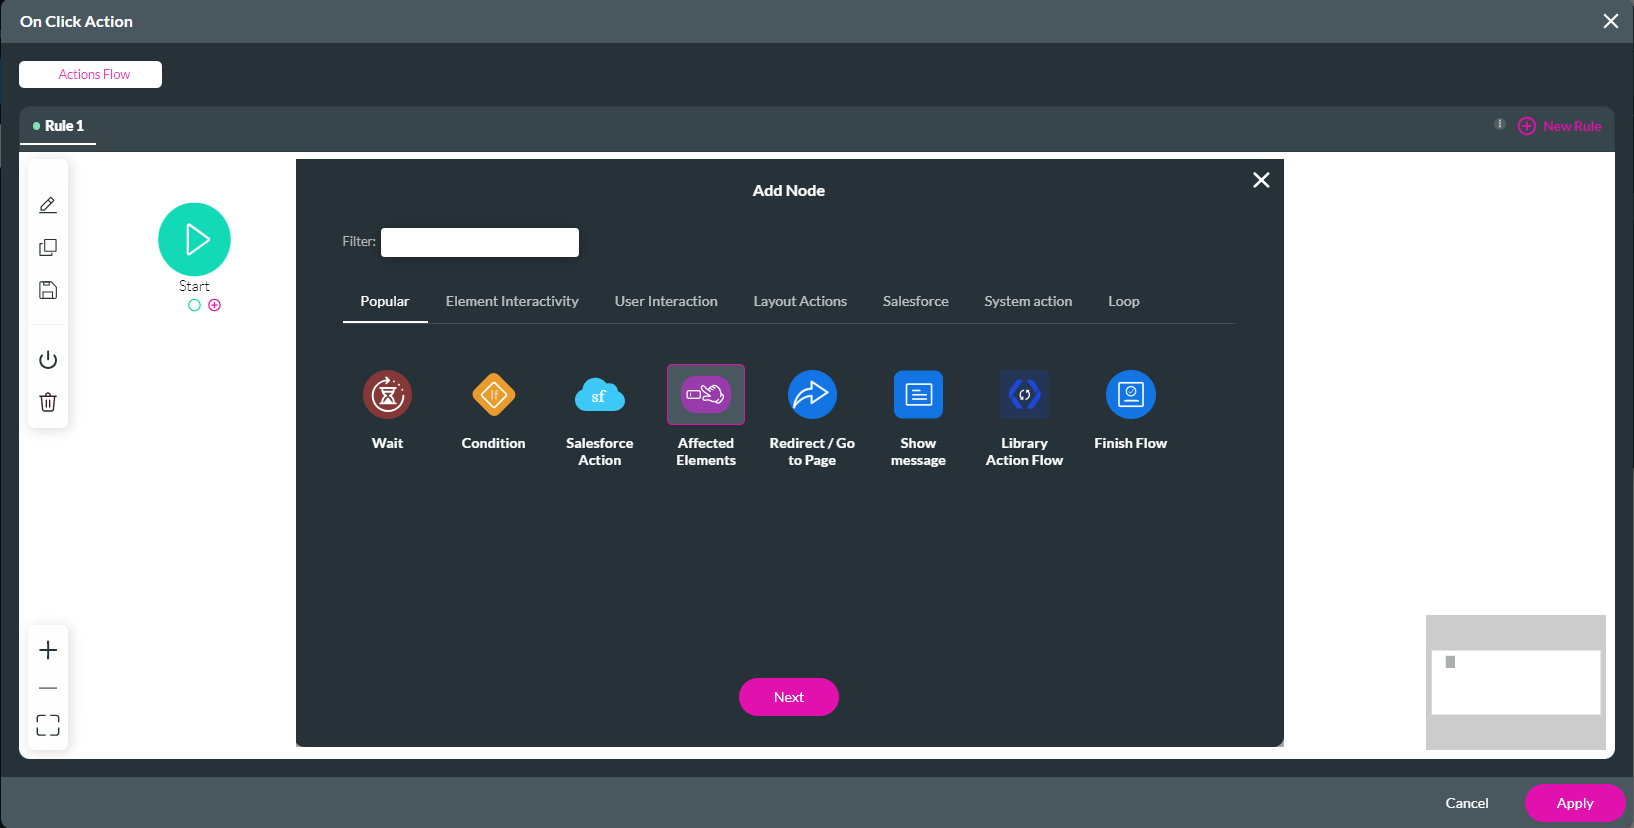
2. Click the Start + icon. The Add Node Screen opens.
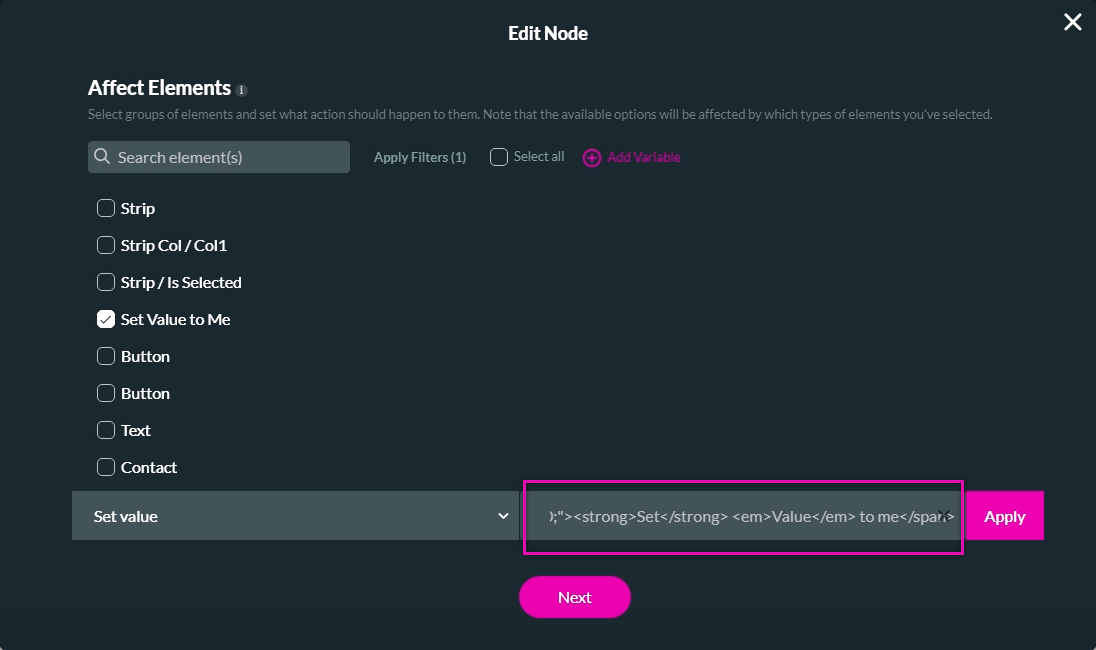
3. Select the Affected Elements option and click Next.
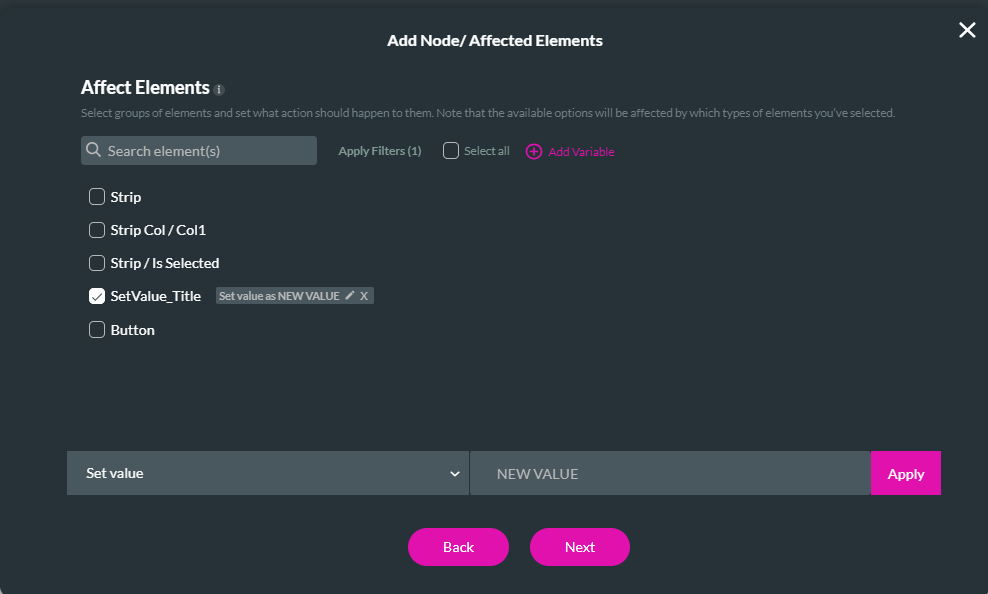
4. Choose the text element you want to affect from the list. Note: It is important to tag all your elements using the metadata tab in the element settings menu to easily find the element you want to affect.
5. Use the drop-down to select Set Value. Type in the value to replace the text with, and click Apply. Click Next.
6. Add a tag and click Insert.
The node is added to the screen.
7. Click Apply.
Save and Preview. When the button is clicked, the text value is changed.
For this demonstration, a title and button were inserted into the project.
To affect the text element:
1. Click On the button interactivity icon. The On Click Action Screen opens.
2. Click the Start + icon. The Add Node Screen opens.
3. Select the Affected Elements option and click Next.
4. Choose the text element you want to affect from the list. Note: It is important to tag all your elements using the metadata tab in the element settings menu to easily find the element you want to affect.
5. Use the drop-down to select Set Value. Type in the value to replace the text with, and click Apply. Click Next.
6. Add a tag and click Insert.
The node is added to the screen.
7. Click Apply.
Save and Preview. When the button is clicked, the text value is changed.
03 Populating Text Values from Salesforce
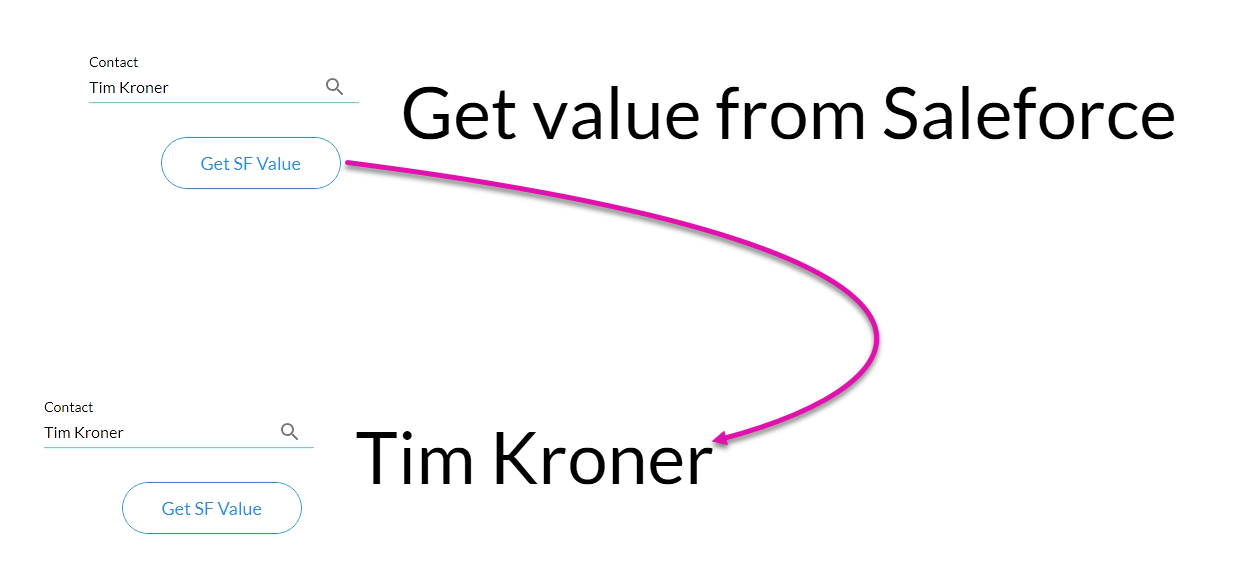
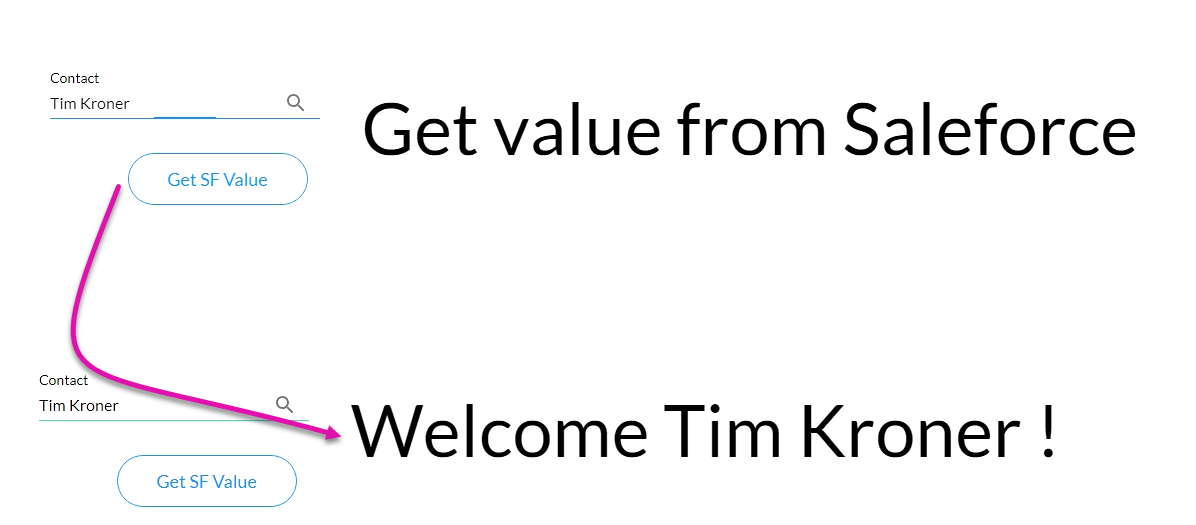
For this example, a Salesforce get was configured to bring data from a contact in Salesforce. Users type a contact into the lookup field, and when the button is clicked, the text changes to match the contact name.
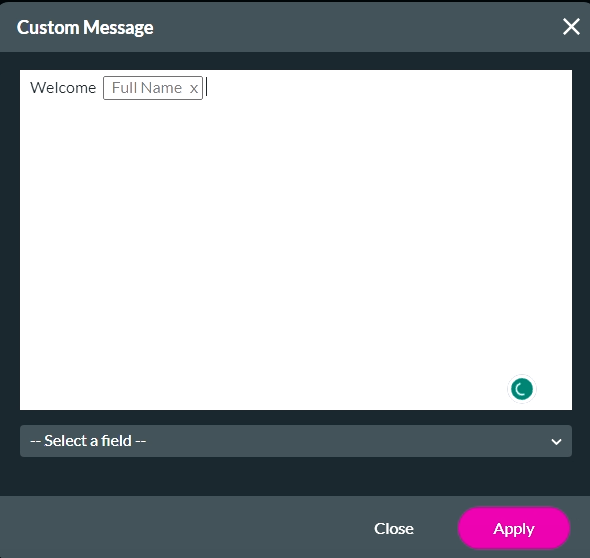
To include a custom message:
1. Navigate to the mapping tab in the Map Salesforce fields window.
2. Use the Salesforce field dropdown and select Custom. Click the Custom Gear icon.
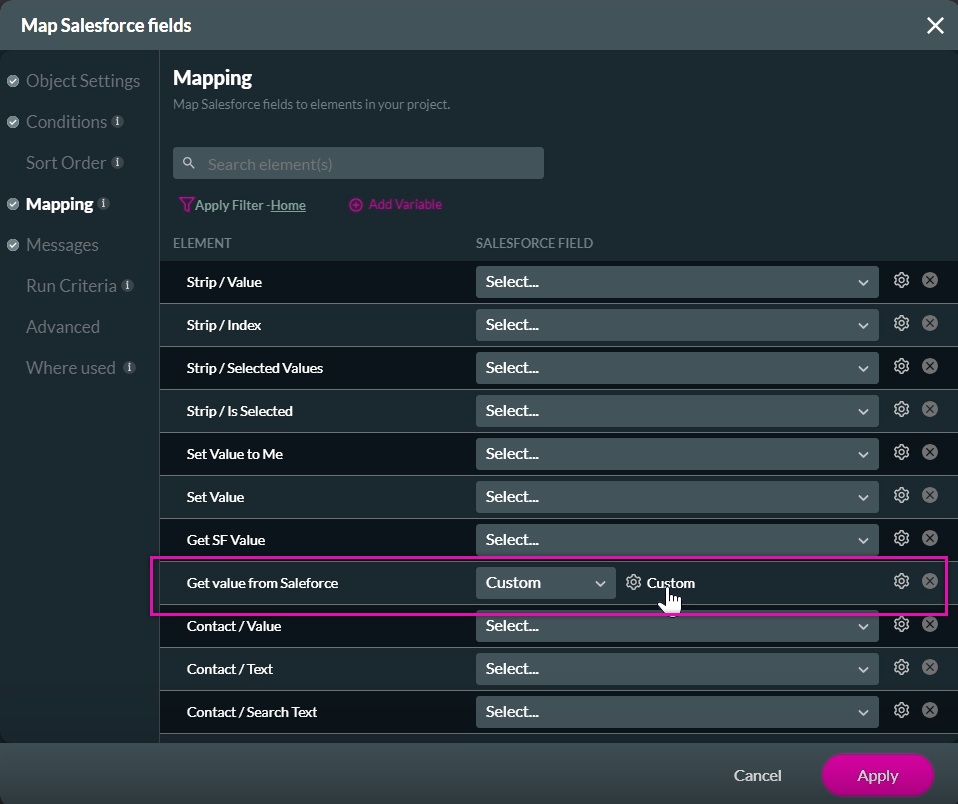
3. Create your custom message. This can contain both static and dynamic text. Click Apply.
Save and preview. Users will type in a contact into the lookup field, and when the button is clicked, the text will be changed to match the custom message.
To include a custom message:
1. Navigate to the mapping tab in the Map Salesforce fields window.
2. Use the Salesforce field dropdown and select Custom. Click the Custom Gear icon.
3. Create your custom message. This can contain both static and dynamic text. Click Apply.
Save and preview. Users will type in a contact into the lookup field, and when the button is clicked, the text will be changed to match the custom message.
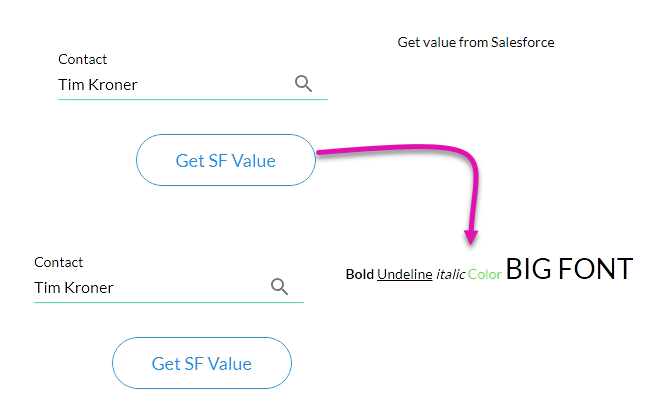
04 Bring Rich Text From Salesforce
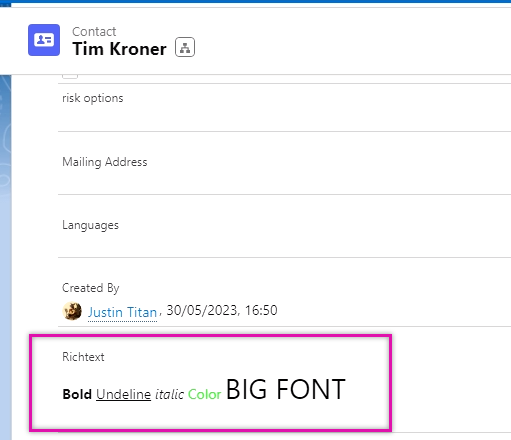
You can bring rich text from Salesforce into your Titan project.
For example, a contact that contains a rich text field.
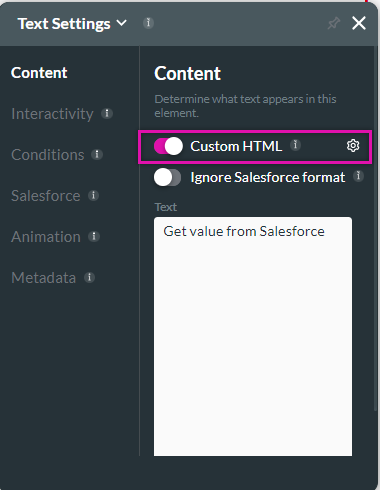
To ensure the content matches the formatting in Salesforce:
1. Navigate to the text settings menu.
2. Enable the Custom HTML switch.
Open the Salesforce Get:
1. Navigate to the mapping tab in the Map Salesforce fields window.
2. Use the Salesforce field dropdown and select Rich Text. Click the Gear icon.
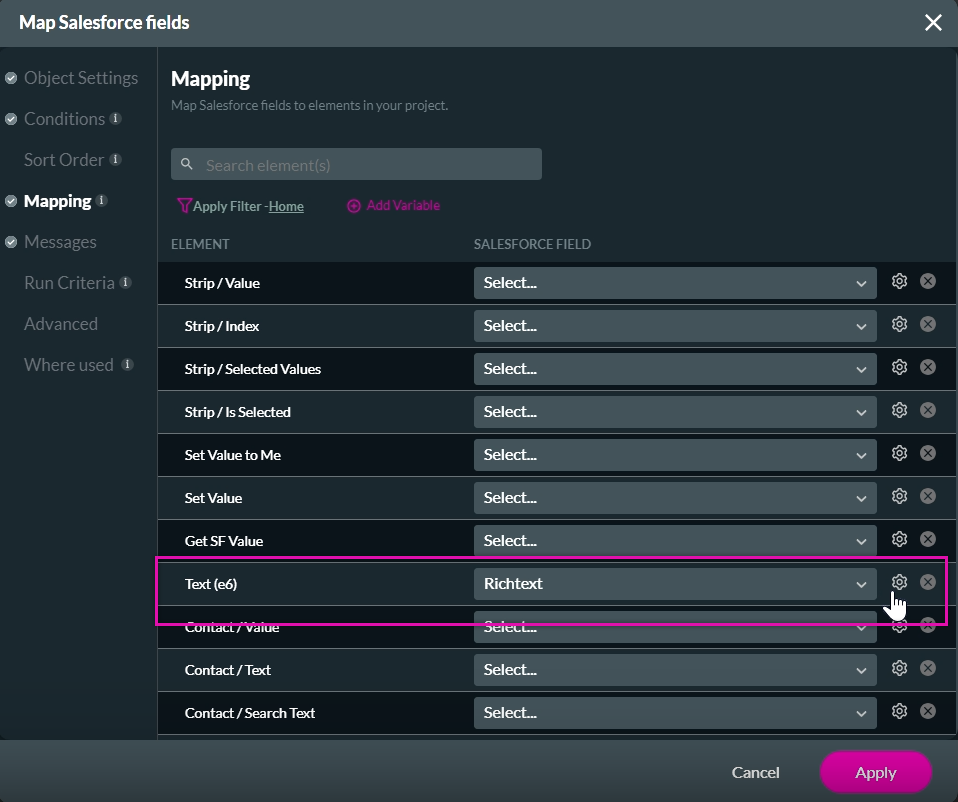
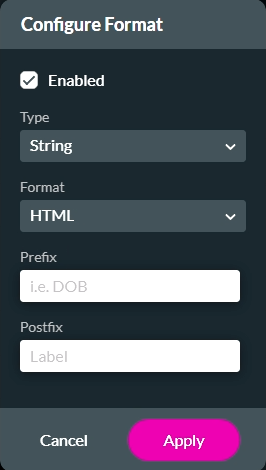
3. In the Configure Format window, click the Enabled checkbox and use the Format dropdown to select HTML. Click Apply.
4. Click Apply to close the Map Salesforce Fields window.
Save and Preview. When users click the button, the rich text field is displayed. The rich text will match the formatting in Salesforce.
For example, a contact that contains a rich text field.
To ensure the content matches the formatting in Salesforce:
1. Navigate to the text settings menu.
2. Enable the Custom HTML switch.
Open the Salesforce Get:
1. Navigate to the mapping tab in the Map Salesforce fields window.
2. Use the Salesforce field dropdown and select Rich Text. Click the Gear icon.
3. In the Configure Format window, click the Enabled checkbox and use the Format dropdown to select HTML. Click Apply.
4. Click Apply to close the Map Salesforce Fields window.
Save and Preview. When users click the button, the rich text field is displayed. The rich text will match the formatting in Salesforce.
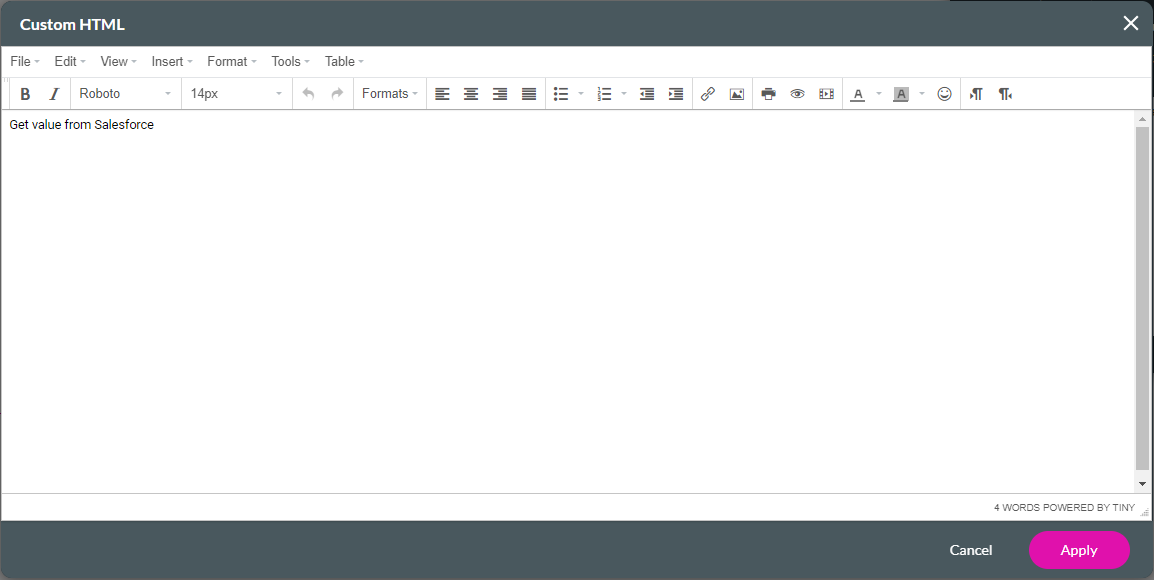
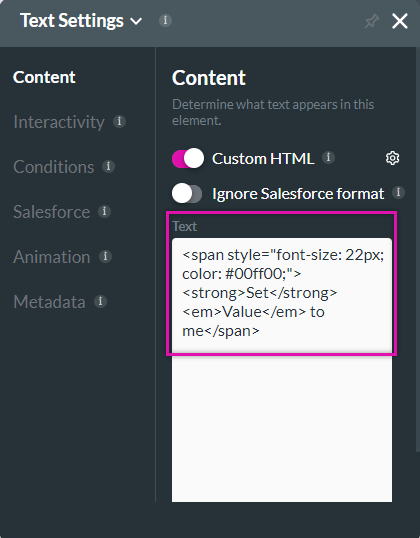
05 Custom HTML
You can customize your text by enabling Custom HTML in the Text Settings Menu and clicking the gear icon.

The Custom HTML window opens. You can choose from a variety of styling options to customize your text.
Note: This styling will be lost when replacing the text, as demonstrated in Section 2 - Set Text Values.
To ensure the set value text mirrors the same formatting as the original text:
1. Copy the Text HTML code from the text settings menu.
2. Navigate to the Affected Element configuration. Paste the copied code in the text field. Remember to edit the text portions to display the correct content. Copying the code ensures the formatting matches.