Update a Salesforce Record Using a Push (8 min)
01 Getting Started
Learn how to update a record in Salesforce using a push action from Titan Web.
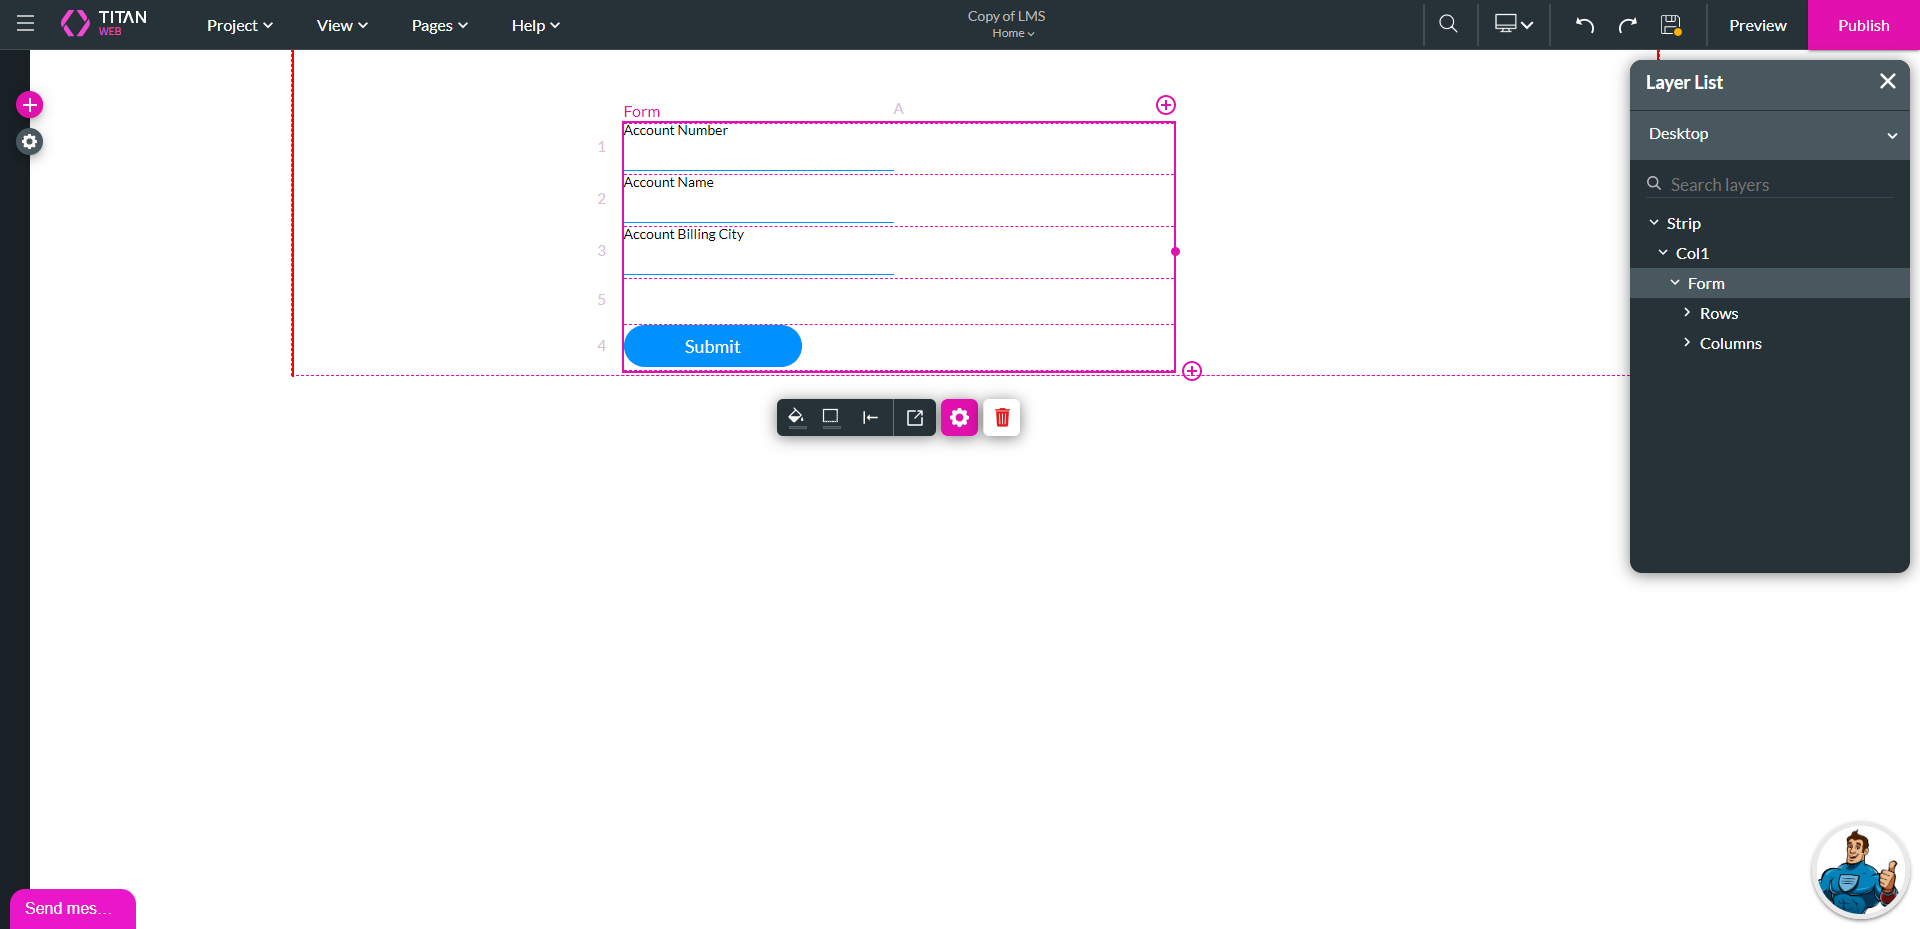
We will start with a project that has a form and some input fields in the form. There is also a button in the form.For this tutorial, the user will add an account number and update the account name and billing city.

02 Create a Push

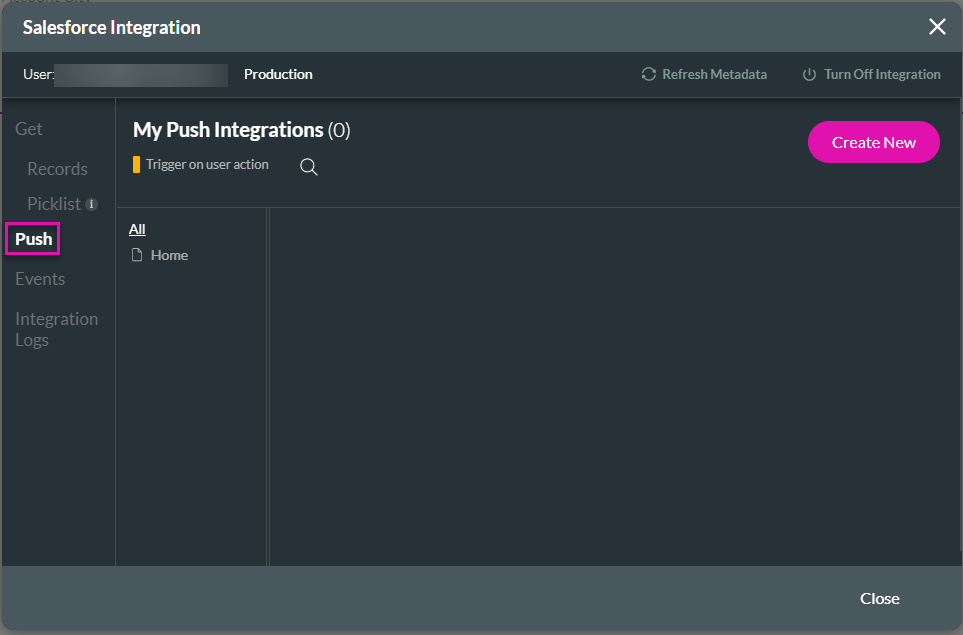
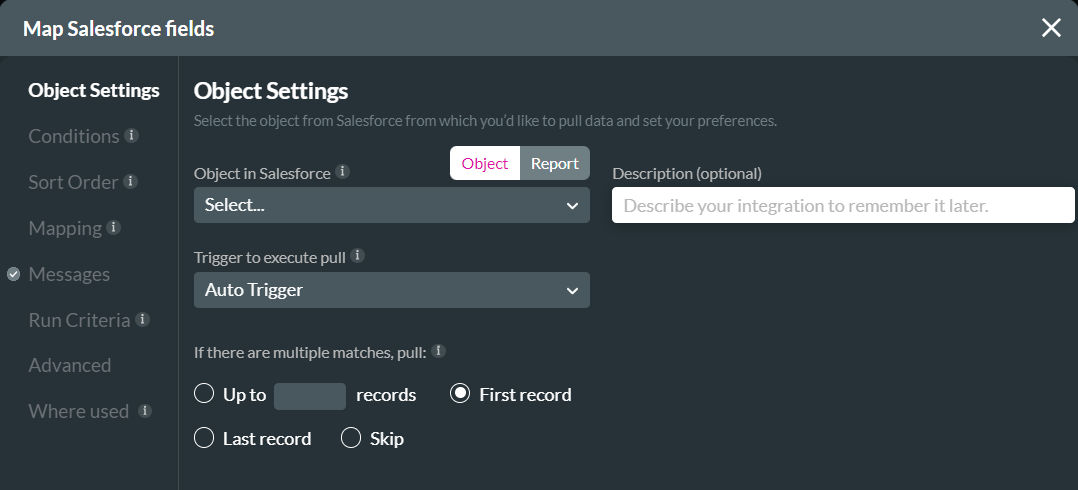
2. Select the Push option and click the Create New button. The Map Salesforce fields screen opens on Object Settings.

03 The Object Settings Tab
1. Use the Object in Salesforce drop-down list to find the object, for instance, Account.
2. Add a description in the Description field. This is optional but greatly helps when you have a big Web project with multiple Push and Get integration.
3. Use the drop-down to select an action. The options are as follows:
-
Create: Select this option to create a new record.
-
Update: Search for an existing record and update it.
-
You have the option to create a record if no match is found.
-
-
Find: Search for an existing record. You can return values from that record to various elements in Titan.
-
You have the option to create a record if no match is found.
-
-
Delete: Delete the records that match the criteria.
In this example, we select the Update action.

04 The Conditions Tab
1. Click on the Condition option on the left of the Map Salesforce fields screen.
2. Use the drop-down lists and select the following:
-
Account Number Equals Field Account Number.

05 The Mapping Tab
1. Click on the Mapping option. Here we will map the two fields on the form to the corresponding fields in Salesforce. You can use the Filter option, especially when you have multiple fields on your Web project. You can filter Pages, Mapped Fields, or Unmapped Fields.
2. Use the Element drop-down lists to map the elements to the Salesforce fields.

06 My Push Integrations
1. Click the Apply button. The Push integration is added to the Salesforce Integration screen.

07 Adding a Push to an Element

2. Hover over the Start icon with your mouse and click the + icon to open the Add Node screen.

3. Select the Salesforce Action option and click the Next button.

4. Use the Process push or get drop-down list and select the Push you created.
5. Click the Next button.

6. Add a tag if necessary and click the Insert button. The Salesforce action is added to the On Click Action screen.

7. Click the Apply button.

08 Previewing the Project
In this example, there is an account in Salesforce with the account name “Test New Account,” account number “123456-7,” and a billing city “Birmingham.” This must be updated.


When the button is clicked, the Push update runs and updates the record in Salesforce. Refreshing the page in Salesforce shows the updated information.

09 Viewing the Updated Record ID
1. Navigate back to your Web project.
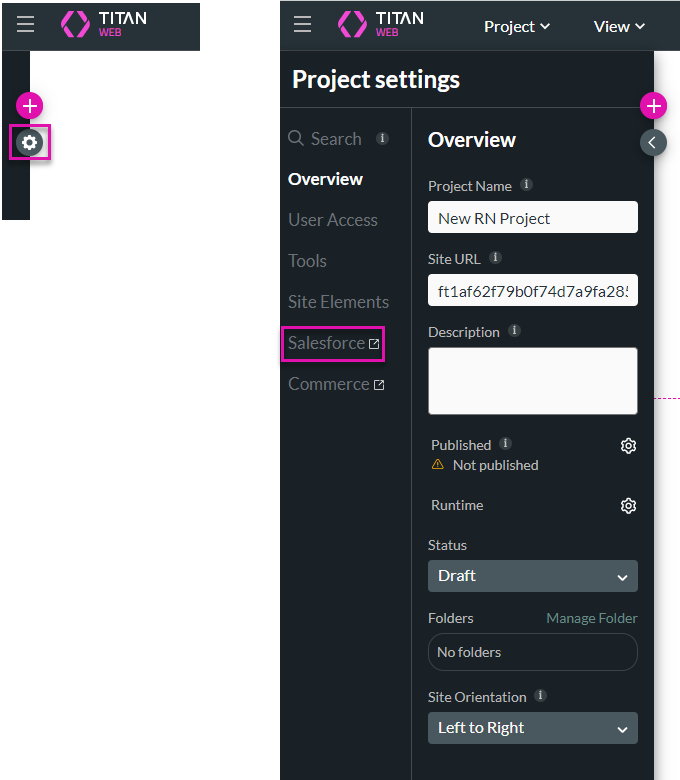
2. Click the Gear icon and click the Salesforce option. The Salesforce Integration screen opens.
3. Click the Integrations option. You will see the updated account with its record ID.
