General Overview - Part 1 (9 min)
Completion requirements
01 Getting Started
Titan is a platform that you can use to create your own automated processes related to fields and objects. This tutorial serves as an example of how to use our platform.
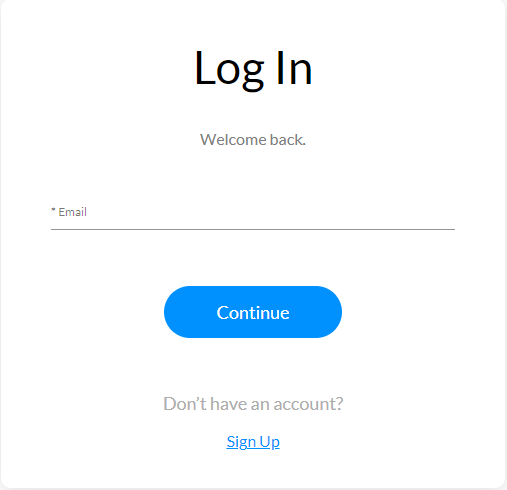
02 Log in Protected Portal
By creating a login portal, contacts will log into your website using their email and a one-time verification code.
To manage a login portal, you can use various details, including custom or standard objects and fields.
These objects and fields are used to get data from Salesforce and push data to Salesforce.
03 Home Page
Once the user is logged in, they can access the home page.


04 Logging a New Case
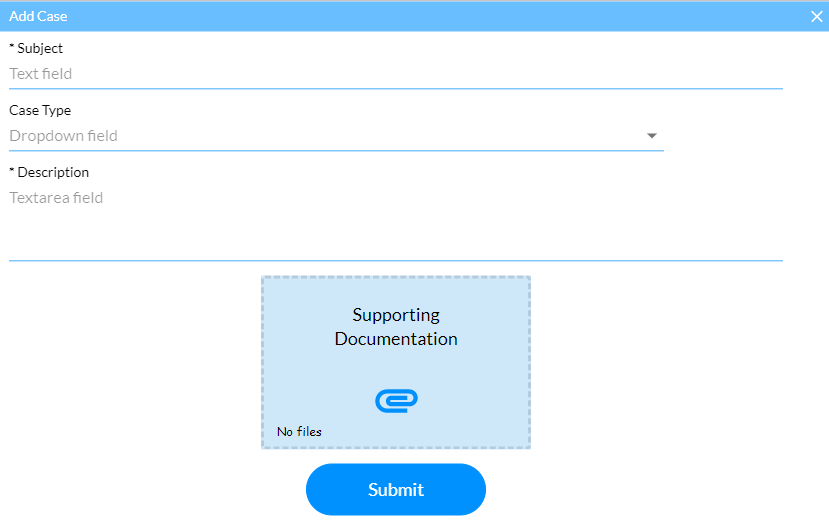
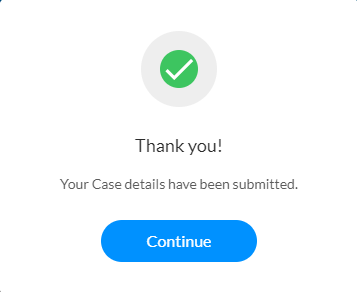
After the user completes the form and clicks the Submit button, a configured on-click action runs in the background.
This action could push data to your Salesforce account or trigger a pop-up message.
A configured form opens when the user clicks on the Log a Case button.
This action could push data to your Salesforce account or trigger a pop-up message.
A configured form opens when the user clicks on the Log a Case button.

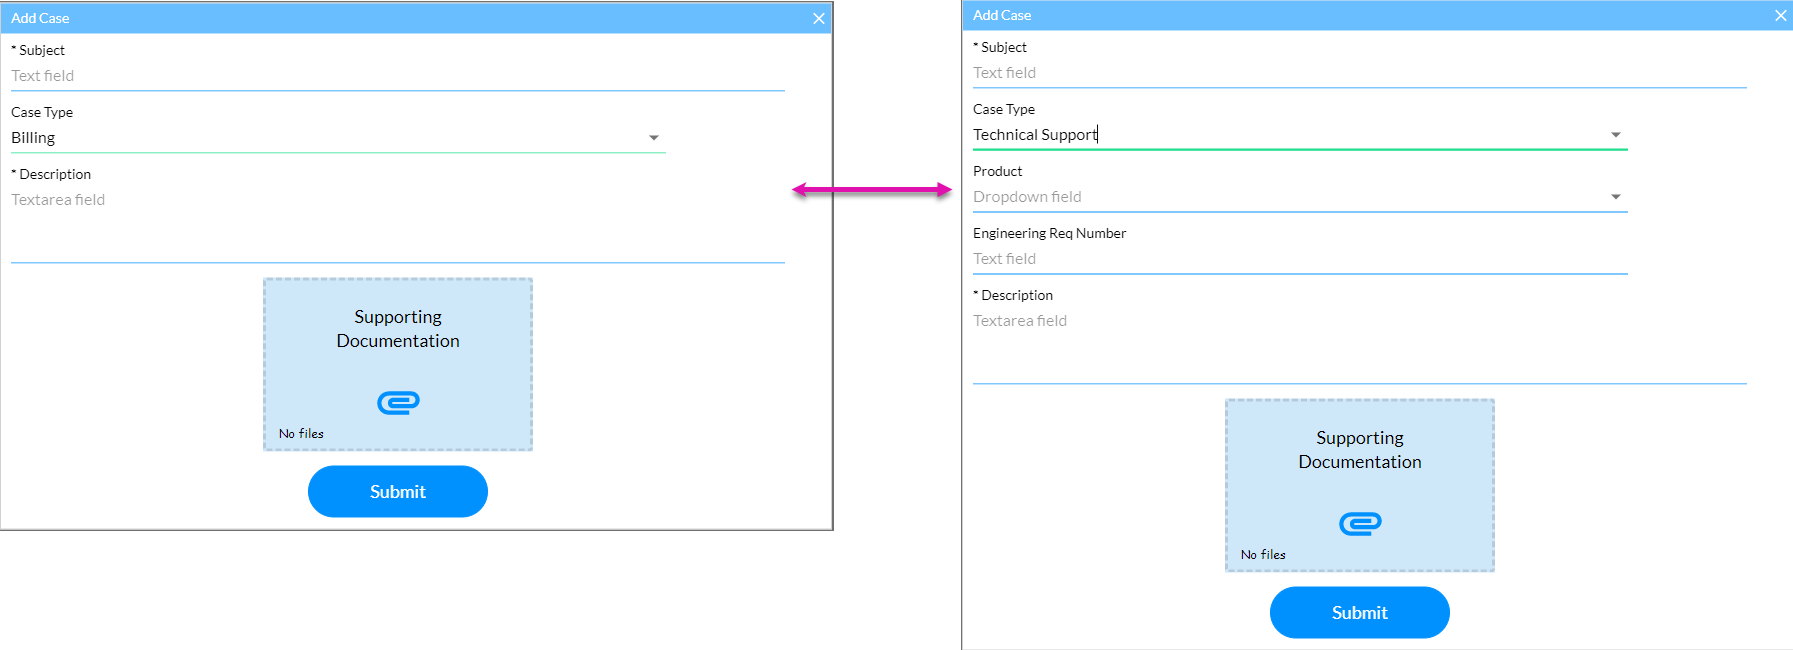
By configuring conditional logic, your form can change depending on the user’s selection.
For file uploads, you can choose the types of files users can upload.
A configured on-click action runs in the background when the user interacts with the button.
05 Viewing Logged Cases
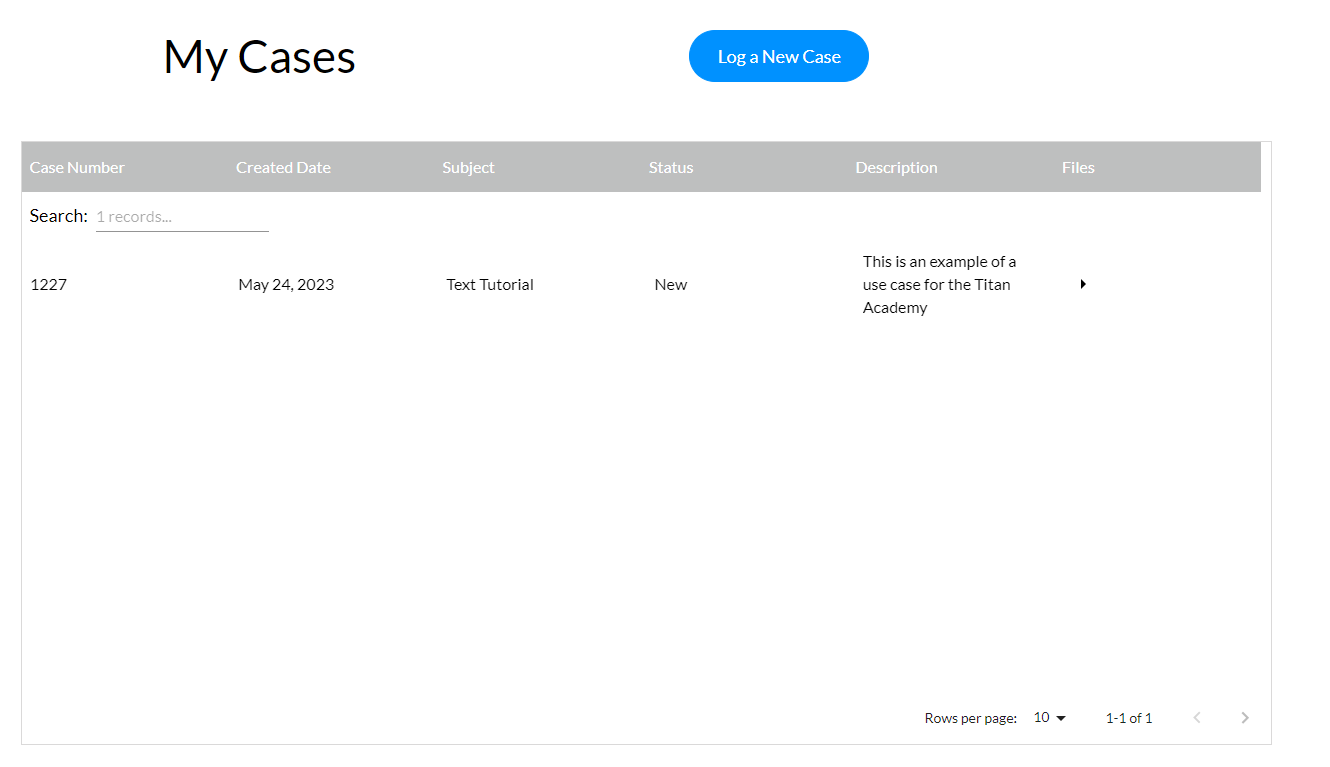
Once the user has logged a case, they can navigate to the My Cases tab. This tab will display all the cases the user has logged previously.
Make your website more user-friendly by inserting search features. Users can easily find specific information using the search feature instead of scrolling through lists.
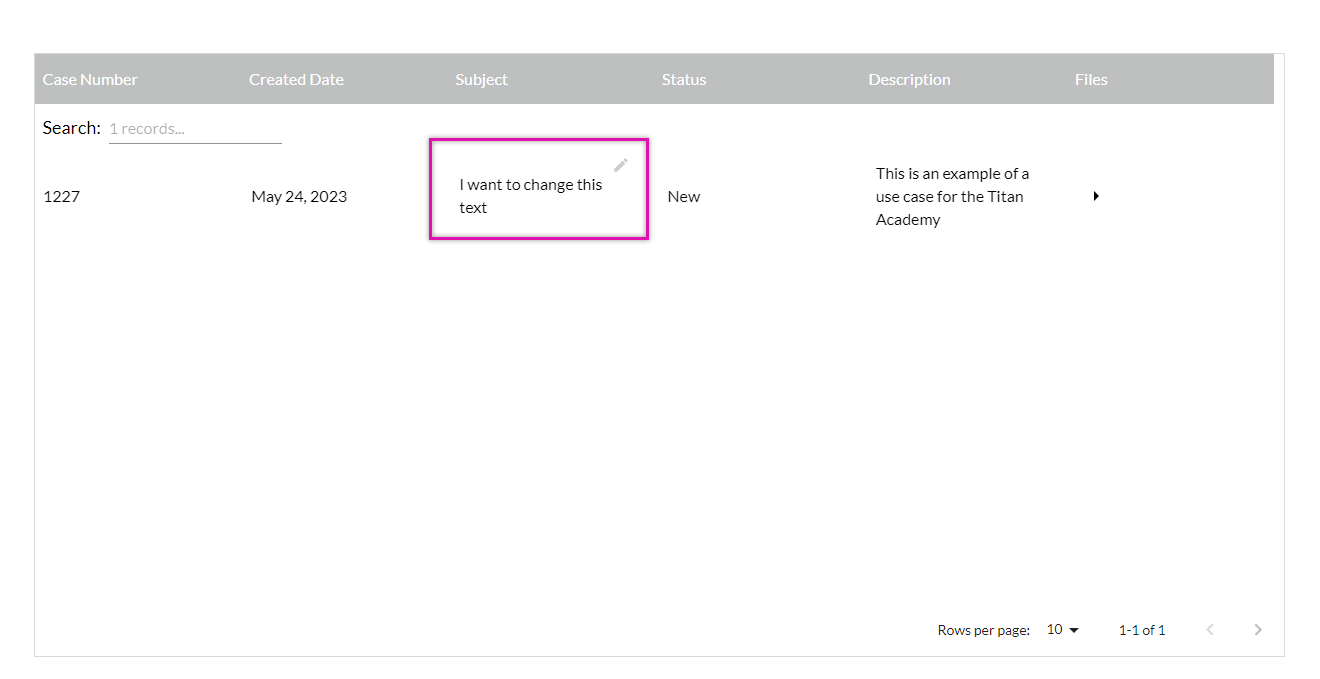
Allow users to edit any inline details to make changes quickly.
Make your website more user-friendly by inserting search features. Users can easily find specific information using the search feature instead of scrolling through lists.

Allow users to edit any inline details to make changes quickly.

06 My Details
You can include a page for users to review and update their information, which can help ensure that your data is up to date.
Users can toggle back and forth between two kinds of detail types by inserting a stepper.

By inserting conditional logic, you can ask for additional details depending on the account type.

Users can toggle back and forth between two kinds of detail types by inserting a stepper.

By inserting conditional logic, you can ask for additional details depending on the account type.
