Create a Salesforce Push (10 min)
01 Getting Started
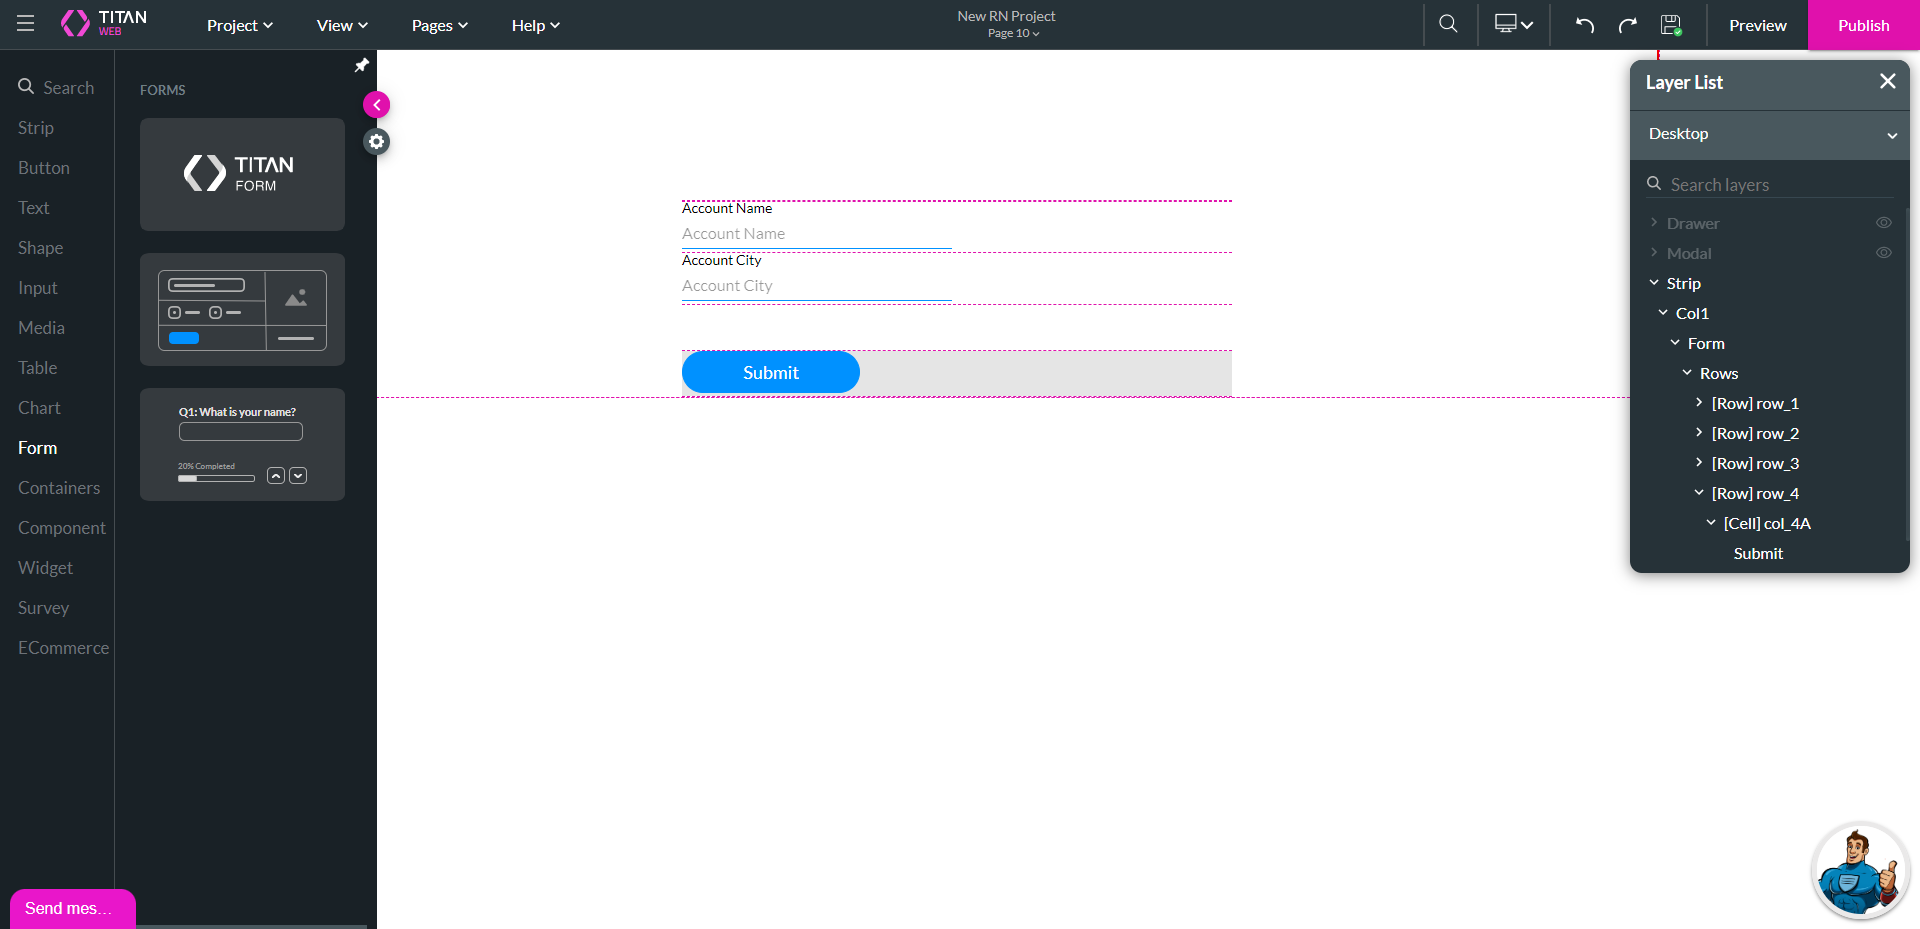
We will start with a project that has a form, some input fields, and a button.
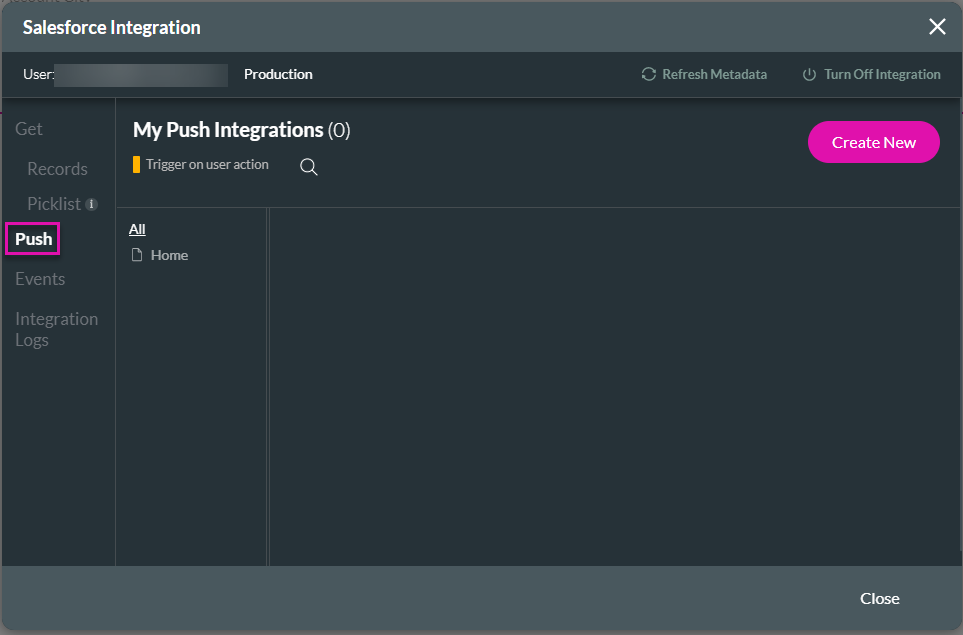
02 Create a Push
2. Select the Push option and click the Create New button. The Map Salesforce fields screen opens on Object Settings.
3. Use the Object in Salesforce drop-down list to find the object, for instance, Account.
4. Add a description in the Description field. This is optional but greatly helps with a significant Web project with multiple Push and Get integrations.
5. Use the drop-down to select an action. The options are as follows:
- Create: Select this option to create a new record.
- Update: Search for an existing record and update it. You have the option to create a record if no match is found.
- Find: Search for an existing record. You can return values from that record to various elements in Titan. You have the option to create a record if no match is found.
- Delete: Delete the records that match the criteria.
Note: When you have a list of records to insert, click the Bulk Mode checkbox. This saves API calls.
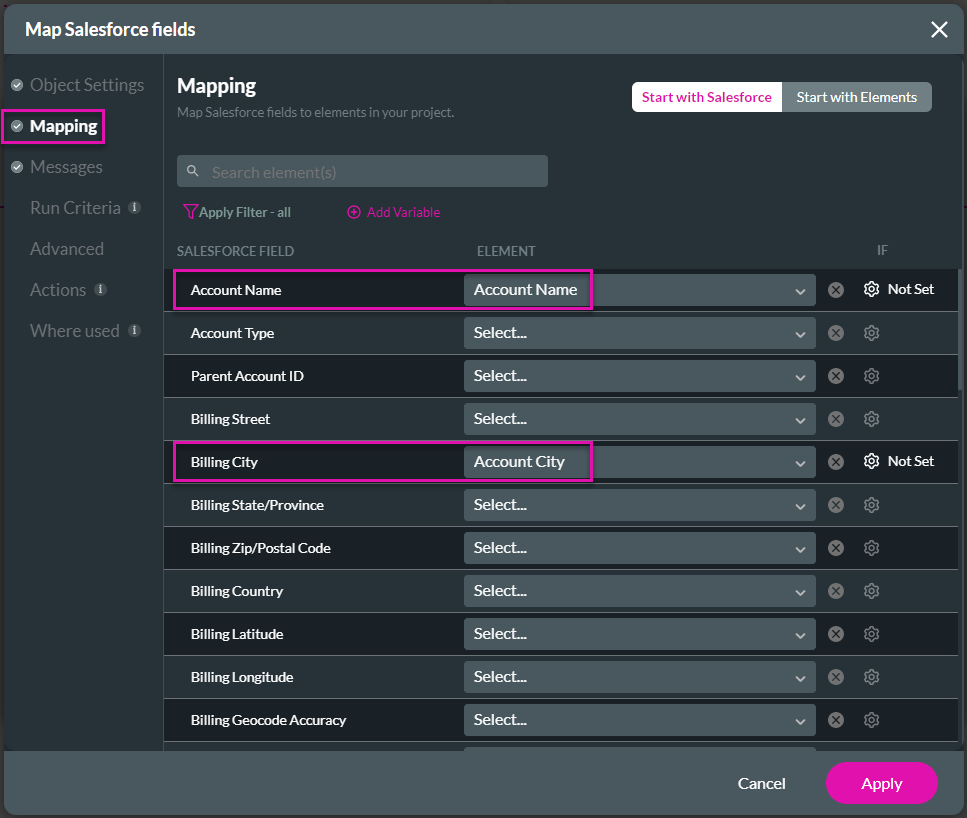
03 The Mapping Tab
- You can use the Filter option, especially when multiple fields are on your Web project. You can filter Pages, Mapped Fields, or Unmapped Fields.
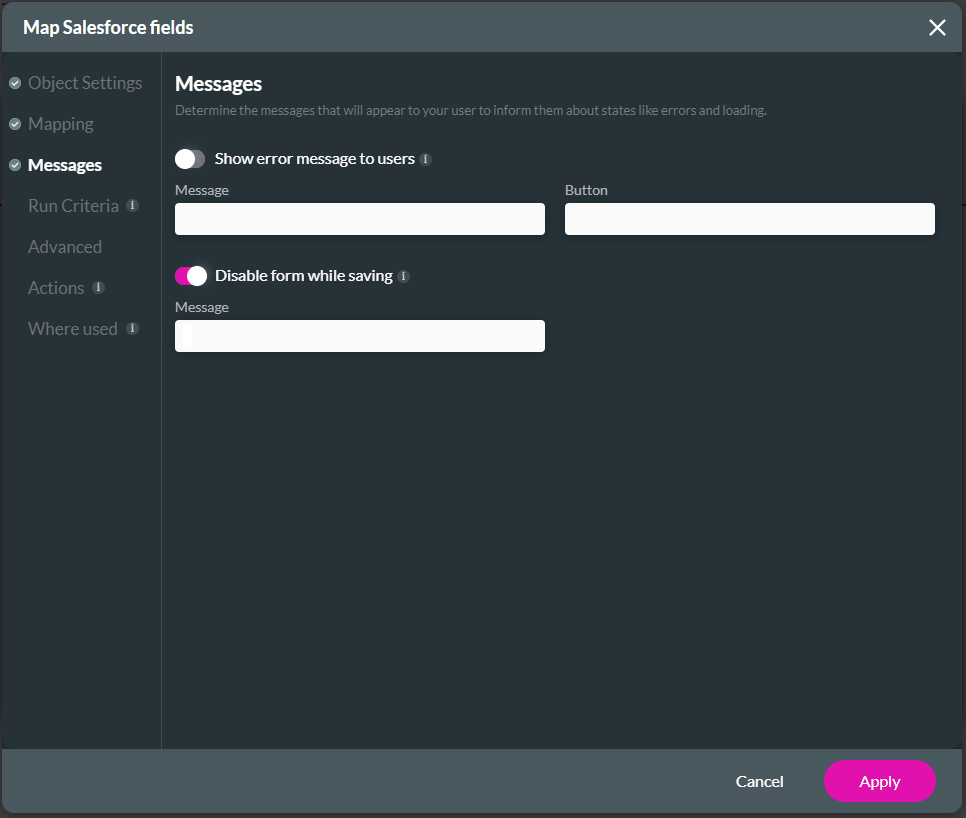
04 The Messages Tab
Use the toggle switch to show an error message to users. Type the message in the Message field.
Type a message in the Message field to show when the form is disabled when saving. This option is on by default. A loader will be displayed when the form is saved, and the form will be disabled (the user cannot change anything). In this example, we leave the default Message settings.
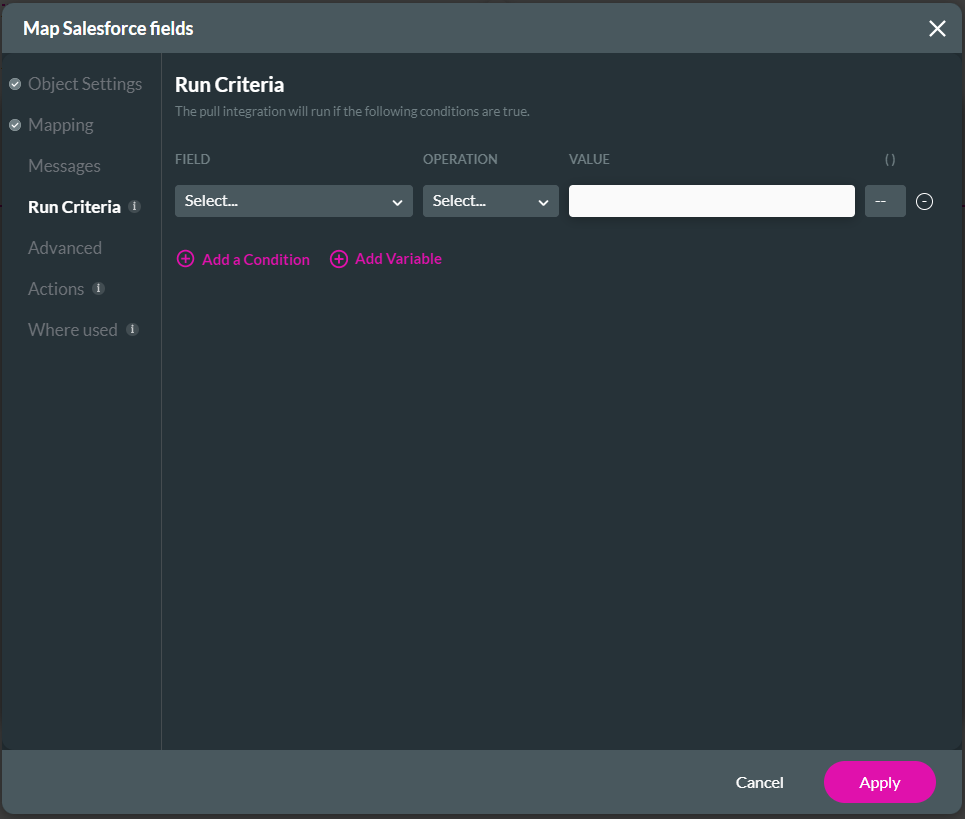
05 The Run Criteria Tab
1. Click on Run Criteria to configure the criteria under which the Push will run. When the Push is invoked, the requirements will be evaluated. For instance, you can select the Account Name from the Field drop-down list, select the Operator “Equals,” and type a company name in the Value field. The Push will only run if the value in the field is equal to the company name you entered. In this example, we don’t add run criteria.
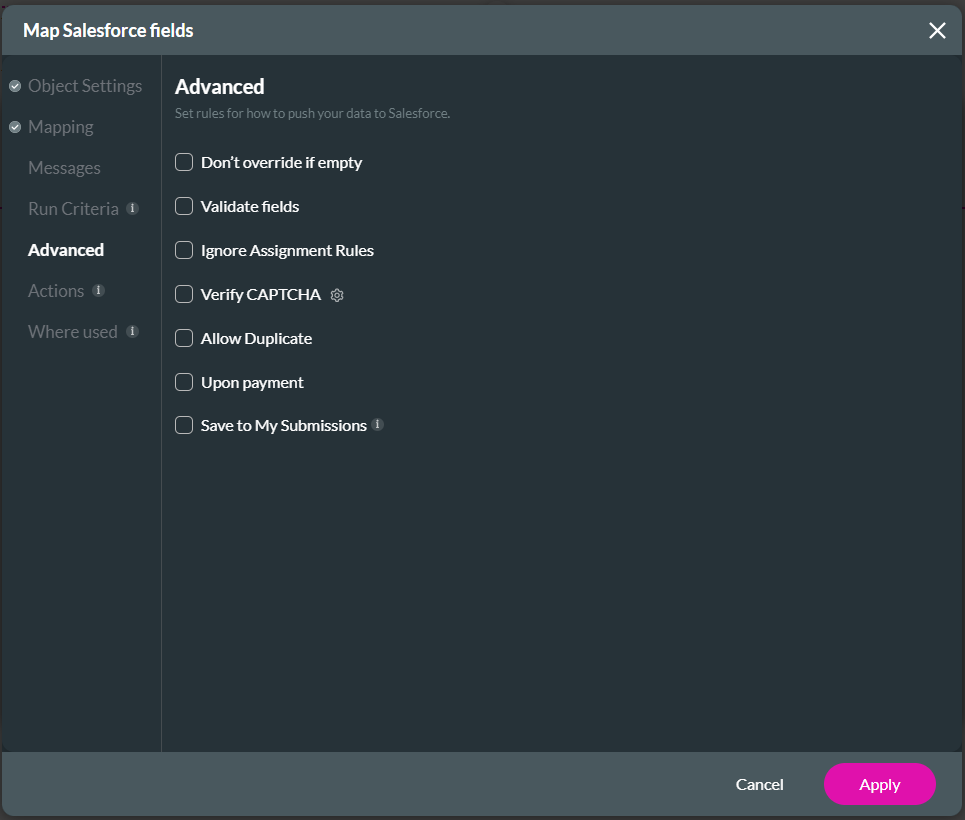
06 The Advanced Options Tab
- Don’t override if empty
- Validate fields
- Ignore Assignment Rules
- Verify CAPTCHA
- Allow Duplicate
- Upon payment
- Save to My Submissions
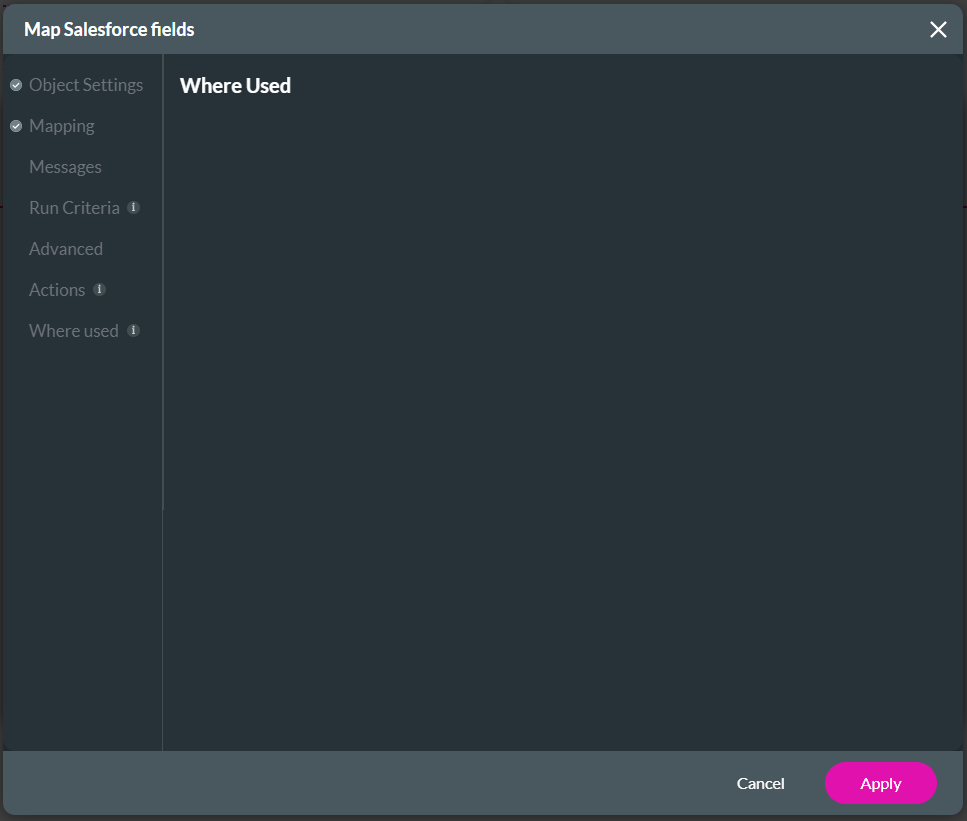
07 The Where Used Tab
08 My Push Integrations
1. Click the Apply button. Push integration has been added to the Salesforce Integration screen.
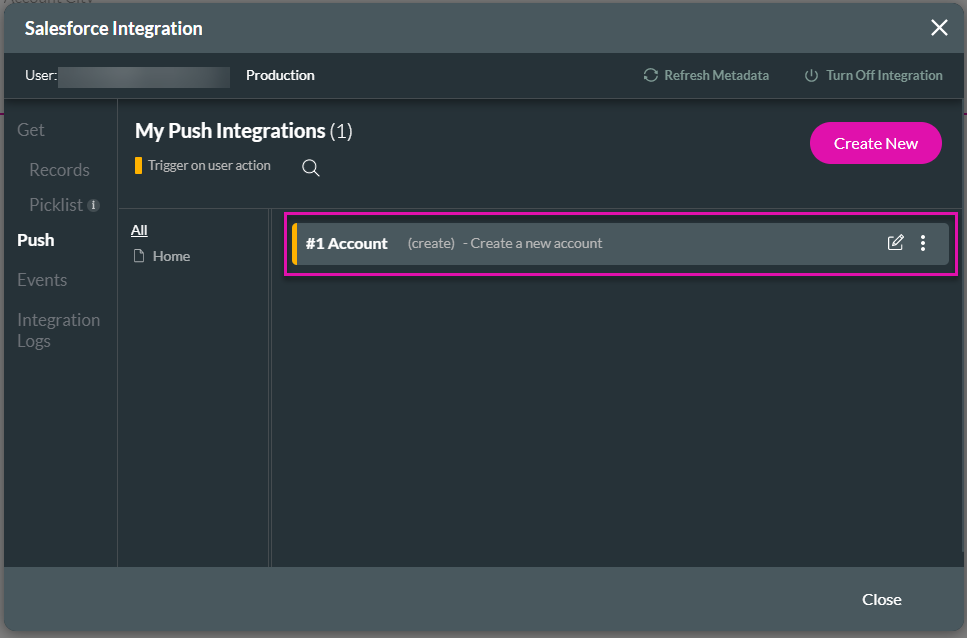
2. Click the Close button.
3. Save the project by clicking the Save icon (top right of the toolbar).
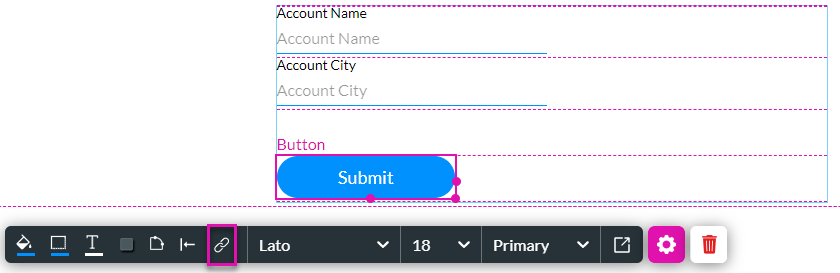
09 Adding a Push to an Element
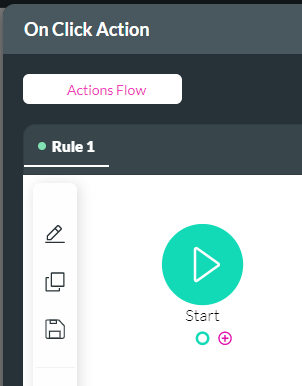
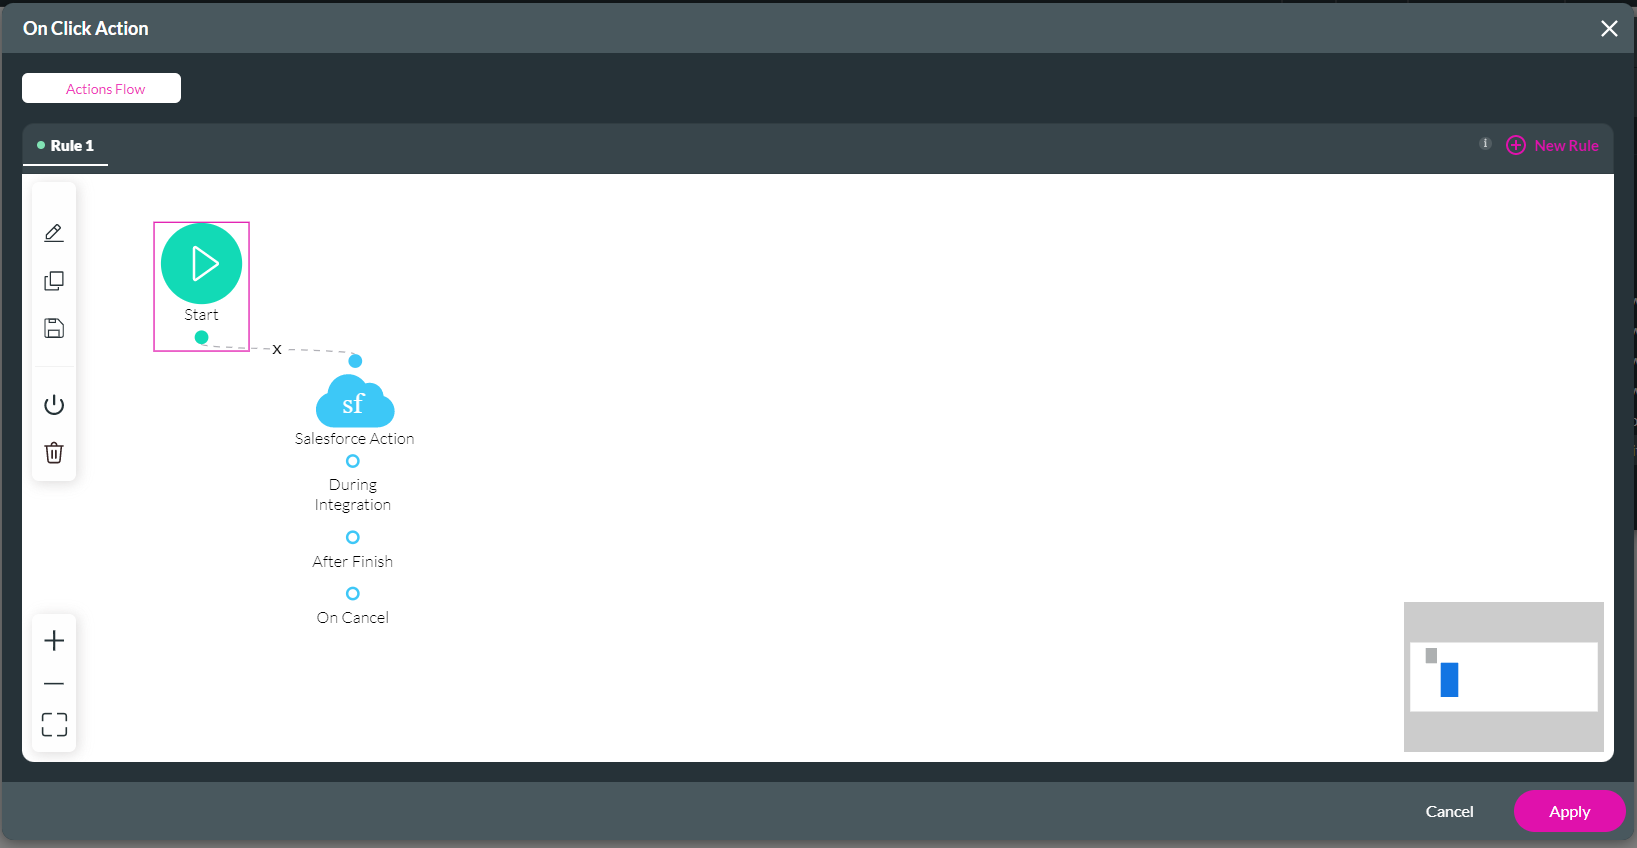
1. Click the button element and click the On Click Action icon. The On Click Action screen opens.
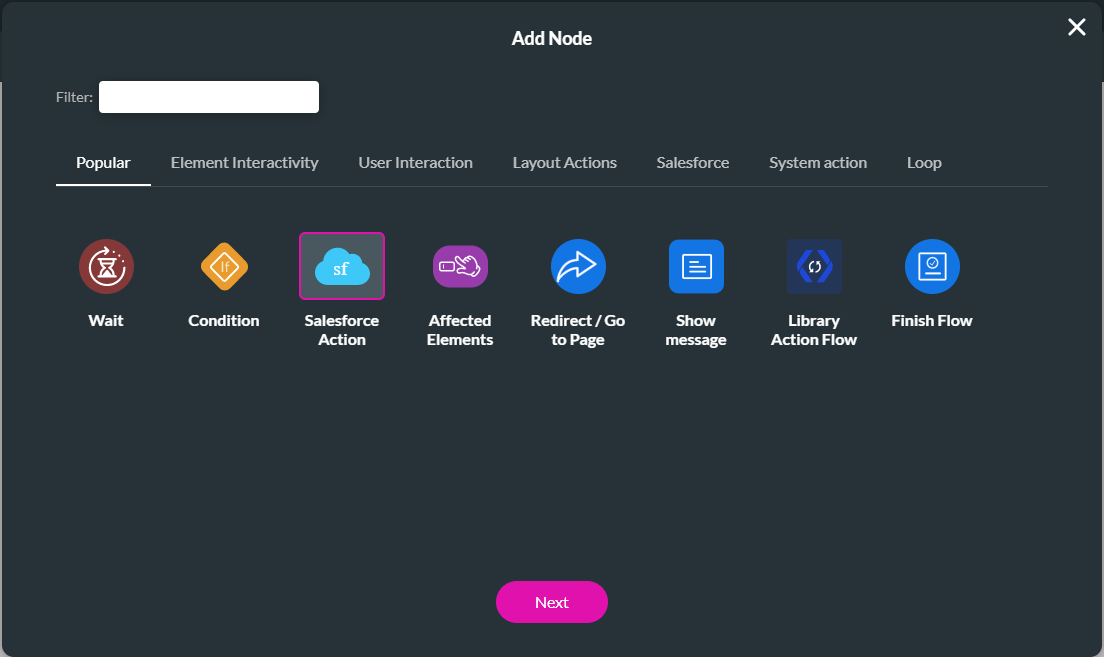
2. Hover your mouse over the Start icon and click the + icon to open the Add Node screen.
3. Select the Salesforce Action option and click the Next button.
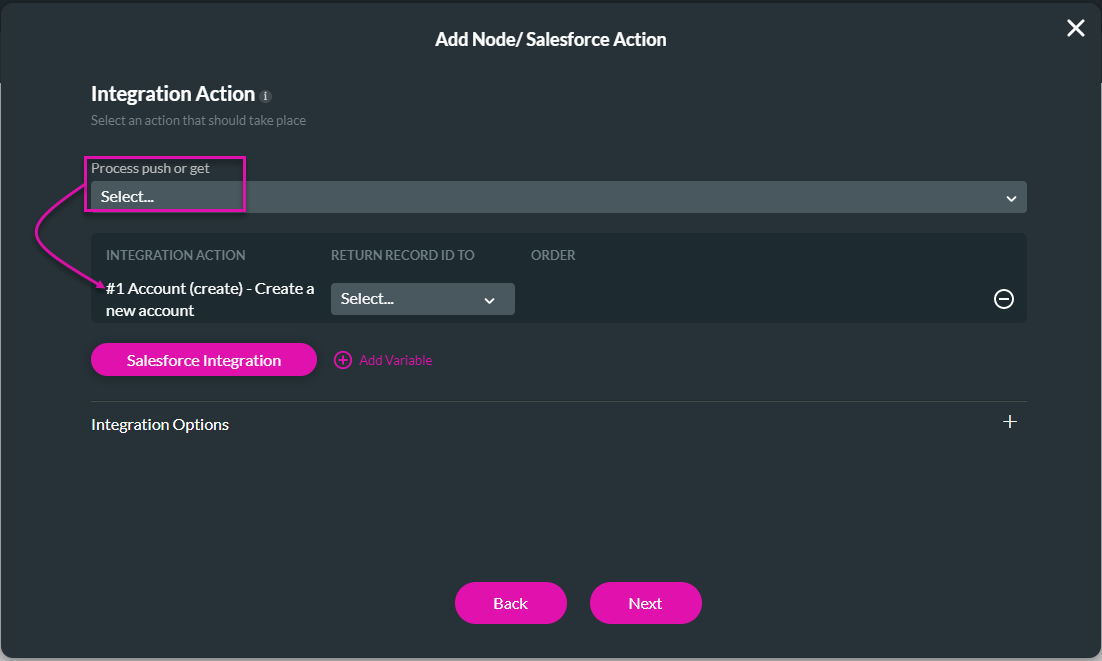
4. Use the Process push or get dropdown list and select the Push you created.
5. Click the Next button.
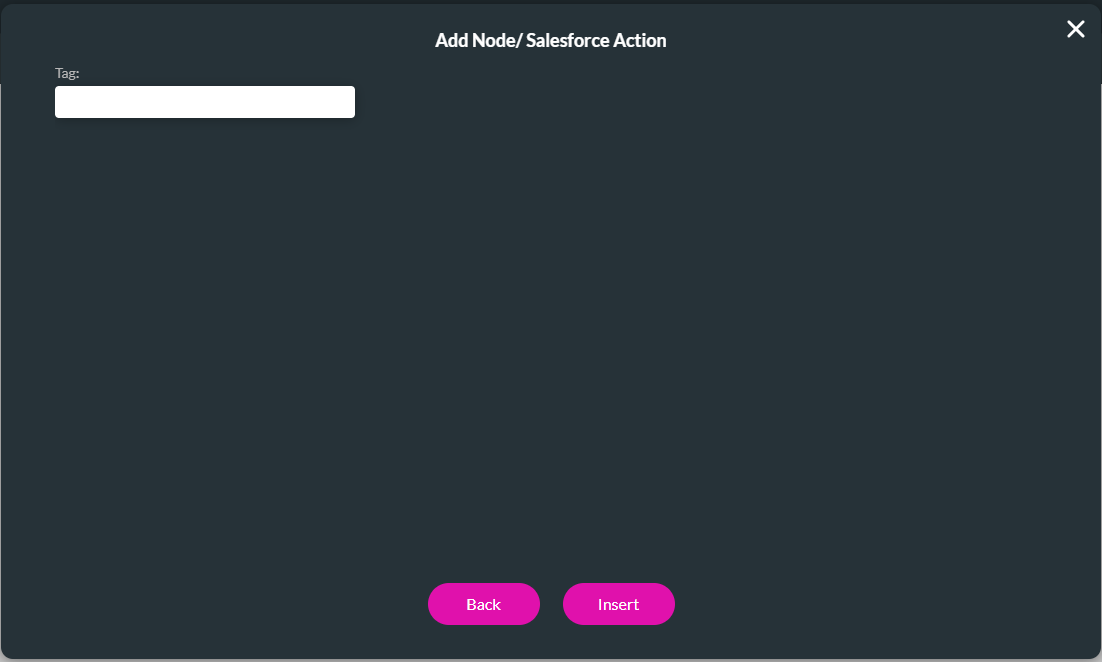
6. If necessary, add a tag and click the Insert button. The Salesforce action is added to the On Click Action screen.
7. Click the Apply button.
8. Save and Preview the project.
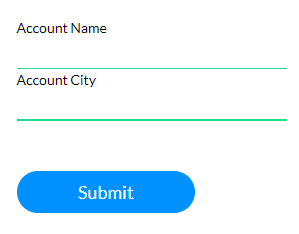
9. Type information in the fields and click the Submit button. A loader is shown while the data is pushed to Salesforce.
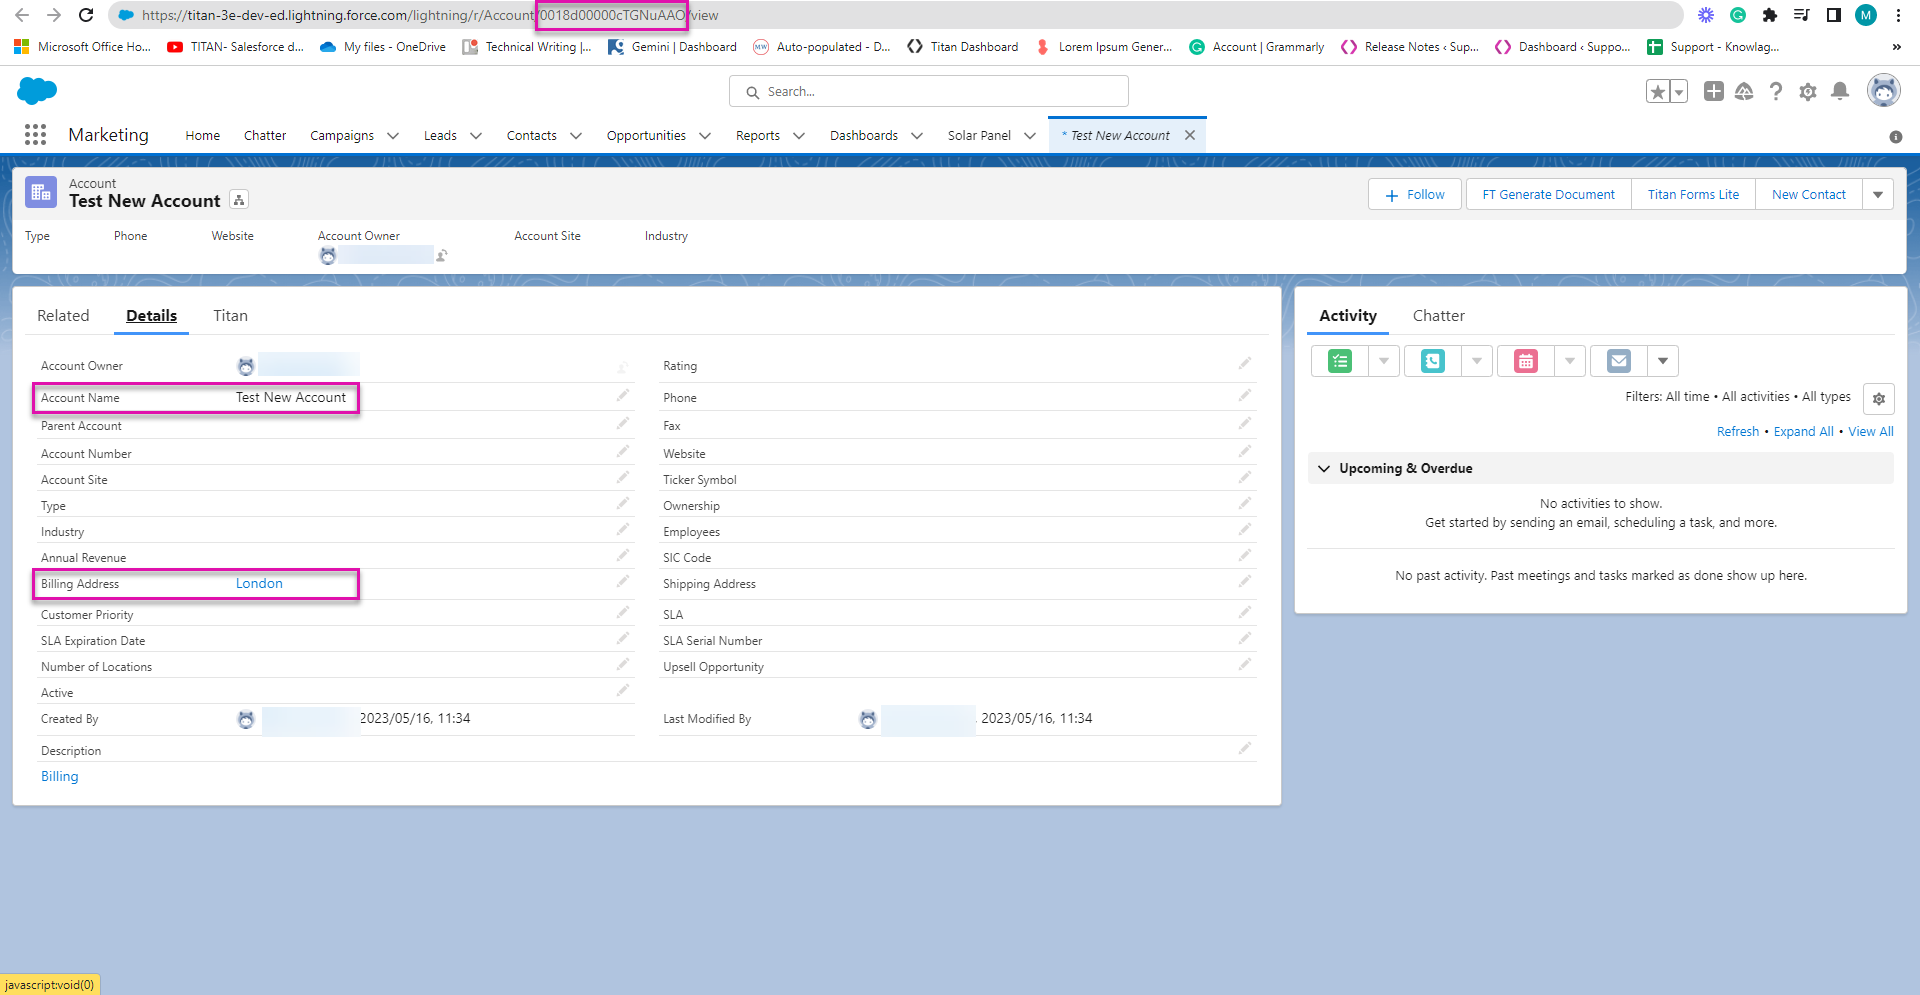
10 Viewing the Created ID
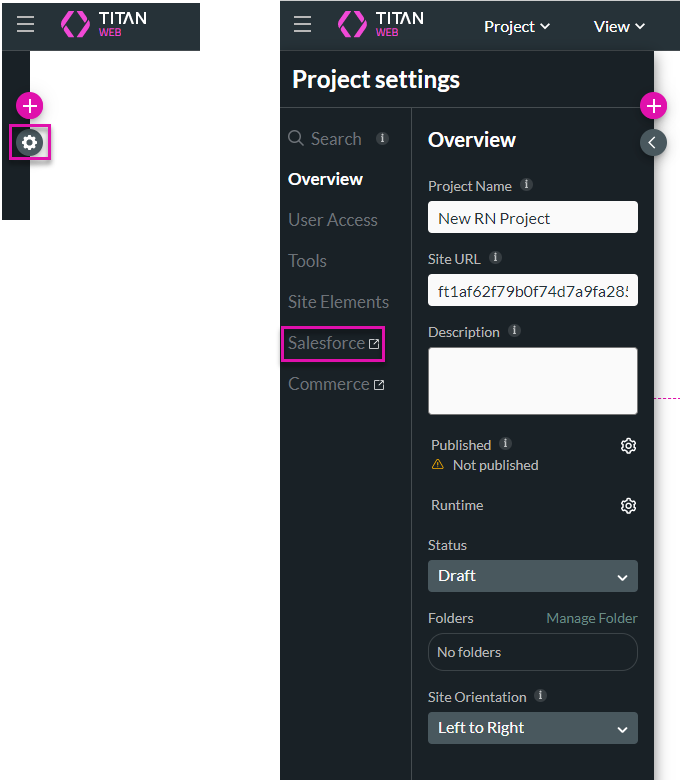
2. Click the Gear icon and click the Salesforce option. The Salesforce Integration screen opens.
3. Click the Integrations option. You will see the new account with its record ID.
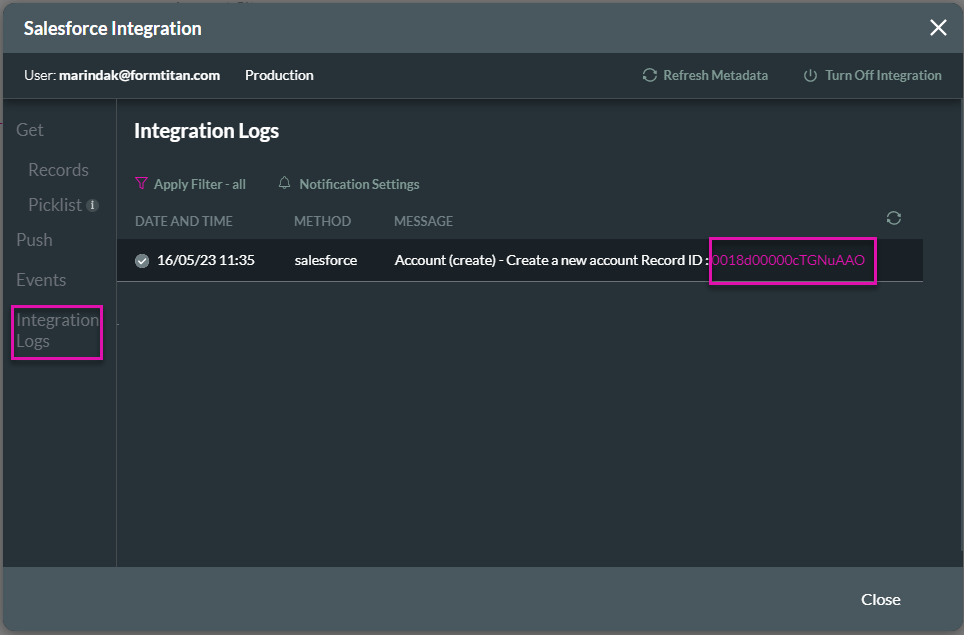
4. Click the Account ID. The account will open in your Salesforce.
The account was created with the name and billing address as specified.