Building a Simple Form (37 min)
01 Getting Started
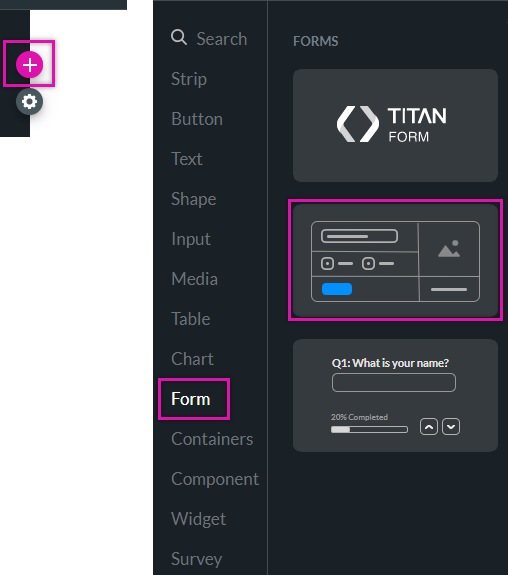
02 A Form Element
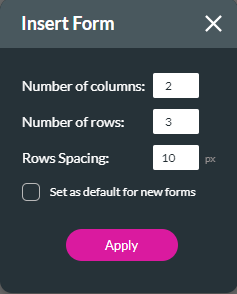
2. Use the fields to configure the number of columns, rows, and spacing between rows. You also have the option to use these settings as the default configuration for your form element.
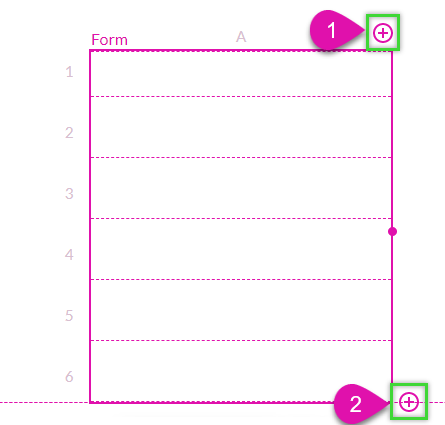
You can also edit the form directly from the canvas to change the columns and rows.
3. To add a column to your inserted form, click the + icon at the top. To add a row, click the + icon at the bottom of the form.
03 Adding Elements to a Form
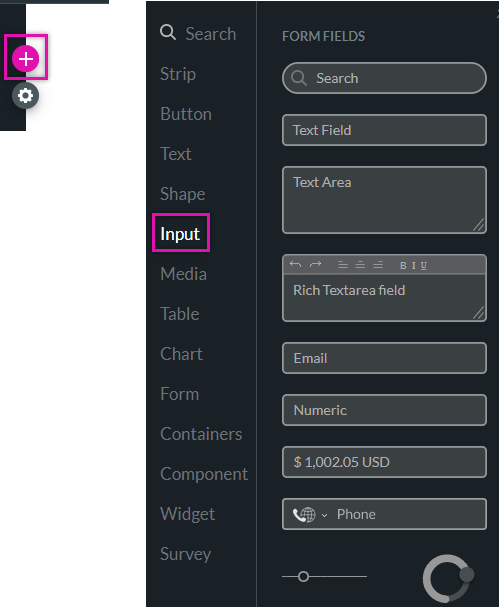
04 A Text Field
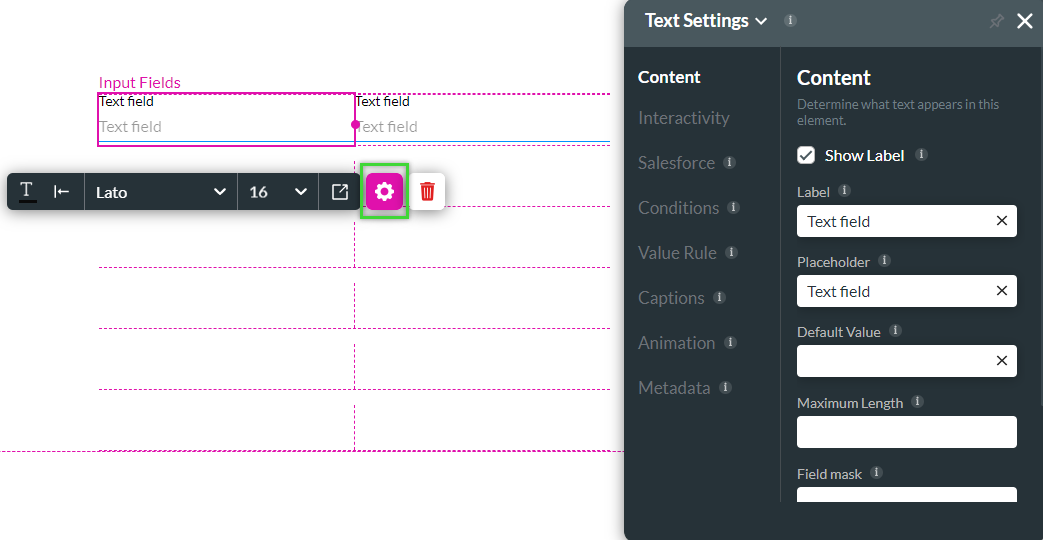
2. Use the Label field to tell users what data to provide. e.g., First Name. To provide more context, use the placeholder field or leave it blank.
3. If multiple fields in your form need the same name, use the Metadata tab to differentiate them. Insert a unique tag and a comment.

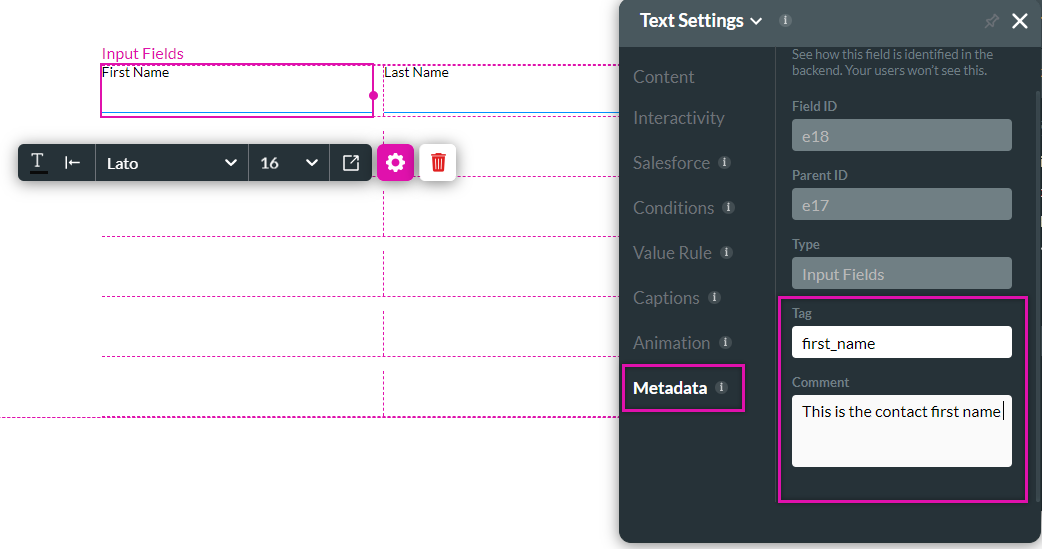
These steps can be repeated for all field types.
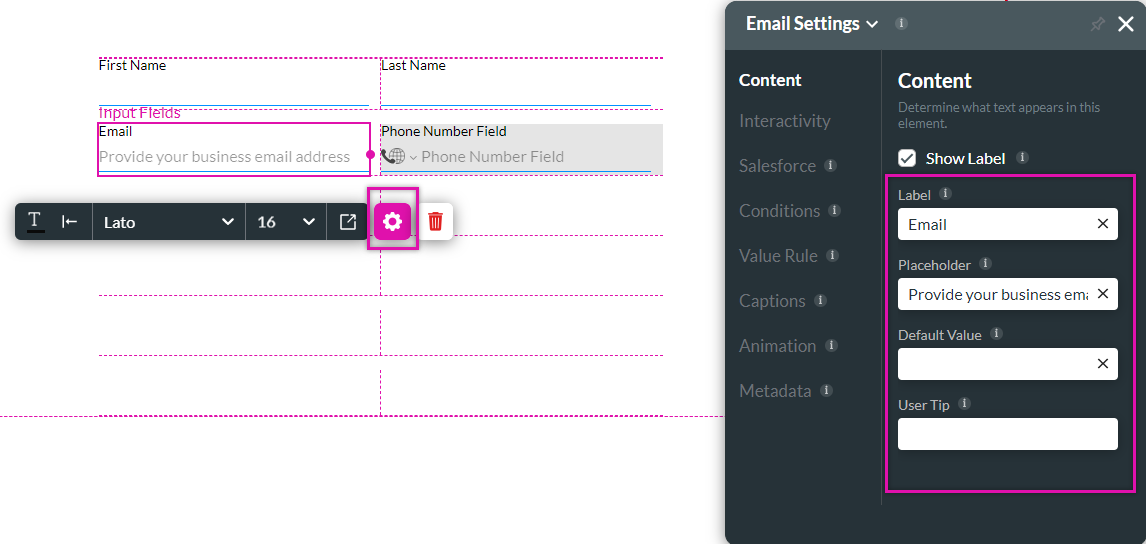
05 An Email Field
An email field has built-in validation to ensure that the input provided for this field will be an email.
Use the email element settings menu to make changes to the element.
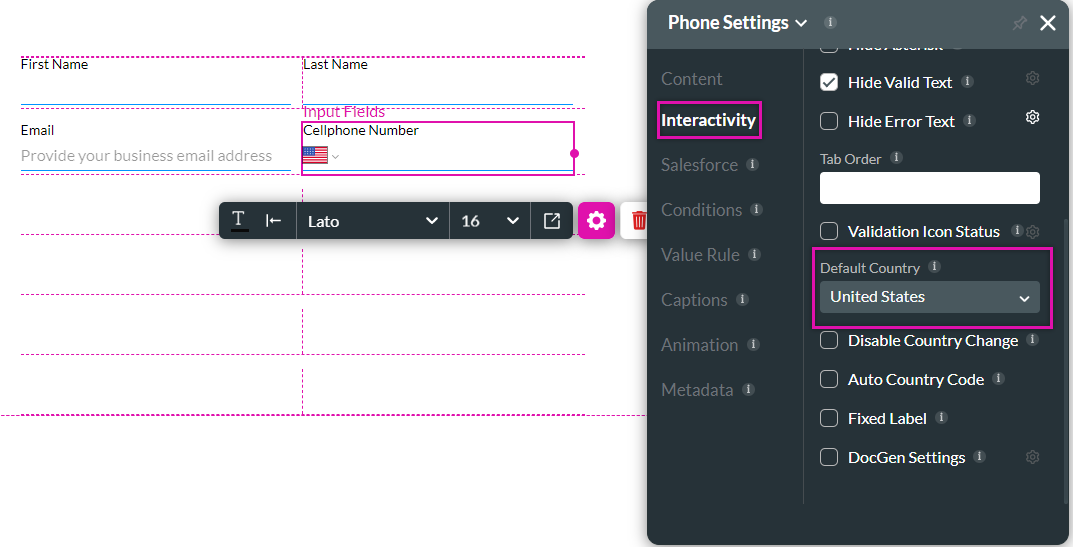
06 A Phone Field
2. To set a default country, click the number element gear icon to open the element settings menu. Navigate to the interactivity tab and use the default country drop-down menu to select a country.
This is useful if you know all your users will work in the same country, such as the United States.
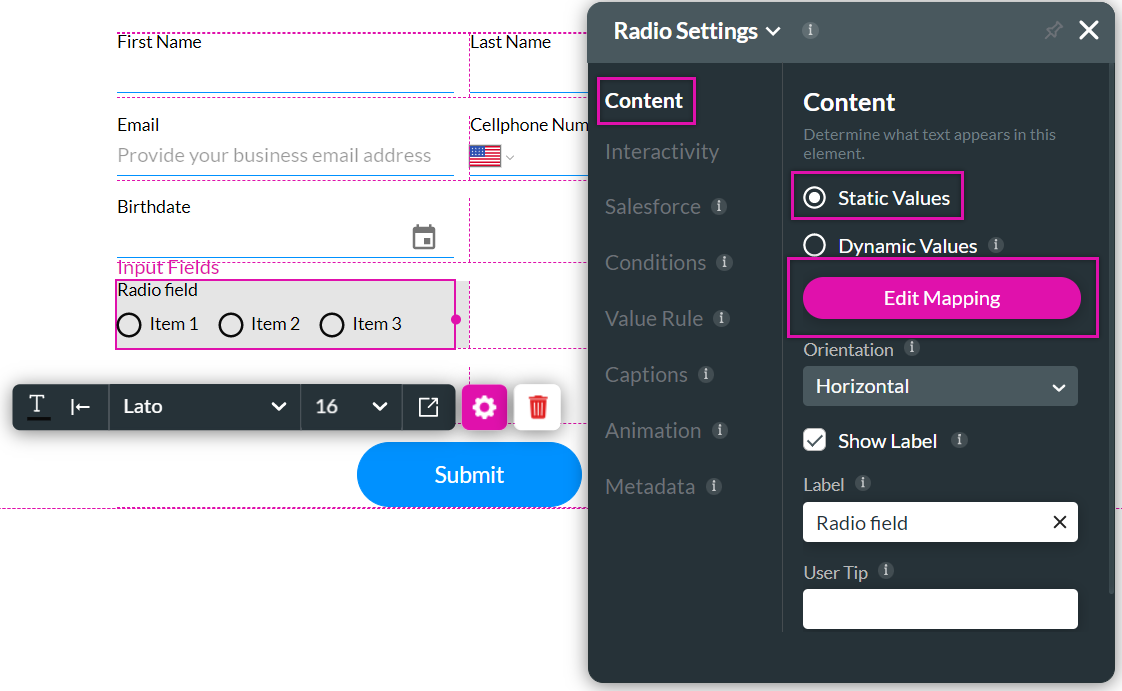
07 A Radio Button Element
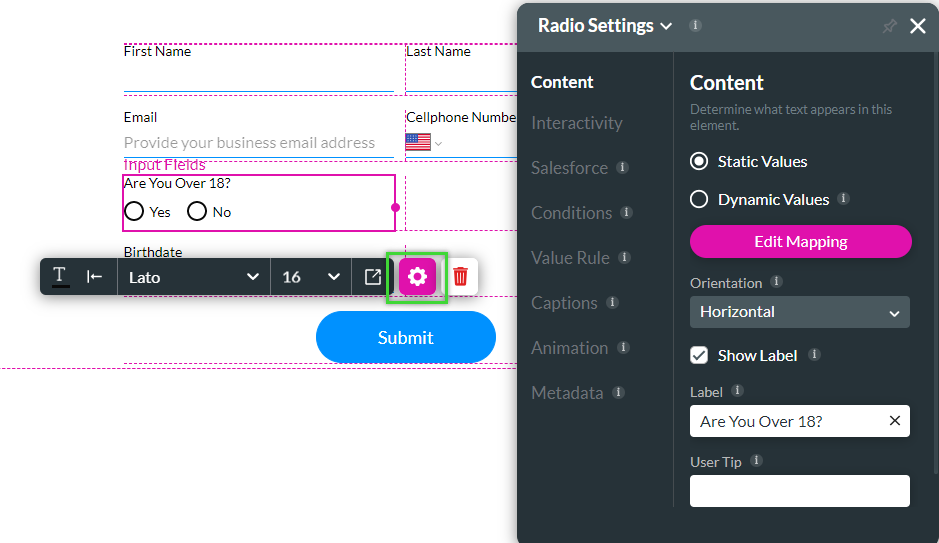
2. To map static values for your form, click on the radio element gear icon and select the content tab.
3. Click on the static values option and select Edit Mapping. The Configure Items screen opens.
4.
 Type in the Labels and Values. You can use the - sign next to the items to remove an item or use the other options to add items.
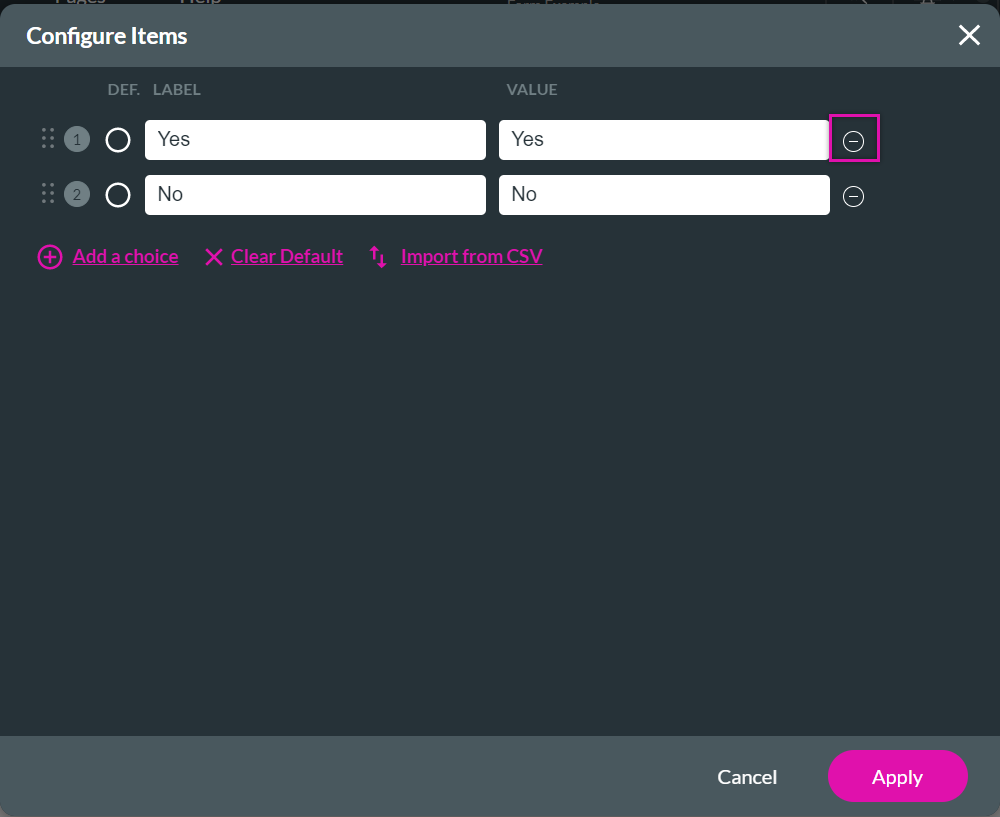
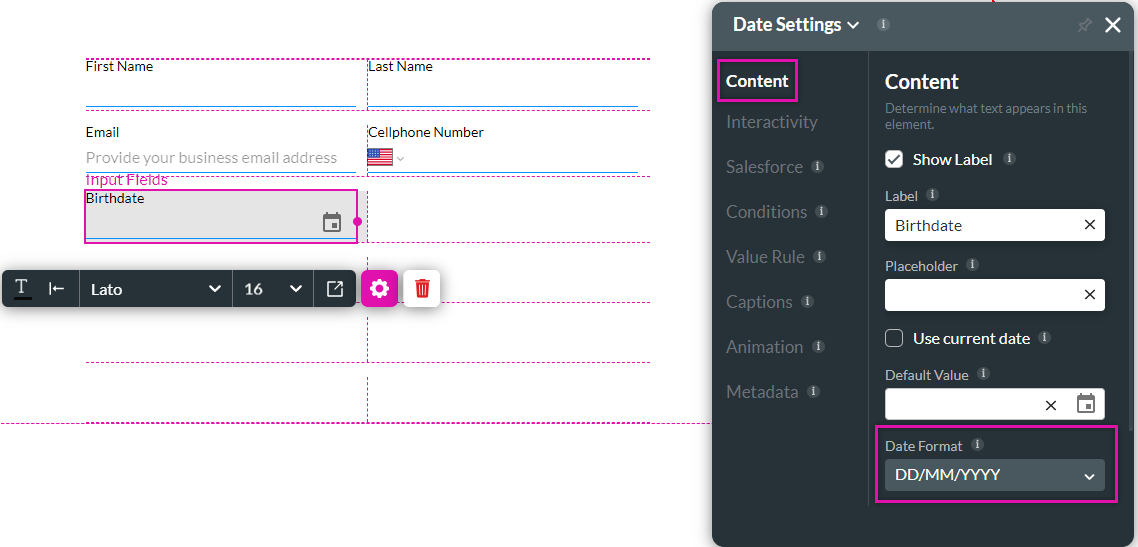
08 A Date Field
2. Click on the element gear icon and use the content tab to make changes to the format. For example, the date format.
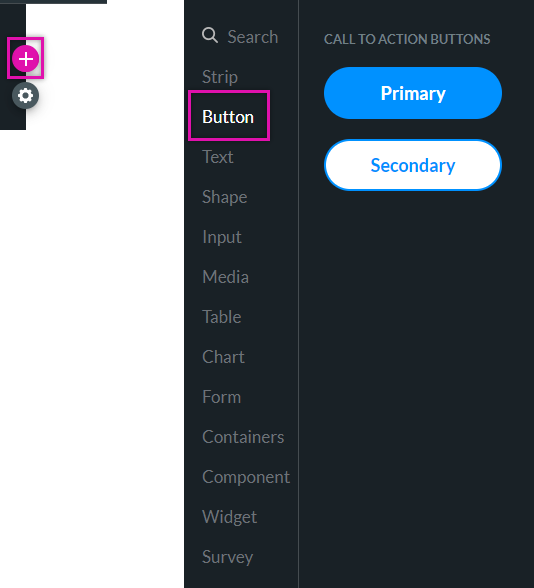
09 Adding a Button
2. Use the button element settings menu to change the button text.
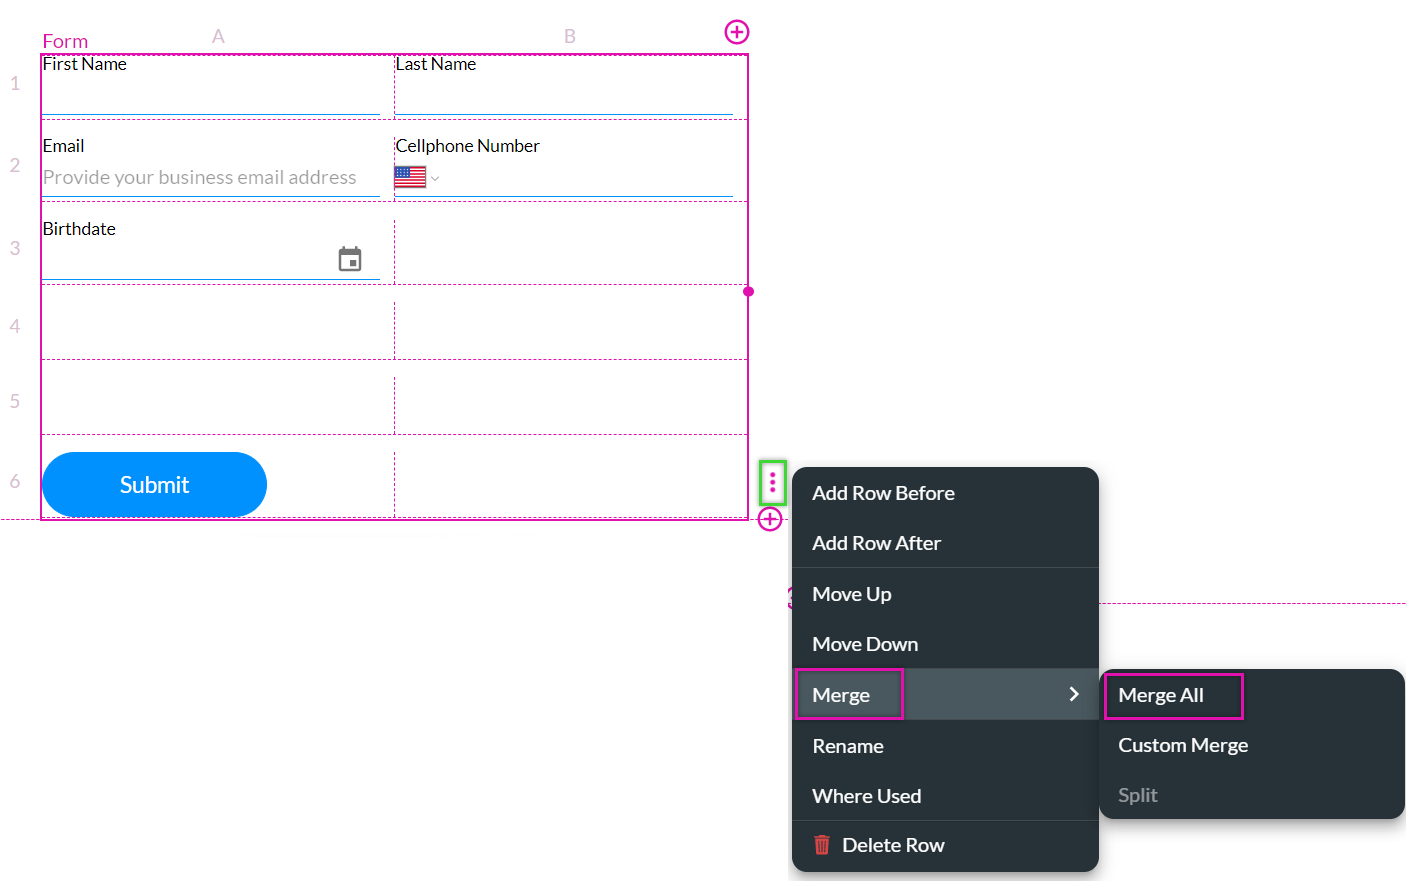
3. To center the button in the middle of the form, use the kebab menu to merge the rows. You can do a custom merge to merge multiple cells.
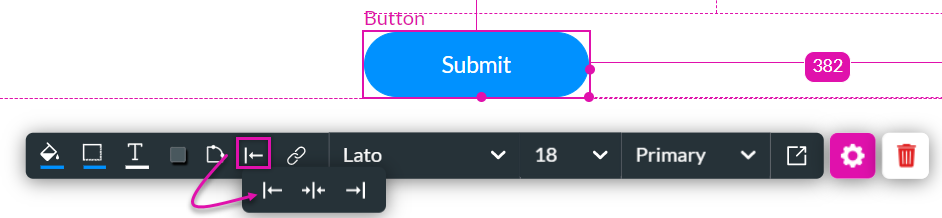
4. Click on the button and select the alignment icon. You can choose from a variety of alignment options.
The alignment applies to the button’s parent container, which, in this case, is the form element.
10 Creating a Condition
When creating conditions, it is crucial to understand that they should be assigned to the field that triggers the condition, not the affected field.
1. Click on the Radio element and select the gear icon. The element settings menu opens.
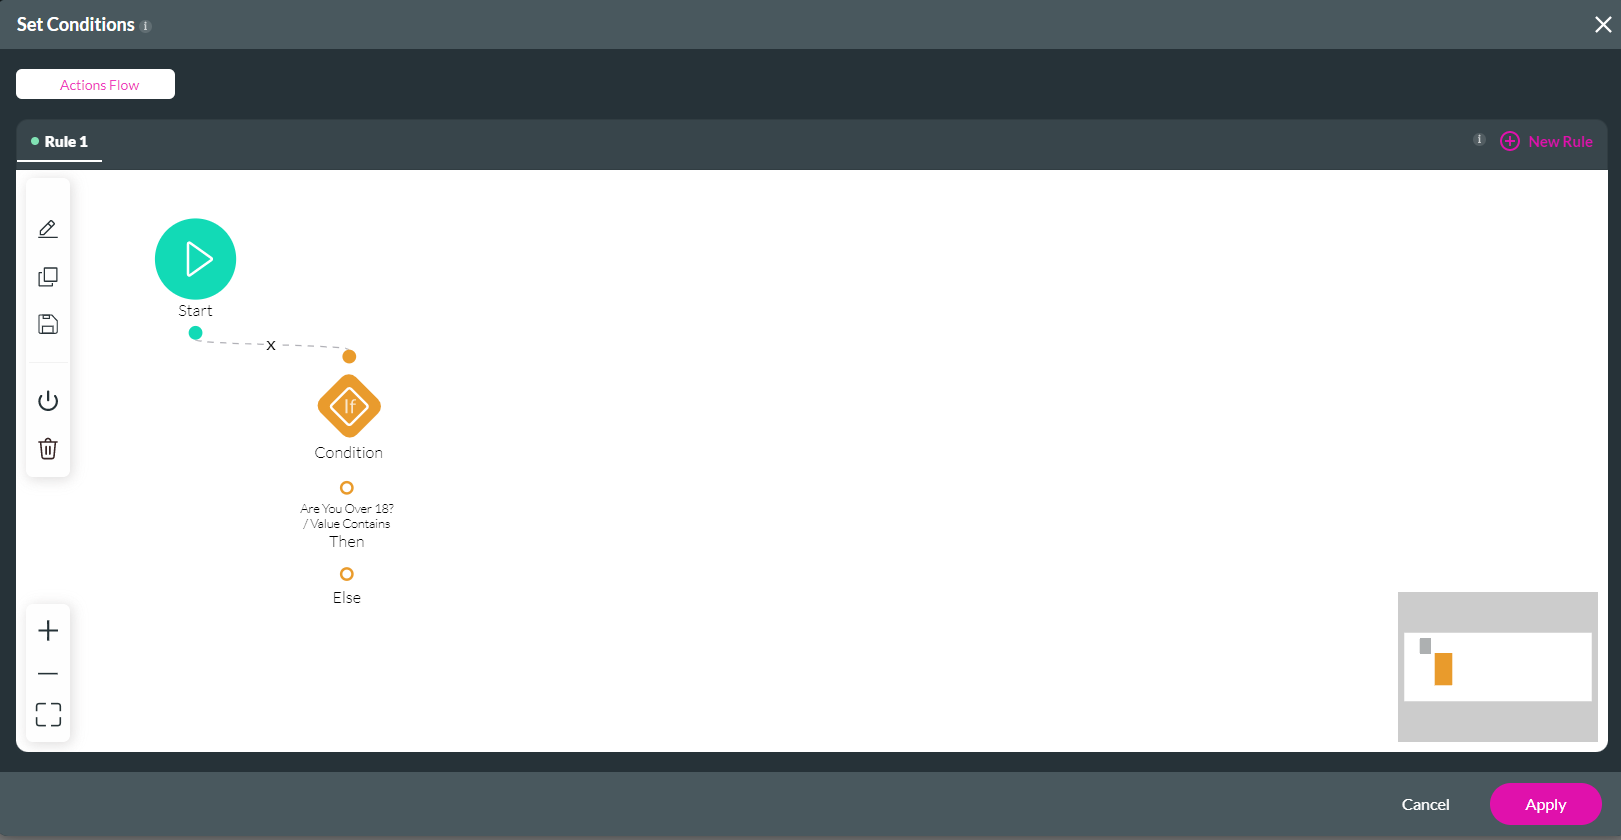
2. Select the Conditions Tab and click the Configure Conditions button. The Set Conditions screen opens.
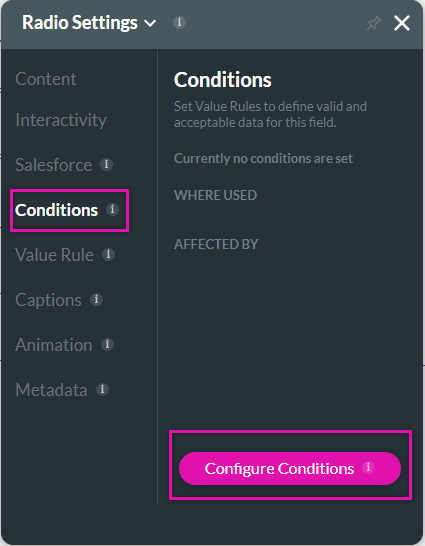
The element is automatically added to the window.
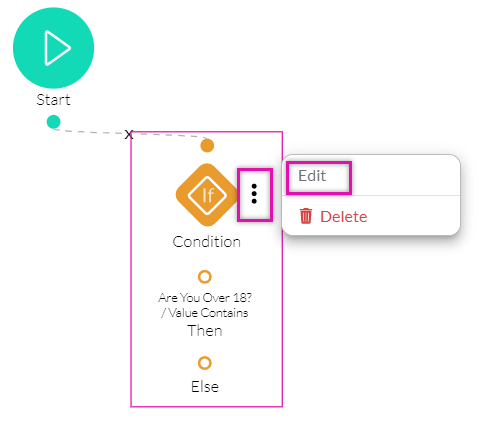
3. Hover your cursor next to the If condition, click the kebab menu, and select edit. The Edit Node Screen Opens.
4. Use the fields to confirm that the value must equal yes.
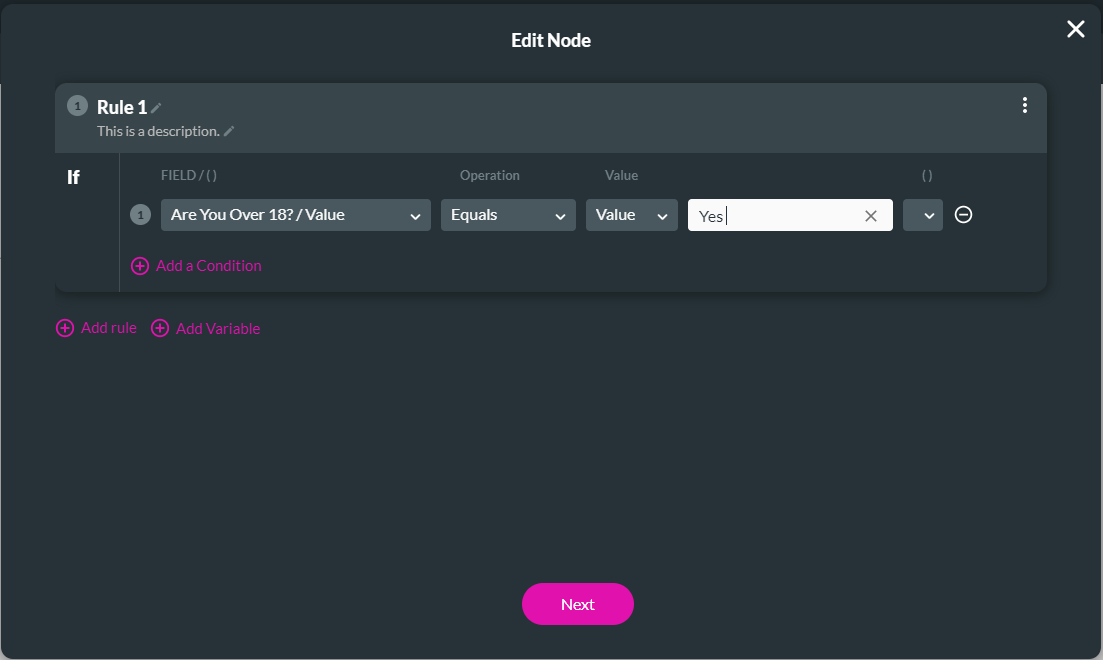
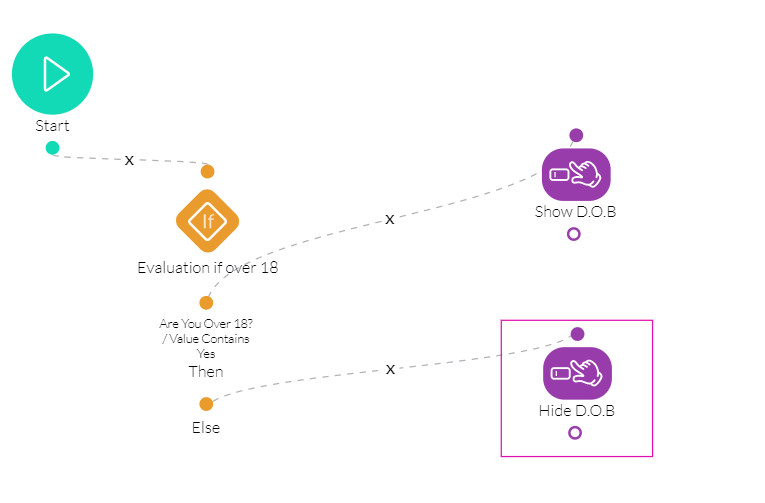
We will create two separate nodes: one if the value provided equals yes and another if it is equal to no.
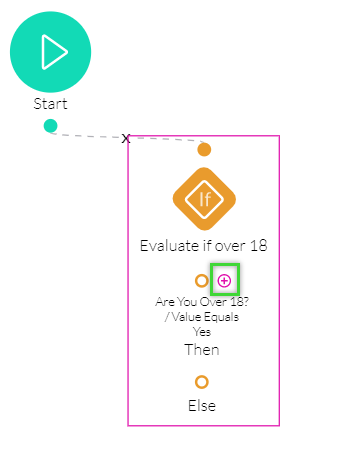
11 Configuring a Then Condition
1. Click on the + Icon next to the Then condition. The Add Node screen opens.
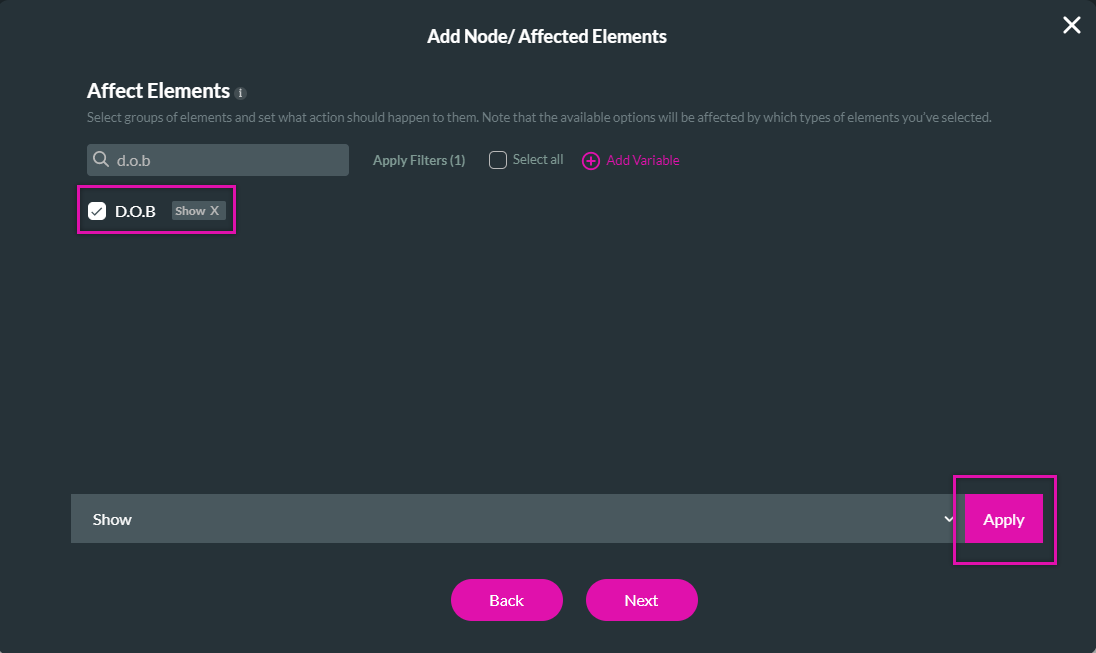
2. Select the Affected Element option and click Next.

3. Search for the birthdate element's metatag. Enable the checkbox and click the Apply button below.
4. Select Next once the configuration is complete.
5. Add a Tag describing the node's purpose and select Insert.
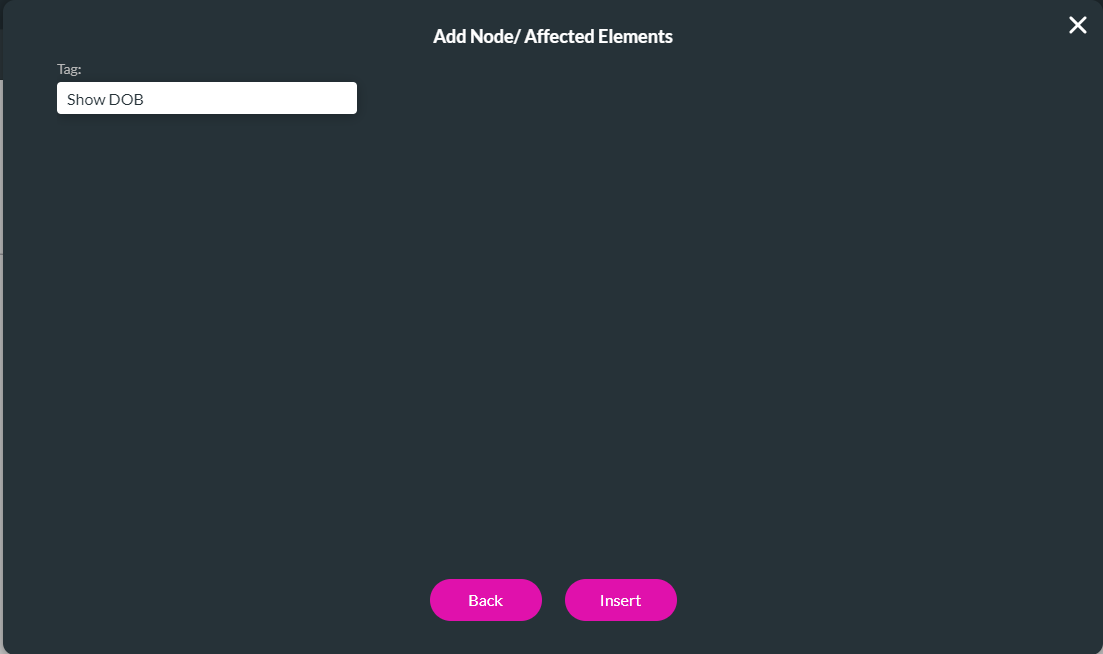
The configured condition is displayed in the flow window.
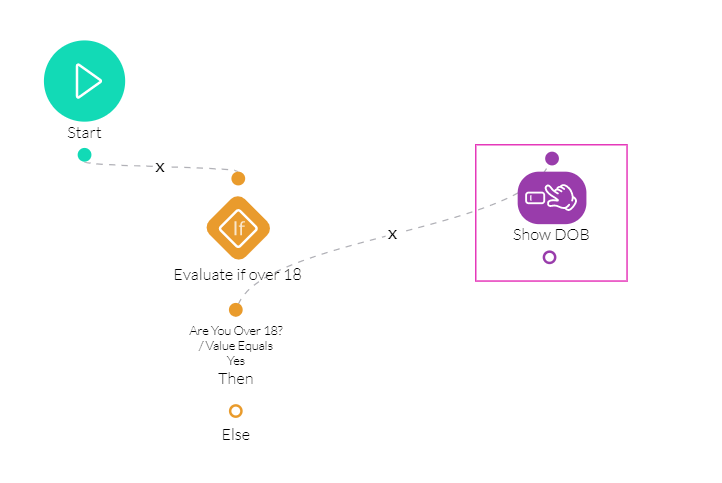
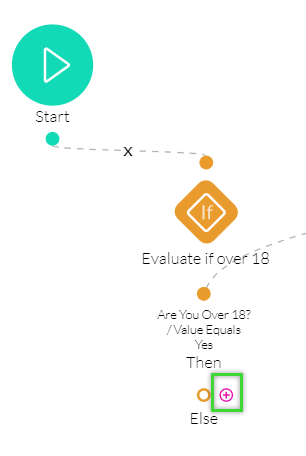
12 Configuring an Else Condition
1. Click on the + icon next to the Else condition. The add Node screen opens.
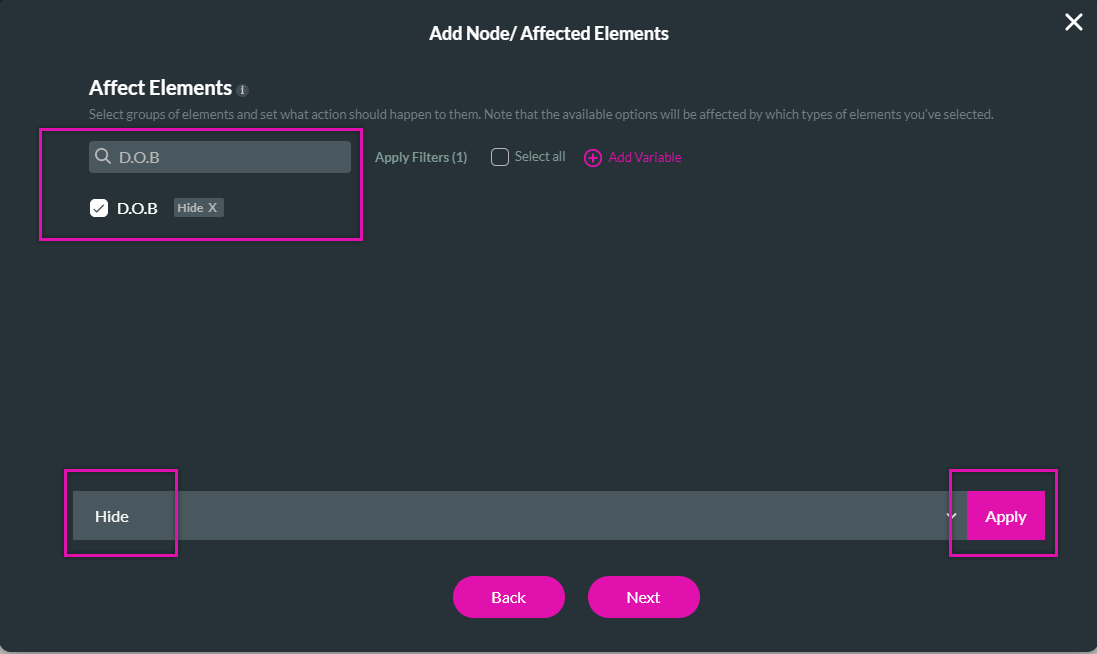
2. Select the Affected Element option and click Next.

3. Search for the birthdate element's metatag. Enable the checkbox.
4. Using the drop-down below, change the action to Hide and click the Apply button.
5. Select Next once the configuration is complete.
6. Add a Tag describing the node's purpose and select Insert.
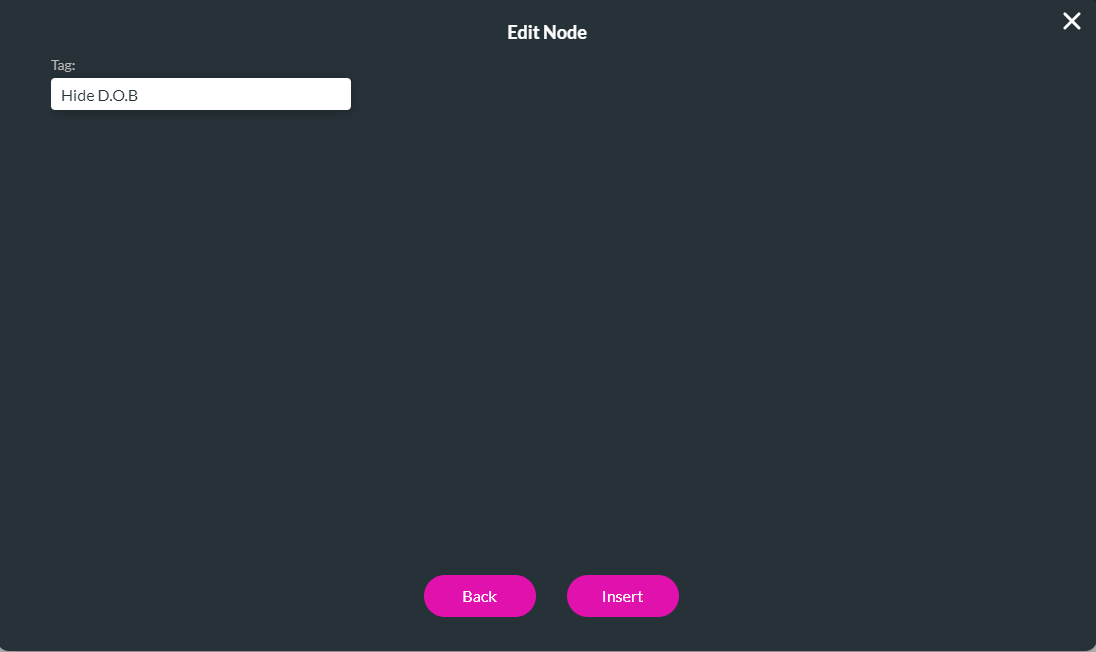
The configured condition is displayed in the flow window.
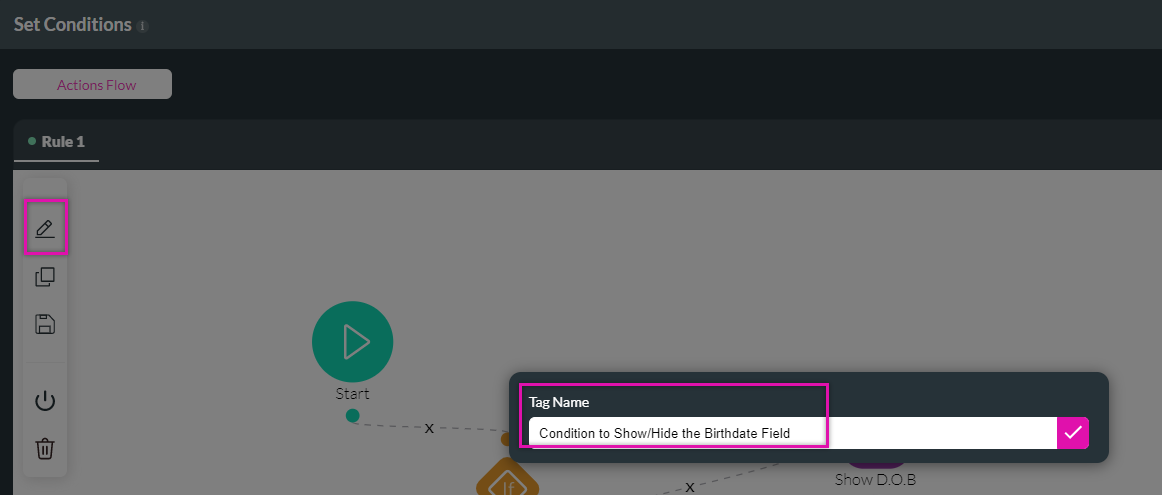
13 Updating Condition Rule Name
1. Select the Edit icon in the Set Conditions Window.
2. Type the new condition rule name in the tag name field and click the tick icon.
14 Making Fields Mandatory
2. Select the Interactivity tab and enable the mandatory function.
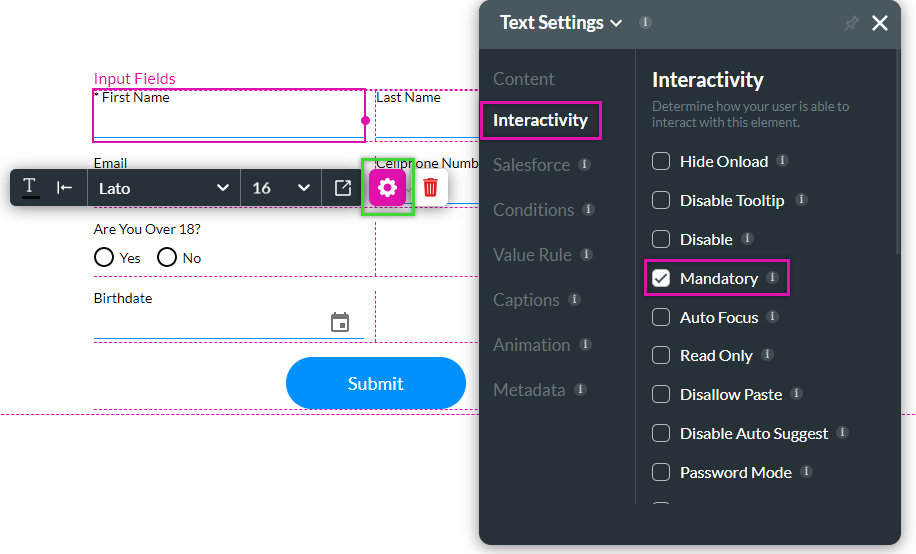
The same steps can be followed for any of the input fields.
15 Creating a Value Rule
2. Select the Value Rule tab and click the Set Value Rules button. The Set Condition screen opens.
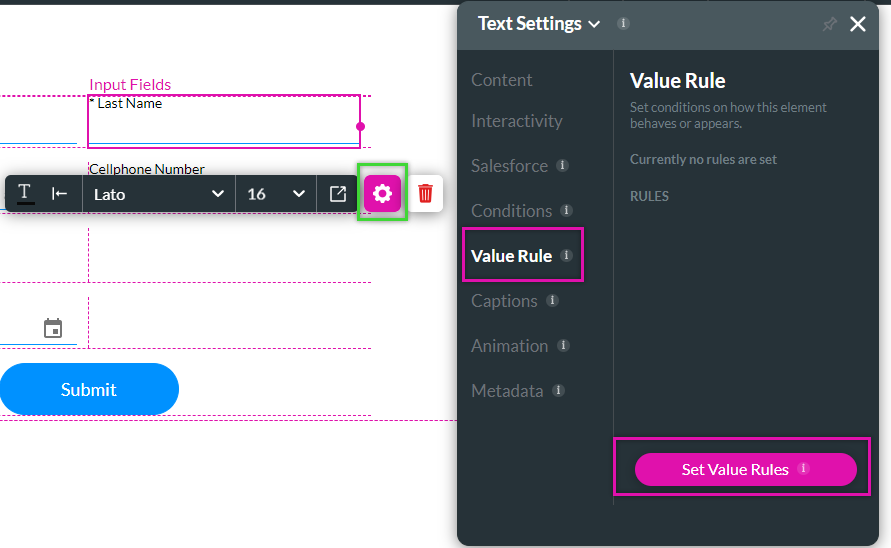
3. Using the drop downs, create a rule that the text is only valid if it contains alphabetic letters.
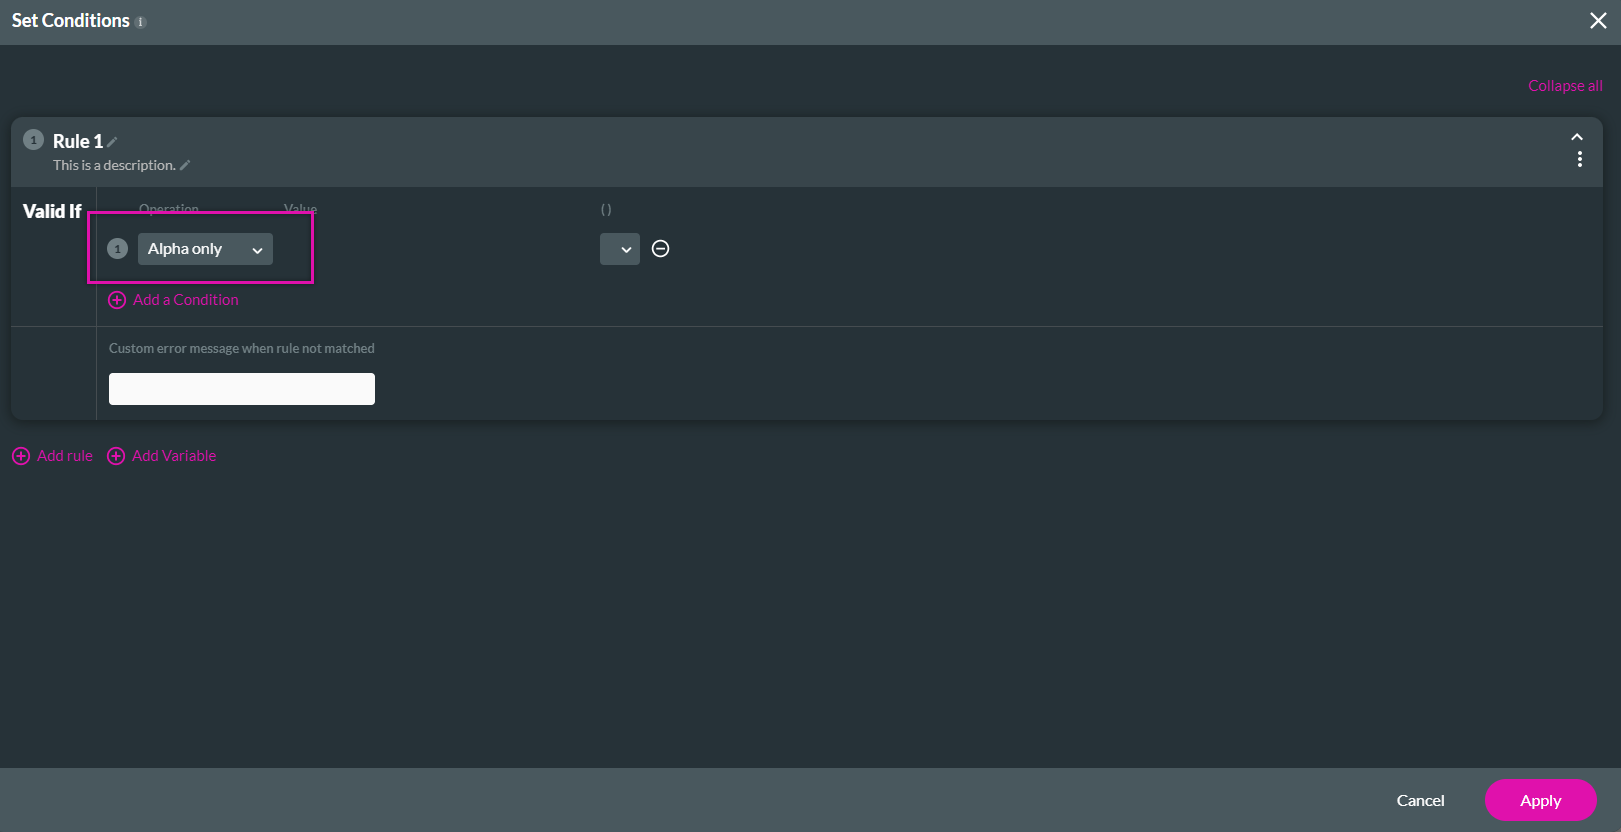
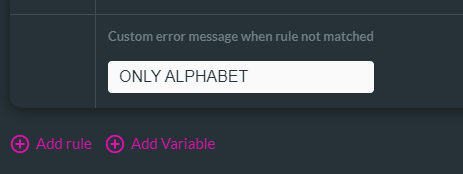
4. Type in an error message to display to users if they input the incorrect data and click Apply.
16 Save and Preview the Project
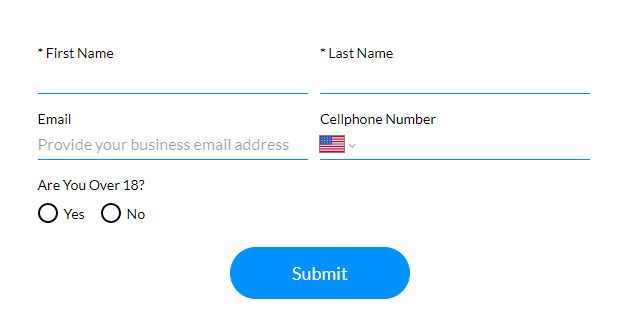
The Birthdate field is not displayed to the user as the condition rule has not been met. The Submit button has also moved higher on the form, and form elements offer the more significant advantage of automatically resizing the screen.
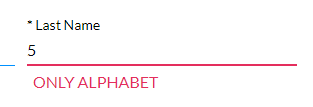
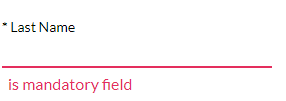
The configured error message displays if a numerical input is added to the Last Name field.
A warning message displays if all text is removed from a mandatory field.
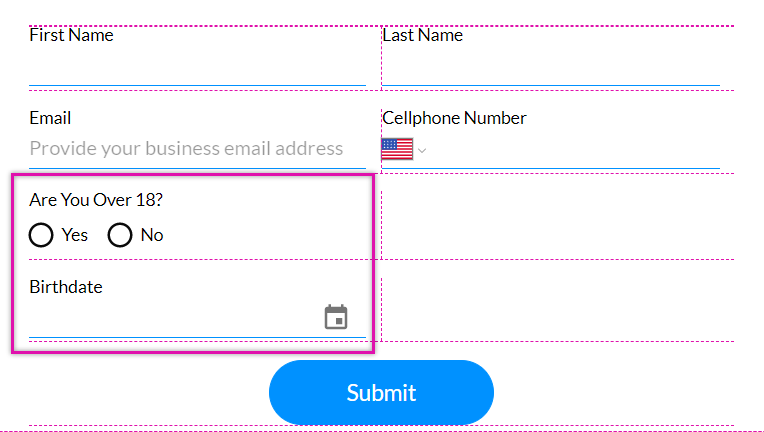
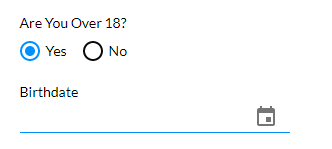
By answering yes to the radio button question. The birthdate field displays.
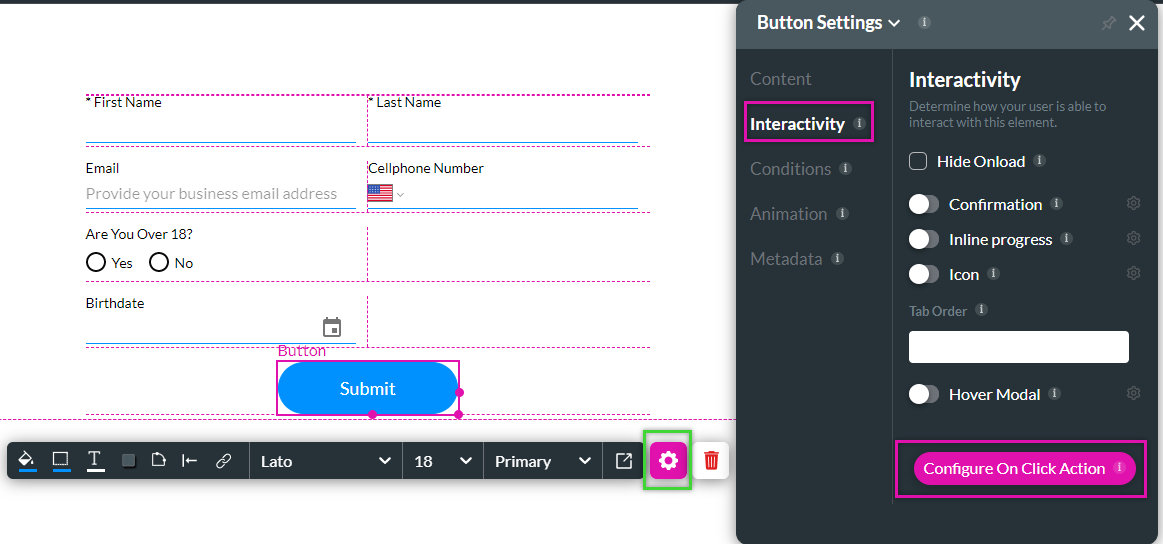
17 Adding On Click Configuration to a Button
2. Select the Interactivity tab and the Configure On Click Action button. The OnClick Action screen opens.
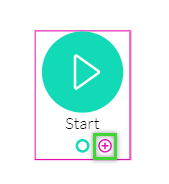
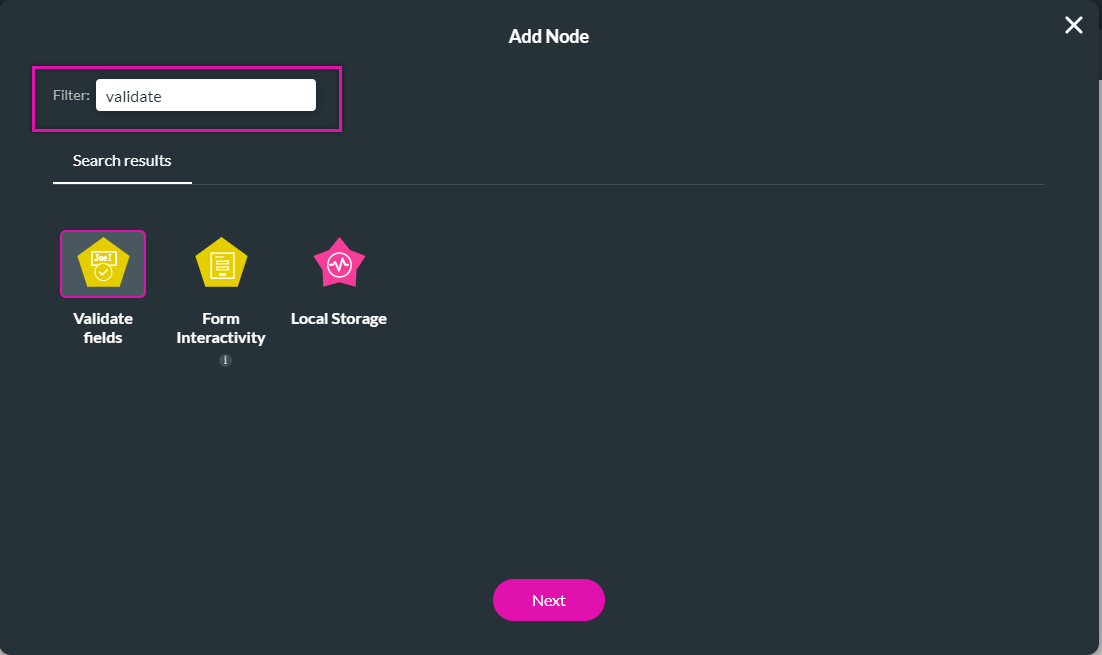
3. Click on the + icon next to the Start. The Add Node screen opens.
4. Search for the Validate option and select Validate Fields.
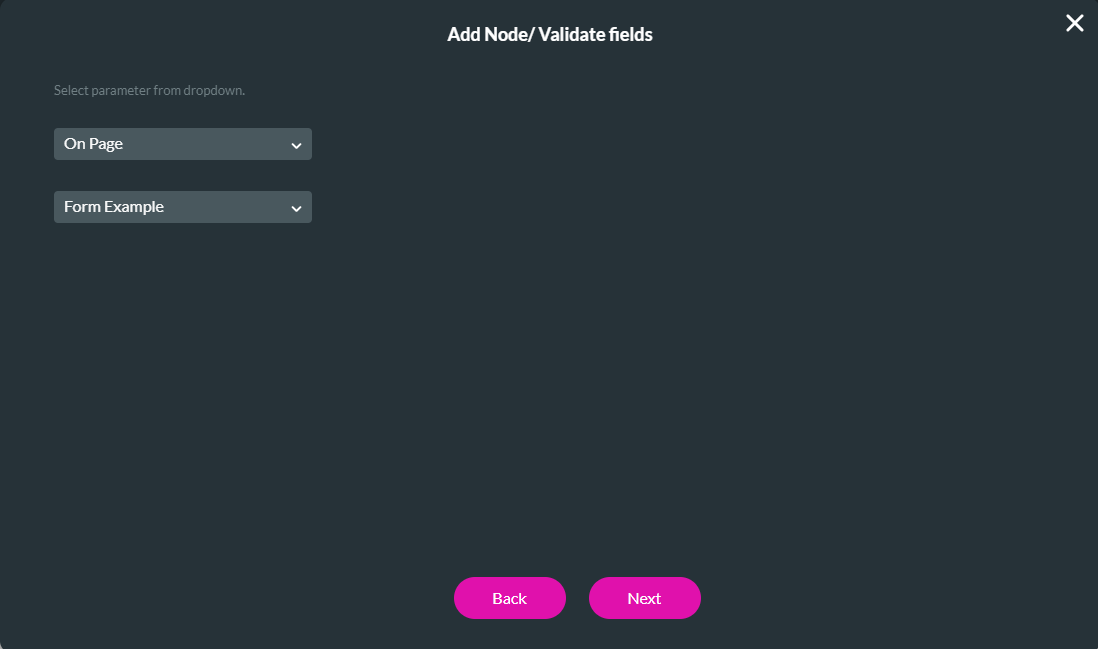
5. Use the dropdowns to choose which fields need to be validated. For example, we want the form example on a web page to be validated. Click Next.
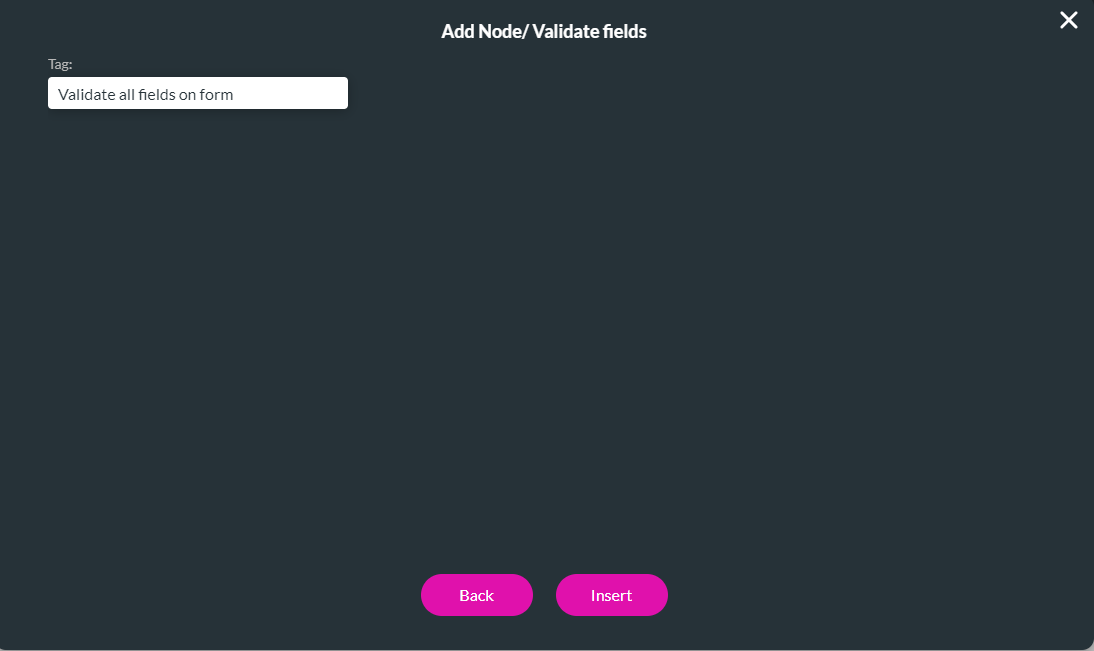
6. Type in a tag name that describes the condition and click Insert.
The condition is displayed in the actions flow screen.
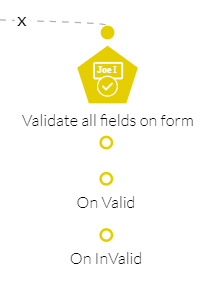
For this example, we will show messages to the user whether their content is valid or invalid.
7. Click the + icon next to the On Invalid option. The Add Node screen opens.
8. Select the Show Message option and click Next.
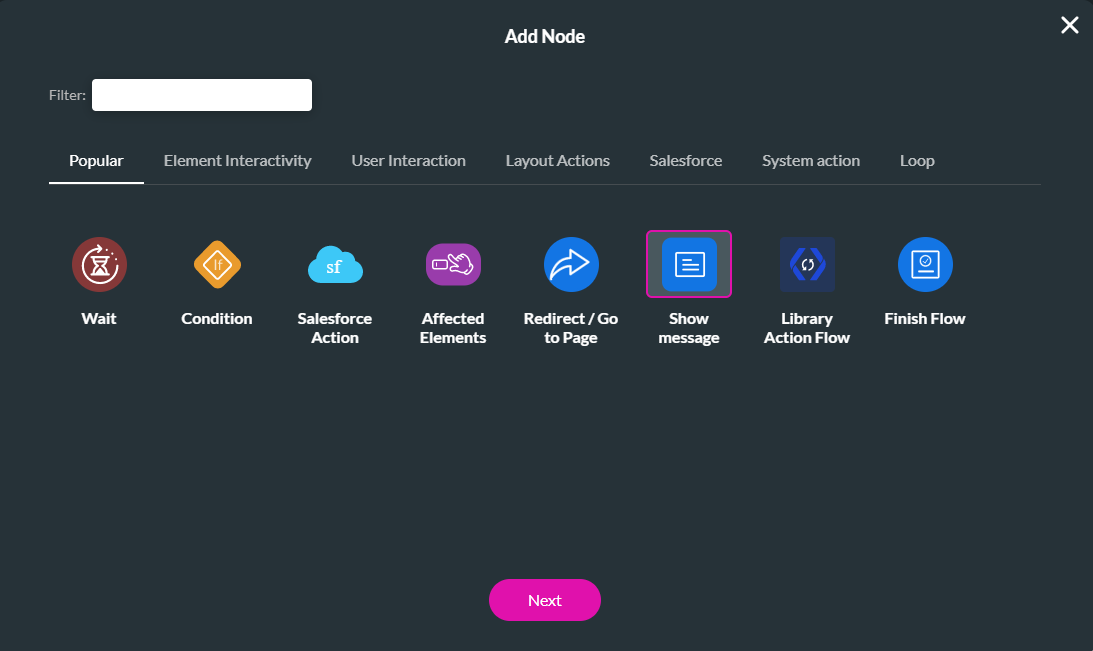
9. Create a custom message to display to the user if they provide invalid data. You can also customize the font used.
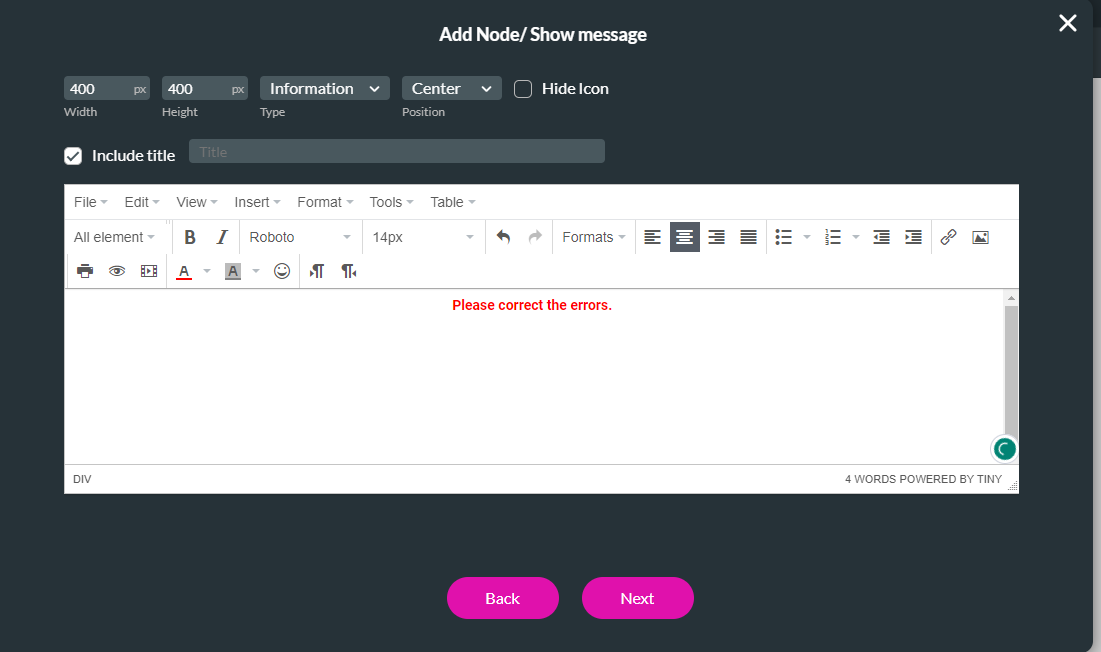
The same steps can be followed when inserting a validation message, except a confirmation message should be selected in the add node screen.
18 Save and Preview the Project
Due to the built-in validation for the email field, this will be flagged if the user inputs an invalid email.
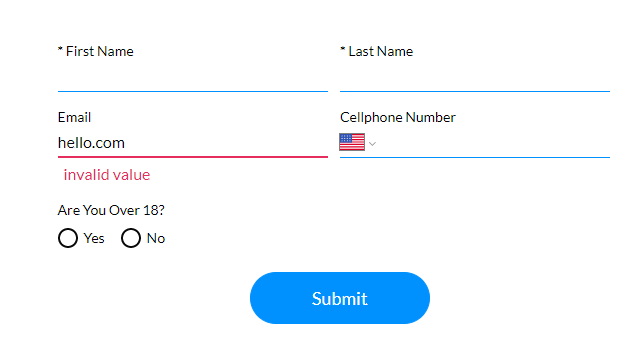
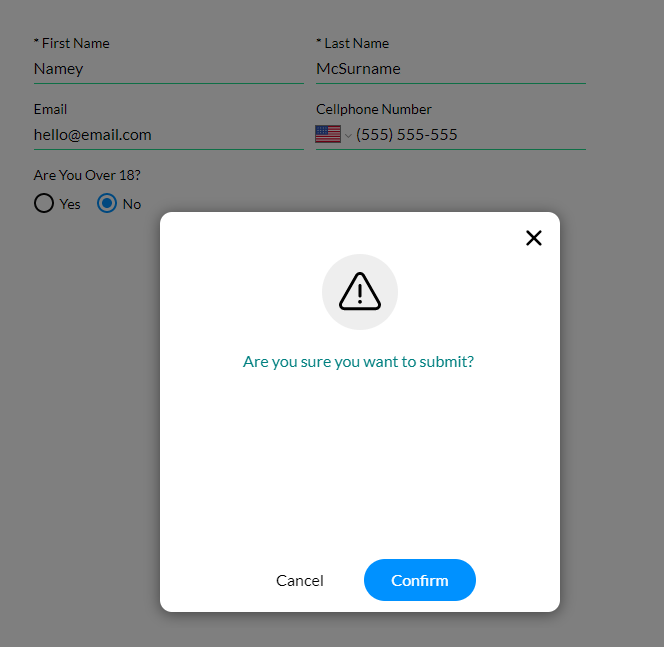
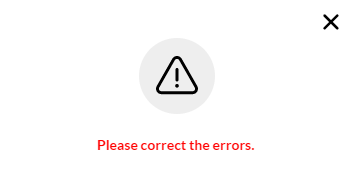
If the user tries to submit the form without completing the fields directly, the following error message will appear:
The confirmation message displays if the user provides valid data and clicks the submit button.