Styling SmartV (5:30 min)
Completion requirements
01 Getting Started
This tutorial covers styling the SmartV Login, including:
Smart V authenticates and verifies users, allowing you to limit access to webpages containing protected information only to intended users.
- How to add a login page.
- Login page layout.
- Style options in the default layout.
Smart V authenticates and verifies users, allowing you to limit access to webpages containing protected information only to intended users.
02 Adding a Login Page
1. Navigate to your Project Settings.
2. Click the User Access tab and enable the Smart V toggle switch. Your project now has a login page. To access, expand the navigation dropdown under the project heading, select SmartV, and click Log In on the submenu.

2. Click the User Access tab and enable the Smart V toggle switch. Your project now has a login page. To access, expand the navigation dropdown under the project heading, select SmartV, and click Log In on the submenu.

03 Login Layout
The login screen has a set layout with minimal customization options. You can choose which fields will be used to verify the user, make changes to the text, and you can style the existing components on the page.
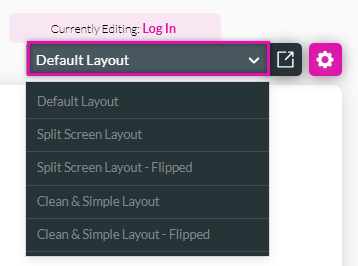
To make changes to the layout, expand the Default Layout dropdown and choose from the options.
To make changes to the layout, expand the Default Layout dropdown and choose from the options.
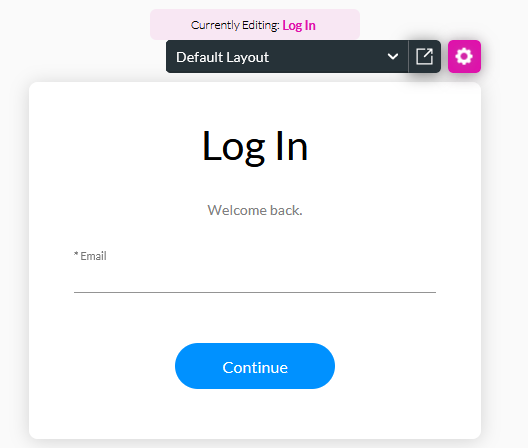
Default Layout example:
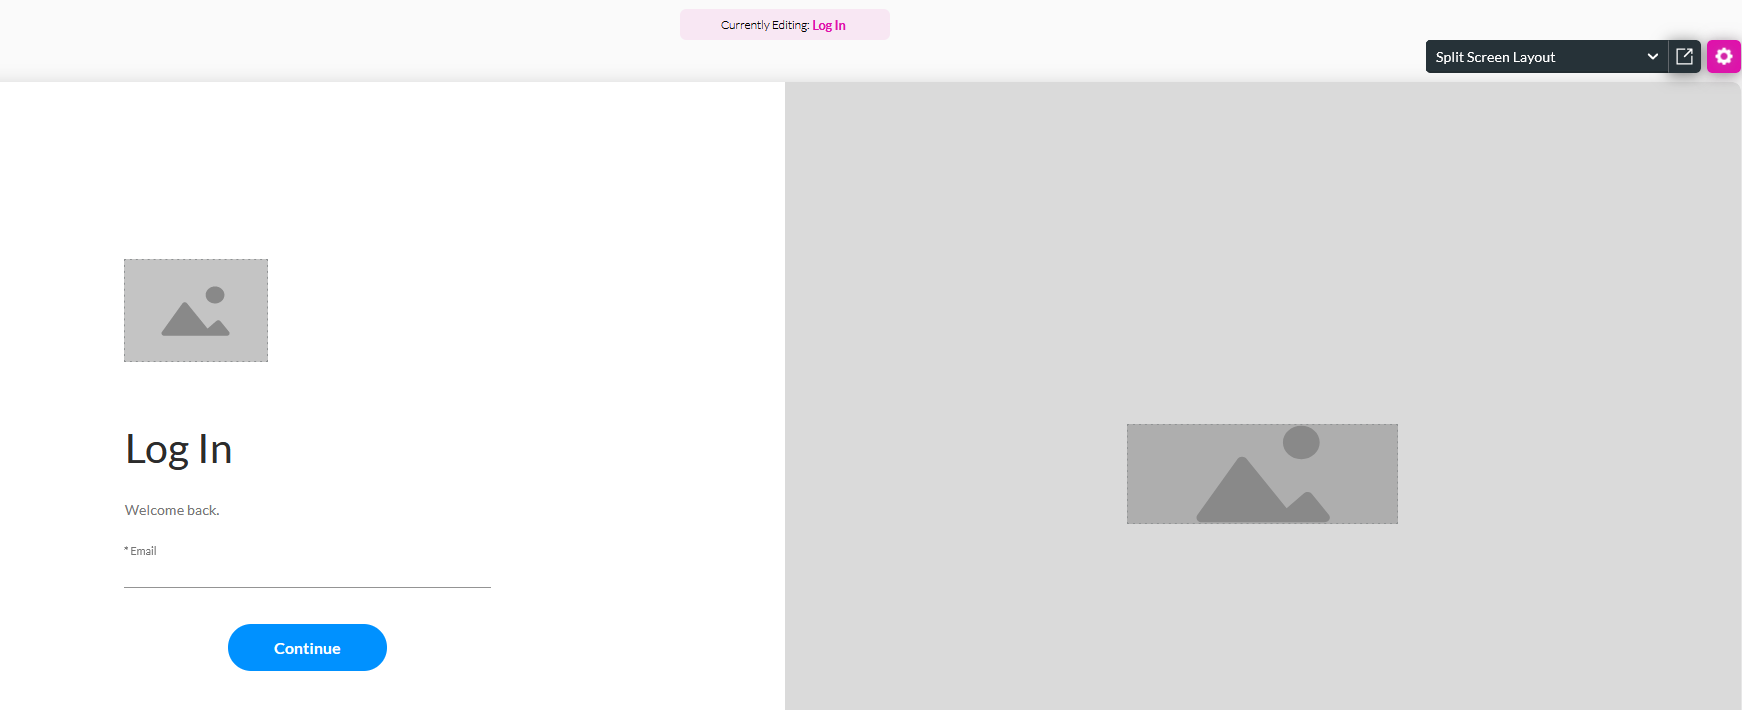
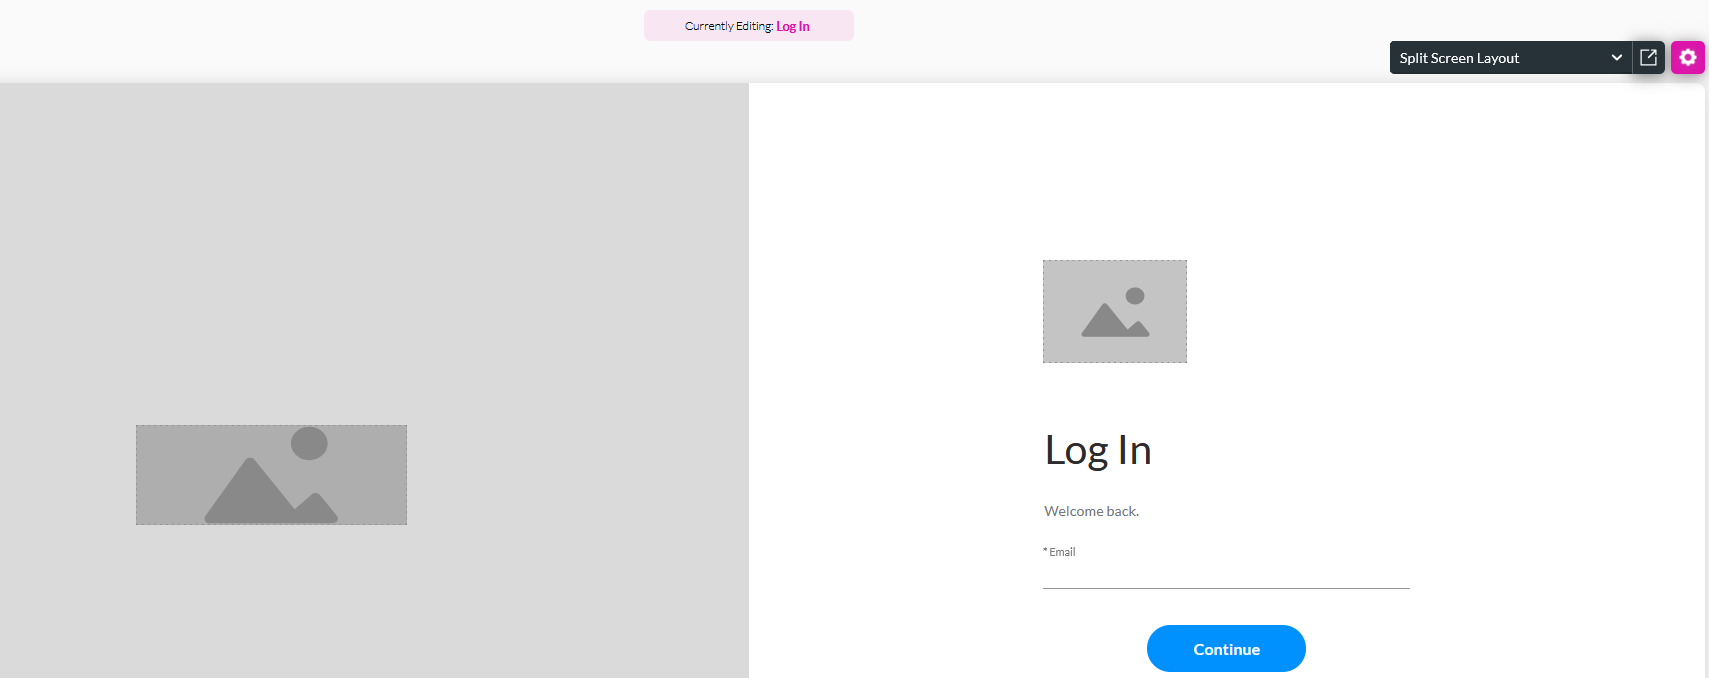
Split Screen Layout example:
Split Screen Layout - Flipped example:
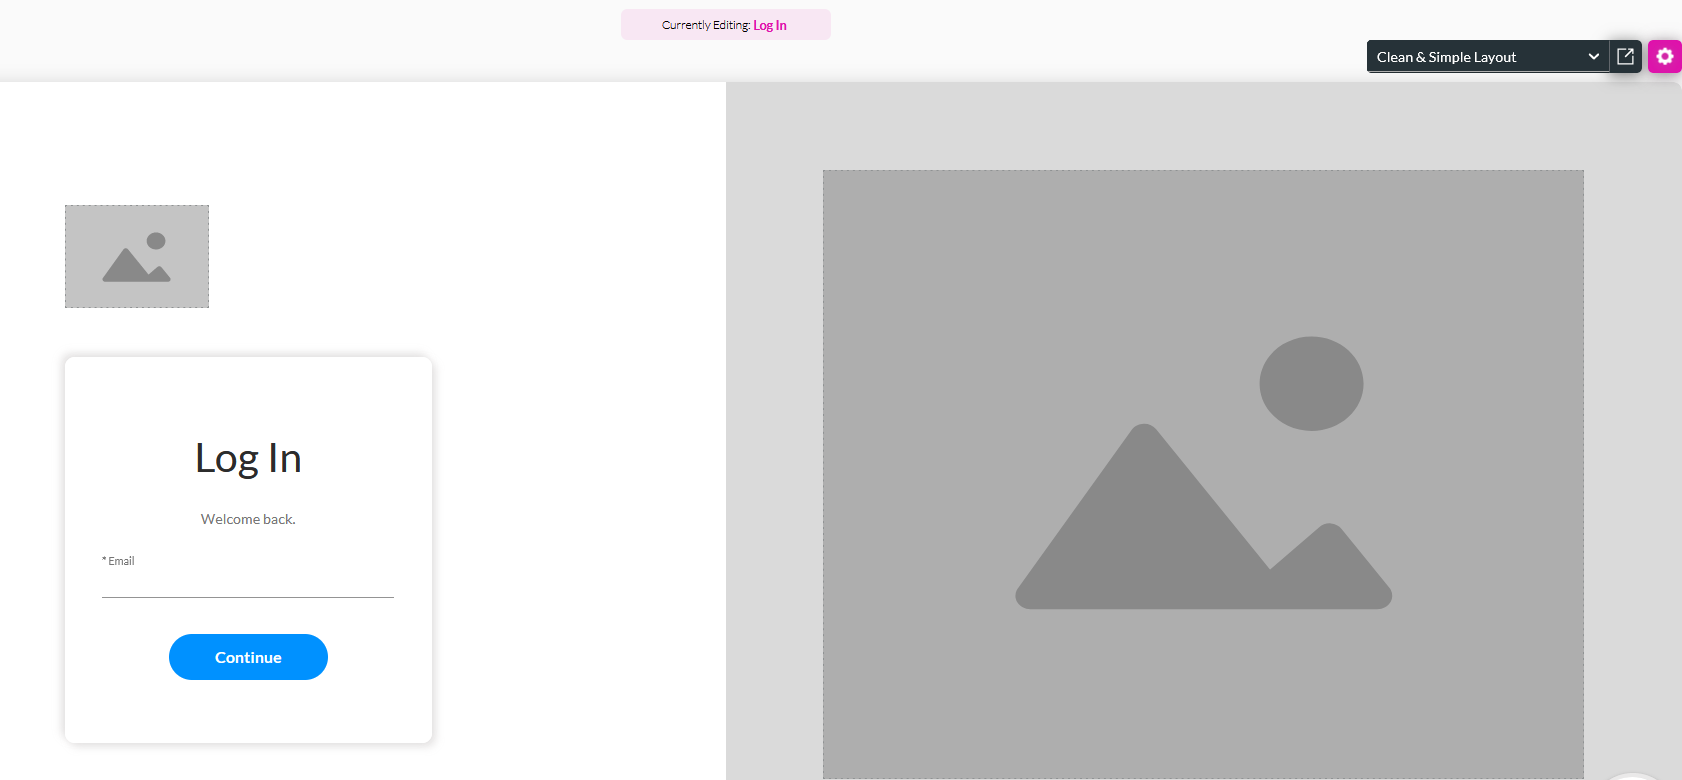
Clean & Simple Layout example:
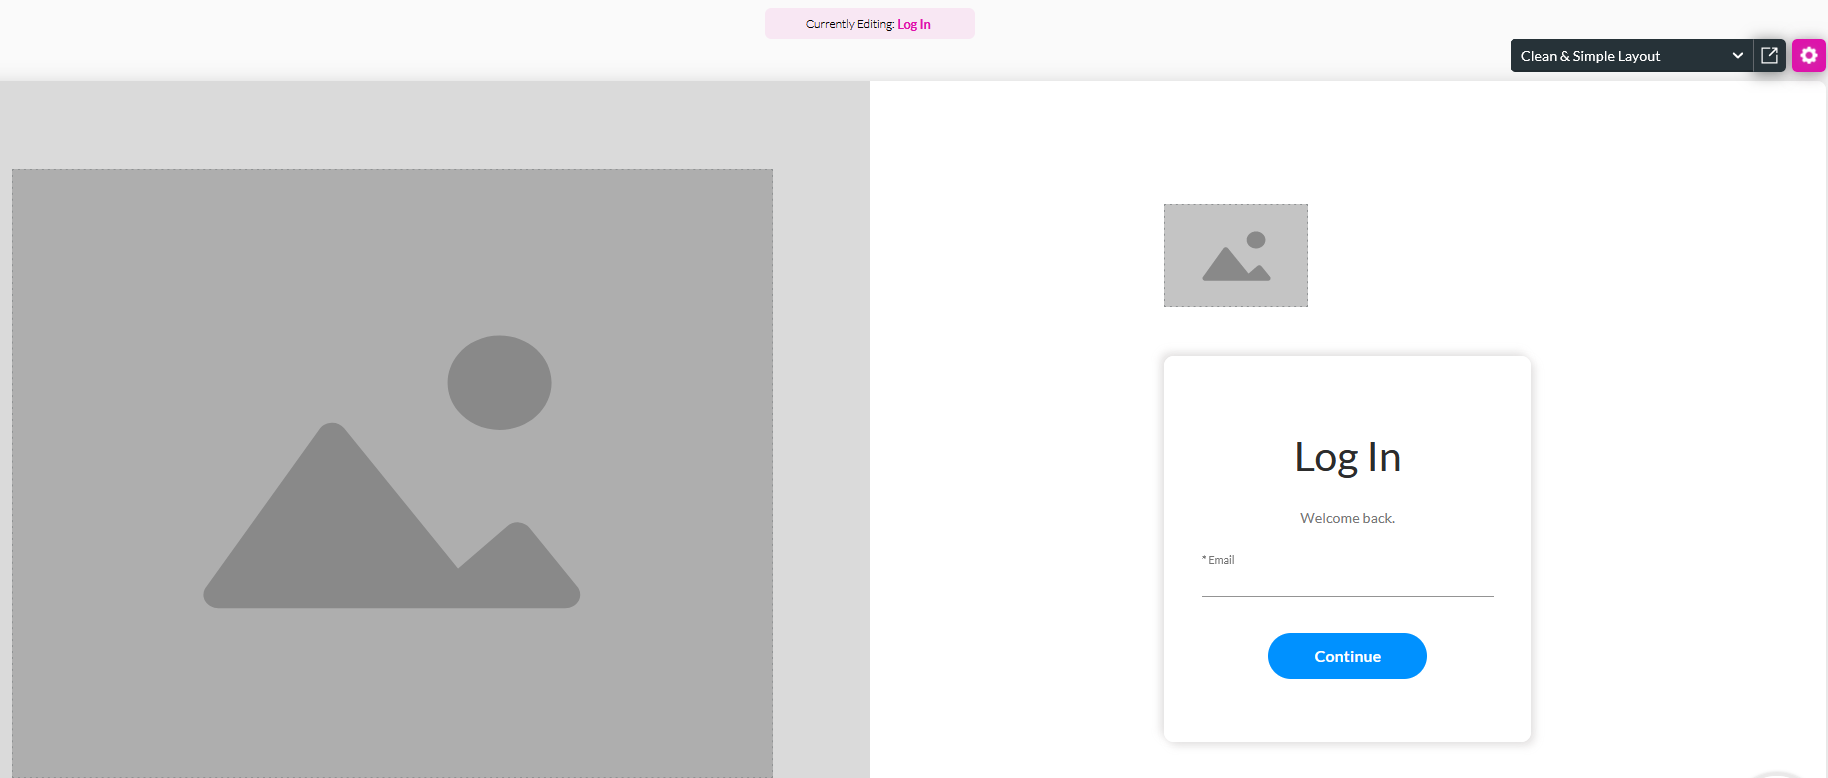
Clean & Simple Layout - Flipped example:
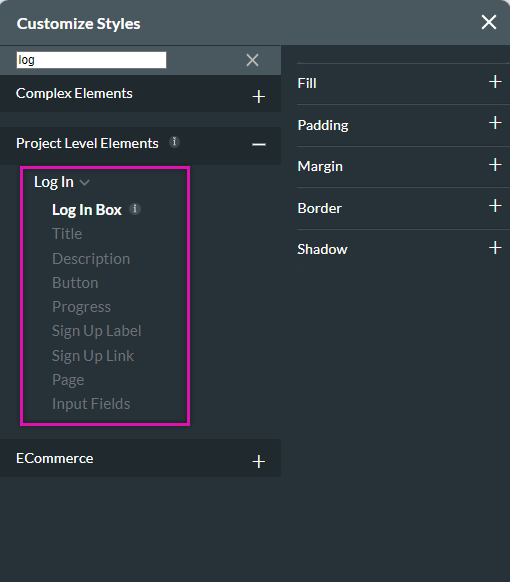
04 Log In Styling Menu
For the below example, the default layout was selected.
1. Click the style icon from the quick menu. The Styling Menu opens.
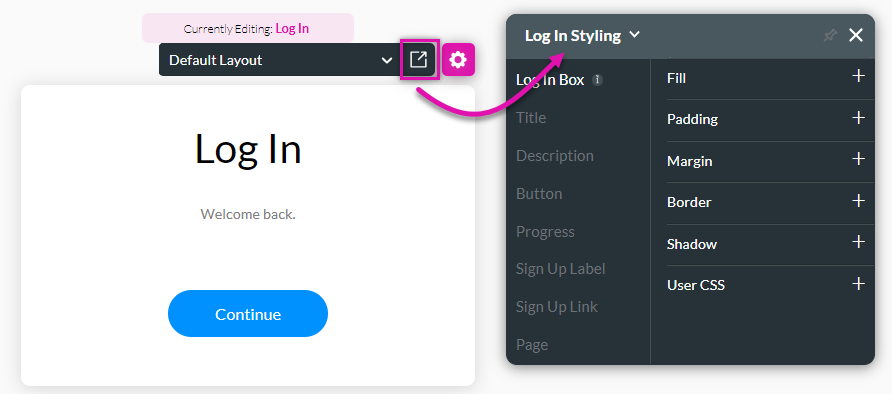
Using the tabs, you can edit the login screen to match the look and feel of your business brand or web project.
The input style can be changed inside the Project Styling menu.
