Structure (2 min)
Completion requirements
01 Getting Started
This tutorial covers the structure of a Titan Web project, including:
- Page structure
- The Strip
- Content Area
02 Page Structure
A blank home page is open by default when creating a new project and selecting the blank template.
You can add more pages to your project by using the pages drop-down.
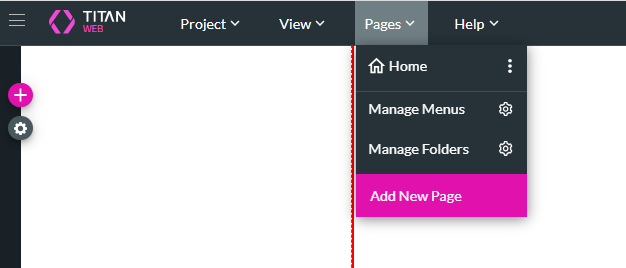
You can add more pages to your project by using the pages drop-down.
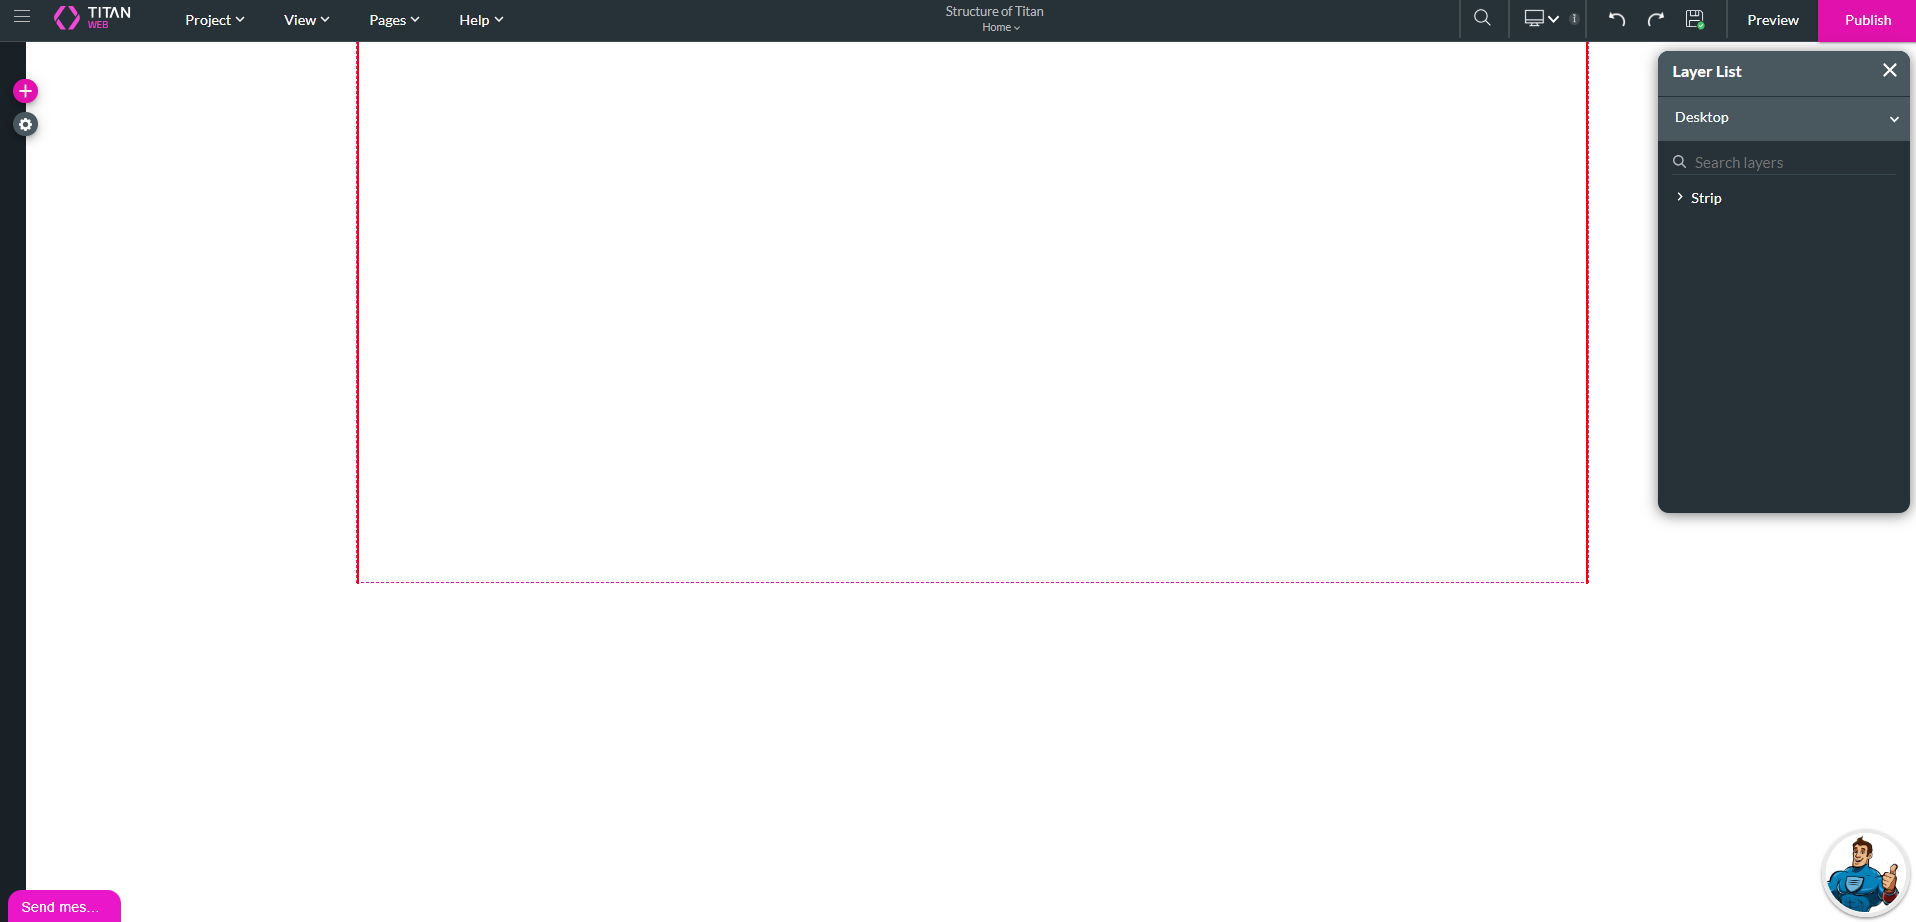
03 Strips
Each page consists of strips. Strips are areas within a page that you can insert content into. Strips allow for a flexible layout as you can drag and drop elements anywhere within the strip.
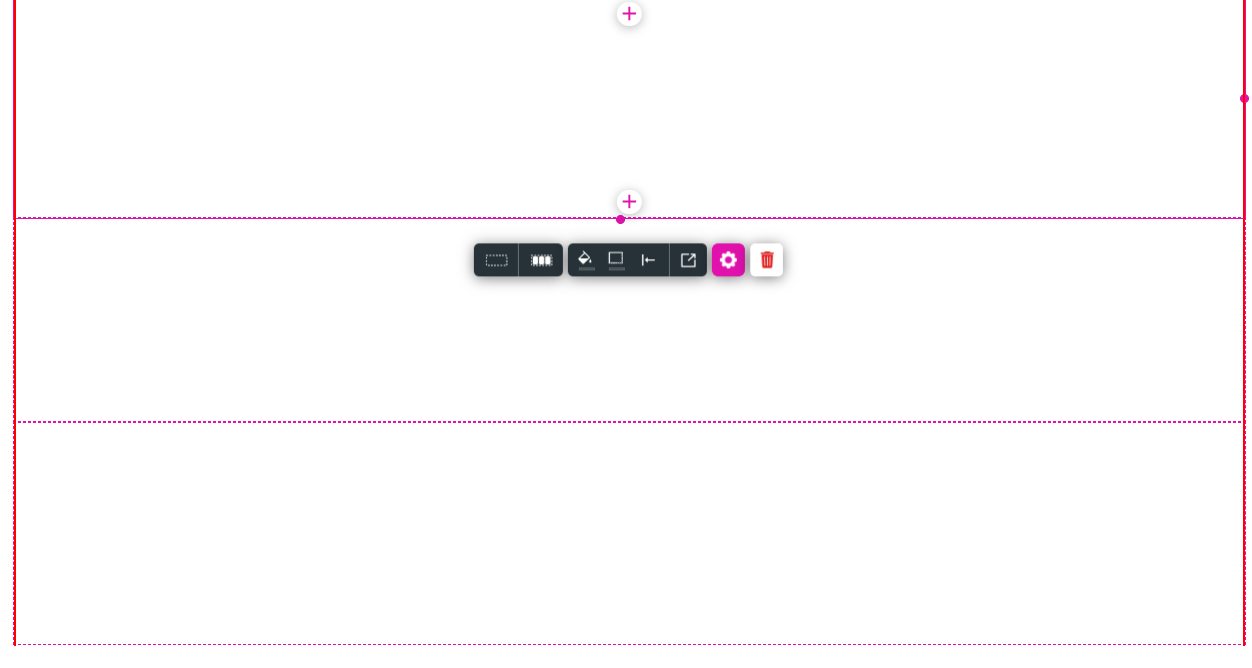
When starting from a blank template, there is one strip on the page. You can easily add strips by clicking inside the strip area and selecting the + icon.
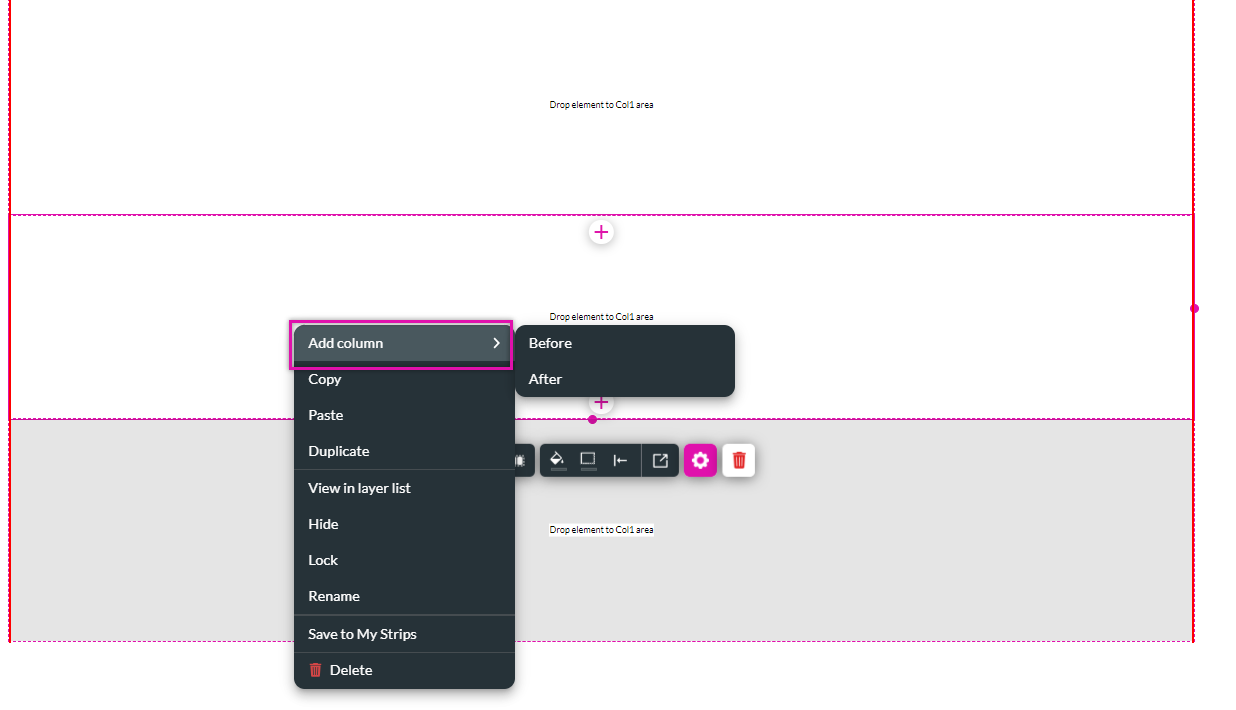
Each strip consists of one column. To add more columns:
1. Right-click inside the strip, expand the Add Column option, and choose where you want your additional column added.
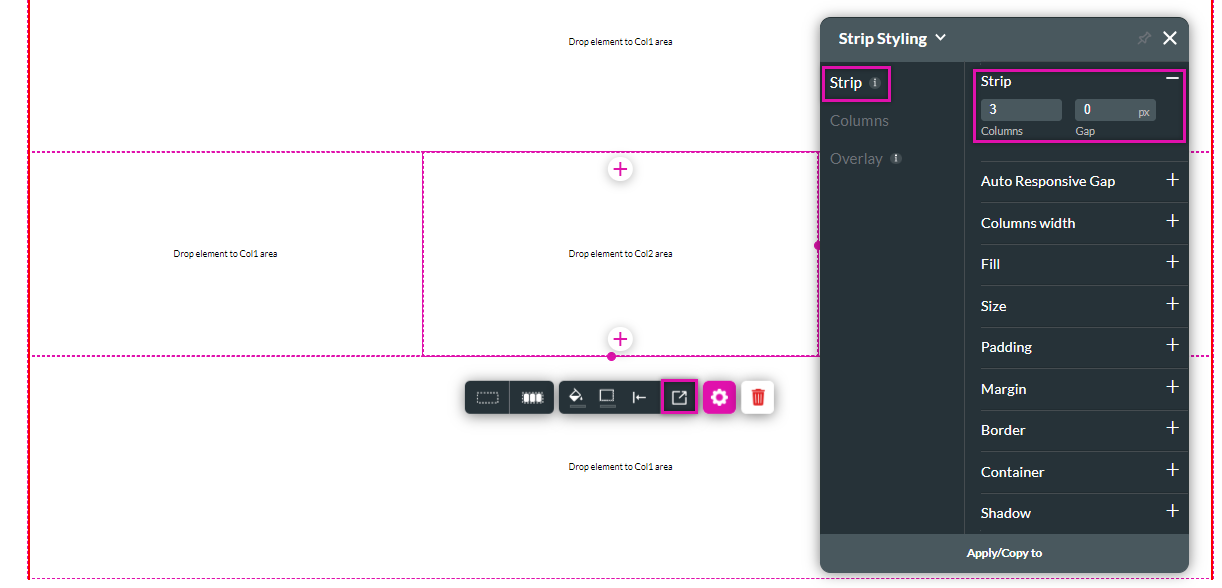
You can also use the styling menu to add columns:
1. Click on the Strip styling icon. The Strip Styling menu opens.
2. Select the strip tab and expand the strip dropdown.
3. Configure the number of columns and the spacing between the columns.
When starting from a blank template, there is one strip on the page. You can easily add strips by clicking inside the strip area and selecting the + icon.
Each strip consists of one column. To add more columns:
1. Right-click inside the strip, expand the Add Column option, and choose where you want your additional column added.
You can also use the styling menu to add columns:
1. Click on the Strip styling icon. The Strip Styling menu opens.
2. Select the strip tab and expand the strip dropdown.
3. Configure the number of columns and the spacing between the columns.
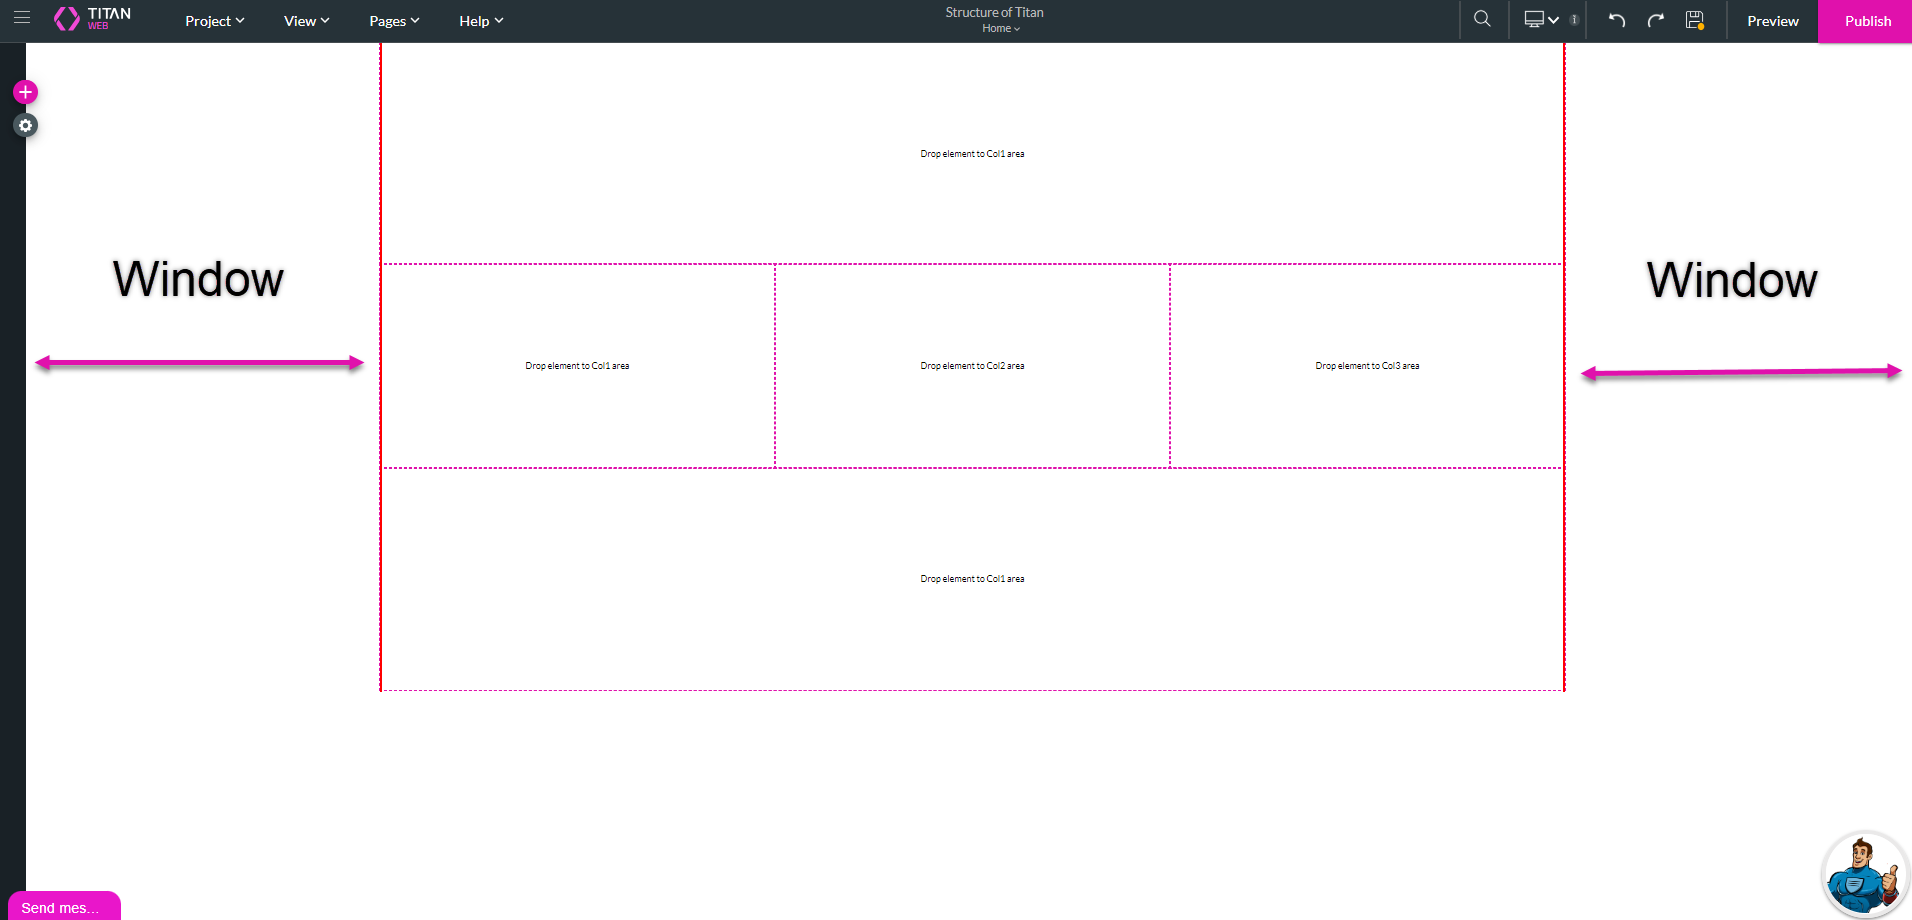
04 Content Area
The strip takes up a portion of the canvas. The space outside the strip area is called the window. You can add styling to the window to enhance your strip design.