Style the Strip Columns (2 min)
Completion requirements
01 Getting Started
This tutorial covers styling the strip columns, which includes:
You can add more columns in two ways:
1. Right-click inside the strip, expand the add column menu, and choose where the column must be added.
2. Navigate to the strip styling menu, click the strip tab, expand the strip dropdown, and configure the number of columns.
- Selecting the column
- Changing the column style
- Resizing columns
You can add more columns in two ways:
1. Right-click inside the strip, expand the add column menu, and choose where the column must be added.
2. Navigate to the strip styling menu, click the strip tab, expand the strip dropdown, and configure the number of columns.
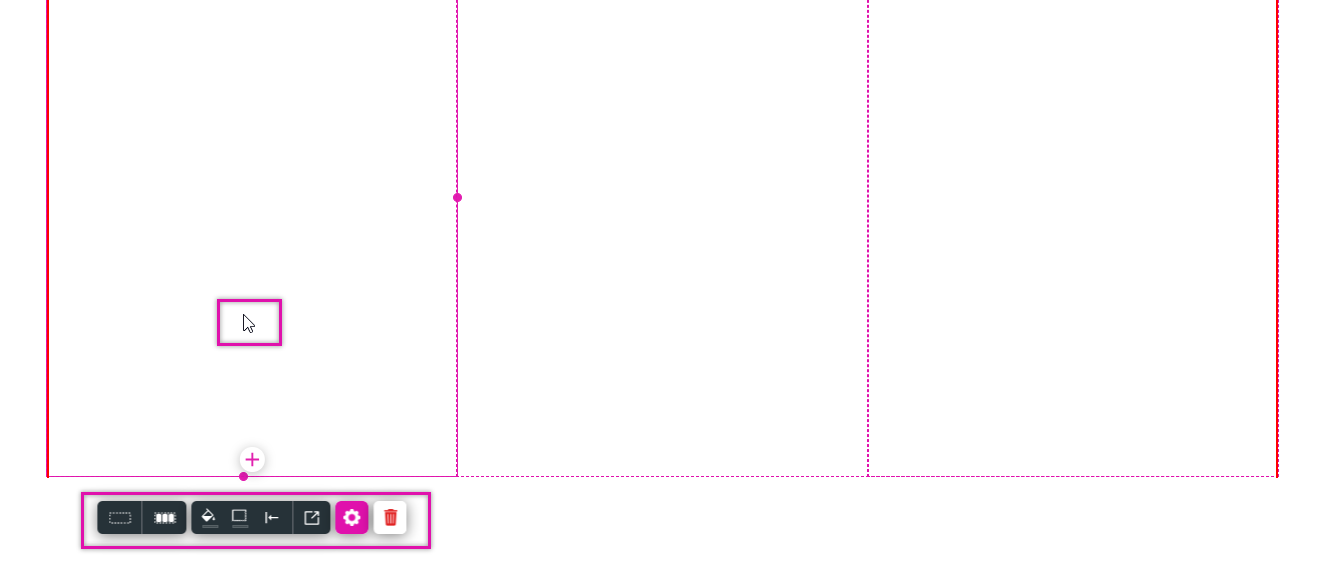
02 Selecting a Column
If you have inserted several columns, you can create different styles for each one.
To select the column:
1. Click inside the column, and the quick menu is displayed for that column.
To select the column:
1. Click inside the column, and the quick menu is displayed for that column.
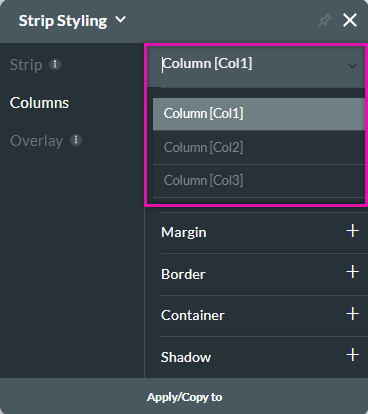
03 Styling Each Column
You can create a unique style for each column inside the same strip.
1. Navigate to the strip styling menu. Ensure the column tab is selected.
2. Use the dropdown to select the column you want to style. Or choose the column from the canvas.
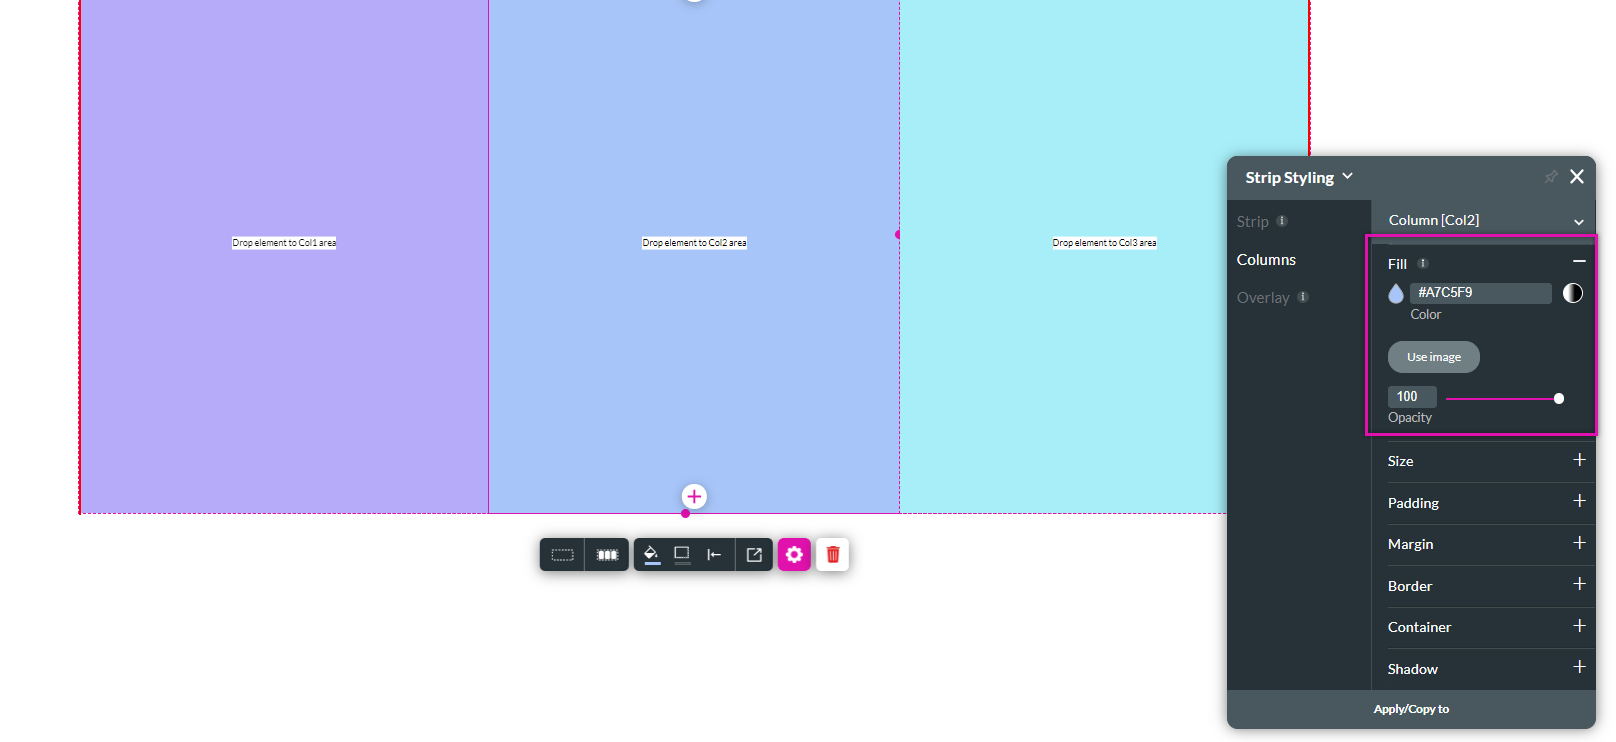
3. Expand the fill dropdown to configure a background color for each column.
1. Navigate to the strip styling menu. Ensure the column tab is selected.
2. Use the dropdown to select the column you want to style. Or choose the column from the canvas.
3. Expand the fill dropdown to configure a background color for each column.
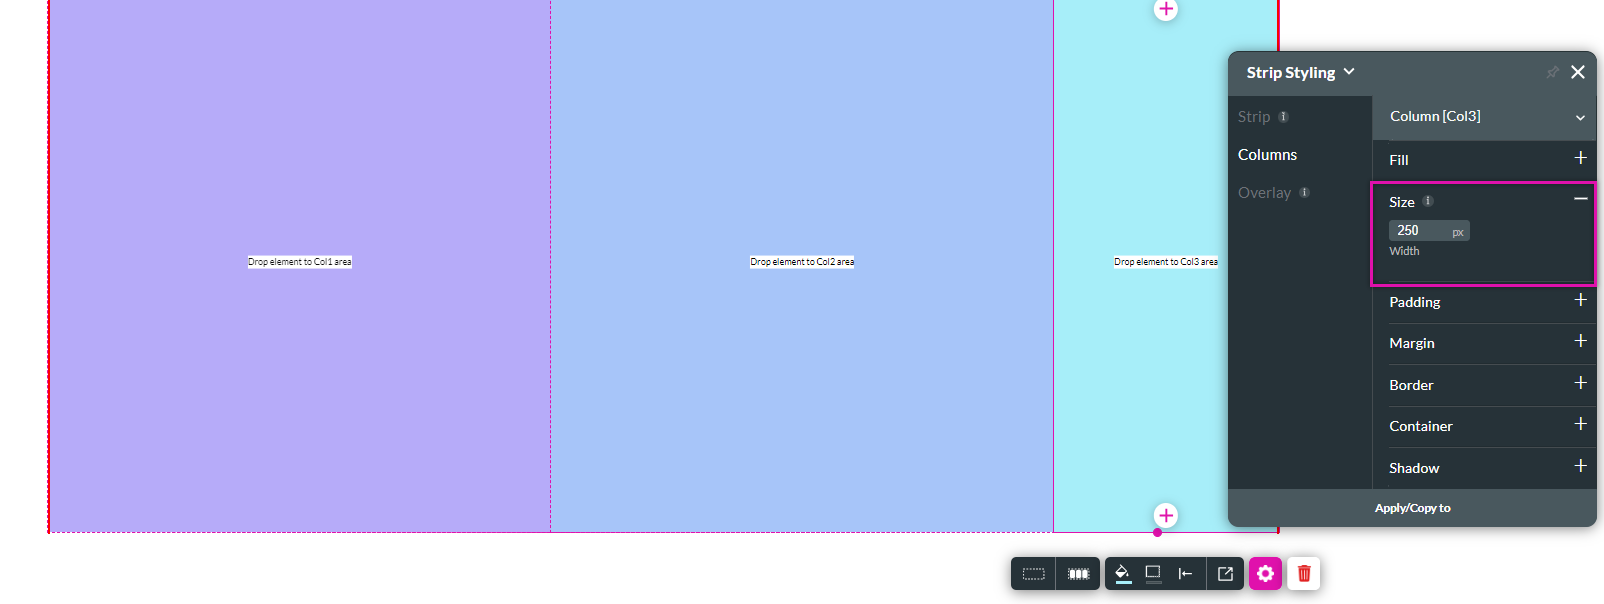
04 Resizing Columns
To select the size for each column:
1. Select the column to resize and expand the size drop-down.
2. Enter the size of the column. The width is measured in pixels.
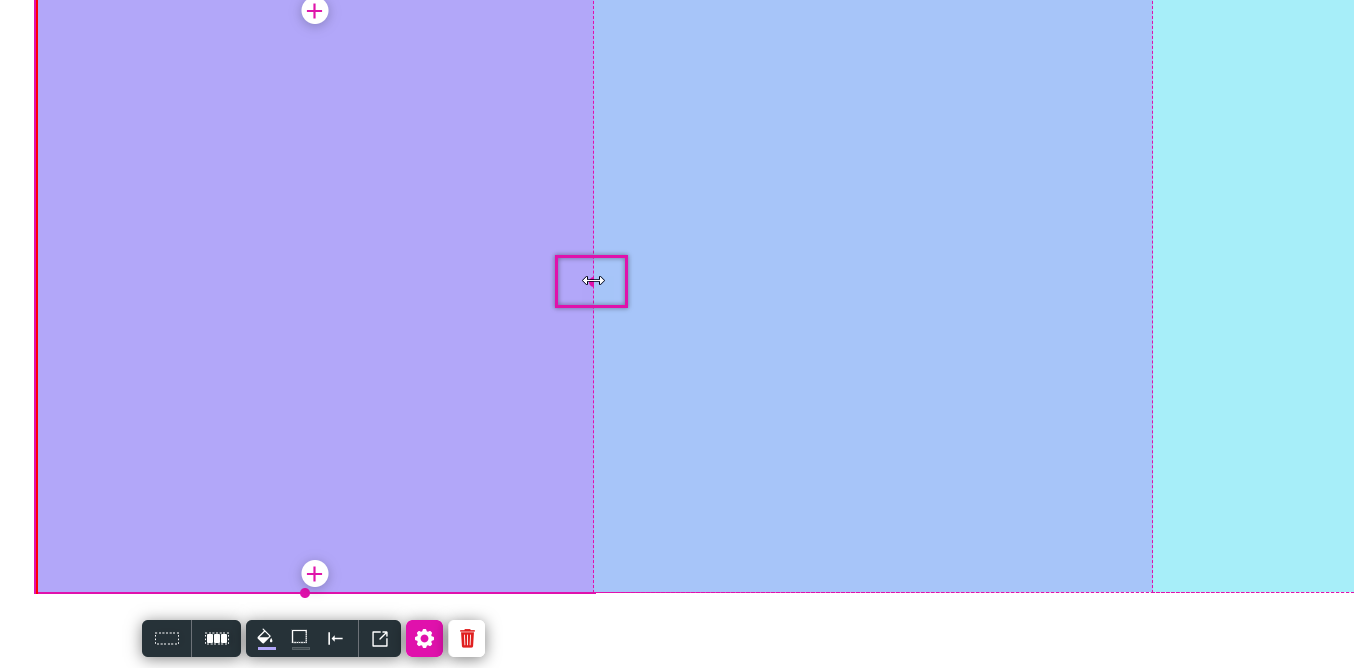
You can manually resize the columns by:
1. Select the column on the canvas.
2. Hover your cursor over the pink circle in the margin, and the arrow icon displays.
3. Manually drag and drop the cursor to resize the column.
1. Select the column to resize and expand the size drop-down.
2. Enter the size of the column. The width is measured in pixels.
You can manually resize the columns by:
1. Select the column on the canvas.
2. Hover your cursor over the pink circle in the margin, and the arrow icon displays.
3. Manually drag and drop the cursor to resize the column.