Overlay Styling (1:30 min)
Completion requirements
01 Getting Started
This tutorial covers the overlay, including:
- An overview of the overlay
- Color overlay of an image
02 Overview
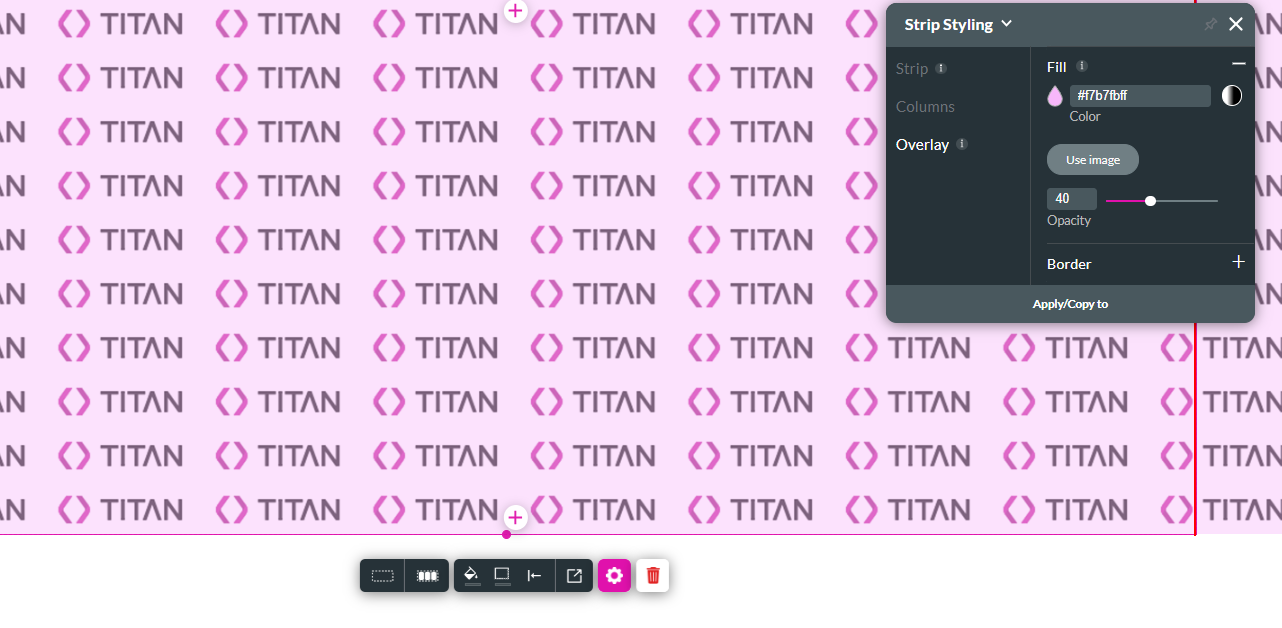
The overlay is an essential component of the strip style. It is a layer situated right over the strip background that allows you to create a color filter or an effect on top of it.
03 Color Overlay of an Image
For example, if your strip has an image background.

1. Navigate to the Strip Styling menu.
2. Click the Overlay tab.
3. Expand the Fill dropdown and choose a fill. You can choose a color or an image.
4. Use the Opacity slider to configure how transparent the fill is.

5. Expand the border dropdown.
6. Choose a border color, the border weight, and radius.


1. Navigate to the Strip Styling menu.
2. Click the Overlay tab.
3. Expand the Fill dropdown and choose a fill. You can choose a color or an image.
4. Use the Opacity slider to configure how transparent the fill is.

5. Expand the border dropdown.
6. Choose a border color, the border weight, and radius.
