Adding a Header (3 min)
Completion requirements
01 Getting Started
This tutorial covers adding a header, including:
- Adding and hiding the header.
- Difference between the header and strip.
- Header components.
02 Adding and Hiding a Header
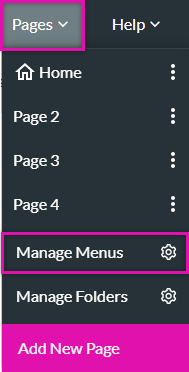
1. Expand the Pages dropdown and click Manage Menus.
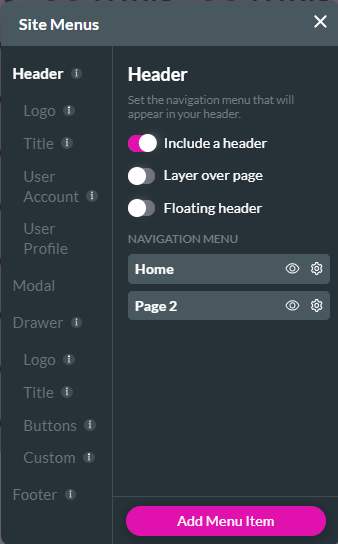
2. Enable the Include a Header switch.
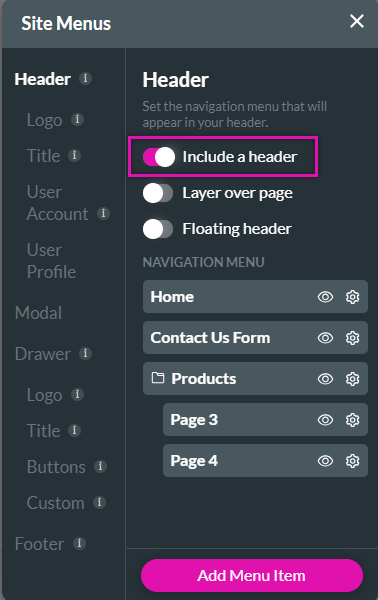
A header will be automatically added to all project pages.
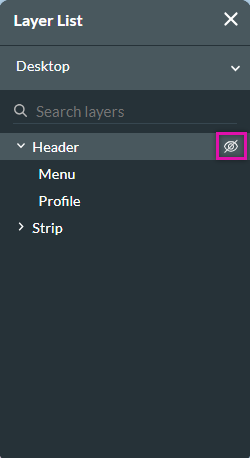
To hide the menu from a page:
1. Navigate to the layer list.
2. Next to the header, click the eye icon.
2. Enable the Include a Header switch.
A header will be automatically added to all project pages.
To hide the menu from a page:
1. Navigate to the layer list.
2. Next to the header, click the eye icon.
03 Header Structure
The header has a built-in structure; it contains elements that cannot be moved freely. However, you can choose to make limited changes to the header elements.
1. Navigate to the Site Menu window.
In the Header menu:
1. Click the eye icon to show or hide a page in the menu.
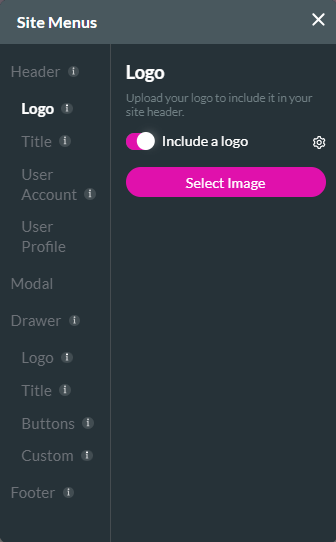
In the Logo tab:
1. Enable the Include a Logo switch to display a menu logo.
2. To include an on-click action, click the gear icon.
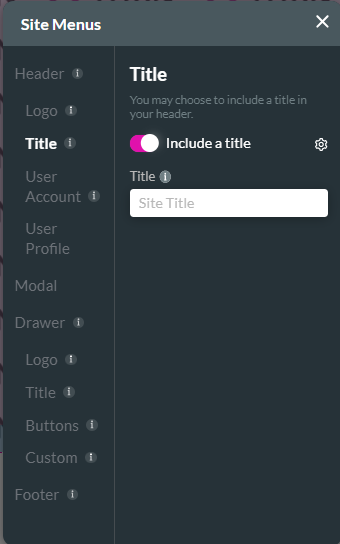
In the Title tab:
1. Enable the Include a Title switch to add a menu title.
2. Use the Title field to add a title.
3. To include an on-click action, click the gear icon.
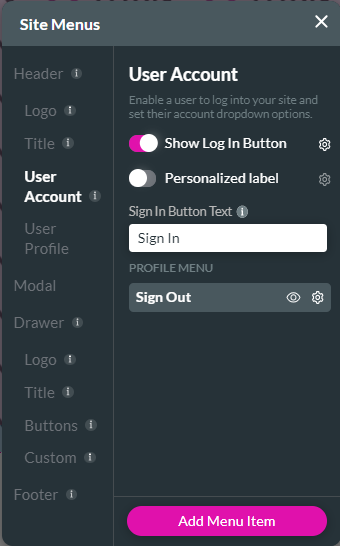
In the User Account tab:
You can enable Users to log in and set account dropdown options.
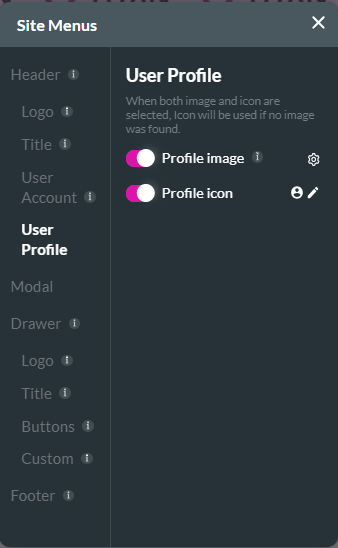
In the User Profile tab:
You can edit the profile icon or display profile images captured in Salesforce.
A shopping cart badge is displayed if you are using Titan’s e-commerce product.
You can add specific elements to the header, such as a shape.

1. Navigate to the Site Menu window.
In the Header menu:
1. Click the eye icon to show or hide a page in the menu.
In the Logo tab:
1. Enable the Include a Logo switch to display a menu logo.
2. To include an on-click action, click the gear icon.
In the Title tab:
1. Enable the Include a Title switch to add a menu title.
2. Use the Title field to add a title.
3. To include an on-click action, click the gear icon.
In the User Account tab:
You can enable Users to log in and set account dropdown options.
In the User Profile tab:
You can edit the profile icon or display profile images captured in Salesforce.
A shopping cart badge is displayed if you are using Titan’s e-commerce product.
You can add specific elements to the header, such as a shape.