Image Element (6 min)
Completion requirements
01 Getting Started
This tutorial covers the image element, including:
- How to upload an image.
- How do you use rich text in Salesforce to display an image?
- Displaying an image from a Salesforce public URL.
- Figuring out a hover or on-click image.
02 How to Upload an Image
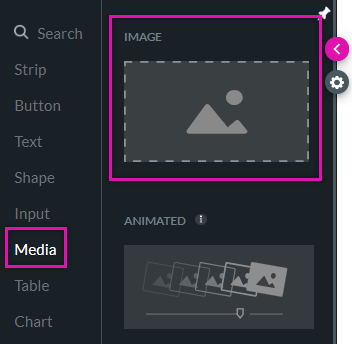
The image element is found under the media tab.
1. Click the + icon to open the elements menu and click the media tab.

2. Drag the Image element onto your canvas.
To configure the image:
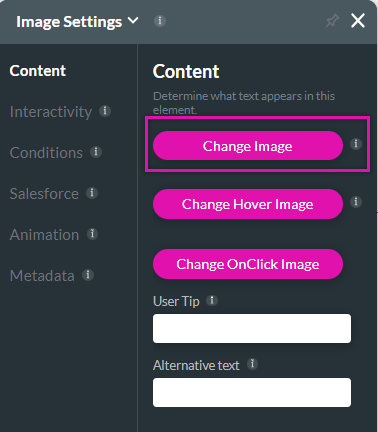
1. Navigate to the image settings menu.
2. Click the Change Image button. The Add Image screen opens.
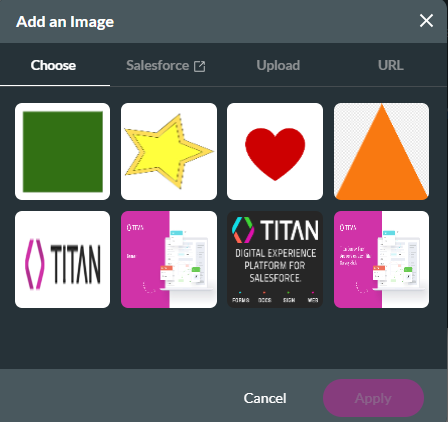
You can choose from your previously uploaded images.
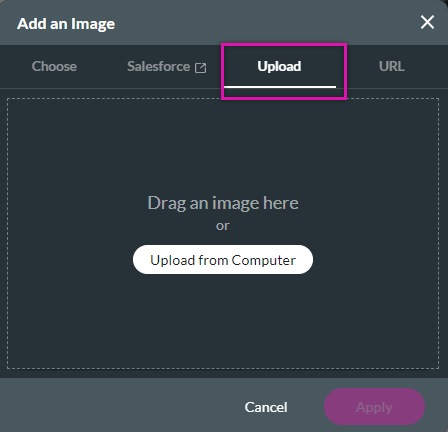
To upload a new image, click the Upload tab. You can upload from your computer or drag the image into the upload container.
1. Click the + icon to open the elements menu and click the media tab.

2. Drag the Image element onto your canvas.

To configure the image:
1. Navigate to the image settings menu.
2. Click the Change Image button. The Add Image screen opens.

You can choose from your previously uploaded images.

To upload a new image, click the Upload tab. You can upload from your computer or drag the image into the upload container.

03 Insert an Image Using a URL
1. In the Add an Image window, click the URL tab.
2. Copy an image URL directly from a website. The image must be from a public location to be displayed.
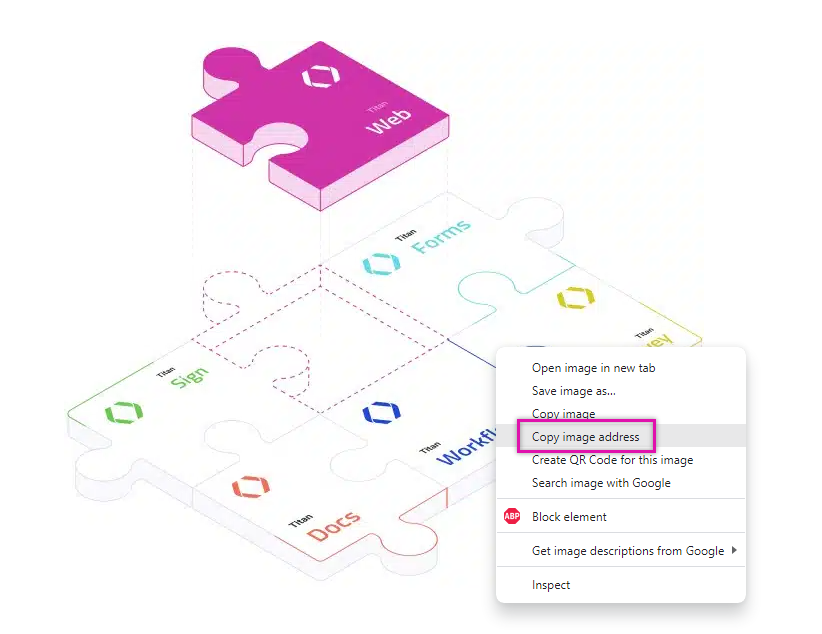
3. Paste the URL into the Image URL field.
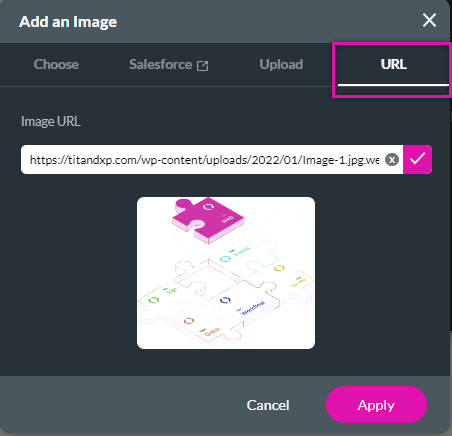
2. Copy an image URL directly from a website. The image must be from a public location to be displayed.

3. Paste the URL into the Image URL field.

04 Using a Salesforce Image
1. In the Add an Image window, click the Salesforce tab. The Salesforce Integration window opens.
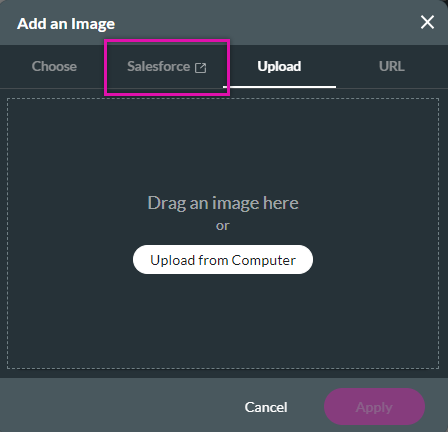
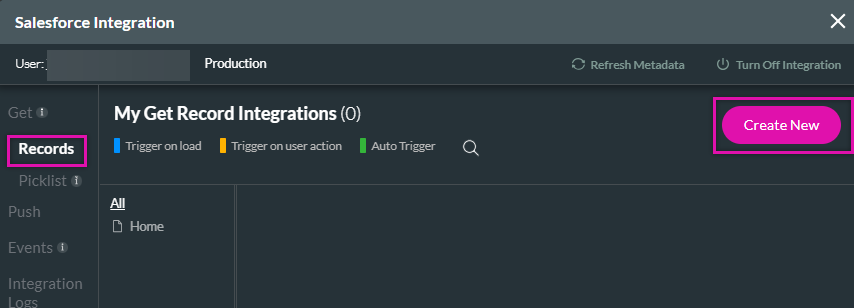
2. Create a Get that links to the Salesforce record that contains the rich text image.
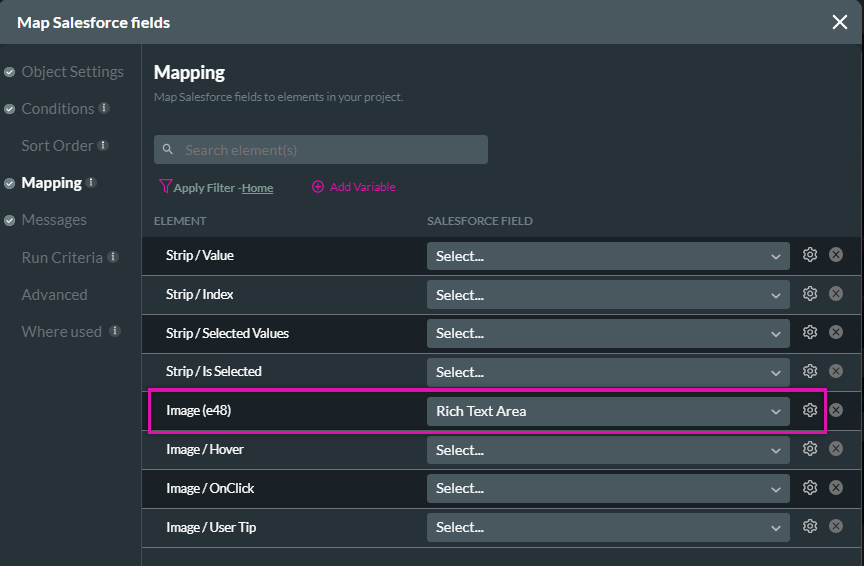
3. When you come to the Mapping step of your get, ensure that the Image in your project is mapped to the rich text area field in Salesforce and click the gear icon.
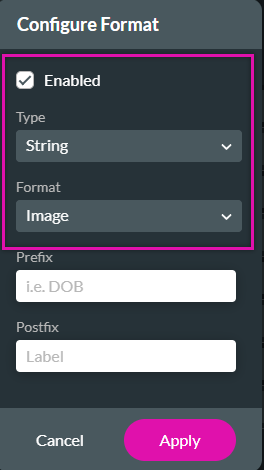
4. In the Configure Format window, ensure the enabled checkbox is checked and the format selected is Image. If this step is not completed, the Image will not display.
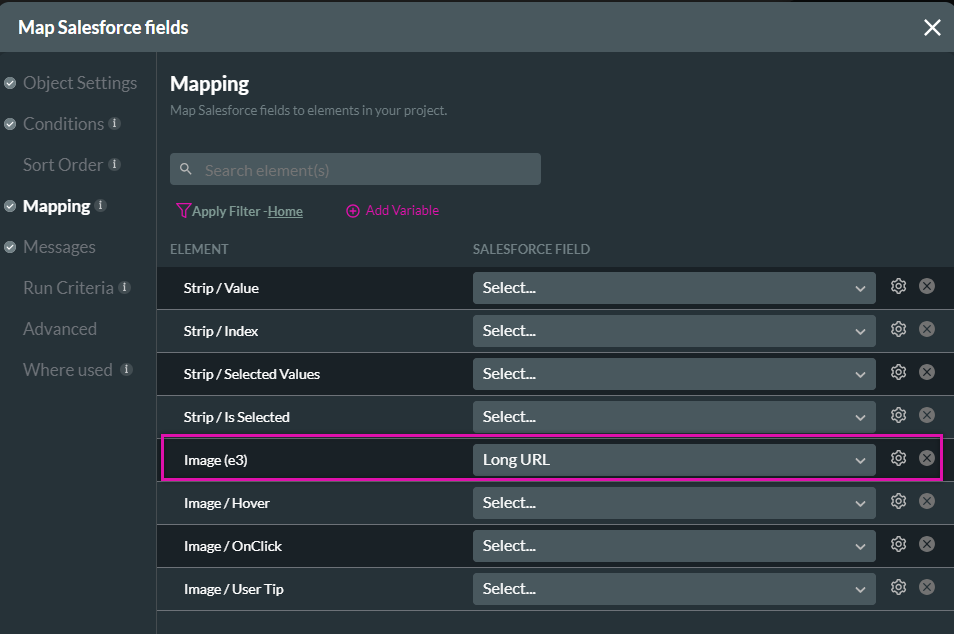
If you have an image mapped to a long URL in Salesforce, map the Image in your project to the URL in Salesforce. Ensure you click the gear icon and change your format to Image.

2. Create a Get that links to the Salesforce record that contains the rich text image.

3. When you come to the Mapping step of your get, ensure that the Image in your project is mapped to the rich text area field in Salesforce and click the gear icon.

4. In the Configure Format window, ensure the enabled checkbox is checked and the format selected is Image. If this step is not completed, the Image will not display.

If you have an image mapped to a long URL in Salesforce, map the Image in your project to the URL in Salesforce. Ensure you click the gear icon and change your format to Image.

05 Hover and On Click Image
You can configure different images to display depending on the image state.
To configure the images, click the Change Hover Image and Change OnClick Image buttons in the Image Settings menu.
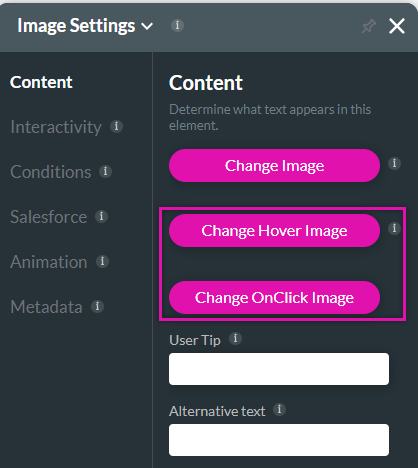
To configure the images, click the Change Hover Image and Change OnClick Image buttons in the Image Settings menu.
