Signature Field (7 min)
Completion requirements
01 Getting Started
This tutorial covers the signature field, including:
- How can a signature field be used as an interactive field in doc gen?
- Enabling company mode.
- How do you push the signature field to Salesforce as rich text or HTML?
02 Signature as an Interactive Field
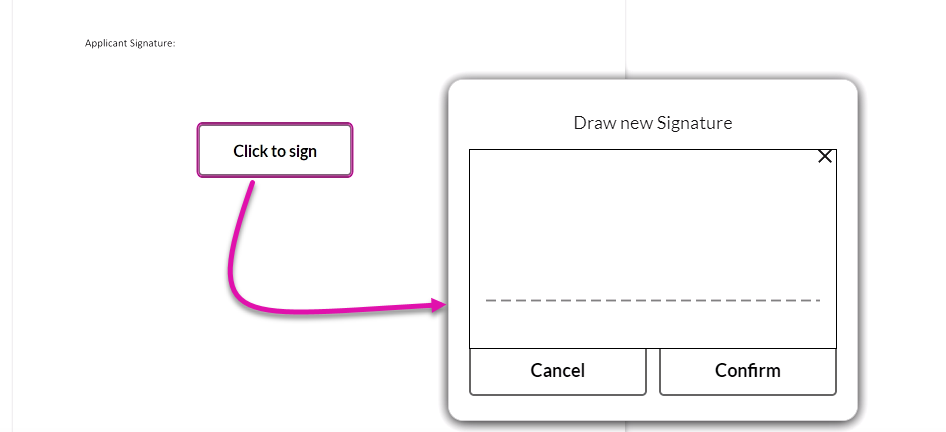
To demonstrate this concept, we have used a student application form. After the form was completed, a document containing the captured information was generated.
When clicking on the document signature button, a modal displays. Users can draw their signatures in this window.
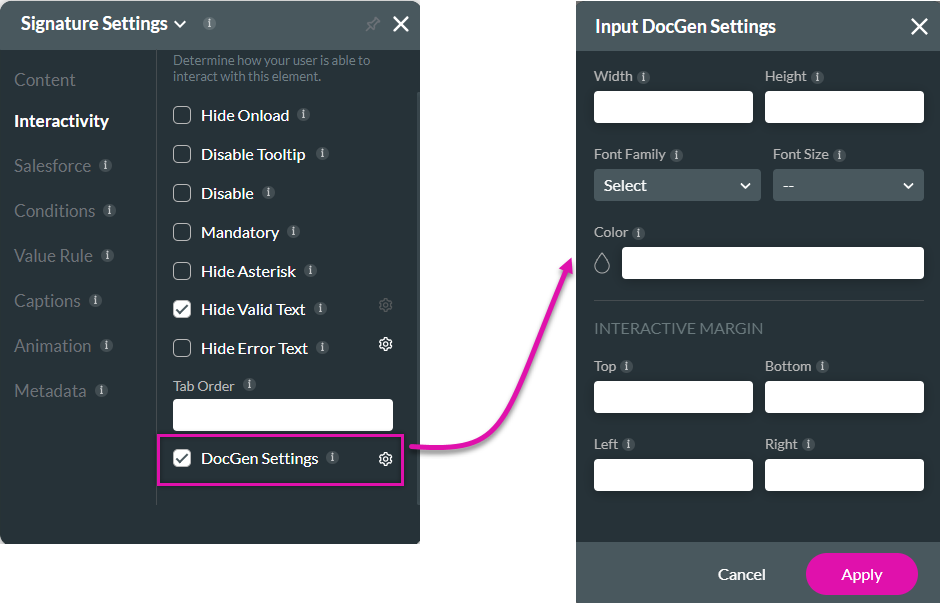
You can choose how your interactive signature field displays:
1. Navigate to the Signature settings menu and select the Interactivity tab.
2. Enable DocGen Settings and click the gear icon.
3. The Input DocGen Settings window options allow you to configure how the signature element is displayed.
When clicking on the document signature button, a modal displays. Users can draw their signatures in this window.
You can choose how your interactive signature field displays:
1. Navigate to the Signature settings menu and select the Interactivity tab.
2. Enable DocGen Settings and click the gear icon.
3. The Input DocGen Settings window options allow you to configure how the signature element is displayed.
03 Company Mode
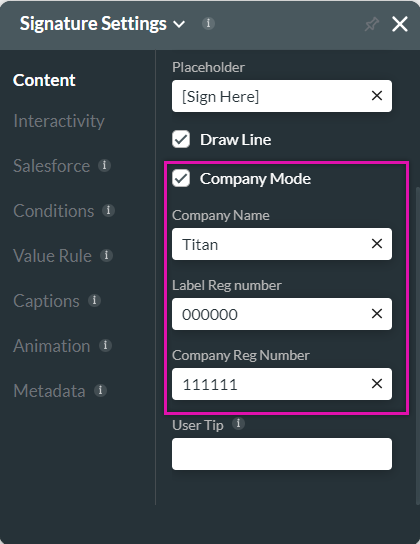
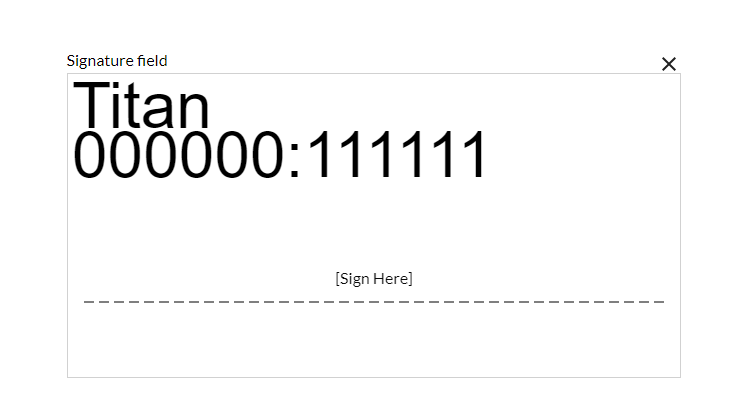
You can display company details in the signature field.
1. Navigate to the Signature Settings menu.
2. Enable Company Mode. Several additional fields are displayed.
You can also configure a Salesforce Get to populate the company details.
1. Navigate to the Signature Settings menu.
2. Enable Company Mode. Several additional fields are displayed.
You can also configure a Salesforce Get to populate the company details.
04 Pushing Signatures to Salesforce
To complete the following steps, insert a button and a signature field into your project.
1. Click the button menu interactivity icon.

2. Click the Start + icon. The Add Node screen opens.
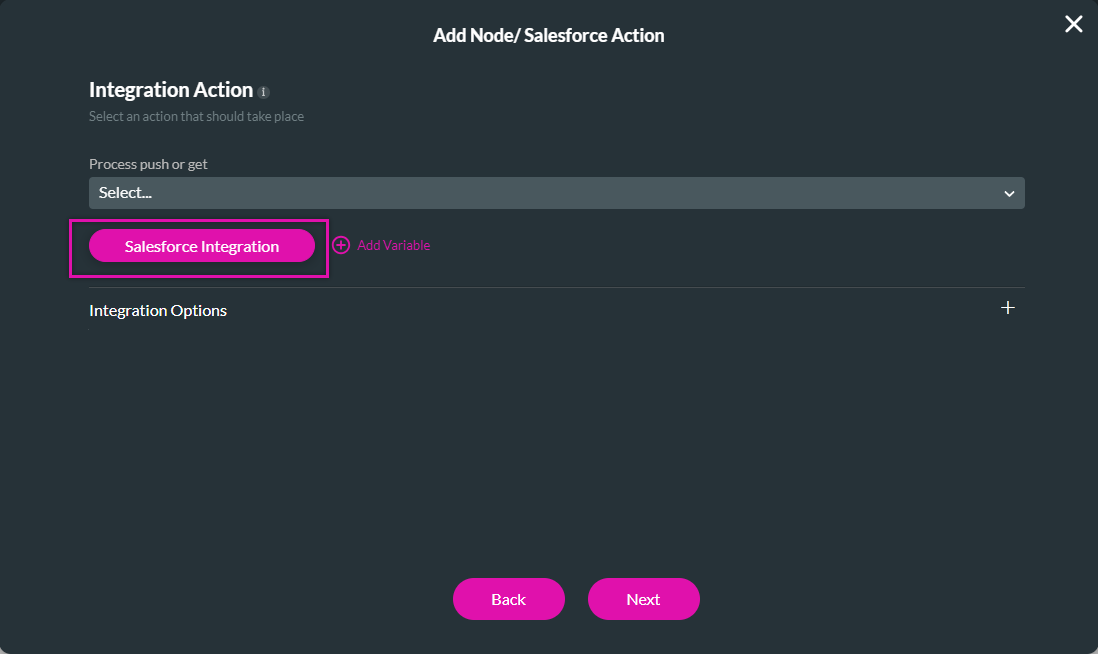
3. Select Salesforce Action and click Next.
4. Click the Salesforce Integration button. The Salesforce Integration window opens.
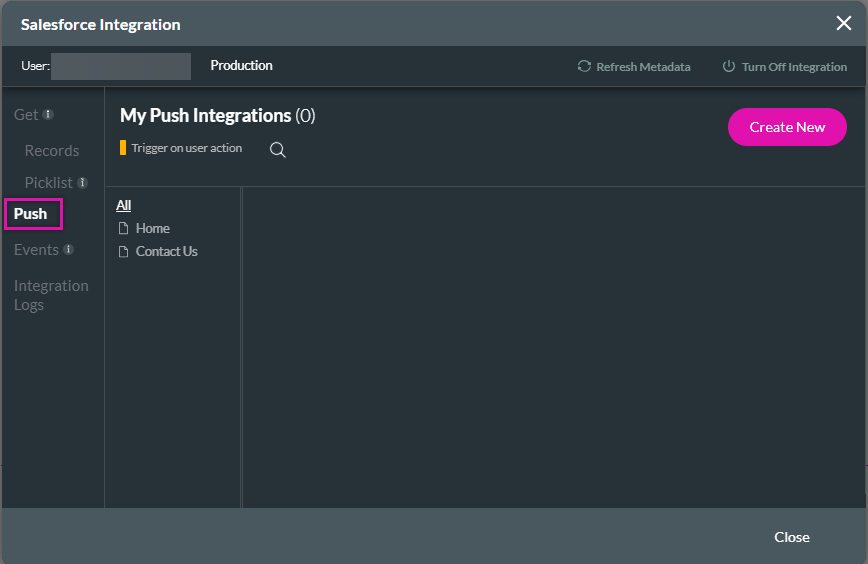
5. Select the Push tab and click Create New. The Map Salesforce Fields window opens.
6. The Object Settings tab was configured as follows:
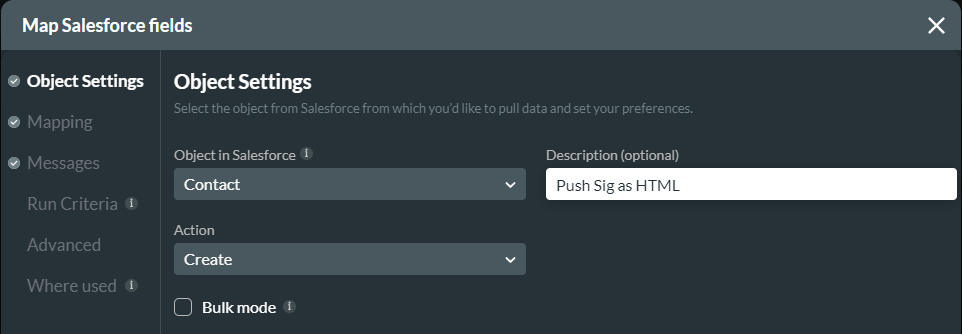
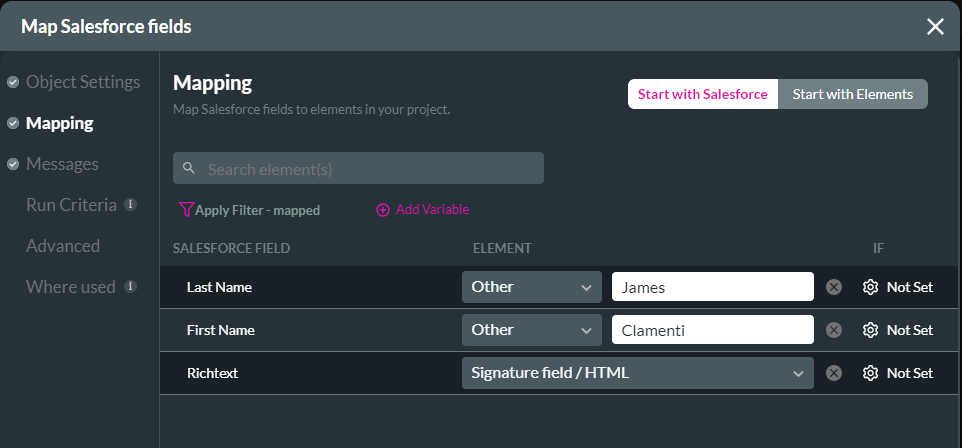
7. The Mapping field was configured as follows:
Note: It is essential to map the Rich Text Salesforce field to your signature element.
Apply your configuration.
Save and preview the project. When a signature is submitted, the signature is captured as is in Salesforce.

1. Click the button menu interactivity icon.
2. Click the Start + icon. The Add Node screen opens.
3. Select Salesforce Action and click Next.
4. Click the Salesforce Integration button. The Salesforce Integration window opens.
5. Select the Push tab and click Create New. The Map Salesforce Fields window opens.
6. The Object Settings tab was configured as follows:
7. The Mapping field was configured as follows:
Note: It is essential to map the Rich Text Salesforce field to your signature element.
Apply your configuration.
Save and preview the project. When a signature is submitted, the signature is captured as is in Salesforce.