Validate Fields (9 min)
Completion requirements
01 Getting Started
This tutorial covers how to validate fields on your form.
A simple form where a user will provide information to create an account and a contact will be used for demonstrative purposes. There are mandatory fields the user must complete before submitting their details.
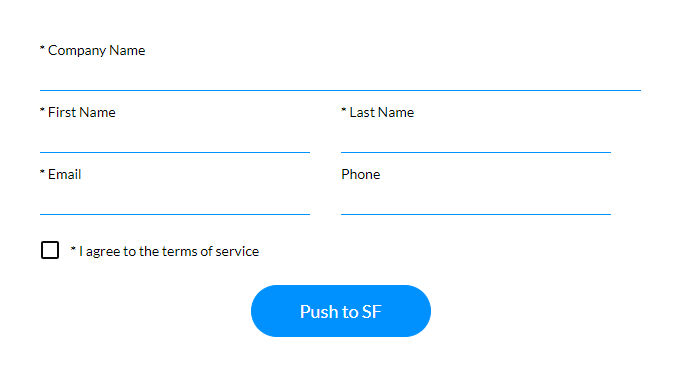
The submit button configures two different Salesforce actions: create an account and a contact.
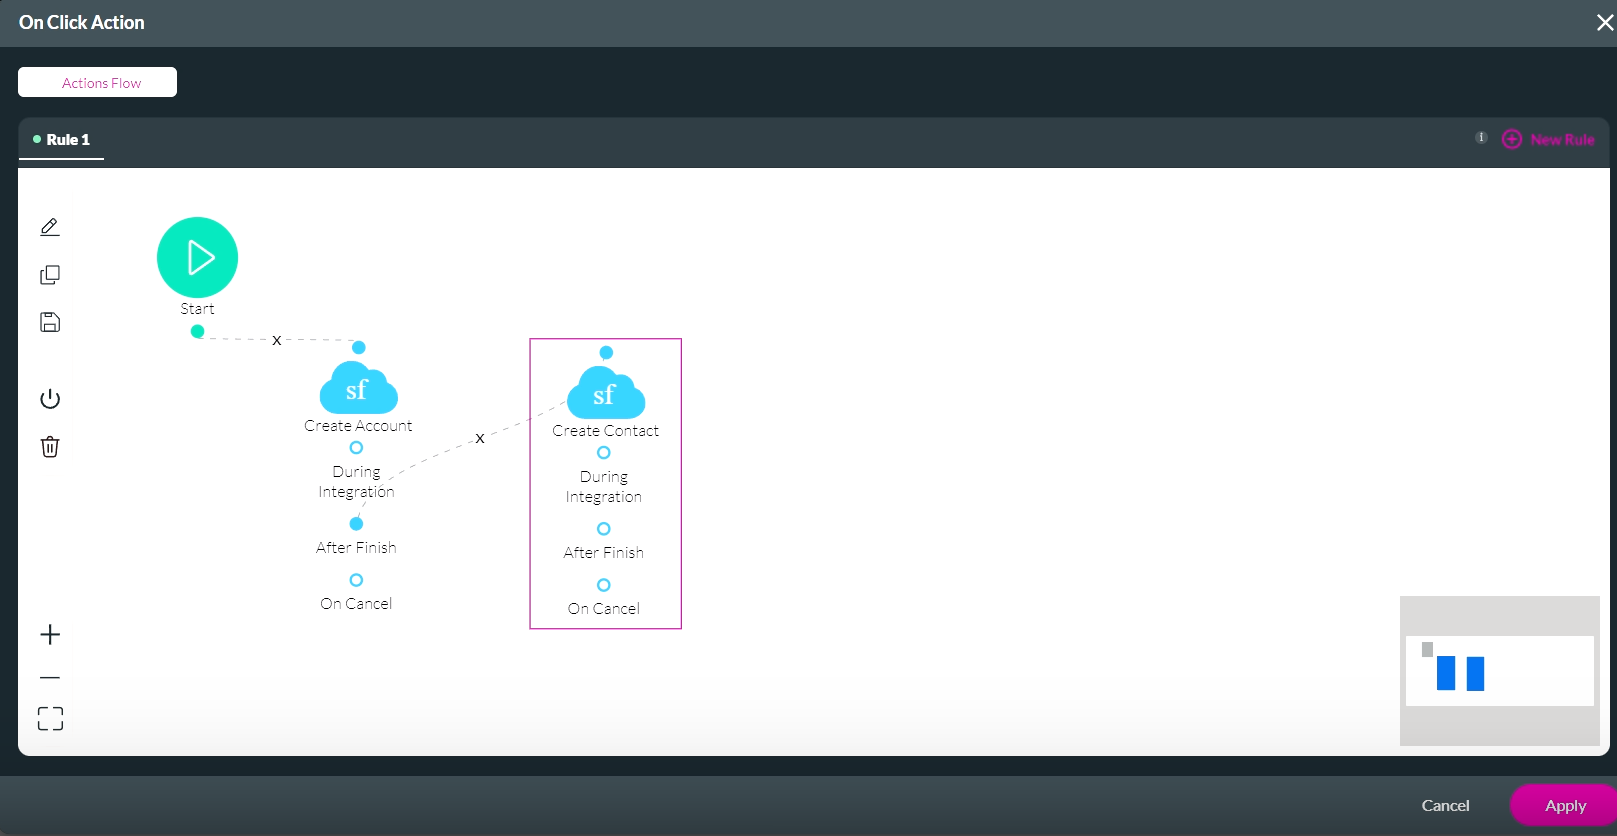
Note: It is not best practice to have two separate Salesforce Actions running one after another. They should be combined into one Salesforce action node: we have separated them into two different pushes to demonstrate what issues can occur during validation.
A simple form where a user will provide information to create an account and a contact will be used for demonstrative purposes. There are mandatory fields the user must complete before submitting their details.
The submit button configures two different Salesforce actions: create an account and a contact.
Note: It is not best practice to have two separate Salesforce Actions running one after another. They should be combined into one Salesforce action node: we have separated them into two different pushes to demonstrate what issues can occur during validation.
02 Creating an Account
When users complete the form, separate fields will be used to create the account and contact.
If the user does not provide all the information, an error message will display. This occurs because the missing fields are mapped in a push to Salesforce action; these fields trigger a validation action when the push runs.
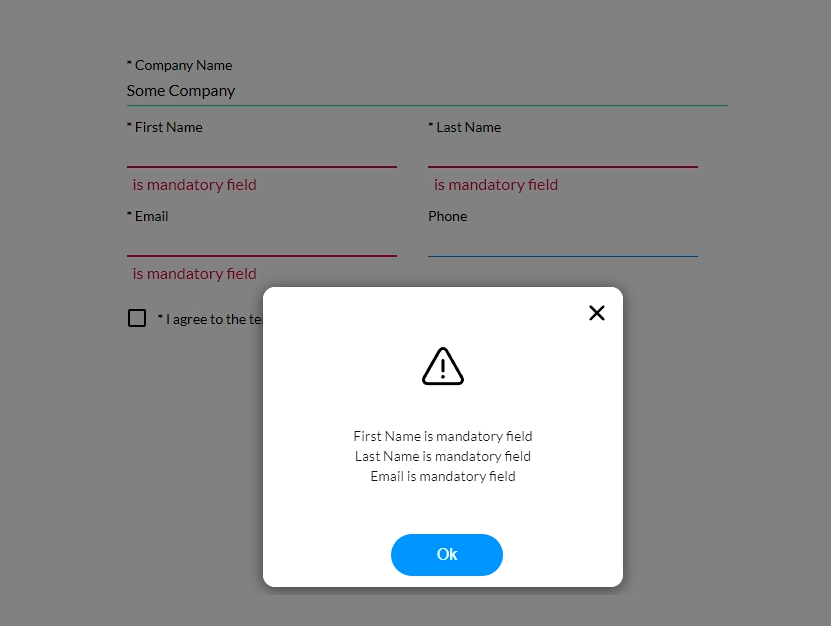
If the user does not complete the personal details, the create account action will run but not the creation of a contact. This is because only the validation for building a contact failed. To prevent this, we must create an action to ensure all fields pass validation before the user can submit.
If the user does not provide all the information, an error message will display. This occurs because the missing fields are mapped in a push to Salesforce action; these fields trigger a validation action when the push runs.
If the user does not complete the personal details, the create account action will run but not the creation of a contact. This is because only the validation for building a contact failed. To prevent this, we must create an action to ensure all fields pass validation before the user can submit.
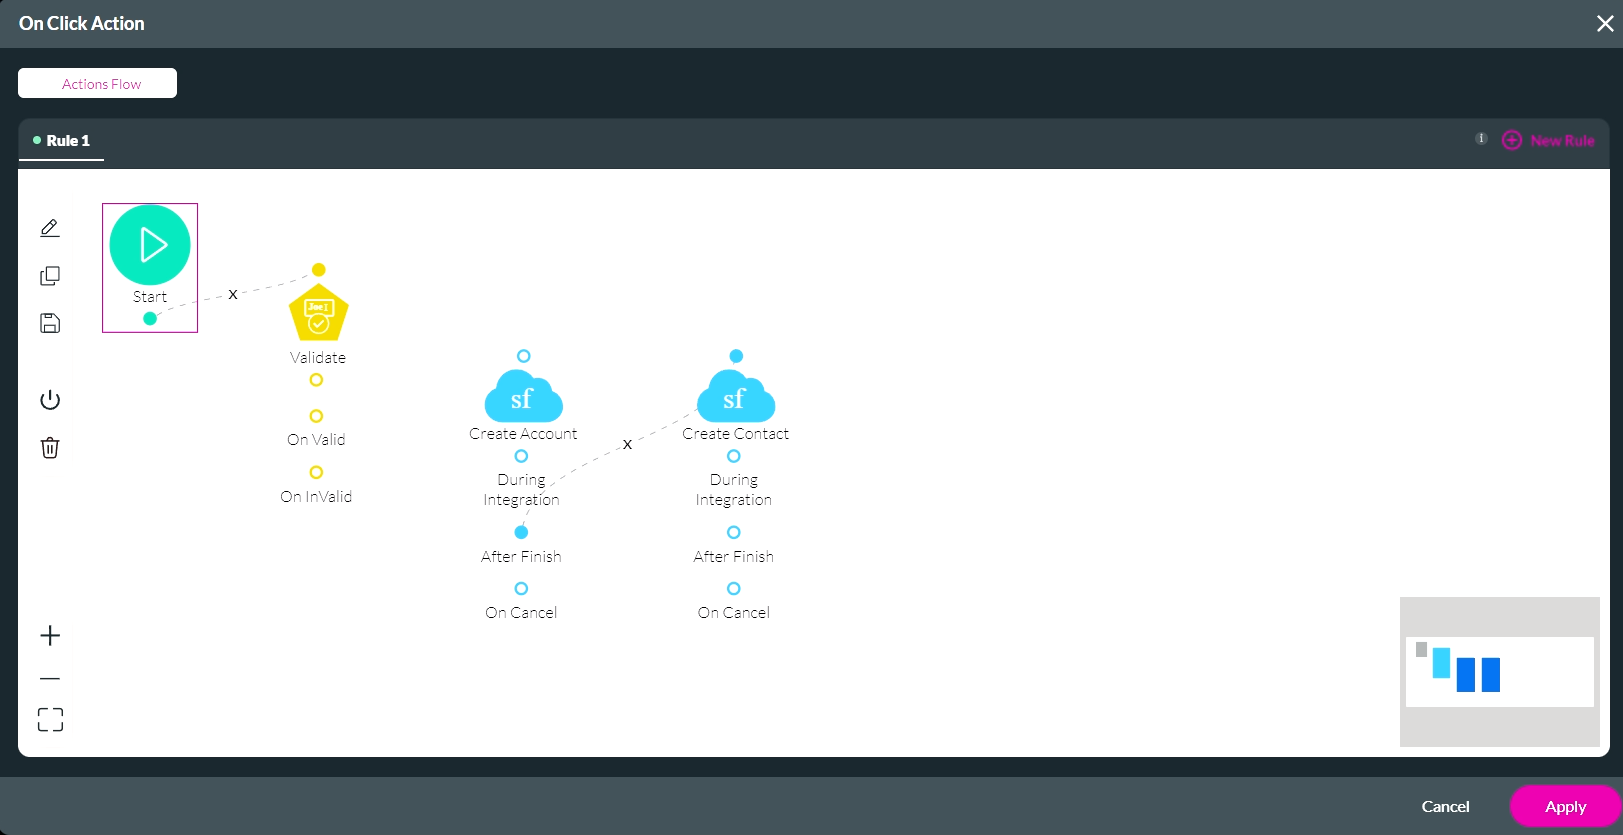
03 Create an On Click Action to Validate all Fields
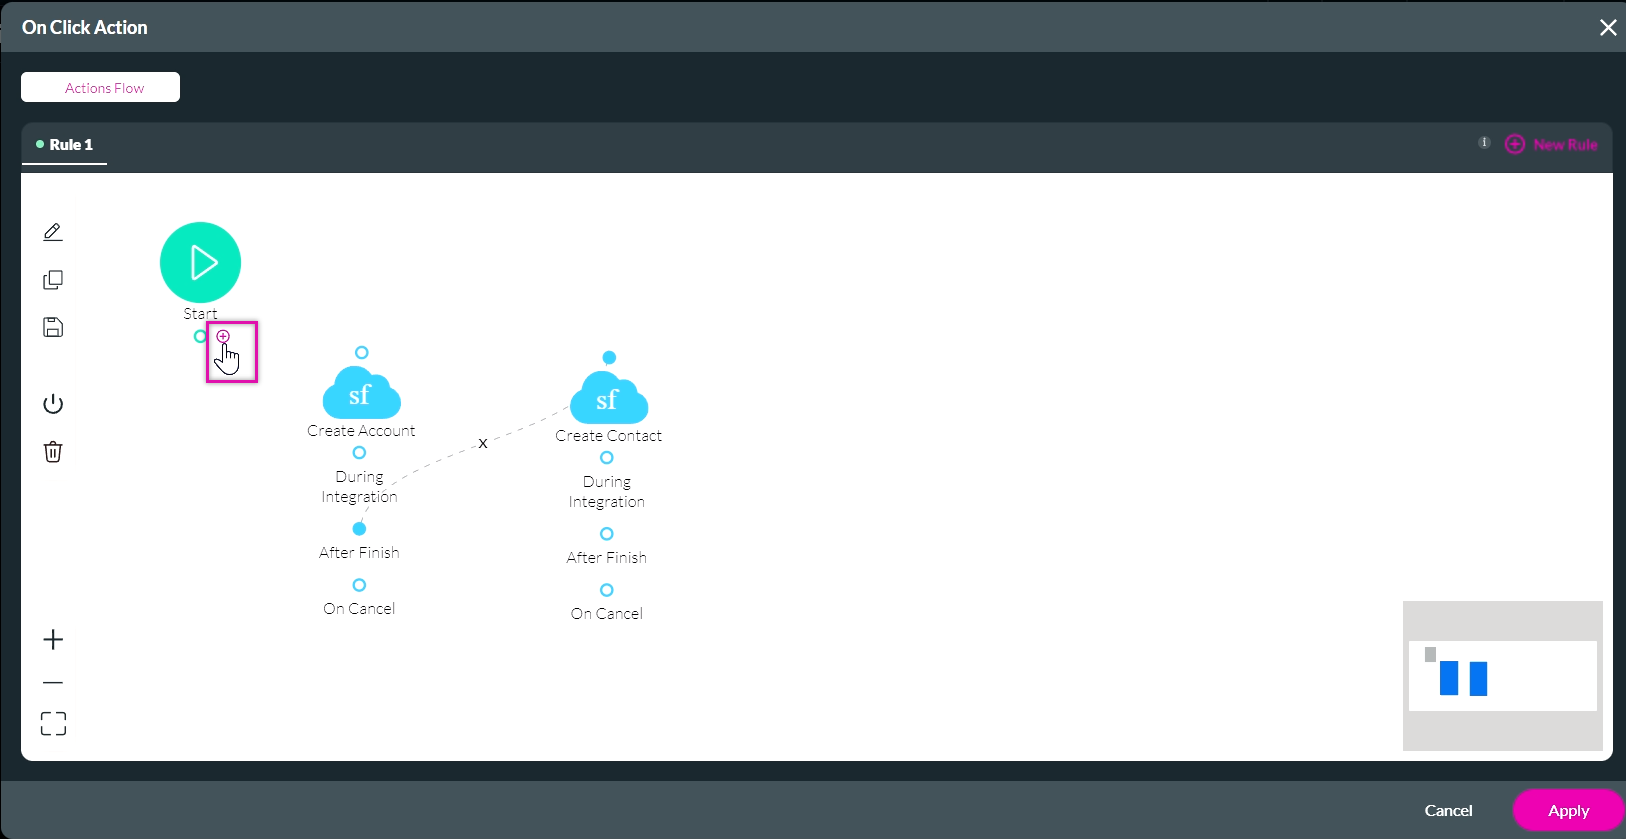
1. Navigate to the On Click action screen.
2. Click the X icon to insert an action to run before the Salesforce Action pushes.
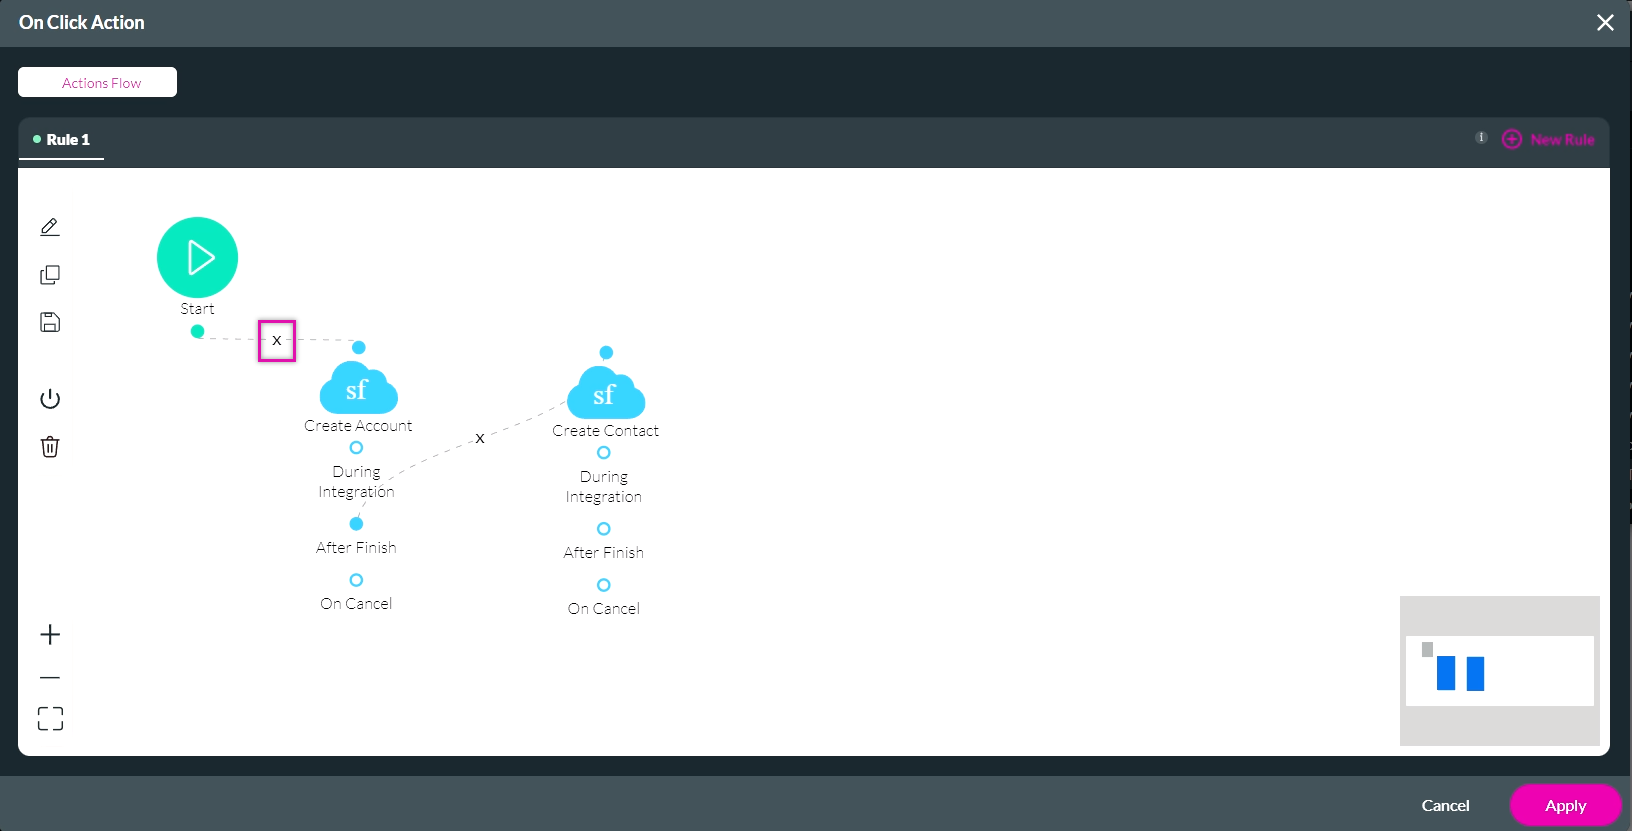
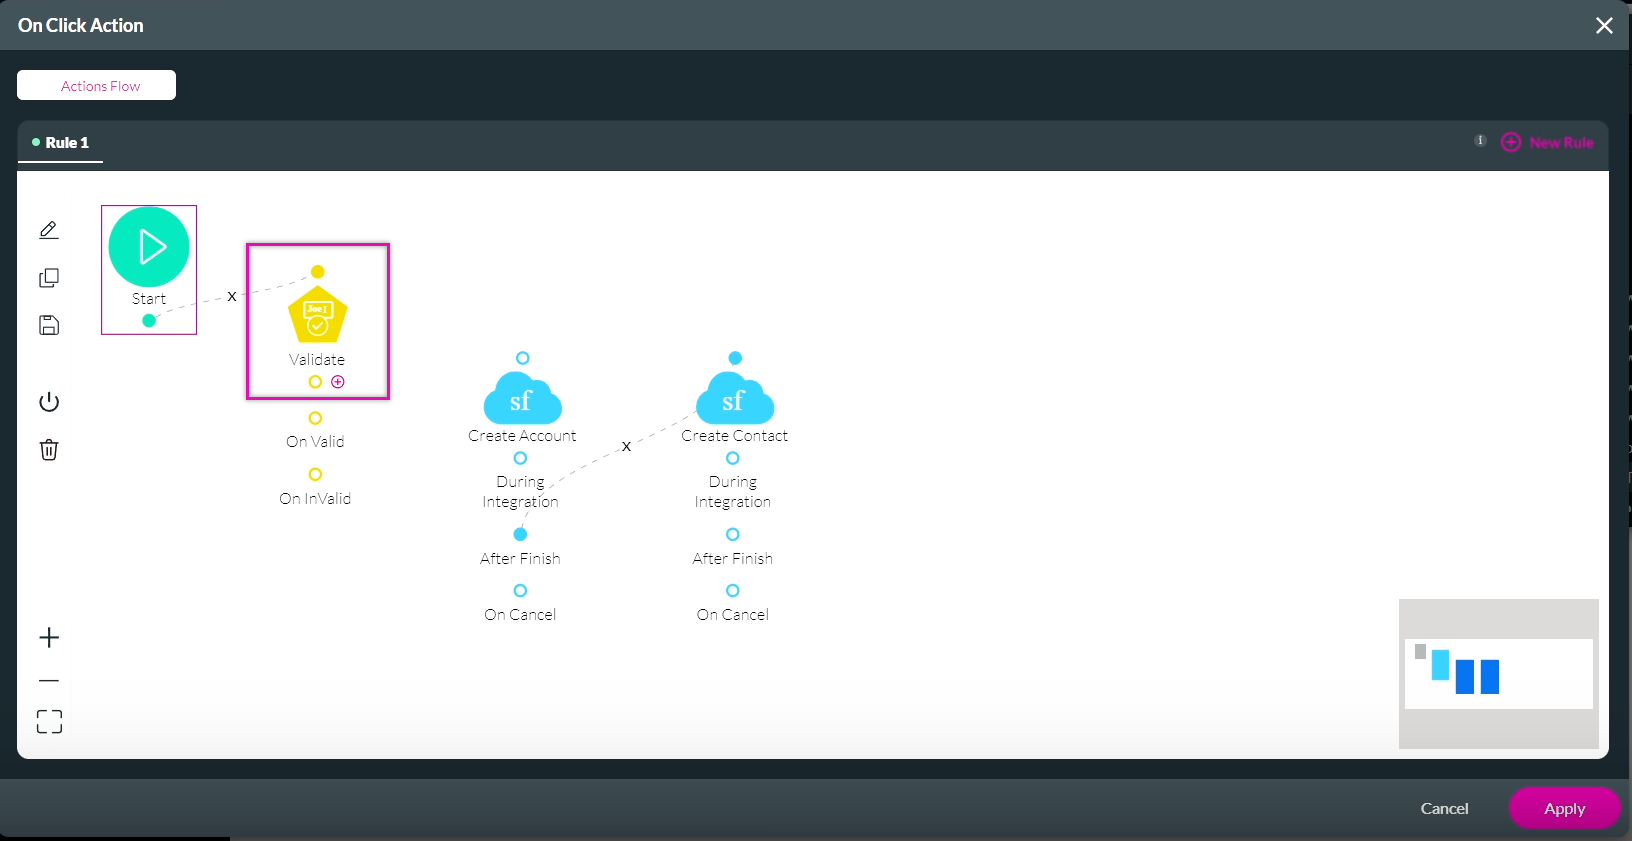
3. Click the + icon next to Start. The Add Node screen opens.
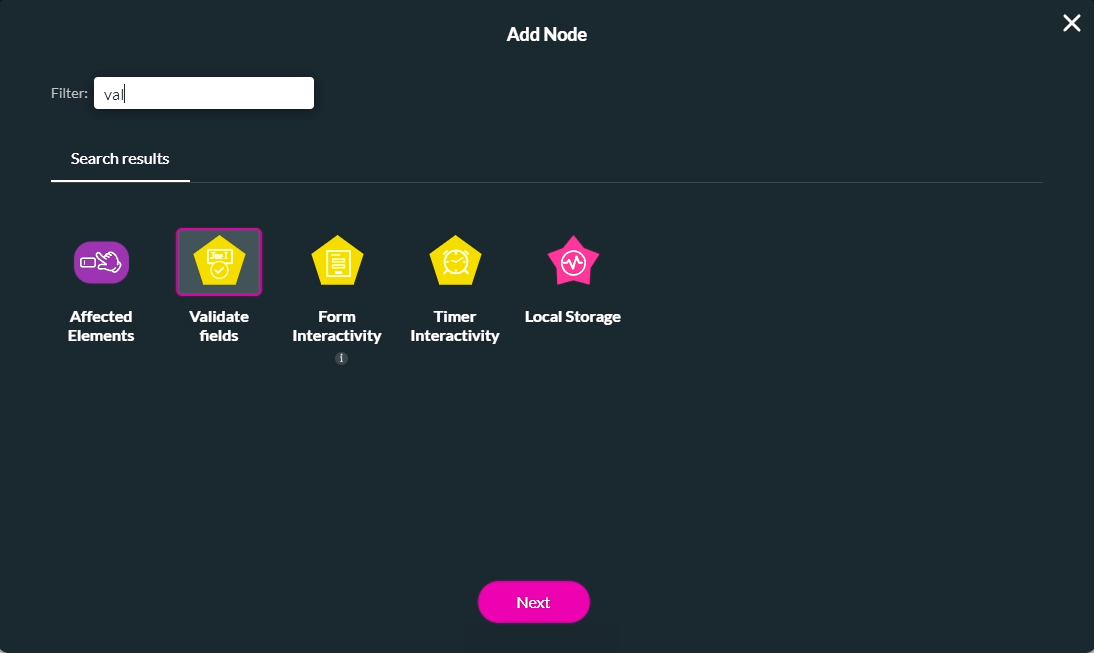
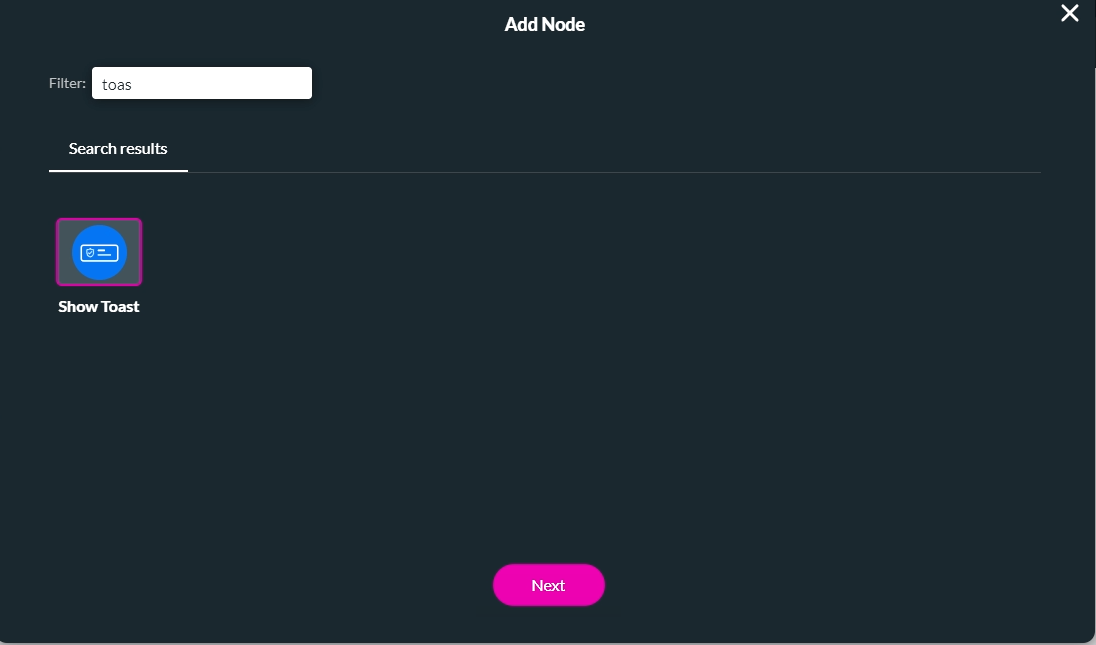
4. Use the search field to find the Validate fields option and click Next.
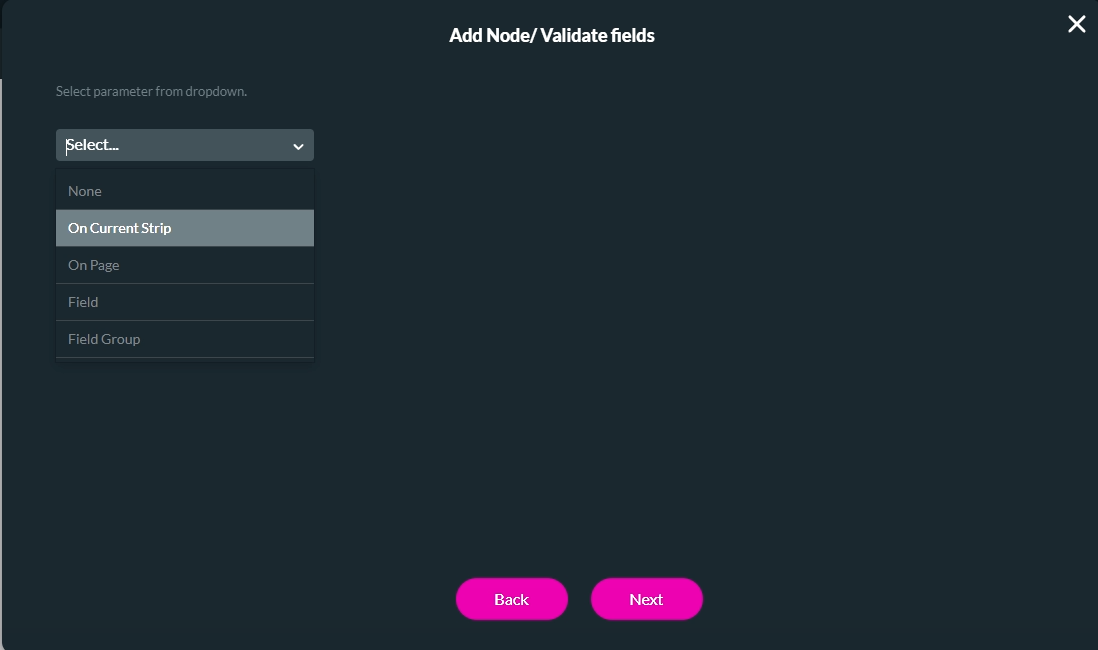
5. Use the Select Parameter from the Dropdown menu to select the fields you want to validate, such as the page.
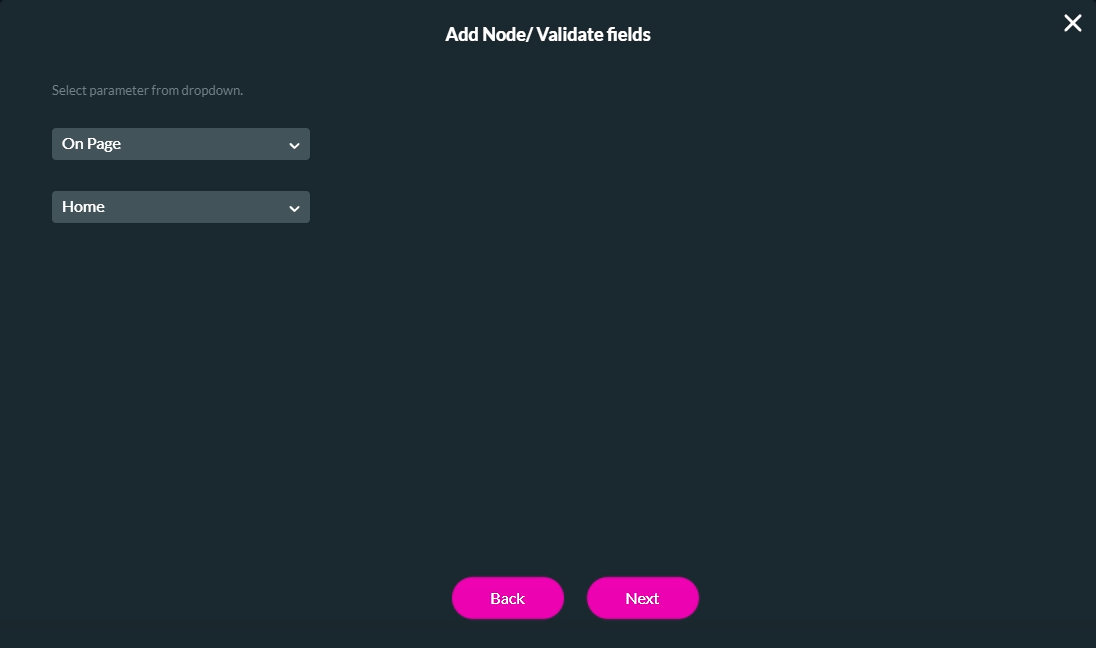
6. Another dropdown field will appear. Use this dropdown to select the page you want to validate, such as the home page. This field is dependent on the previous selection made. Click Next.
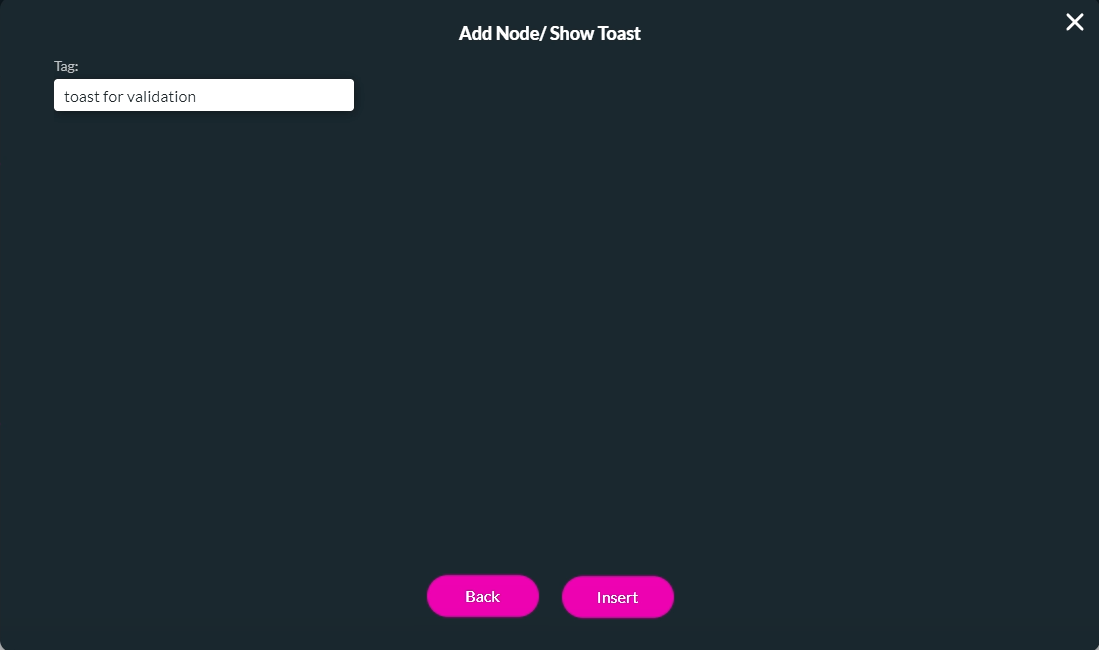
7. Type in a Tag name and click Insert.

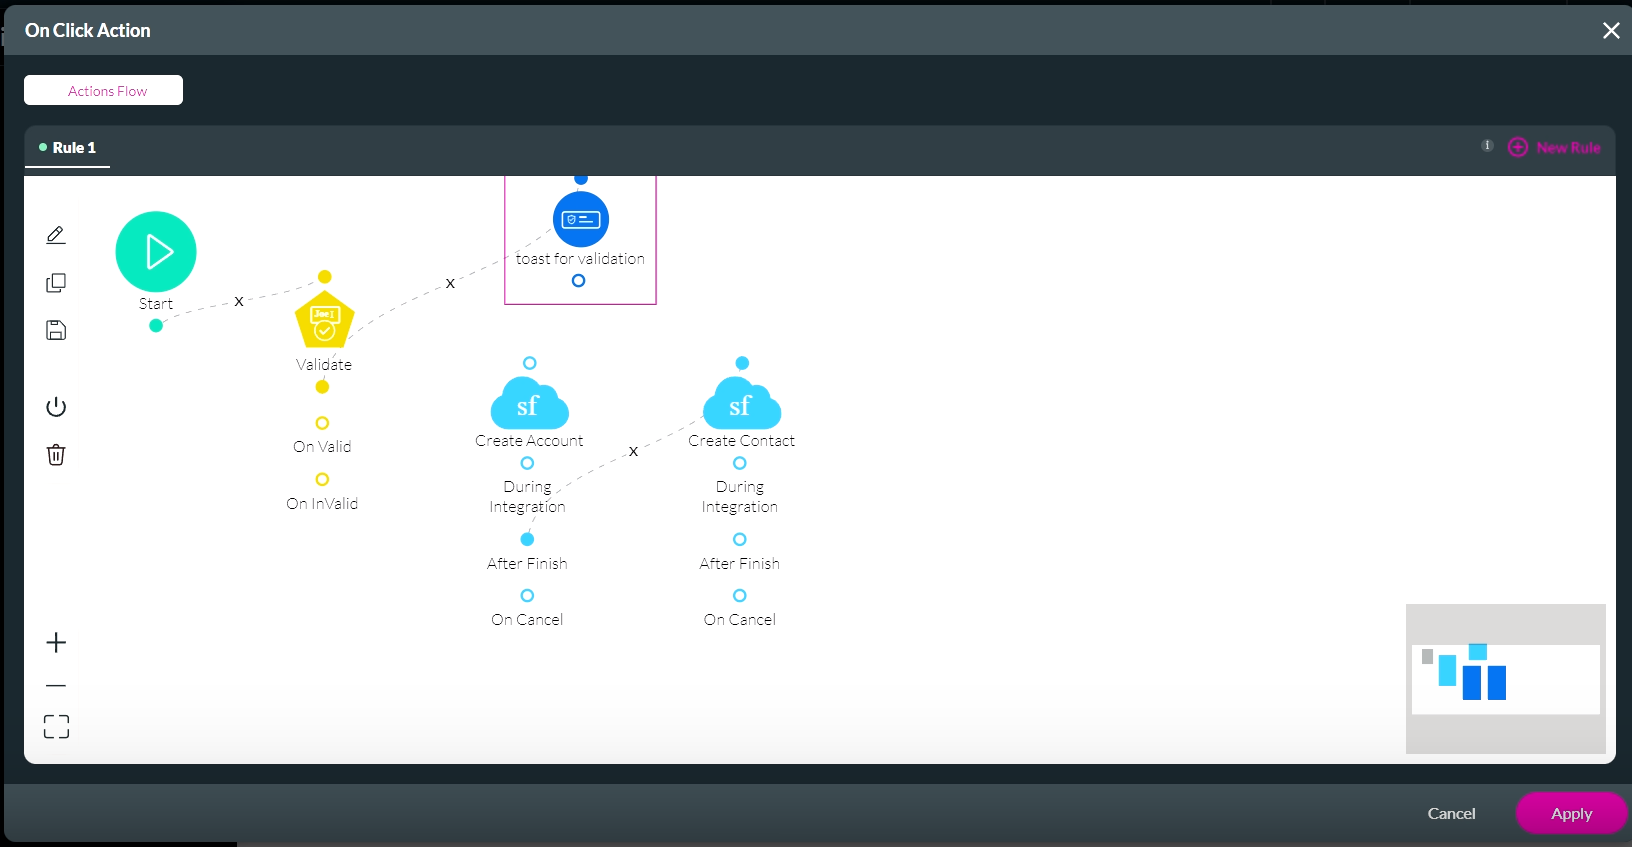
The Node is added to the On Click Action screen. You can now insert nodes to run if the content is valid or invalid.
2. Click the X icon to insert an action to run before the Salesforce Action pushes.
3. Click the + icon next to Start. The Add Node screen opens.
4. Use the search field to find the Validate fields option and click Next.
5. Use the Select Parameter from the Dropdown menu to select the fields you want to validate, such as the page.
- You can validate all the fields on your strip, on your page, in specific or several fields.
6. Another dropdown field will appear. Use this dropdown to select the page you want to validate, such as the home page. This field is dependent on the previous selection made. Click Next.
7. Type in a Tag name and click Insert.
The Node is added to the On Click Action screen. You can now insert nodes to run if the content is valid or invalid.
04 Inserting a Toast
You can insert a toast to display a message while the validation runs.
1. Click on the + icon next to Validate. The Add Node screen opens.
2. Use the search field to find the Show Toast option and click Next.
3. Type in the message and click Next.
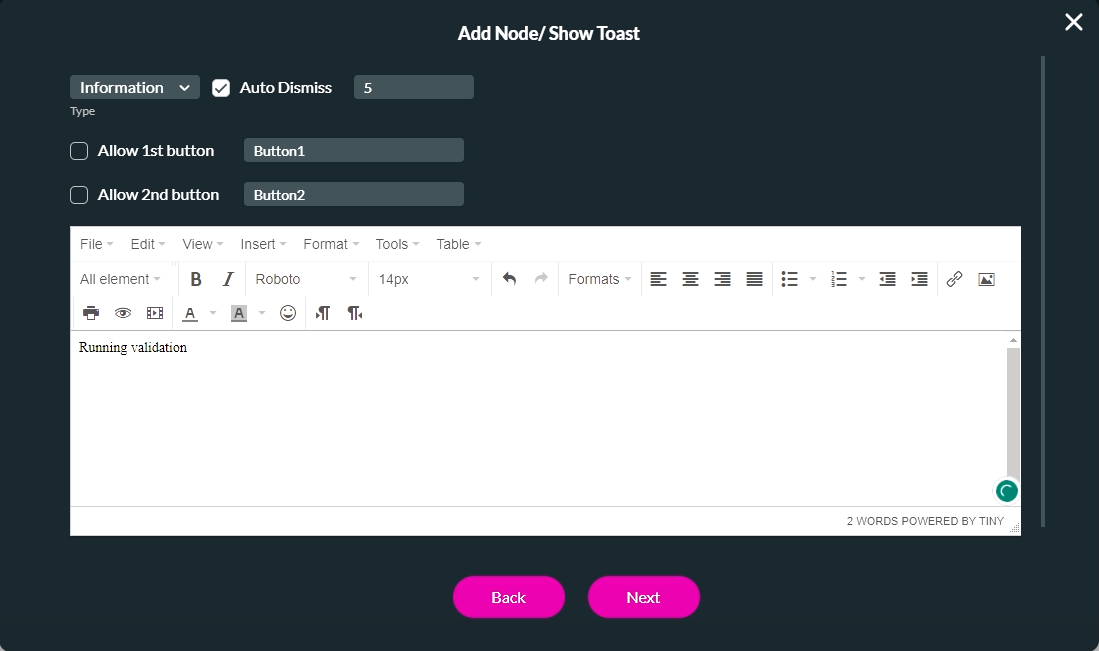
4. Add a tag and click Insert.
The Toast is added to the On Click Action screen.
1. Click on the + icon next to Validate. The Add Node screen opens.
2. Use the search field to find the Show Toast option and click Next.
3. Type in the message and click Next.
4. Add a tag and click Insert.
The Toast is added to the On Click Action screen.
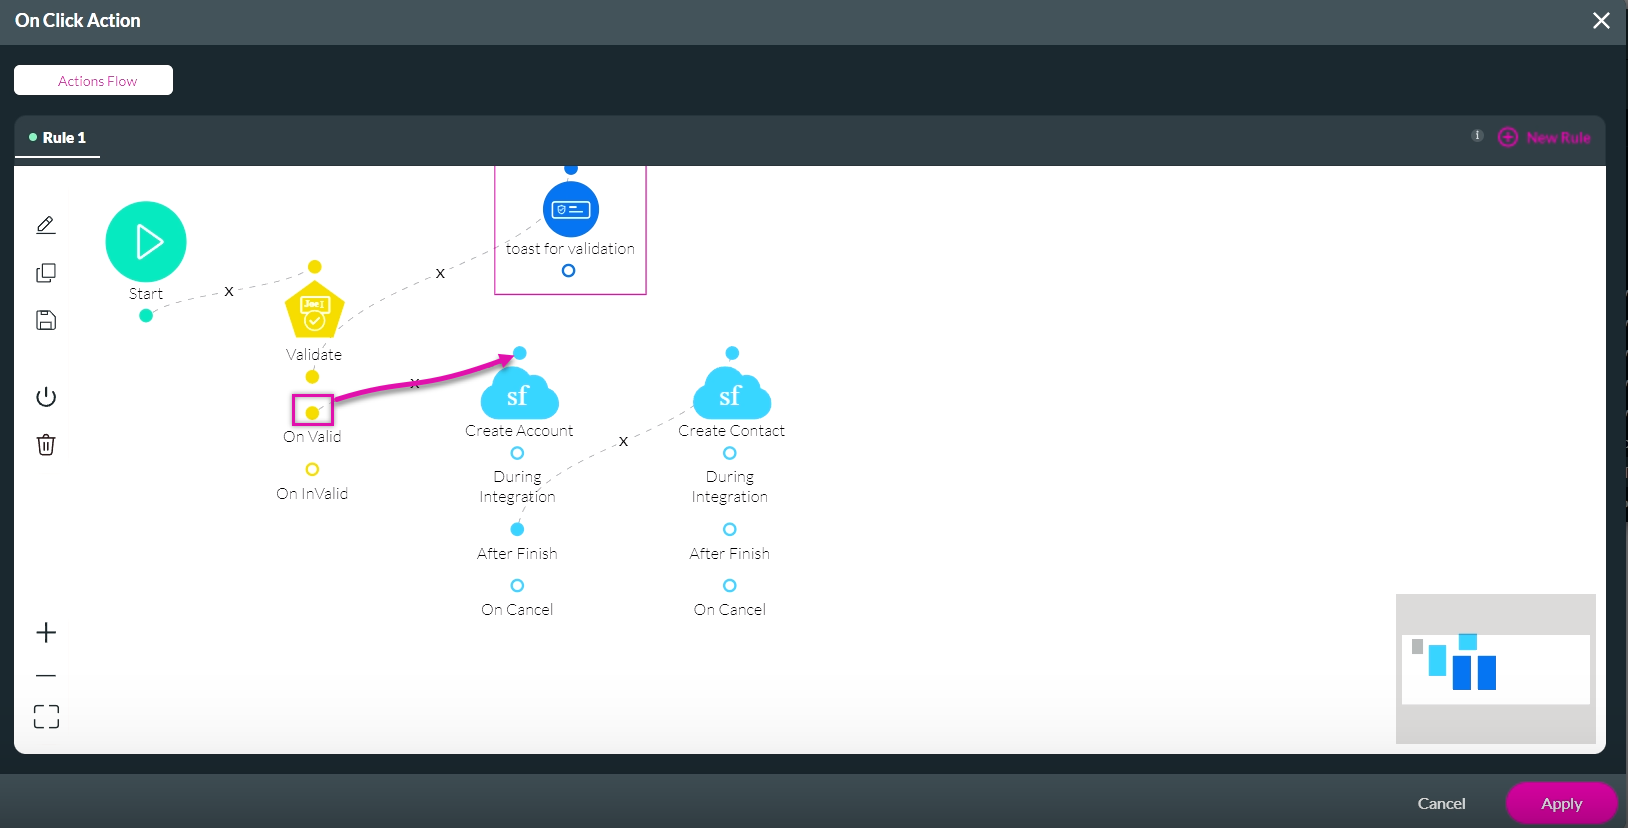
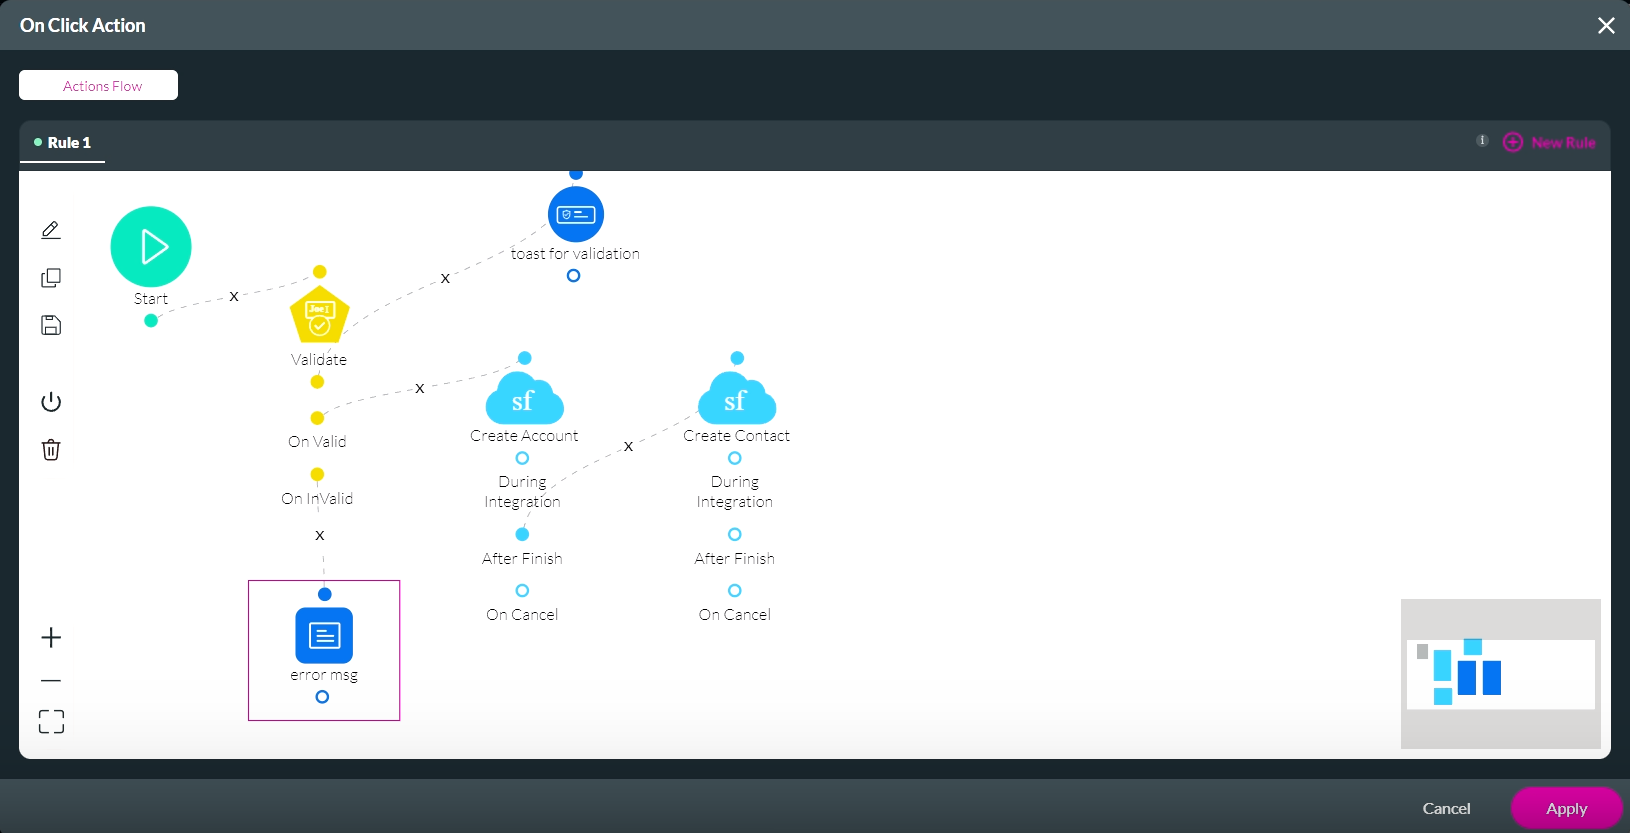
05 Connecting Nodes
1. Click the circle icon of one node and drag the cursor to the connecting node.
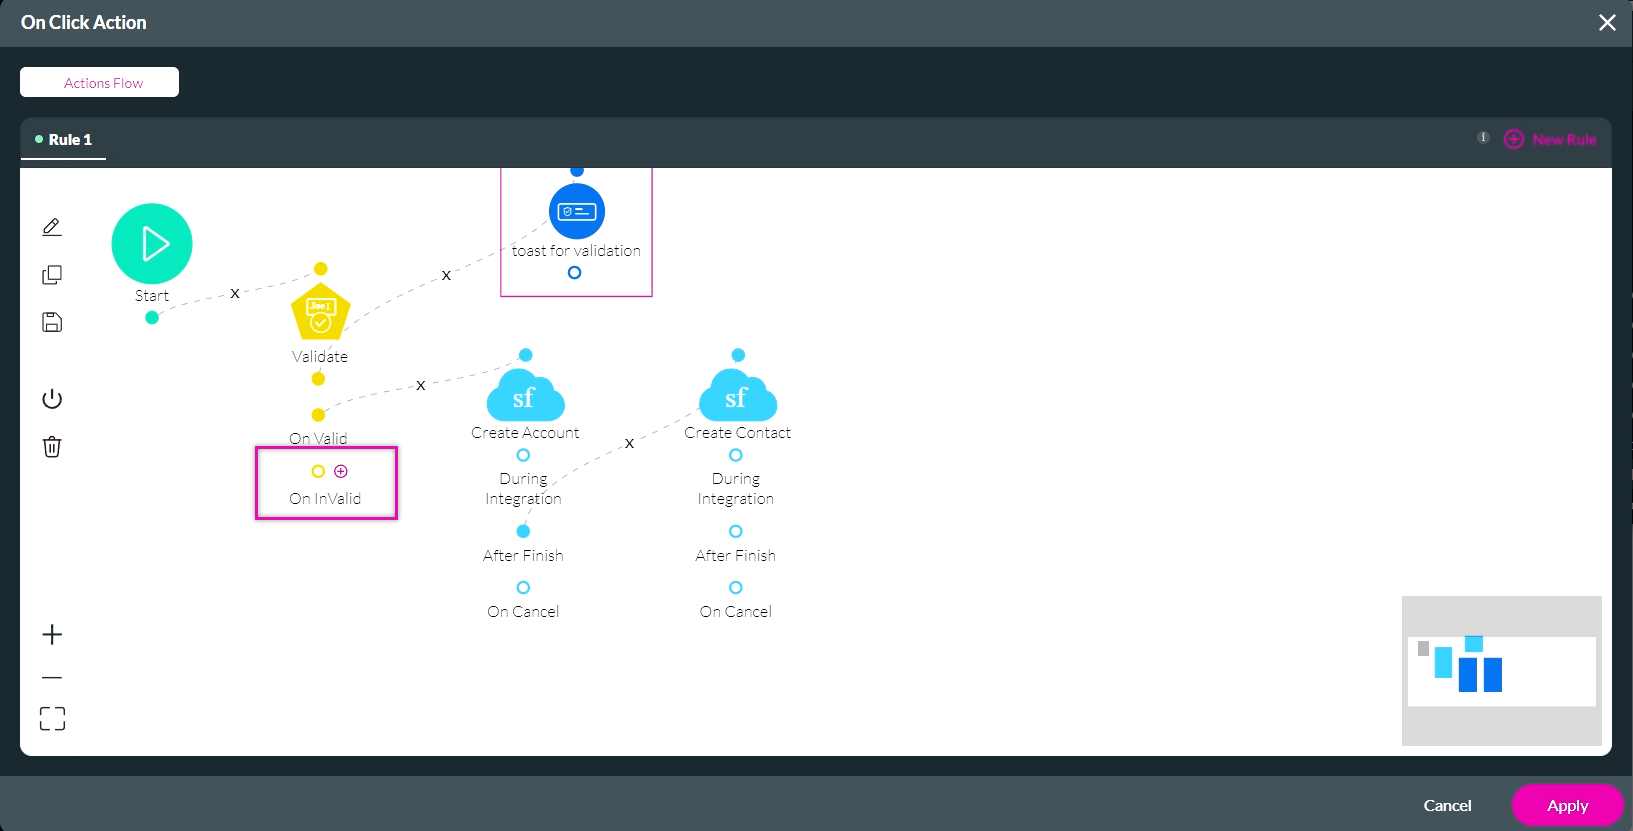
06 On Invalid Message
You can insert a toast to display a message if the fields are invalid.
1. Click on the + icon next to On Invalid. The Add Node screen opens.
2. Select the Show Message node and click Next.
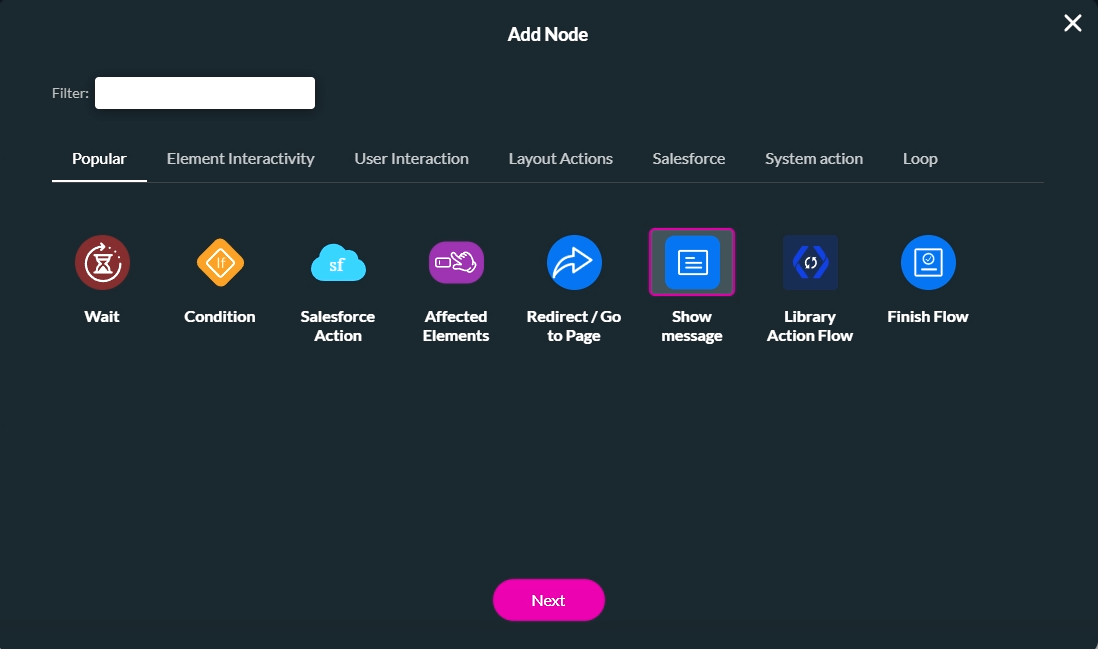
3. Configure your message and click Next.
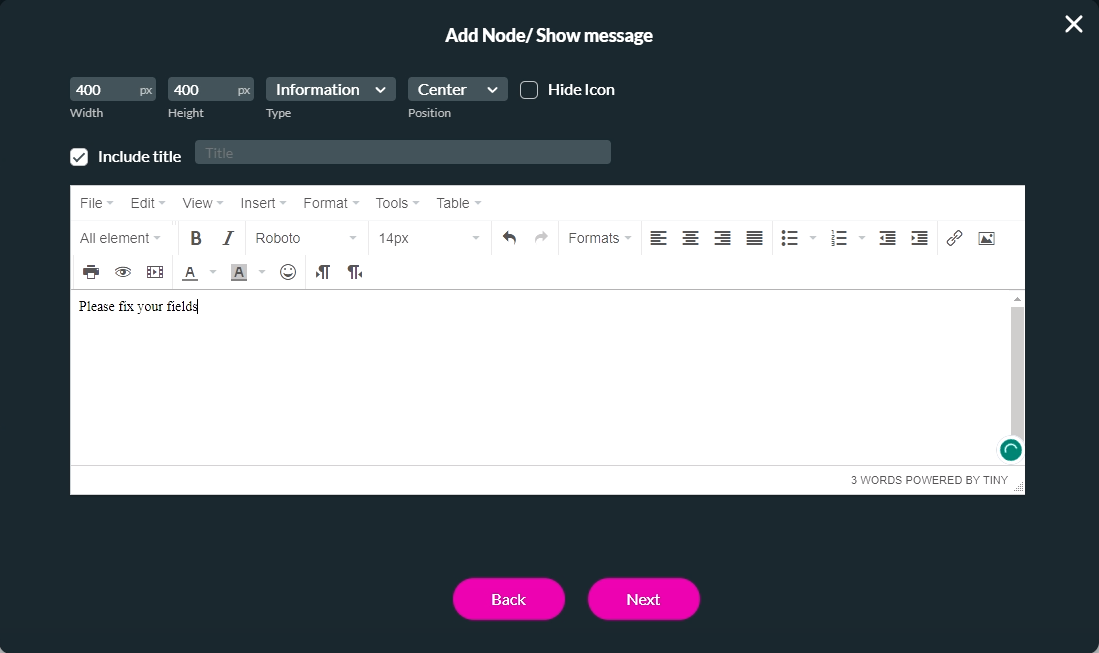
4. Add a Tag and click Insert.
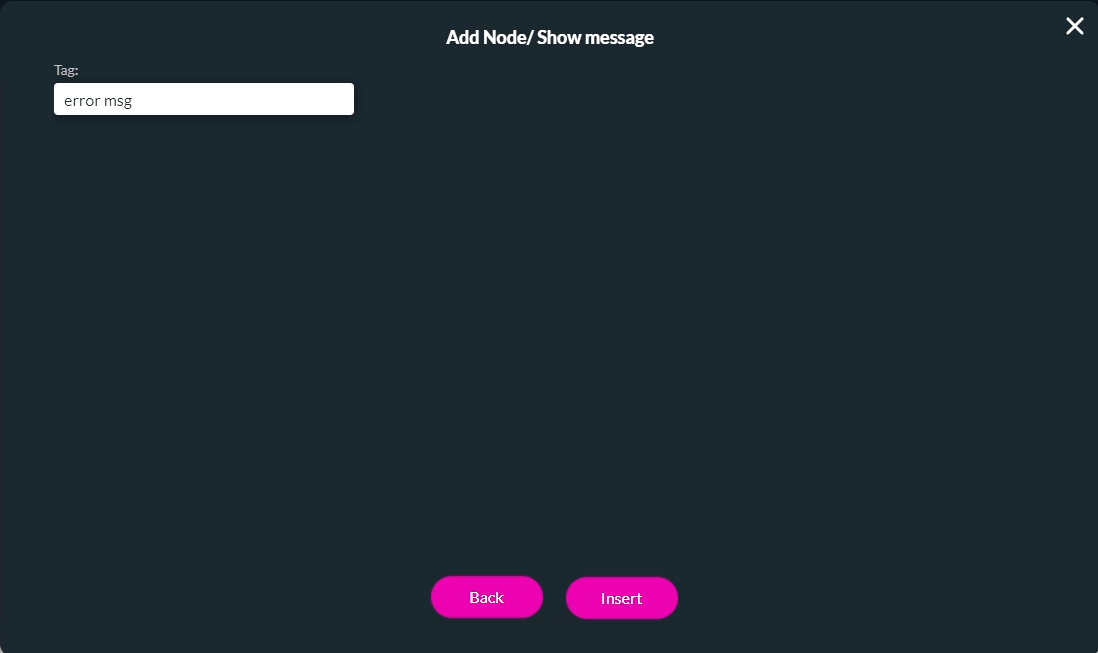
The Message is added to the On Click Action screen.
5. Click Apply.
1. Click on the + icon next to On Invalid. The Add Node screen opens.
2. Select the Show Message node and click Next.
3. Configure your message and click Next.
4. Add a Tag and click Insert.
The Message is added to the On Click Action screen.
5. Click Apply.
07 Preview the Project
1. Click Save and Preview.
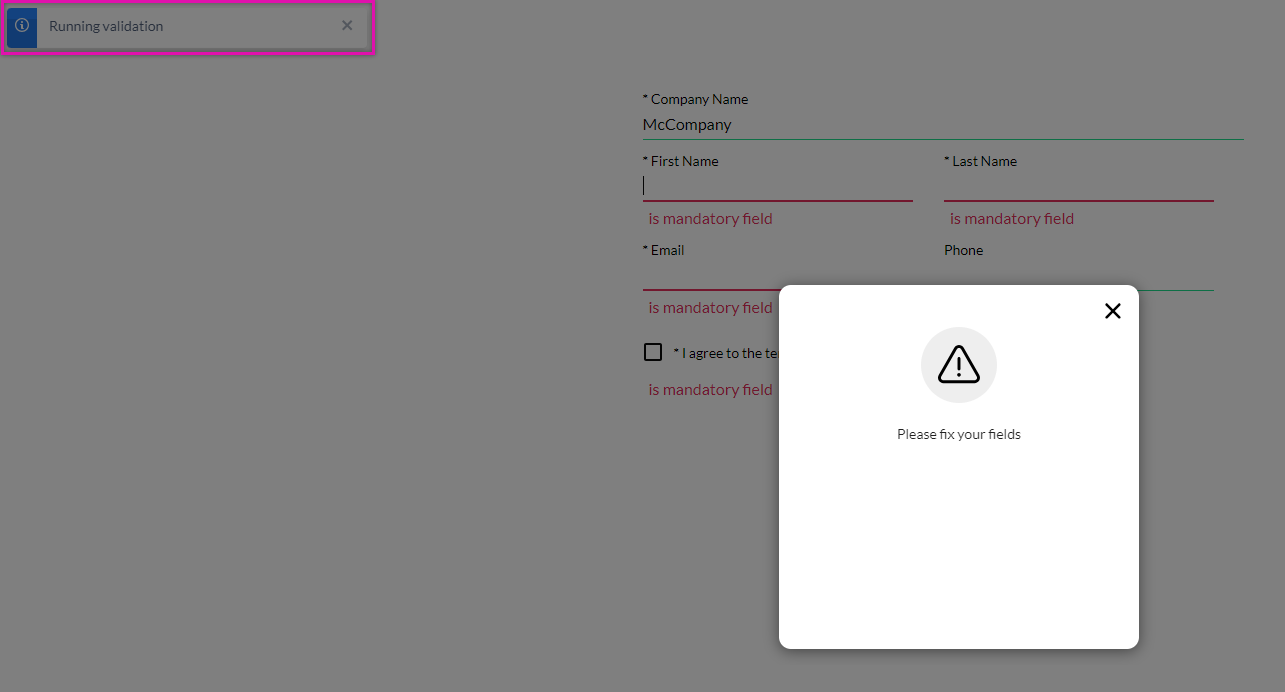
Suppose a user does not complete all the fields and clicks the button—an error message displays.
The toast will display whether the fields are valid or invalid, as we configured it to do during the validation process.
No Salesforce Action will run because some of the fields on the page are invalid.
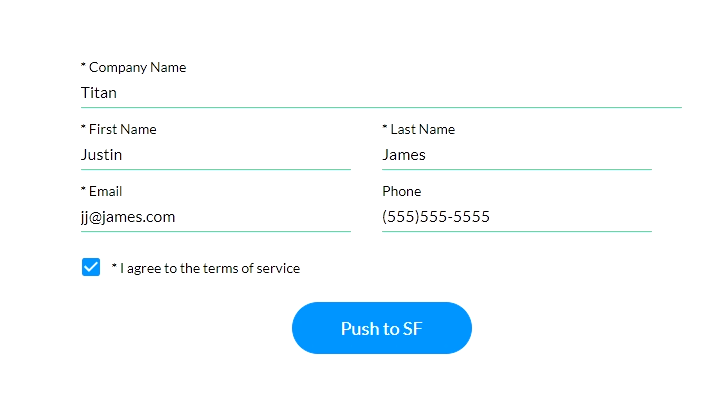
If all the fields are completed, the Salesforce Actions will run.
Remember to consult your Integration Logs to view successful actions.
Suppose a user does not complete all the fields and clicks the button—an error message displays.
The toast will display whether the fields are valid or invalid, as we configured it to do during the validation process.
No Salesforce Action will run because some of the fields on the page are invalid.
If all the fields are completed, the Salesforce Actions will run.
Remember to consult your Integration Logs to view successful actions.