Building a Multi-Page Public Portal (14 min)
Completion requirements
01 Getting Started
This tutorial explores how to build a multi-page project in Titan Web. The portal will be public, meaning all information displayed on it will be public and treated as non-sensitive data.
Use this approach if you do not care who accesses your URL, as everyone can see the same data on your portal.
Use this approach if you do not care who accesses your URL, as everyone can see the same data on your portal.
02 Building Multiple Pages on a Portal
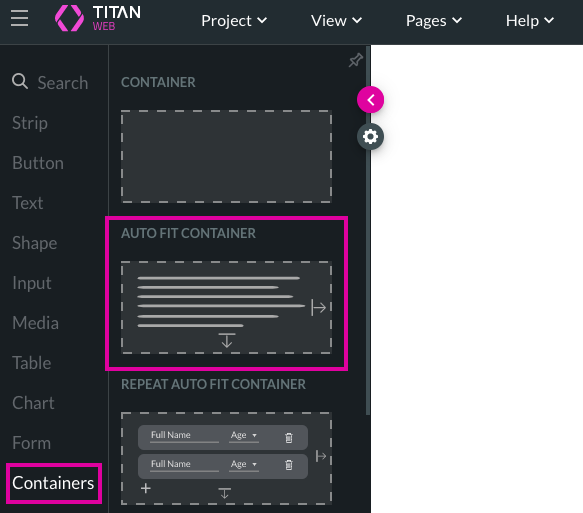
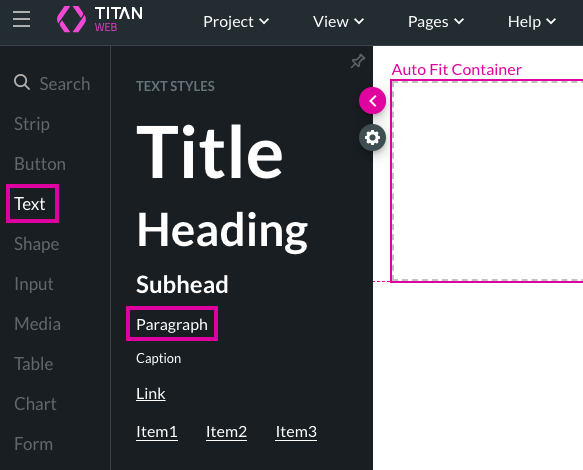
1. To create an About Us or Home page for your web portal, grab an Auto Fit Container and add it to your Titan Web project.
2. Increase the size of the Auto Fit Container until it is big enough to add a few elements and a Title text comfortably.
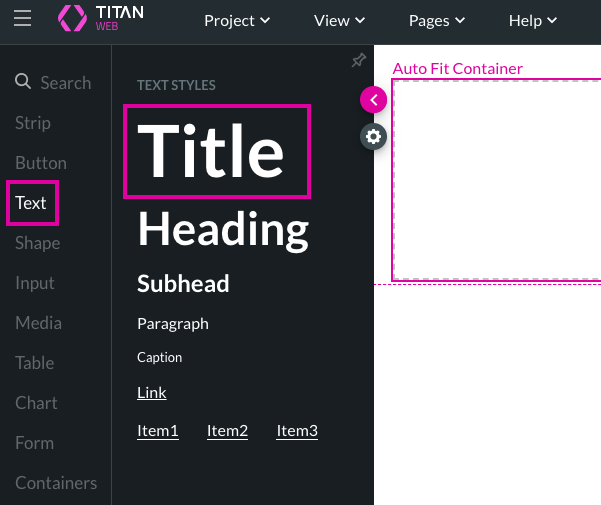
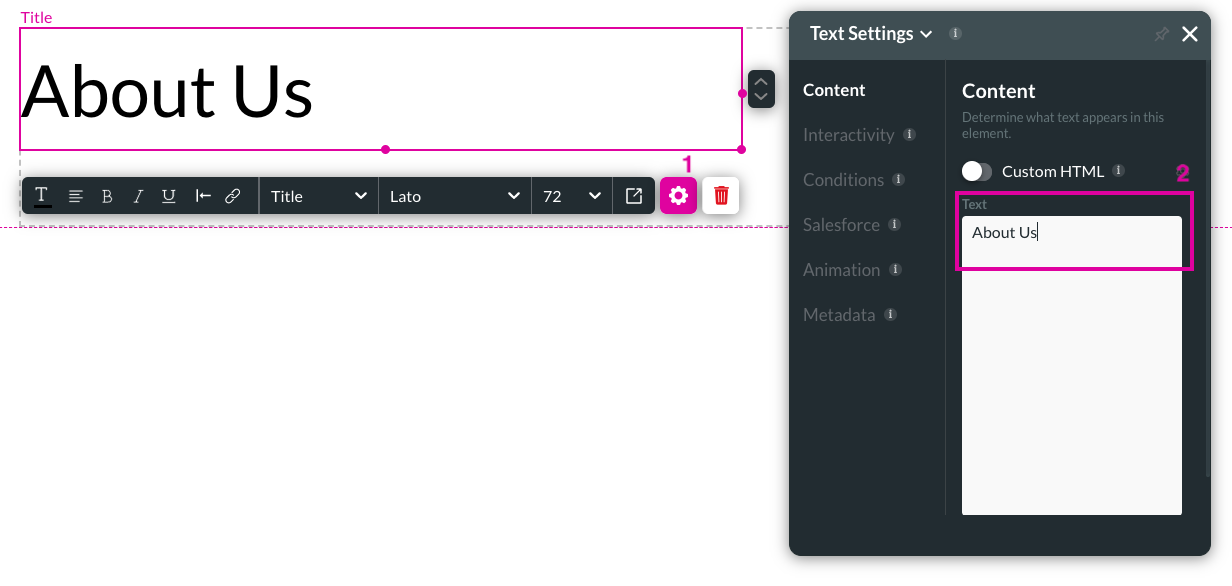
3. Edit the Title text in Content Text Settings to now read About Us.
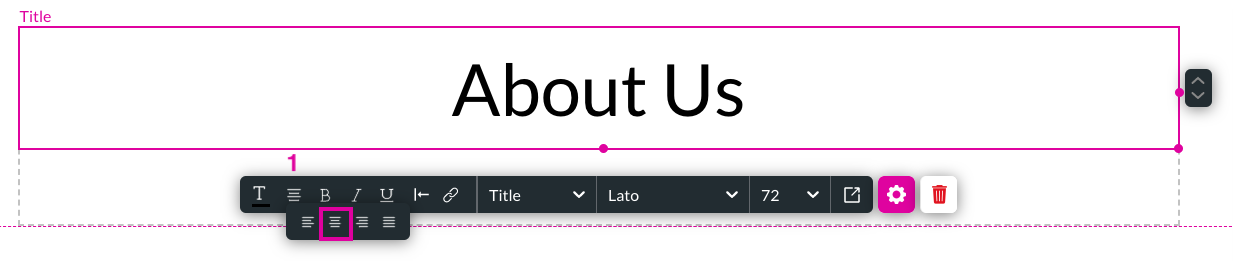
4. Increase the size of the Title text so that it comfortably fits your new text, and center-align the element in the Auto Fit Container.
5. Add a Paragraph text into your Auto Fit Container.
6. Open the Content Text Settings to add some paragraph text. For our tutorial, we have chosen Lorem Ipsum.
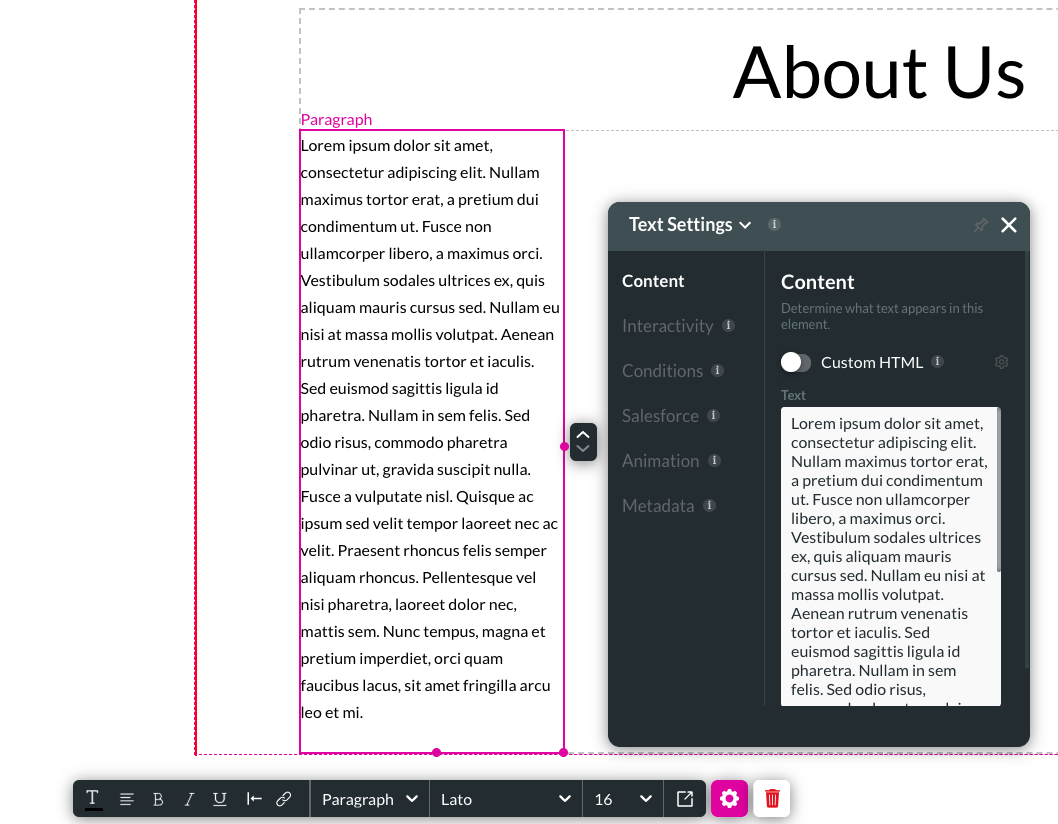
7. Increase the paragraph text size to fit your new text comfortably and within the Auto Fit Container.
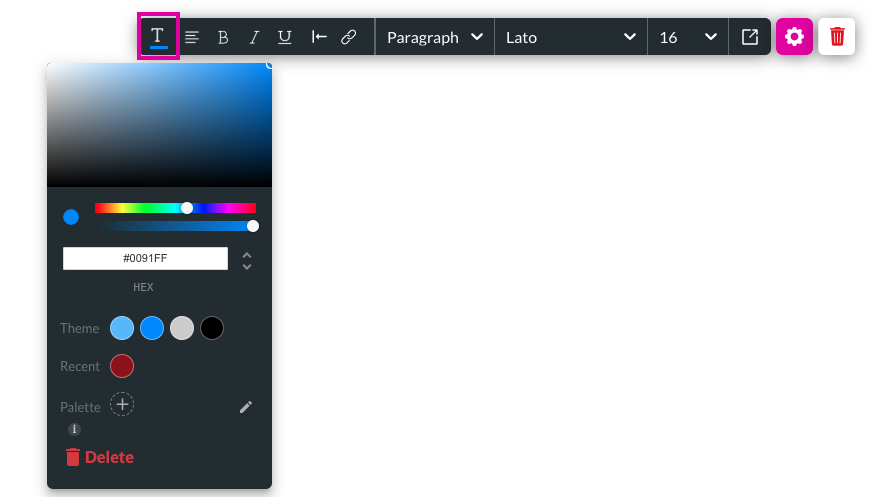
8. Change the color of the Paragraph text by clicking on the gear icon and selecting a new font color.
2. Increase the size of the Auto Fit Container until it is big enough to add a few elements and a Title text comfortably.
3. Edit the Title text in Content Text Settings to now read About Us.
4. Increase the size of the Title text so that it comfortably fits your new text, and center-align the element in the Auto Fit Container.
5. Add a Paragraph text into your Auto Fit Container.
6. Open the Content Text Settings to add some paragraph text. For our tutorial, we have chosen Lorem Ipsum.
7. Increase the paragraph text size to fit your new text comfortably and within the Auto Fit Container.
8. Change the color of the Paragraph text by clicking on the gear icon and selecting a new font color.
03 Add a New Page
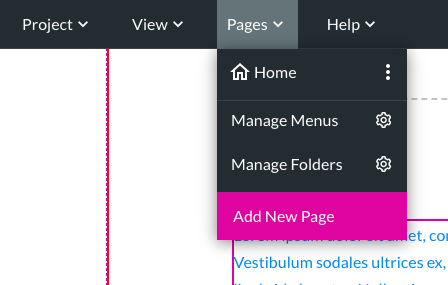
1. To build another page in a Titan Web project, click the Pages drop-down menu and select Add New Page.
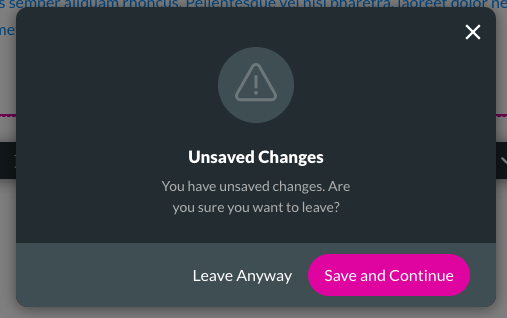
A notification box will appear to remind you that you have unsaved changes. Before proceeding, ensure that you click the Save and Continue buttons.
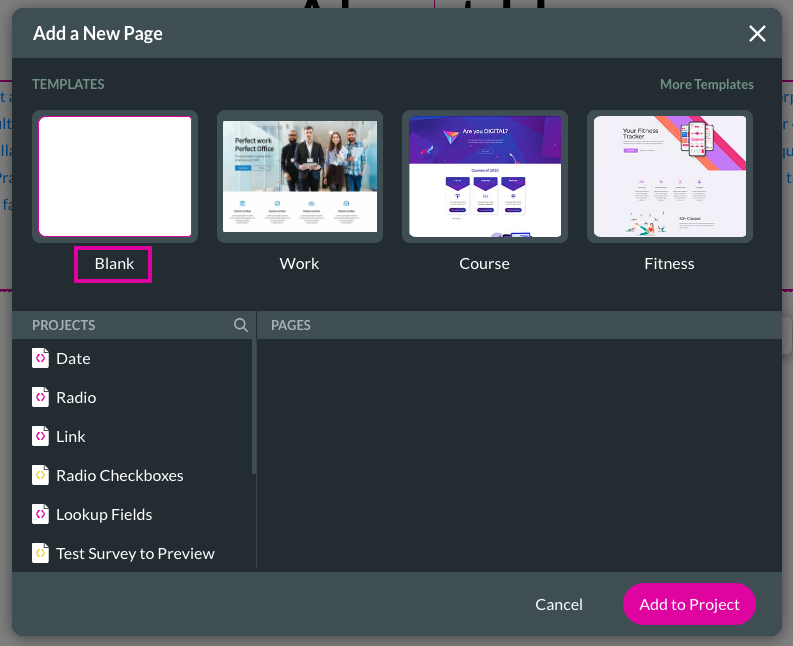
When you add a new page, you can choose from template pages or pages from different projects you have created in the past. If you want to reuse pages from other projects or pages from a project you are currently working on, you can do so by clicking on a particular project, then selecting the Page, and you can duplicate it.
2. we will select the Blank page option from the Templates list for this tutorial.
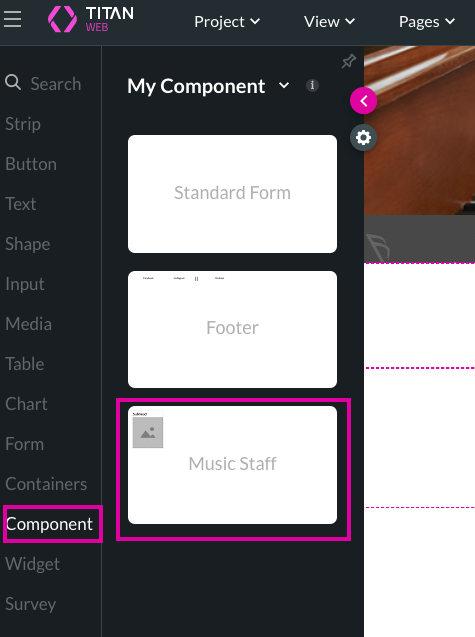
3. Click on the + button and select a pre-made component.
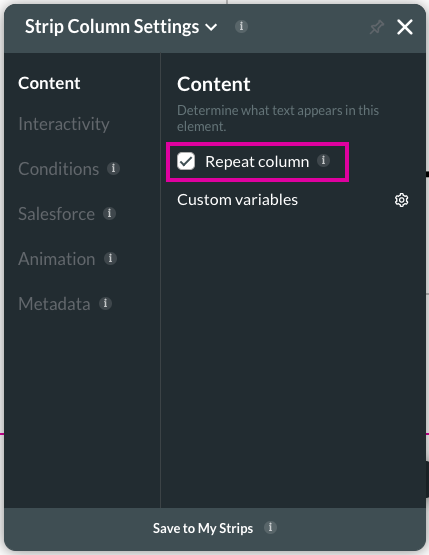
4. Move the component comfortably to the left and then make the Strip a repeat column by marking the Repeat Column checkbox in the Strip Column Content settings.
5. To display the music teacher's name and picture in your component, you must configure a get from Salesforce. Click on the gear icon and select the Salesforce option in the menu.
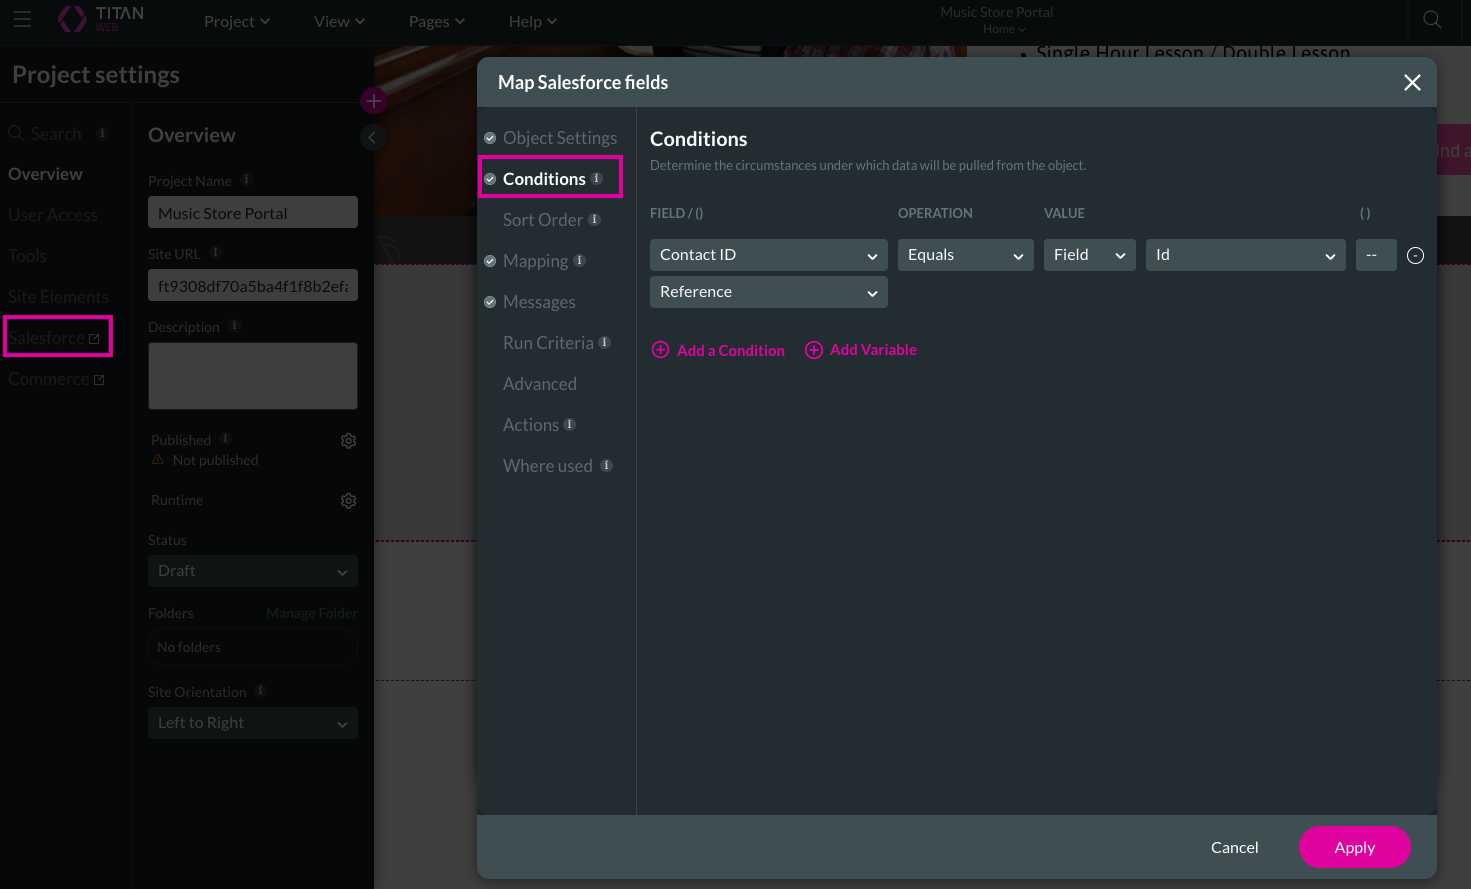
6. Set up the Salesforce Get Conditions.
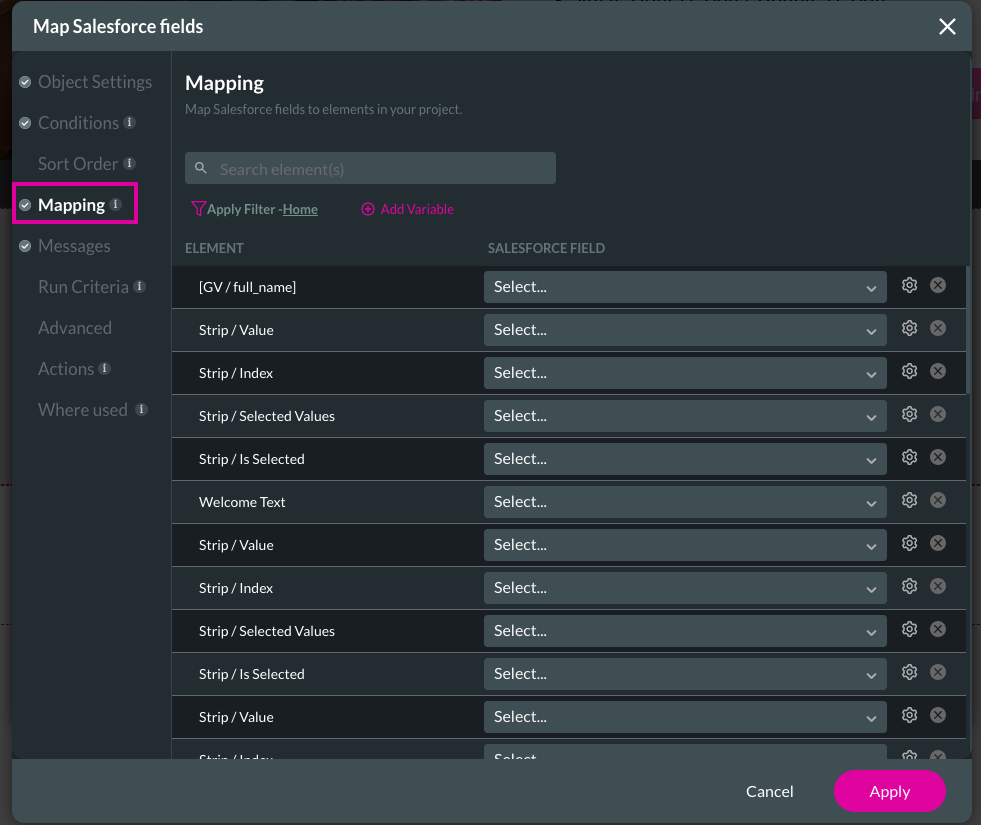
7. Next, you need to Map your Salesforce fields.
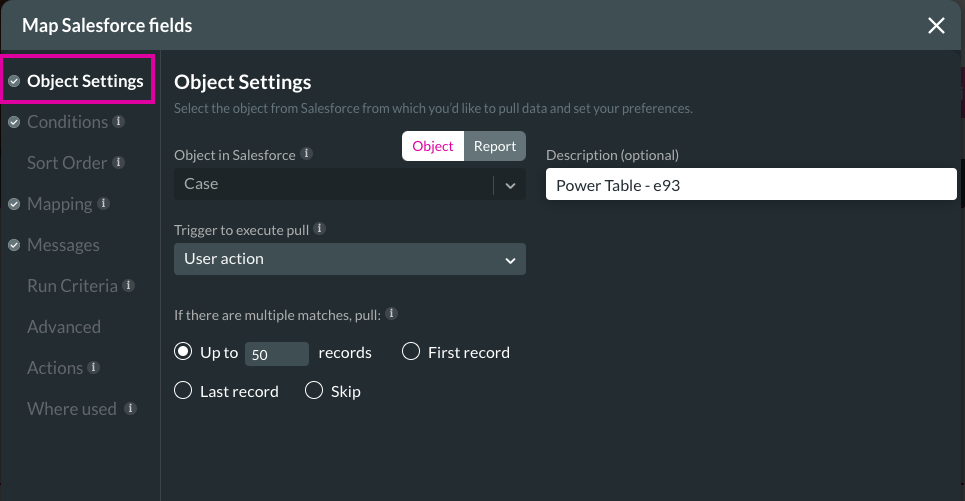
8. You can use any object, such as manage package, custom, or standard objects, but for this tutorial, we use Contact.
9. We also changed our Trigger to Execute Pull drop-down list to User action.
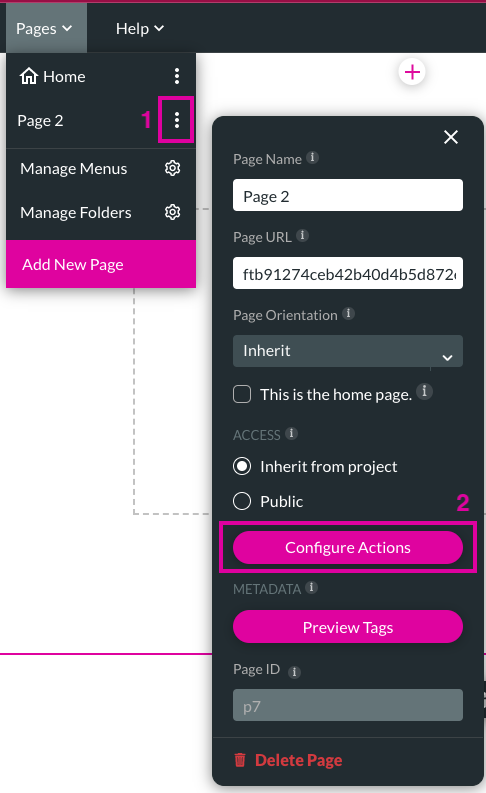
10. Now click on the Pages menu tab and notice that you have two pages created: Home and Page 2.
11. Click the Kebab menu following Page 2 and then the Configure Actions button. These actions will run specifically on Page 2 of the whole project.
The configure action screen opens.
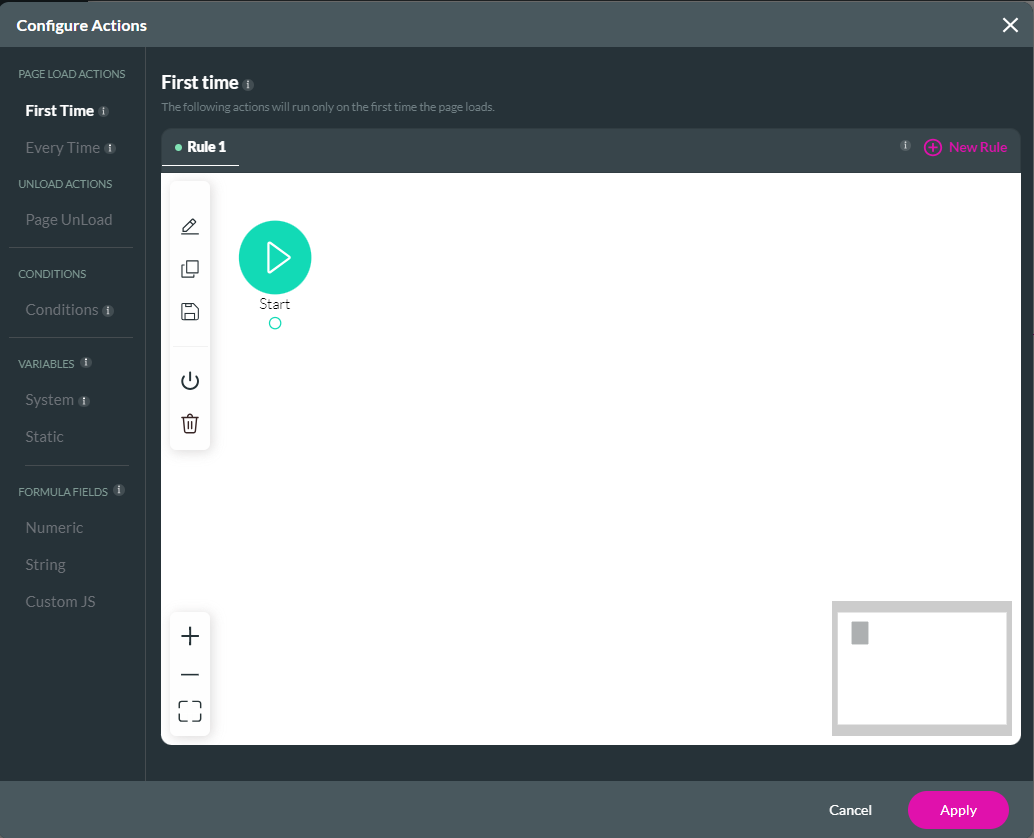
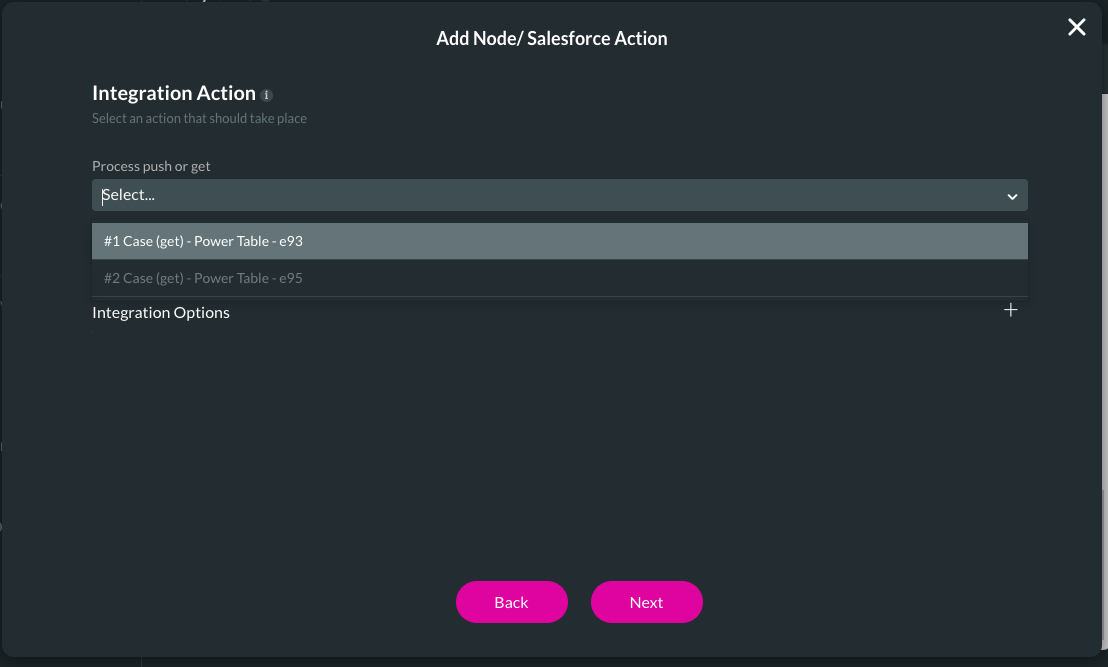
12. To write an every-time action, click the Every Time tab, select the + icon, and choose the Salesforce Action option.
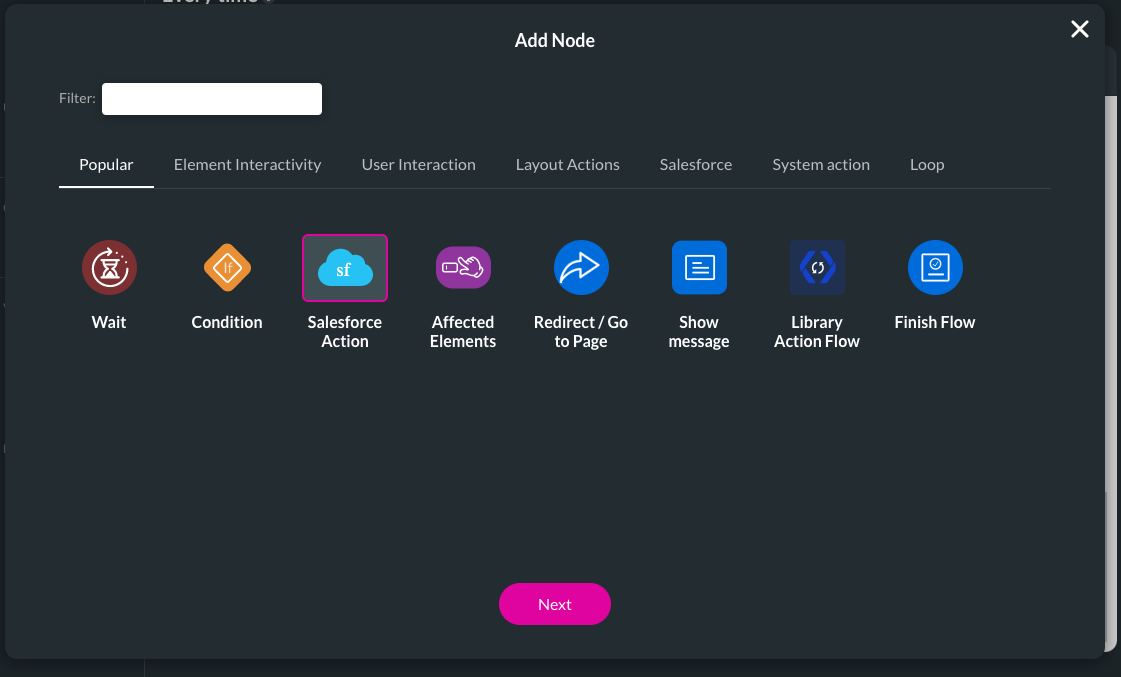
13. Choose to run the Get previously set up to bring the teacher profiles from Salesforce into the components.
14. Save changes and create more pages if you need to.
A notification box will appear to remind you that you have unsaved changes. Before proceeding, ensure that you click the Save and Continue buttons.
When you add a new page, you can choose from template pages or pages from different projects you have created in the past. If you want to reuse pages from other projects or pages from a project you are currently working on, you can do so by clicking on a particular project, then selecting the Page, and you can duplicate it.
2. we will select the Blank page option from the Templates list for this tutorial.
3. Click on the + button and select a pre-made component.
4. Move the component comfortably to the left and then make the Strip a repeat column by marking the Repeat Column checkbox in the Strip Column Content settings.
5. To display the music teacher's name and picture in your component, you must configure a get from Salesforce. Click on the gear icon and select the Salesforce option in the menu.
6. Set up the Salesforce Get Conditions.
7. Next, you need to Map your Salesforce fields.
8. You can use any object, such as manage package, custom, or standard objects, but for this tutorial, we use Contact.
9. We also changed our Trigger to Execute Pull drop-down list to User action.
10. Now click on the Pages menu tab and notice that you have two pages created: Home and Page 2.
11. Click the Kebab menu following Page 2 and then the Configure Actions button. These actions will run specifically on Page 2 of the whole project.
The configure action screen opens.
12. To write an every-time action, click the Every Time tab, select the + icon, and choose the Salesforce Action option.
13. Choose to run the Get previously set up to bring the teacher profiles from Salesforce into the components.
14. Save changes and create more pages if you need to.
04 Rename your Pages
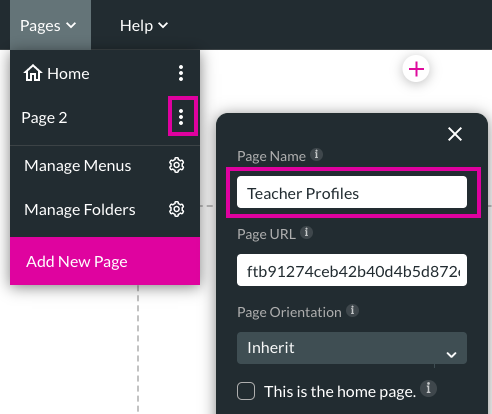
1. Rename all your pages by clicking on Pages in the menu tab and selecting the Kebab button next to the page you want to rename.
2. Highlight the text in the Page Name field and type in the new name. For this tutorial, we have renamed Page 2 to Teacher Profiles.
2. Highlight the text in the Page Name field and type in the new name. For this tutorial, we have renamed Page 2 to Teacher Profiles.
05 Navigation between Pages
You must set up a header or a button to navigate between pages in a multi-page portal.
06 To set up a header for site navigation
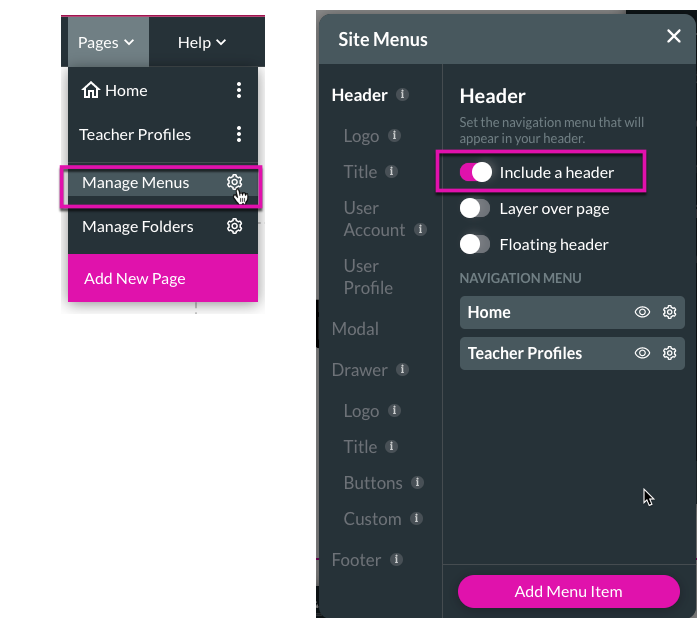
1. Select the Manage Menus gear icon on the Pages menu tab.
2. Turn the Include a Header toggle switch in the Header Site Menu settings.
3. You can rename a header by clicking the Navigation Menu Option’s Gear icon and editing the Link Name field.
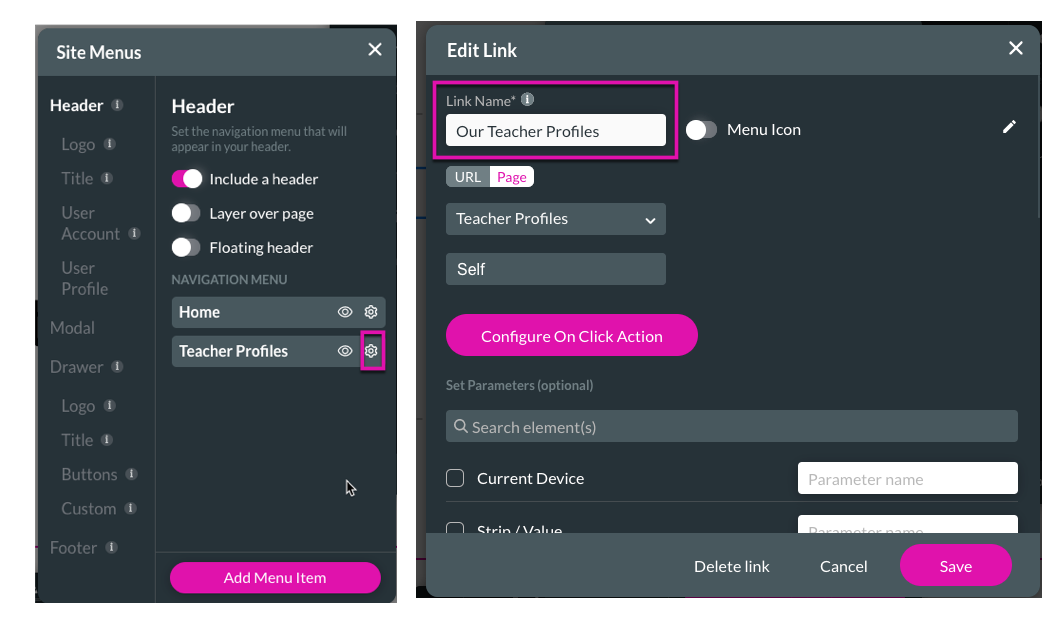
You can now navigate through the pages of your web project by clicking on the menu items in the header.
2. Turn the Include a Header toggle switch in the Header Site Menu settings.
3. You can rename a header by clicking the Navigation Menu Option’s Gear icon and editing the Link Name field.
You can now navigate through the pages of your web project by clicking on the menu items in the header.
07 To set up a button for site navigation
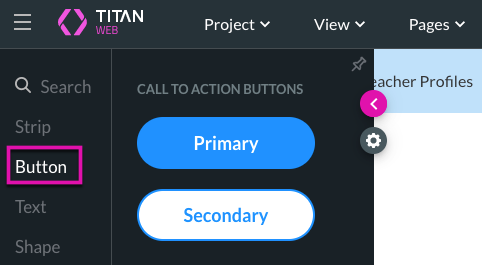
1. Click on the + button and add a Button element to your strip.
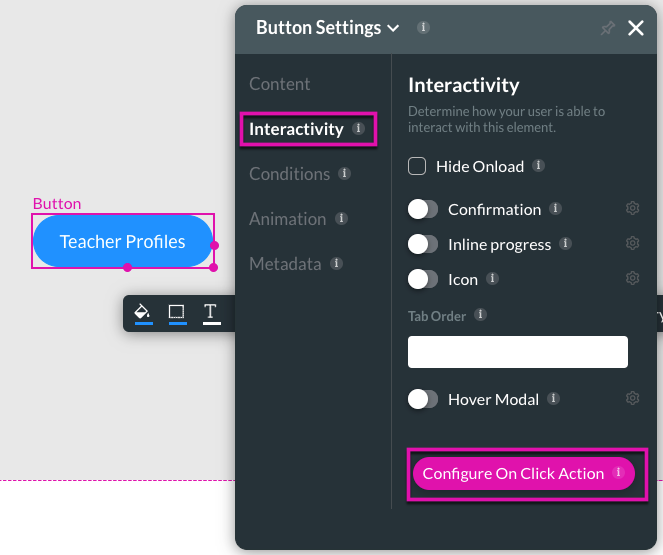
2. Rename your button and add an action by configuring the button interactivity settings.
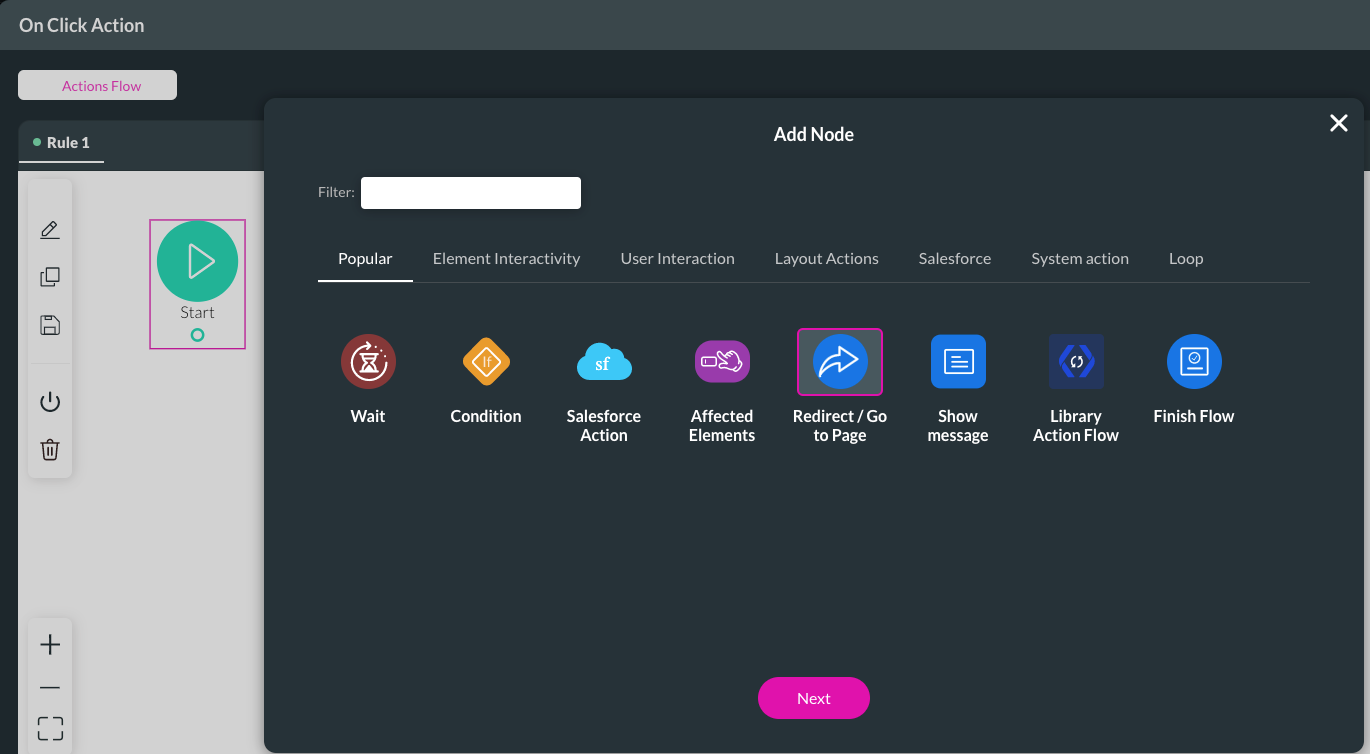
3. Click on the Configure On Click Actions button.
4. Add a Redirect/ Go to Page action.
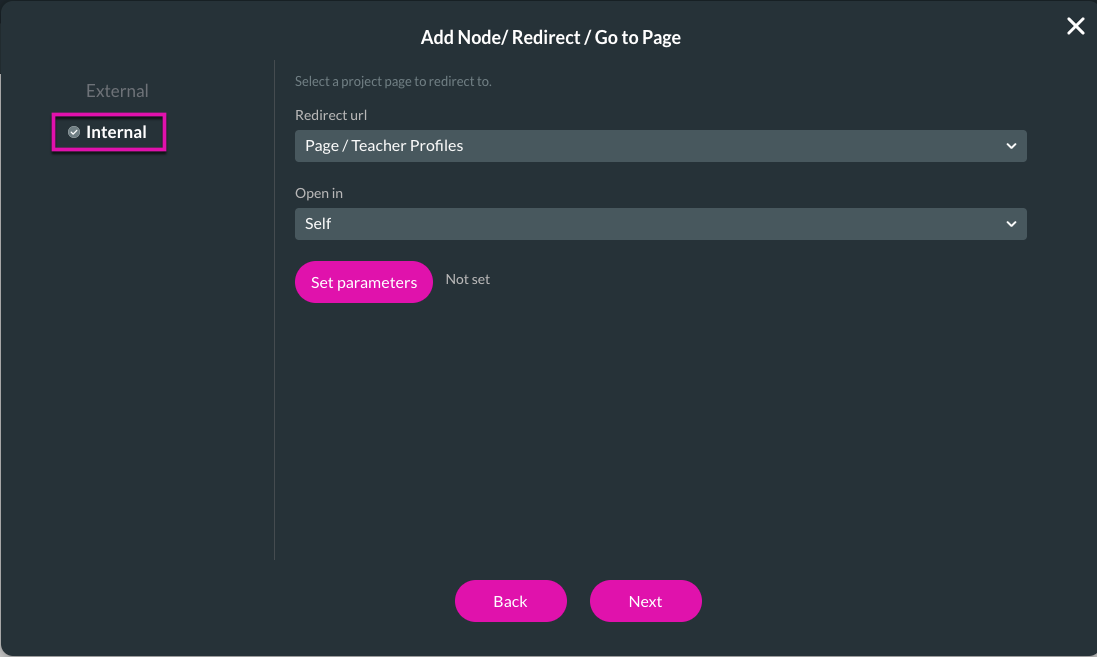
5. Select the Internal tab to direct your action to an internal site and configure your Redirect URL and Open In options.
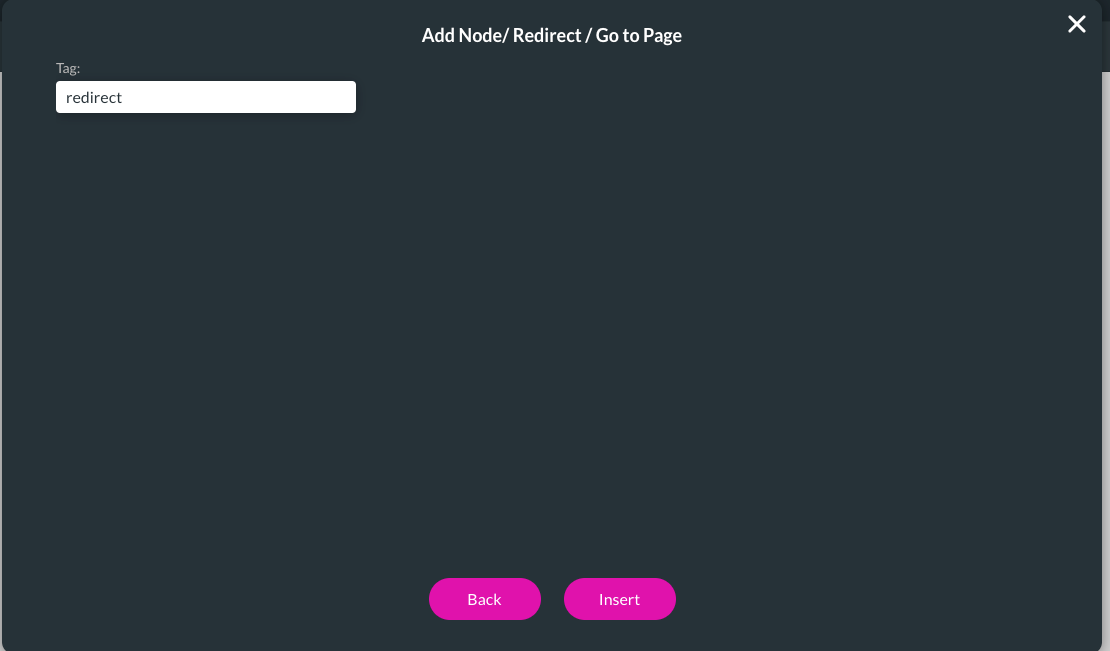
6. Click on the Next button and fill in your Tag for the button.
7. Close the menus by clicking on Insert and then Apply.
8. Save and Preview your button activity.
2. Rename your button and add an action by configuring the button interactivity settings.
3. Click on the Configure On Click Actions button.
4. Add a Redirect/ Go to Page action.
5. Select the Internal tab to direct your action to an internal site and configure your Redirect URL and Open In options.
6. Click on the Next button and fill in your Tag for the button.
7. Close the menus by clicking on Insert and then Apply.
8. Save and Preview your button activity.