The Interface (3:30 min)
01 Introduction
02 The Top Menu Bar
![]()
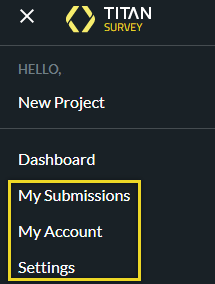
1. Click on the Hamburger menu on the far left of the top menu bar. The hamburger menu provides quick access to useful information. For example:
- My Submissions: where data from all of your Titan projects is saved.
- My Account: where you can find details about your Titan license.
- Settings: where you can update the settings and integrations of your Titan Products.
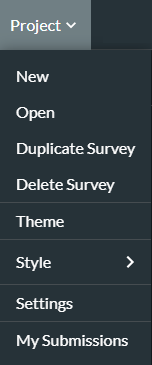
2. Click on the Project drop-down arrow to open the Project-related options.
- Use the Duplicate Survey option to create a duplicate copy of the survey.
- Delete the survey by clicking on the Delete Survey option.
- Use the Theme and Style options to change the theme and style of the survey.
3. Click on the Help drop-down arrow to access the extensive documentation and training materials available.
4. Click the Edit icon and type a new name in the Project Name popup.
- Press the Enter key on your keyboard to save the new name.
8. Click the Undo and Redo icons to undo or redo changes.
9. Use the Save icon to save the survey.
10. Click on the Preview button to preview the survey.
11. Use the Publish button to publish the survey.
03 Left-hand Column
The left-hand column contains four important icons (from the top):
![]()
- Survey Slides
- Project Settings
- Web Survey Styles
- Question Flow
- Use the Survey Slides icon to add slides and manage them.
- Use the Project Setting icon to access the comprehensive customization capabilities. This includes the following tabs:
- Overview: for instance, to set the unique site URL for the survey.
- User Access: for instance, to set how users can access your survey through login or Salesforce.
- Tools: for instance, to set custom fonts for the survey.
- Survey: for instance, to customize the progress bar.
- Site elements: for instance, to add an accessibility toolbar to the survey.
- Salesforce: for instance, to add Salesforce integration.
- Use the Web Survey Styles icon to set the look and feel of the survey using a range of customization options.
- For instance, set another font using the Font Family drop-down list under Web Survey.
- For instance, change the log size on the Logo tab.
- For instance, change the colors of the buttons on the survey on the Buttons tab.
- Use the Question Flow icon to control the slides’ sequence.
04 Canvas
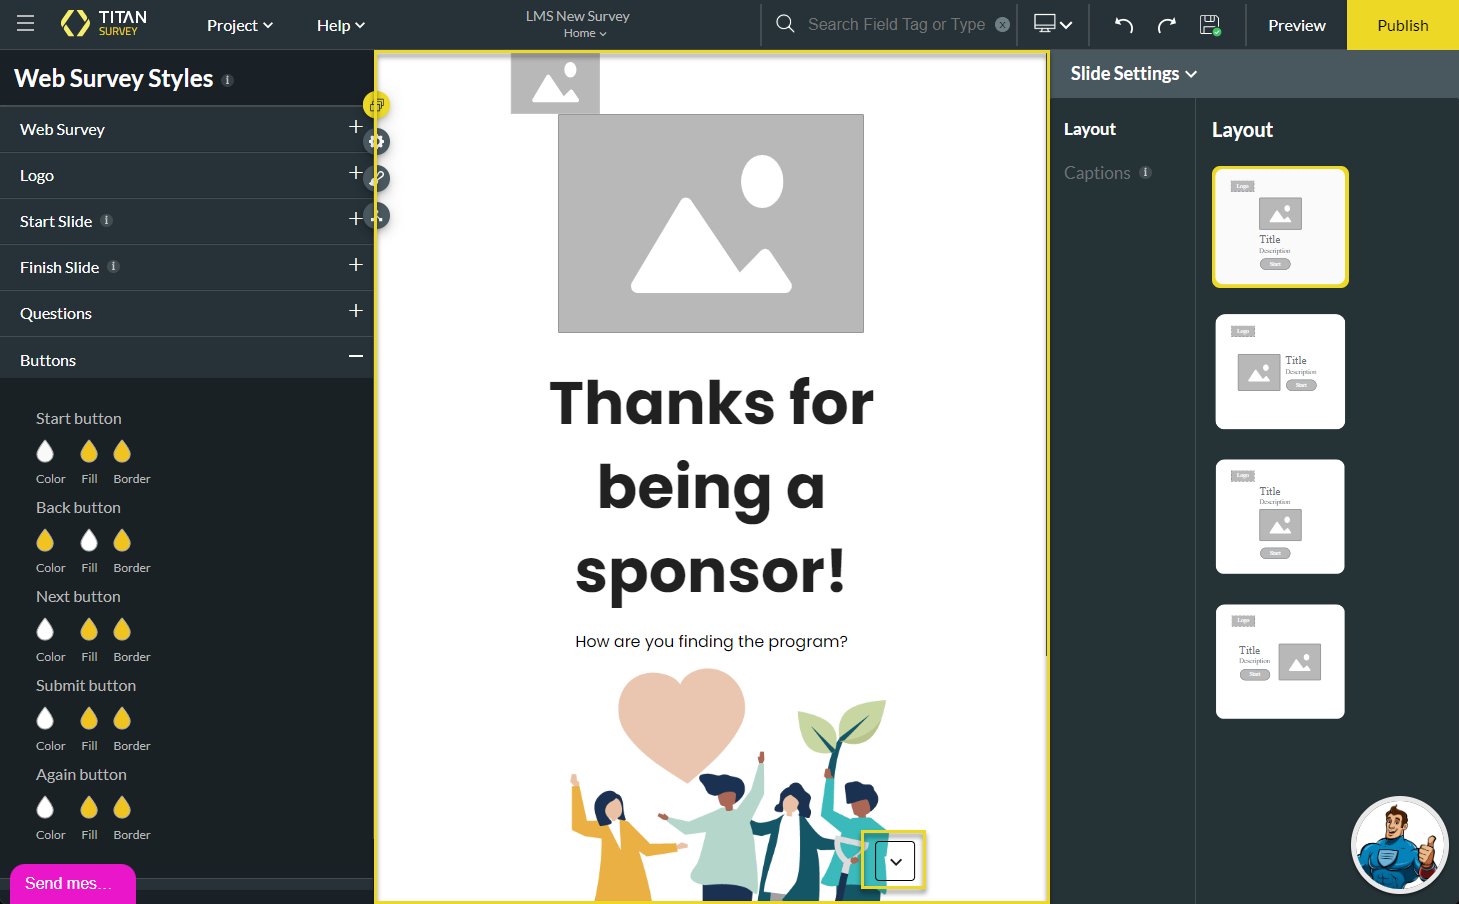
The canvas is located in the center of the screen. The canvas is the area where you design the survey.
Slides are displayed on the canvas one at a time, and you can navigate between them using the navigation button.
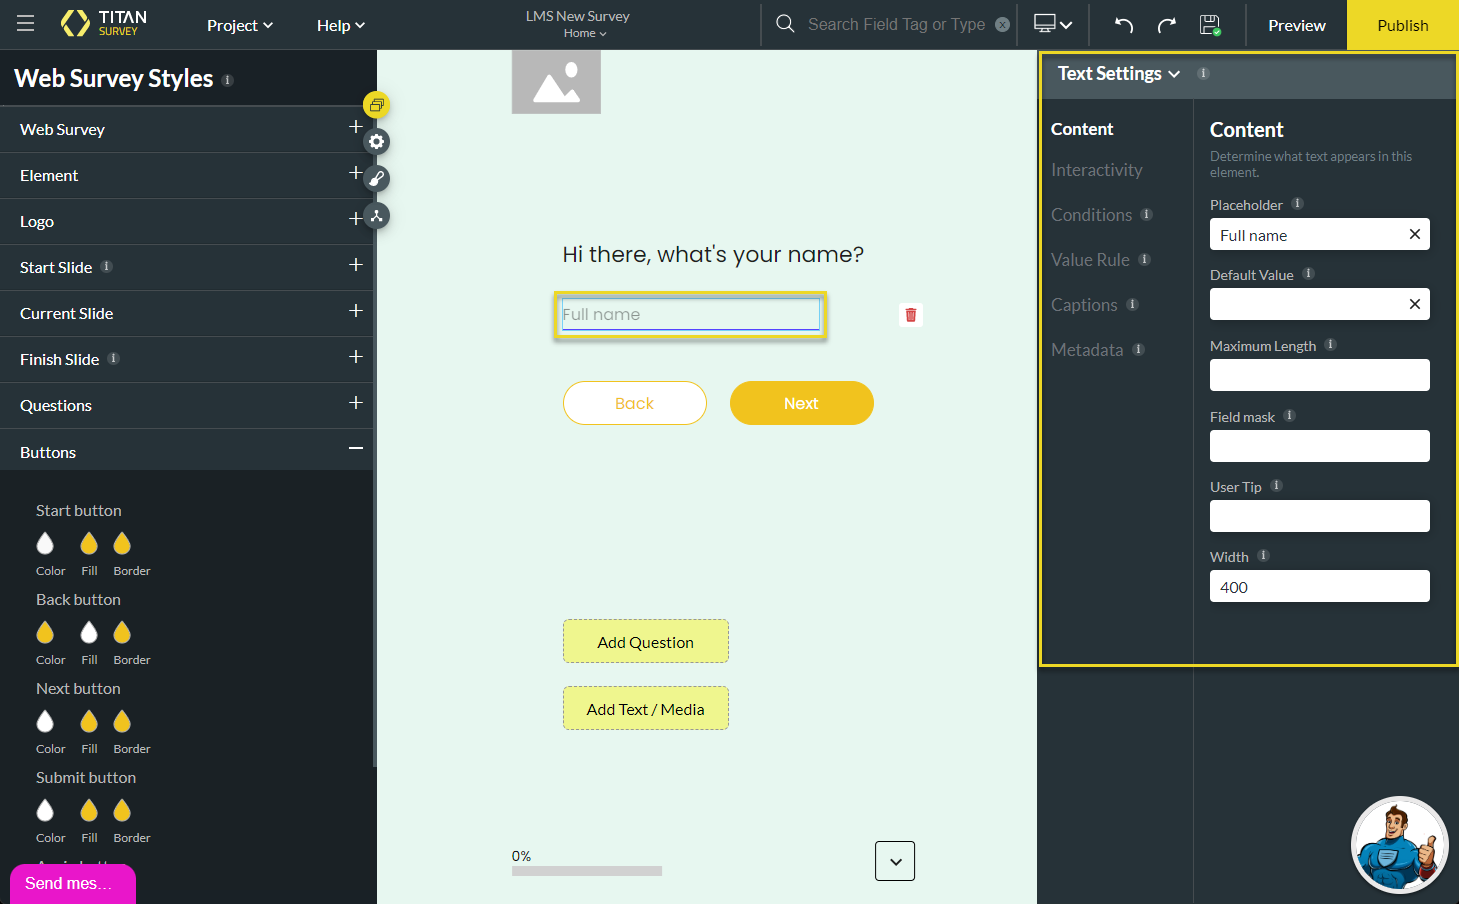
05 Right-hand Column
Use this column to customize an element selected on the canvas. The options available on this menu will vary according to the type of element chosen.