File Viewer (10 min)
Completion requirements
01 Getting Started
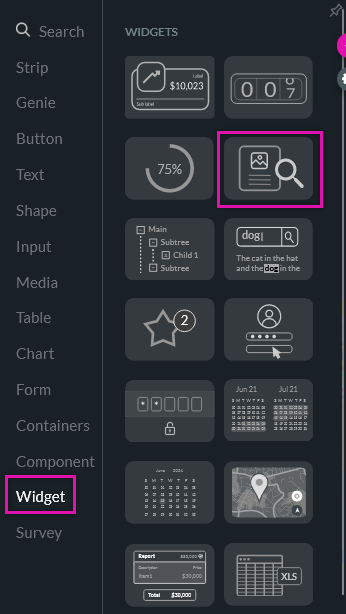
This tutorial covers configuring the file viewer widget, which allows you to display various file types in your project.
02 File Viewer Settings
In the content tab, you can choose what file type you want to display.

You also have the option to display a static file.
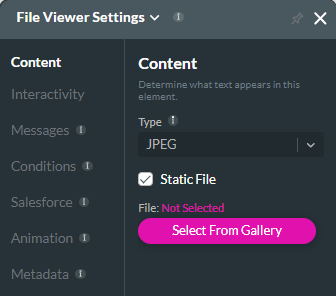
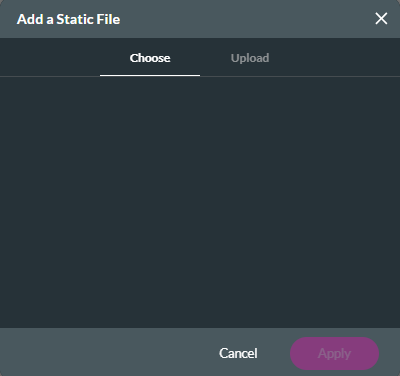
Click Select from Gallery to choose a previously uploaded file or upload a new one if you choose not to display a static file. You can configure one to display from Salesforce.
You also have the option to display a static file.
Click Select from Gallery to choose a previously uploaded file or upload a new one if you choose not to display a static file. You can configure one to display from Salesforce.
03 Displaying a Salesforce File
Add an interactive element to your project to display a file in Salesforce, such as a button.
1. Click on the Button interactivity icon.

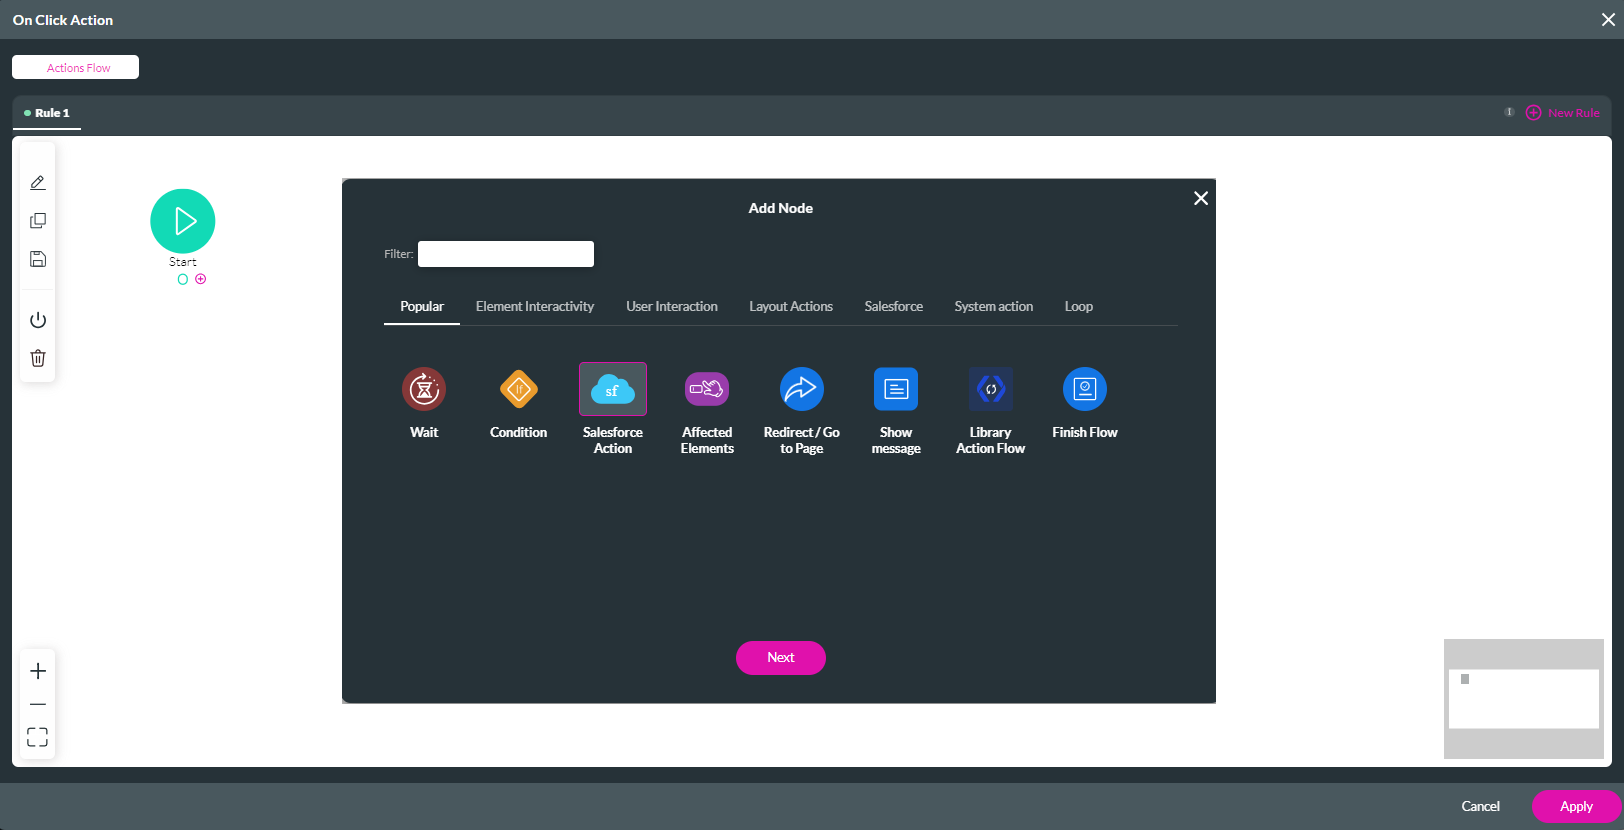
2. Click the Start + and choose Salesforce Action as the node. Click Next.
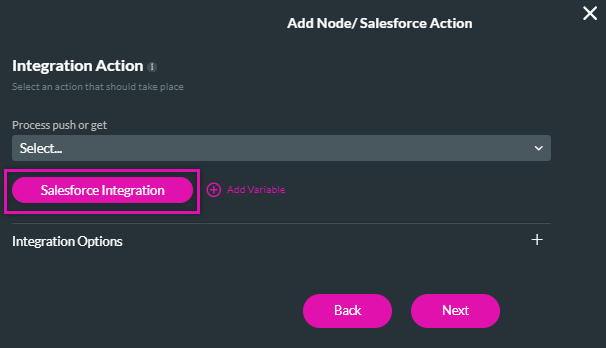
3. Click Salesforce Integration.

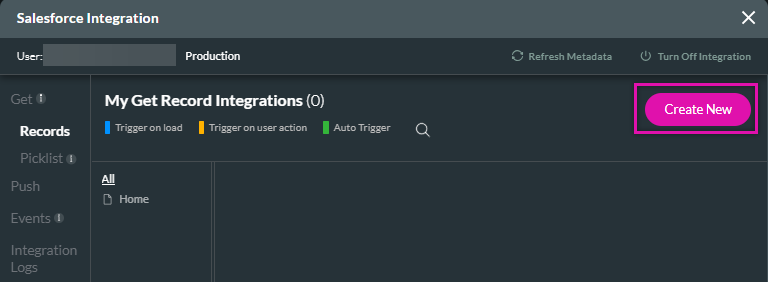
4. Click Create New under the Get Records tab in the Salesforce Integration screen.
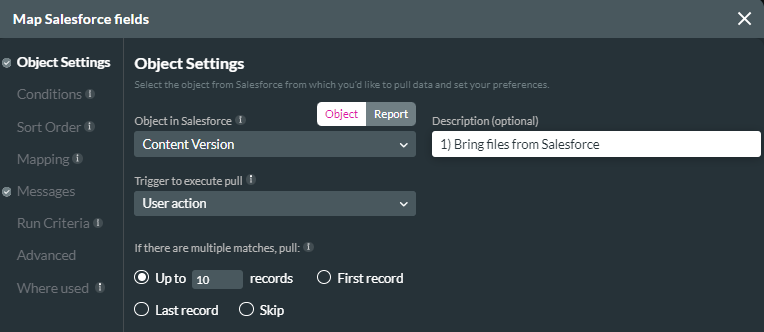
5. In the Object Settings, configure Files as the Salesforce Object, User Action as the trigger, the number of files to pull, and add a description.
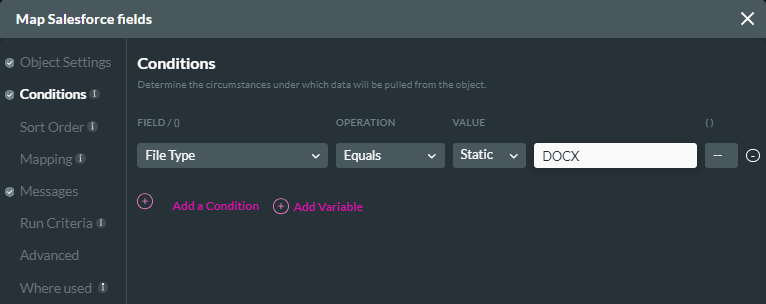
6. In the Conditions tab, configure a condition that applies to your files. For example, you might want only specific file types to display.
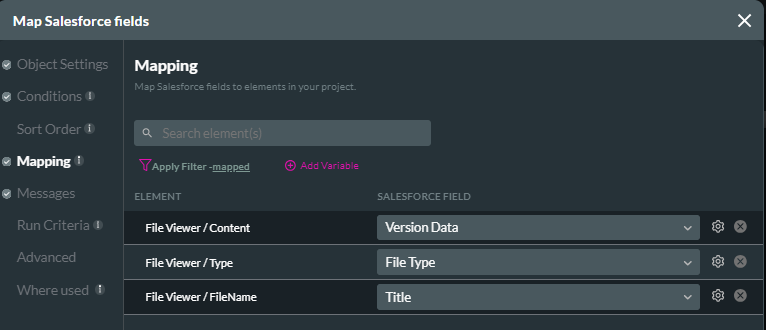
7. In the Mapping tab, map the file viewer elements to the corresponding Salesforce field. Click Apply.
8. Use the dropdown to select the get we just created. Click Next, Insert, and Apply.
The current configuration will display files from Salesforce that meet the conditions.
1. Click on the Button interactivity icon.
2. Click the Start + and choose Salesforce Action as the node. Click Next.
3. Click Salesforce Integration.
4. Click Create New under the Get Records tab in the Salesforce Integration screen.
5. In the Object Settings, configure Files as the Salesforce Object, User Action as the trigger, the number of files to pull, and add a description.
6. In the Conditions tab, configure a condition that applies to your files. For example, you might want only specific file types to display.
7. In the Mapping tab, map the file viewer elements to the corresponding Salesforce field. Click Apply.
- Content - Version Data
- Type - File Type
- File Name - Title (This one is optional)
8. Use the dropdown to select the get we just created. Click Next, Insert, and Apply.
The current configuration will display files from Salesforce that meet the conditions.
04 Use Case
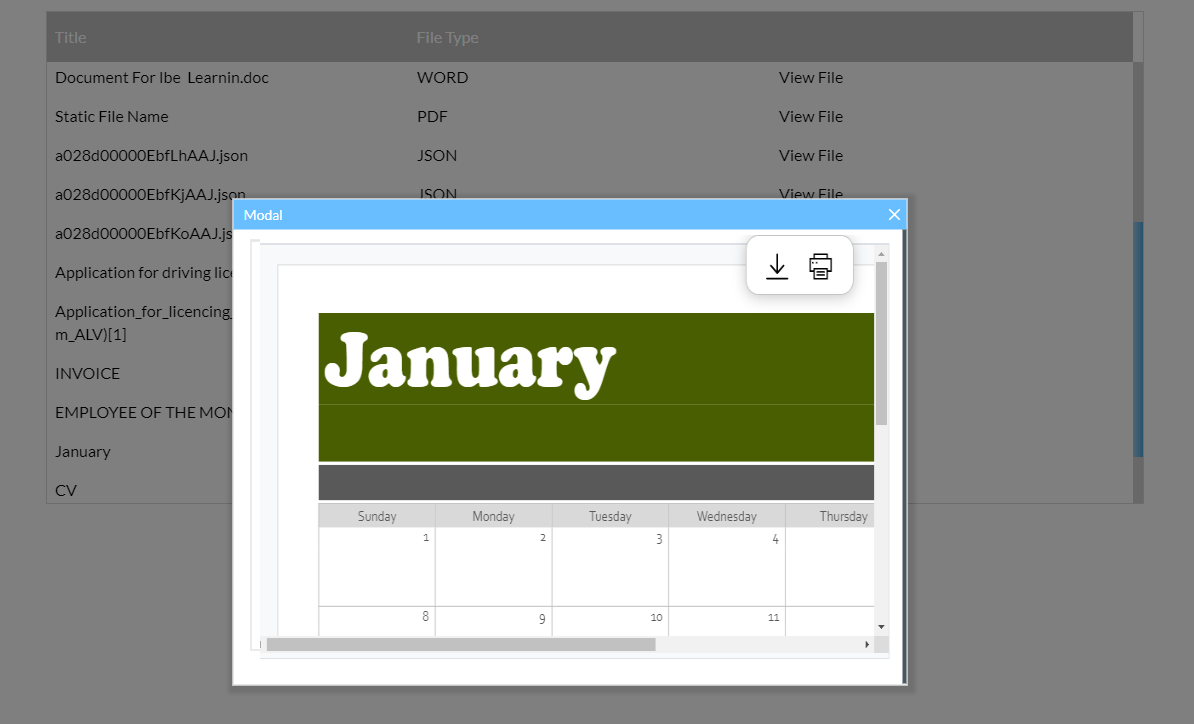
You can use a Power Table to display files in Salesforce. To view the files, click a button in the table, and the file will display in a modal window.
First, insert a power table into a second project page. When selecting a source in Salesforce, choose Files. We configured a condition that only the latest files must be displayed.
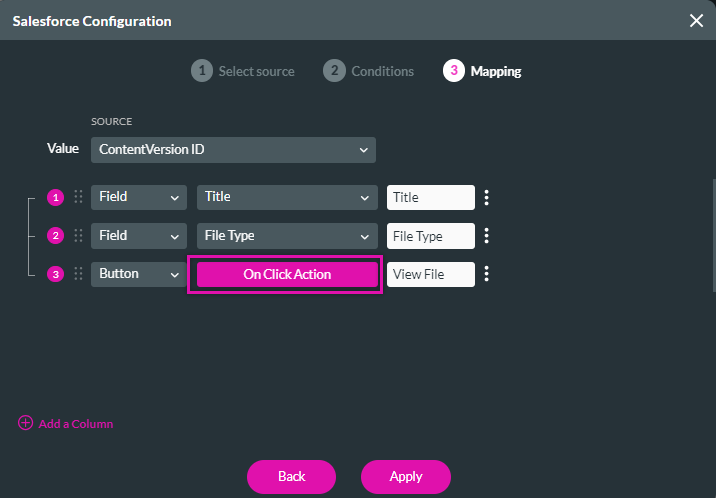
Three columns were added when configuring Mapping: Tile, File Type, and a View File button.

Add a Responsive Modal to your page and insert a File Viewer widget.
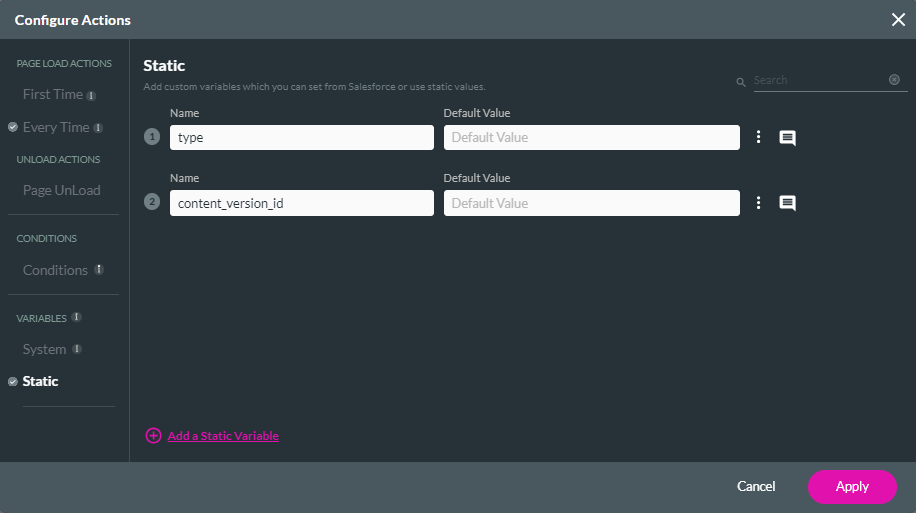
Add two static page-level variables: type and content version ID. To learn more about variables, check out our Variables Course.
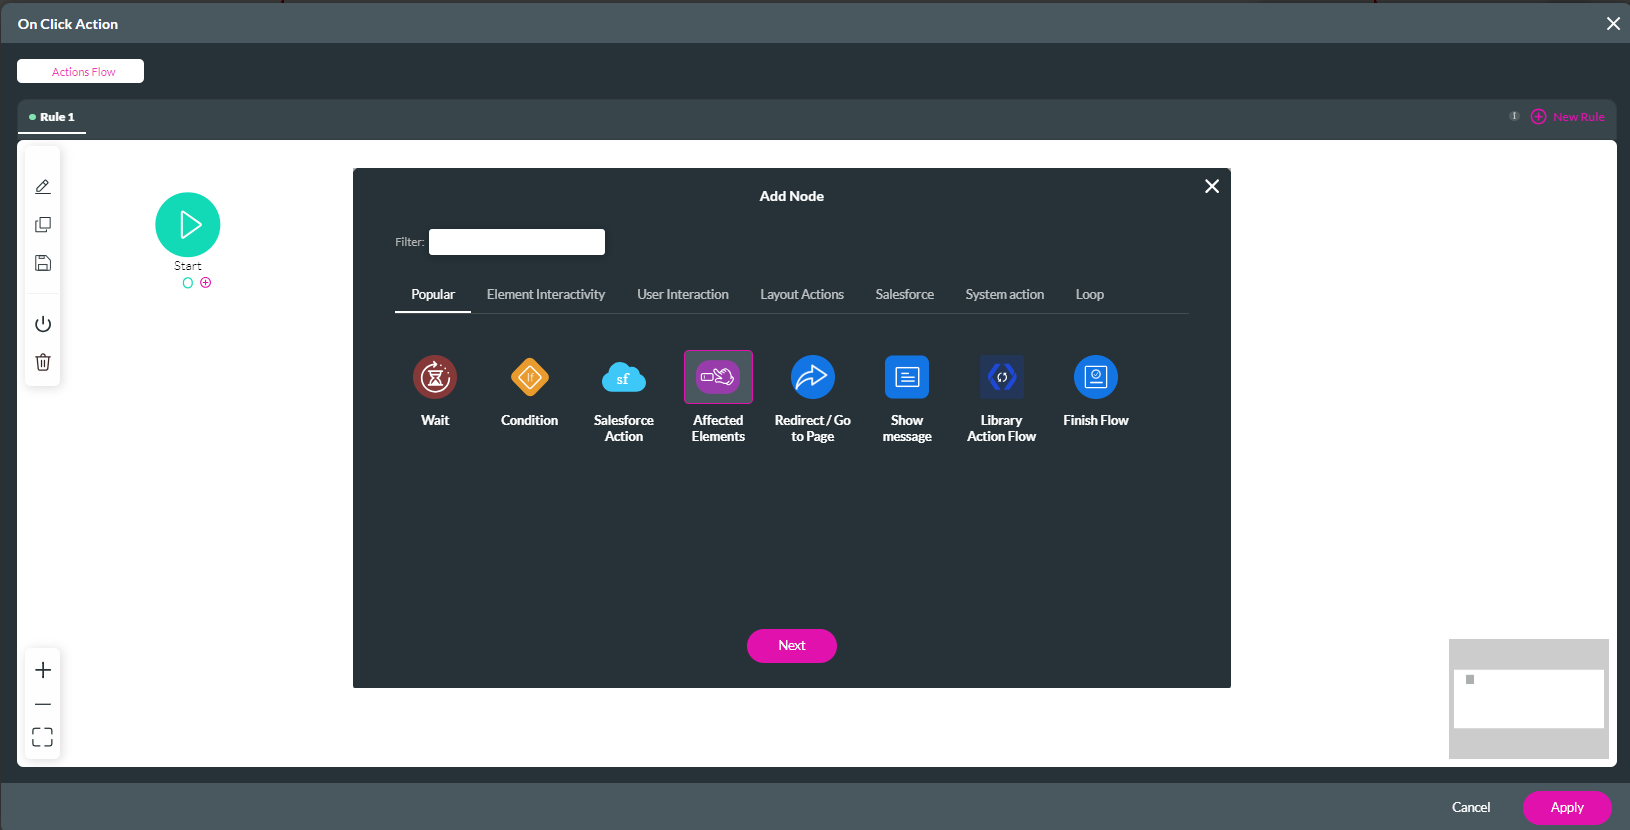
Navigate to your power table mapping and select the On Click Action button.
Click the Start + and select Affected Elements as the node. Click Next.
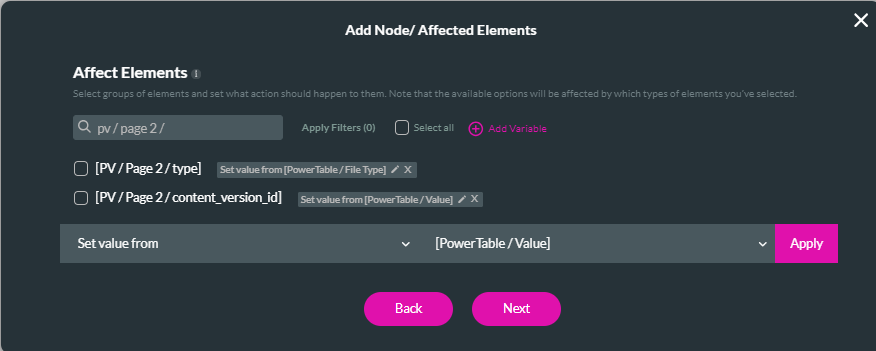
Configure the two created variables:
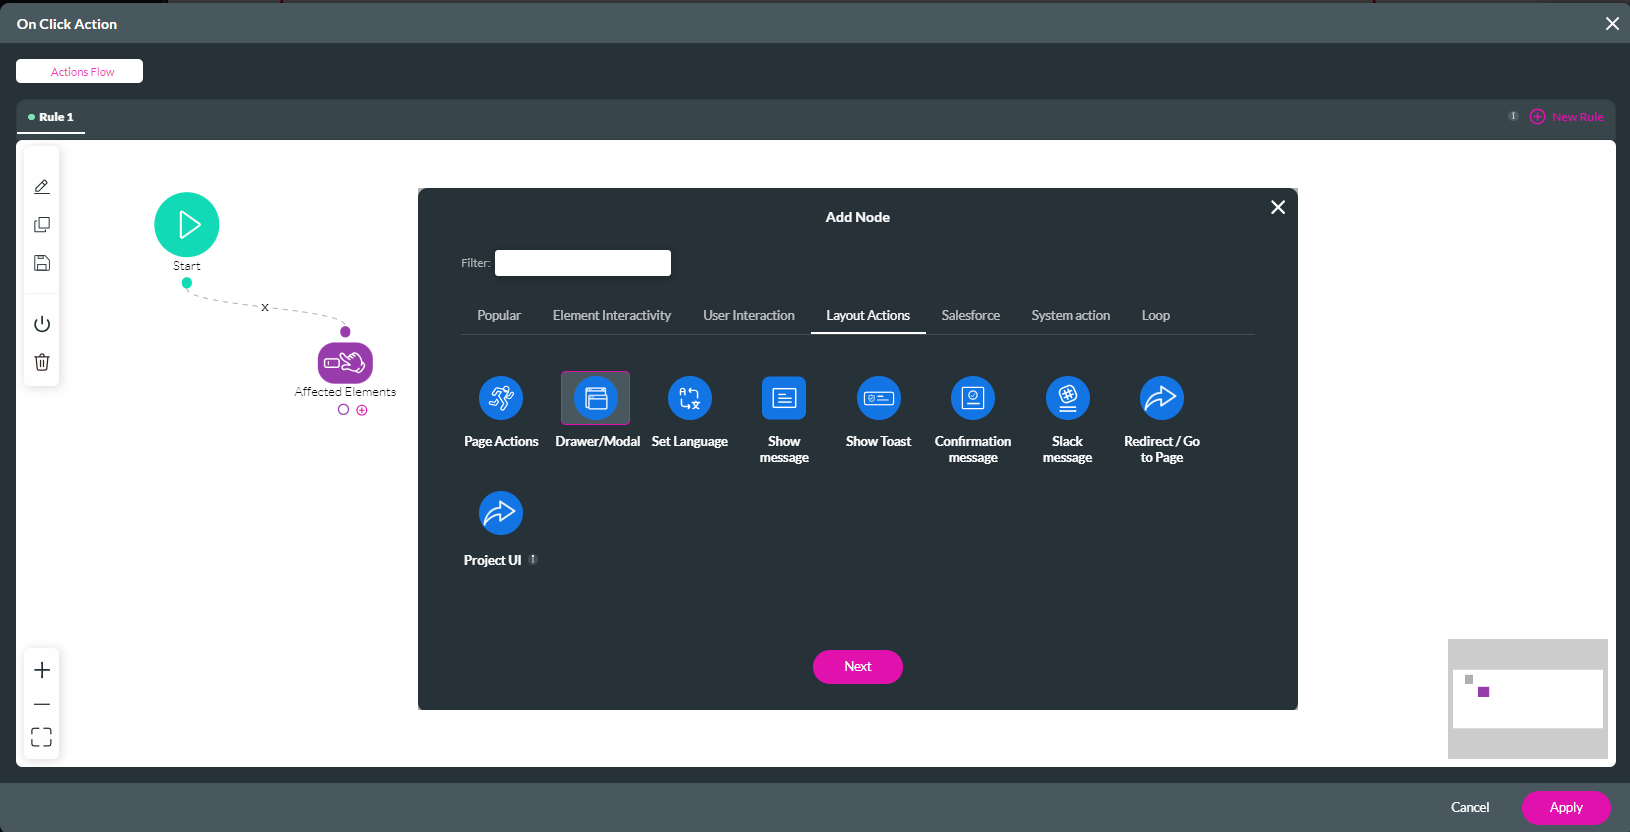
Now that the variables have been configured. It’s time to configure the modal.
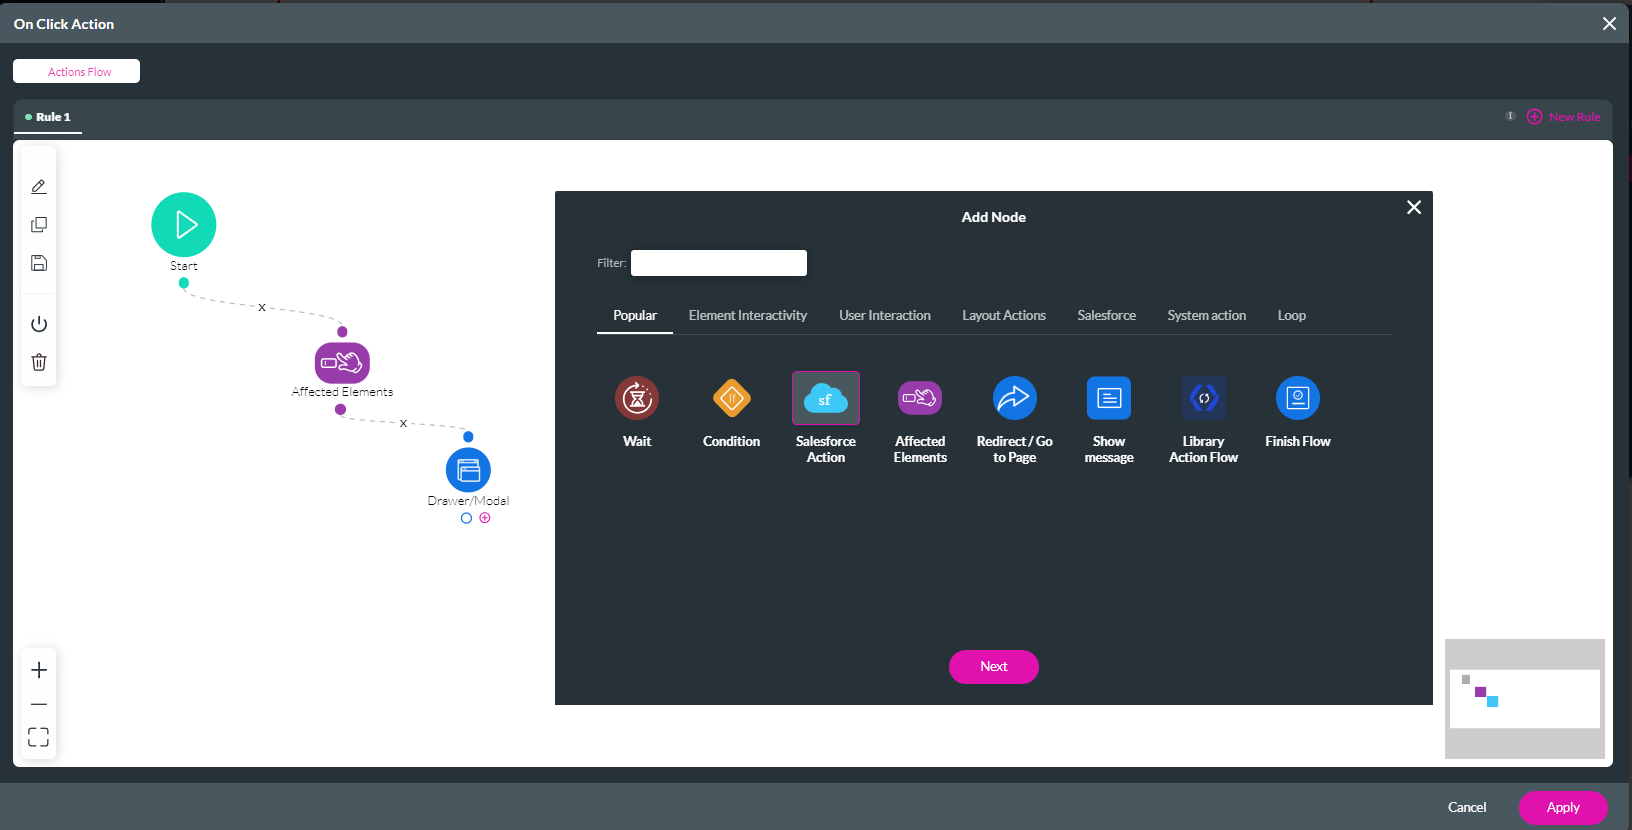
Click the Affected Elements + and choose Drawer/Modal as the node.
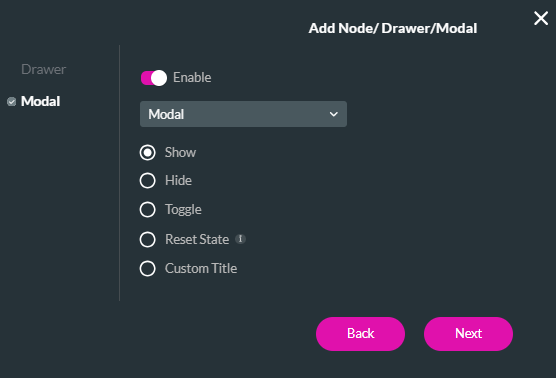
Ensure you click the modal tab and toggle the enable switch on. Use the dropdown to select your modal and choose Show.
Finally, we need to configure the modal to pull the Salesforce files.
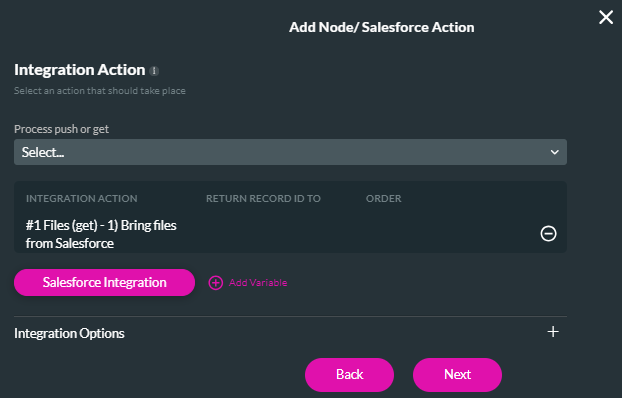
Click the Drawer/Modal + and choose Salesforce Action as the node.
Click Salesforce Integration to create a new Get action.
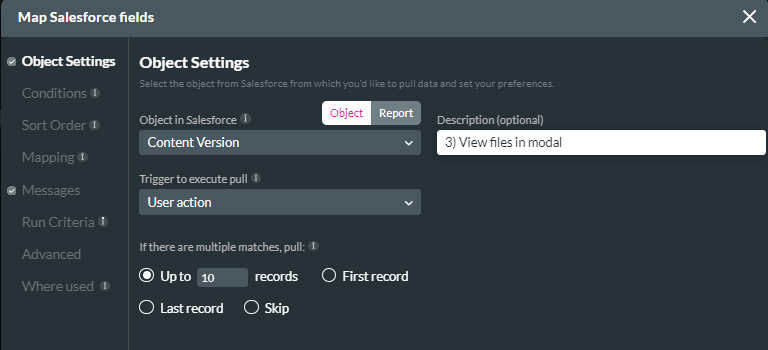
In the Object Settings, configure Files as the Salesforce object, User Action as the trigger, and the number of files to pull. Add a description.
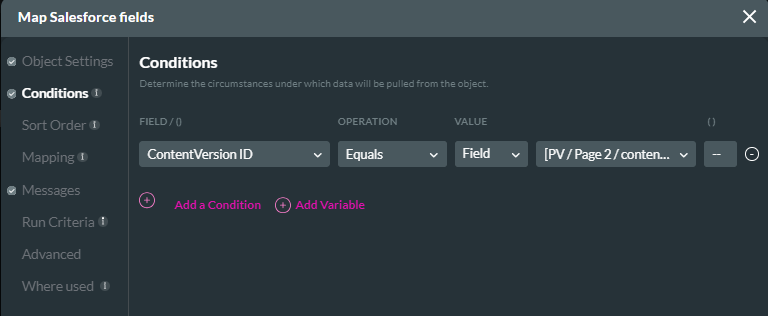
Configure the content version ID in the Conditions tab to equal the corresponding variable.
In the Mapping tab, map the file viewer elements to the corresponding Salesforce field. Click Apply.

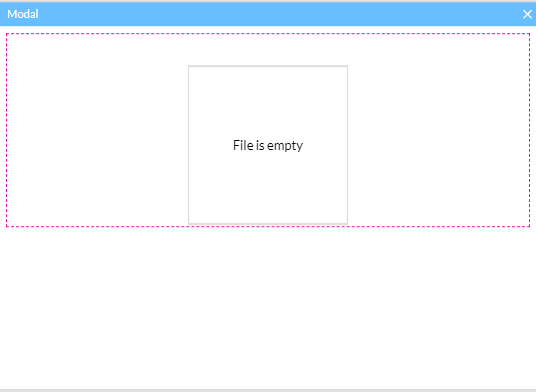
Preview your project. The modal will display the corresponding file when you click the View File button.
First, insert a power table into a second project page. When selecting a source in Salesforce, choose Files. We configured a condition that only the latest files must be displayed.
Three columns were added when configuring Mapping: Tile, File Type, and a View File button.
Add a Responsive Modal to your page and insert a File Viewer widget.
Add two static page-level variables: type and content version ID. To learn more about variables, check out our Variables Course.
Navigate to your power table mapping and select the On Click Action button.
Click the Start + and select Affected Elements as the node. Click Next.
Configure the two created variables:
- Type the set value from the power table file type.
- Content version ID from the power table value.
Now that the variables have been configured. It’s time to configure the modal.
Click the Affected Elements + and choose Drawer/Modal as the node.
Ensure you click the modal tab and toggle the enable switch on. Use the dropdown to select your modal and choose Show.
Finally, we need to configure the modal to pull the Salesforce files.
Click the Drawer/Modal + and choose Salesforce Action as the node.
Click Salesforce Integration to create a new Get action.
In the Object Settings, configure Files as the Salesforce object, User Action as the trigger, and the number of files to pull. Add a description.
Configure the content version ID in the Conditions tab to equal the corresponding variable.
In the Mapping tab, map the file viewer elements to the corresponding Salesforce field. Click Apply.
- Content - Version Data
- Type - File Type
- File Name - Title (This one is optional)
Preview your project. The modal will display the corresponding file when you click the View File button.