Alignment and Spacing Tools (5 min)
Completion requirements
01 Getting Started
This tutorial covers alignment and spacing, including the automatic guide, rulers and guidelines, alignment and style properties, and spacing settings.
You can place elements anywhere on the canvas; however, to ensure your spacing is consistent, it is best practice to use the spacing settings.
You can place elements anywhere on the canvas; however, to ensure your spacing is consistent, it is best practice to use the spacing settings.
02 Automatic Guide
An automatic guide displays when you click and drag elements across the canvas.
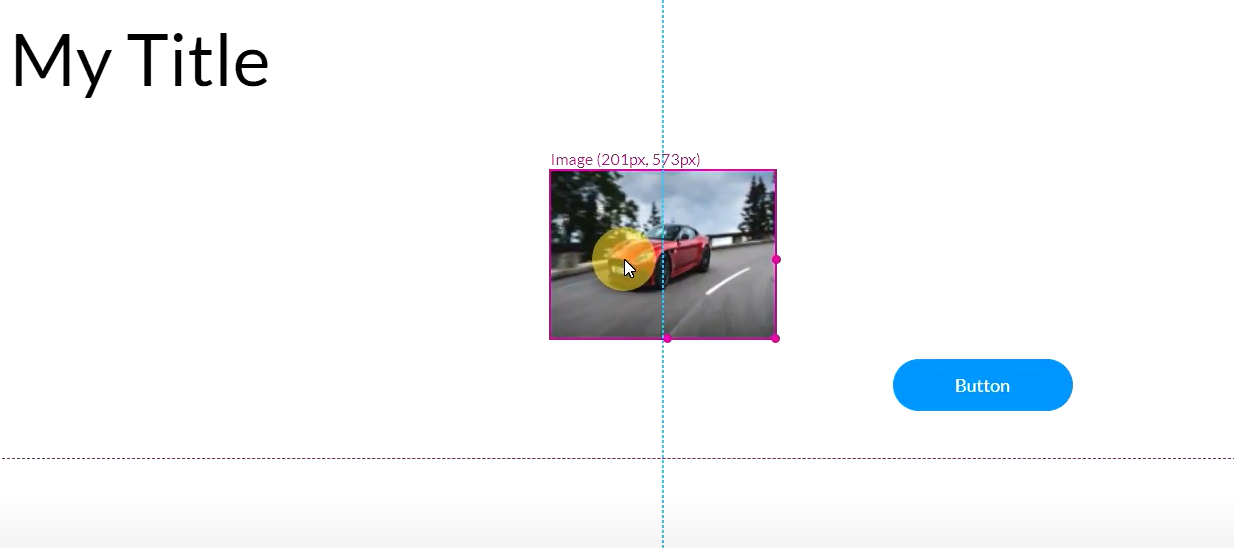
The automatic guide is also displayed when aligning one element with another.
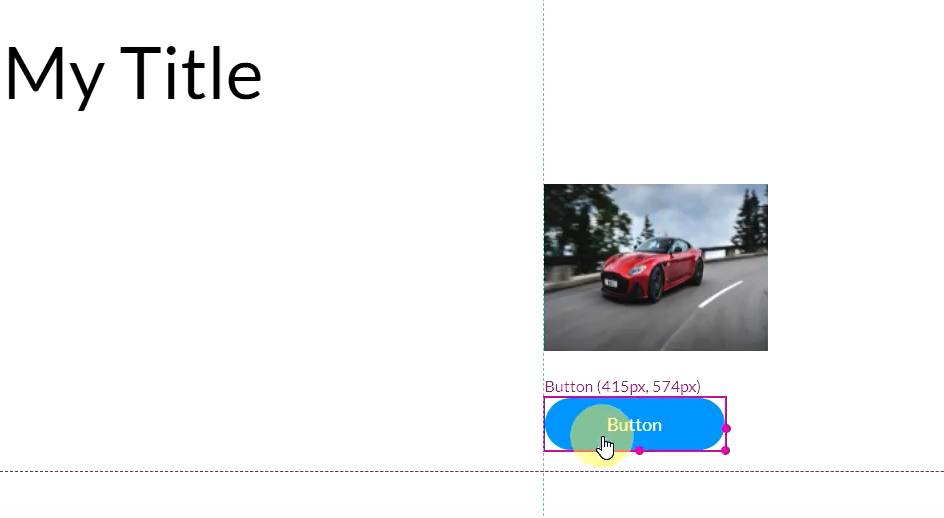
The automatic guide is also displayed when aligning one element with another.
03 Rulers and Guidelines
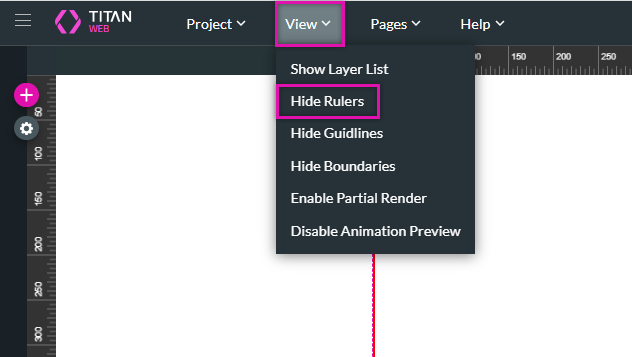
To add rules to the canvas:
1. Expand the View dropdown.
2. Click Show Rulers.
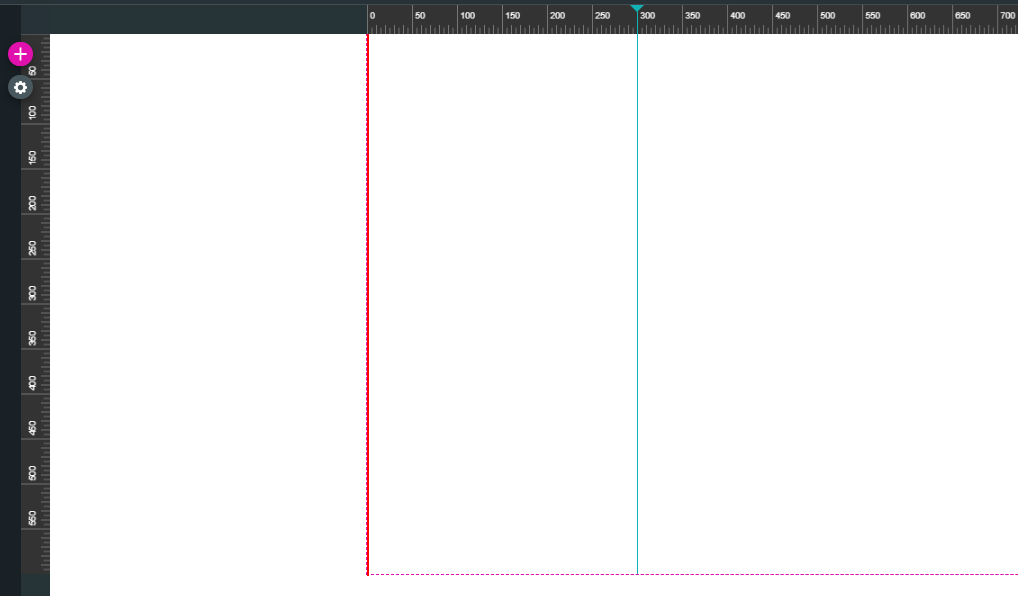
Vertical and horizontal rulers are added to the screen.

To add guidelines:
1. Click on a specific mark on the ruler to insert a guideline.
2. To move the guideline to its new measurement, drag and drop it or type in a new measurement.
To remove the rulers and guidelines:
1. Expand the Pages dropdown and select Hide.
1. Expand the View dropdown.
2. Click Show Rulers.
Vertical and horizontal rulers are added to the screen.
To add guidelines:
1. Click on a specific mark on the ruler to insert a guideline.
2. To move the guideline to its new measurement, drag and drop it or type in a new measurement.
To remove the rulers and guidelines:
1. Expand the Pages dropdown and select Hide.
04 Alignment and Style Properties
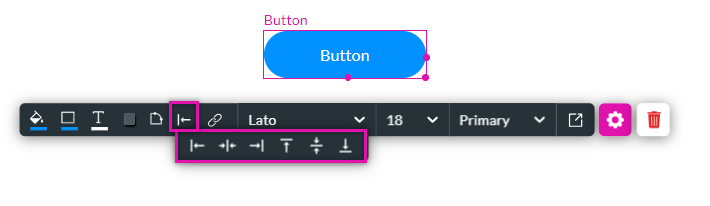
Each element has alignment options. The alignment that you apply to a single element aligns with the canvas. If your element sits inside a container, the element will align with the container.
1. Select the element to display the quick menu.
2. Click the alignment button and choose from the different alignment options.
1. Select the element to display the quick menu.
2. Click the alignment button and choose from the different alignment options.
05 Spacing Settings
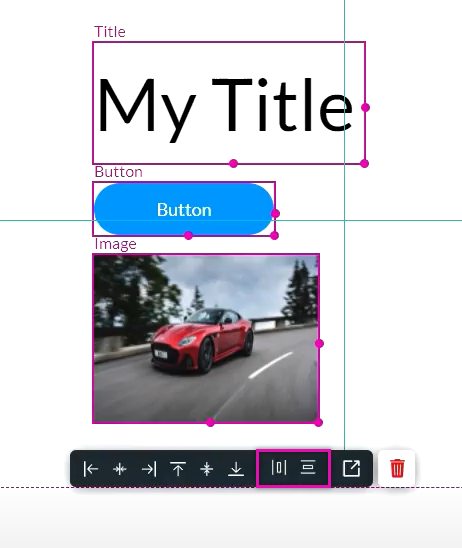
You can align multiple elements at the same time.
1. Select all the elements you want to align—the alignment menu displays.
There are two alignment options in the toolbar: Horizontal and Vertical.
2. Click on one of the options and enter the number of pixels that will space out the elements.
1. Select all the elements you want to align—the alignment menu displays.
There are two alignment options in the toolbar: Horizontal and Vertical.
2. Click on one of the options and enter the number of pixels that will space out the elements.