Use Case 1 - Working from a Blank Template (10 min)
Completion requirements
01 Introduction
In this use case demo, we will learn how to build a Course Satisfaction Survey using TITAN Web Survey. Of course, the Survey will match our company's branding.
Before we begin, let's make sure everything we need is up and ready:
Before we begin, let's make sure everything we need is up and ready:
- A proofread digital copy of the Survey.
- A folder with all the logos and images we will need.
- Then, make sure that the integration with Salesforce is active.
02 Customize the Start Slide
1. Open a new Web Survey Project, select a blank template to customize your project, choose a color theme, and give your project a name.
2. Select the Start Slide on the left-hand menu and choose a slide layout from the menu on the right of the screen.
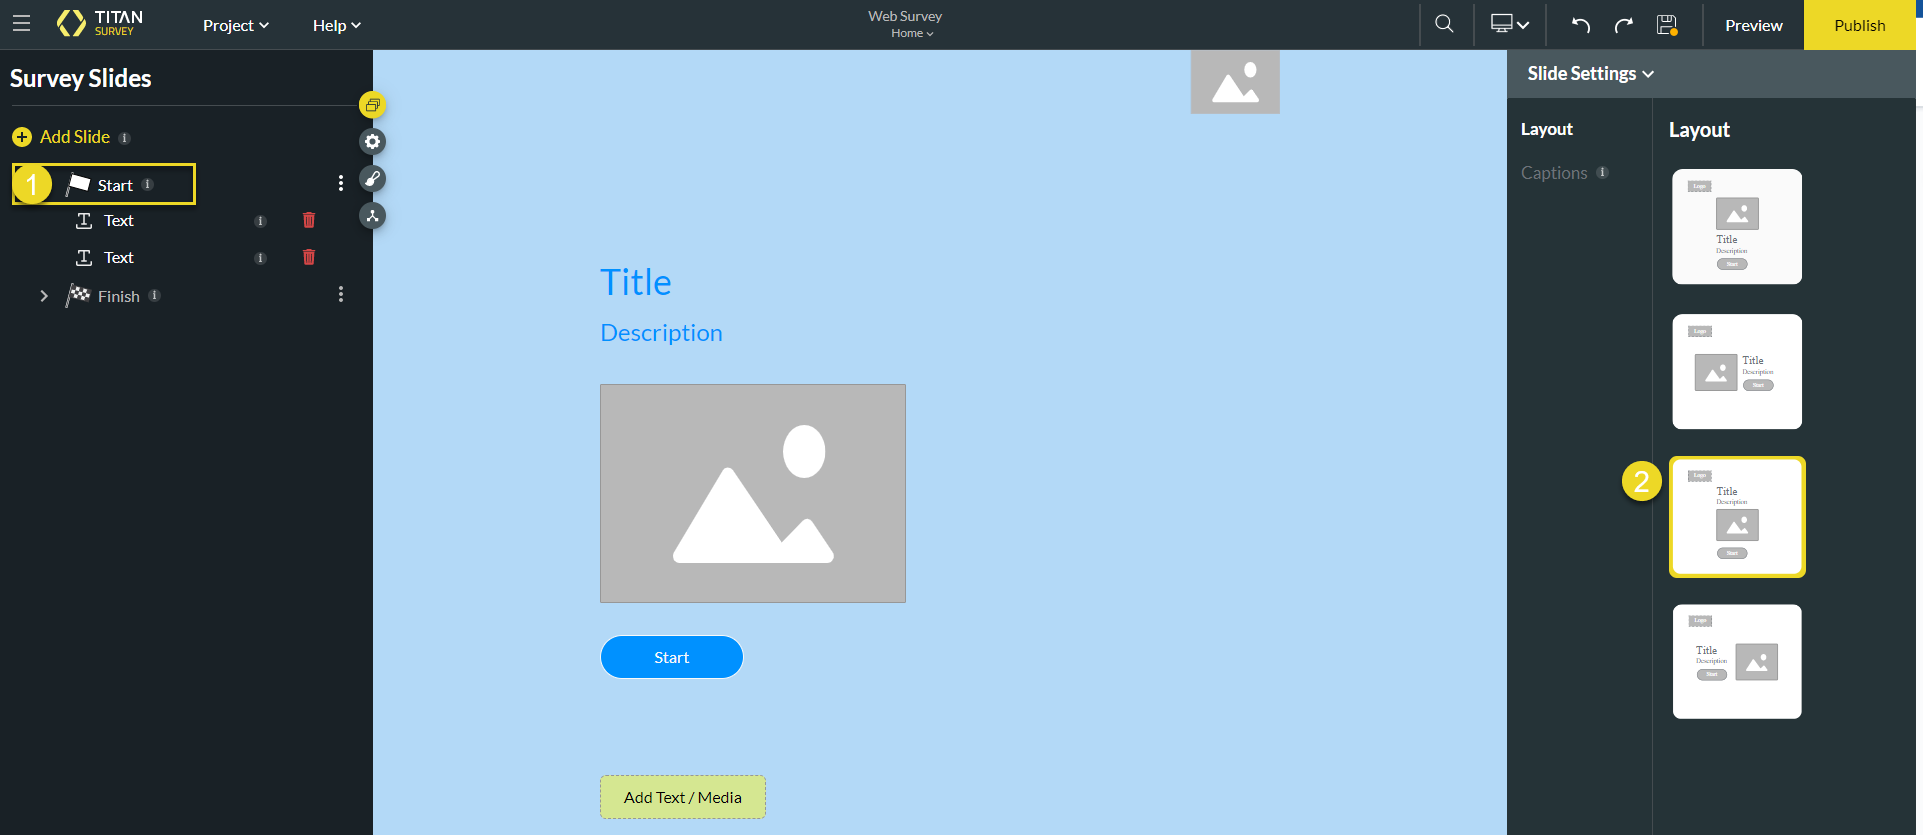
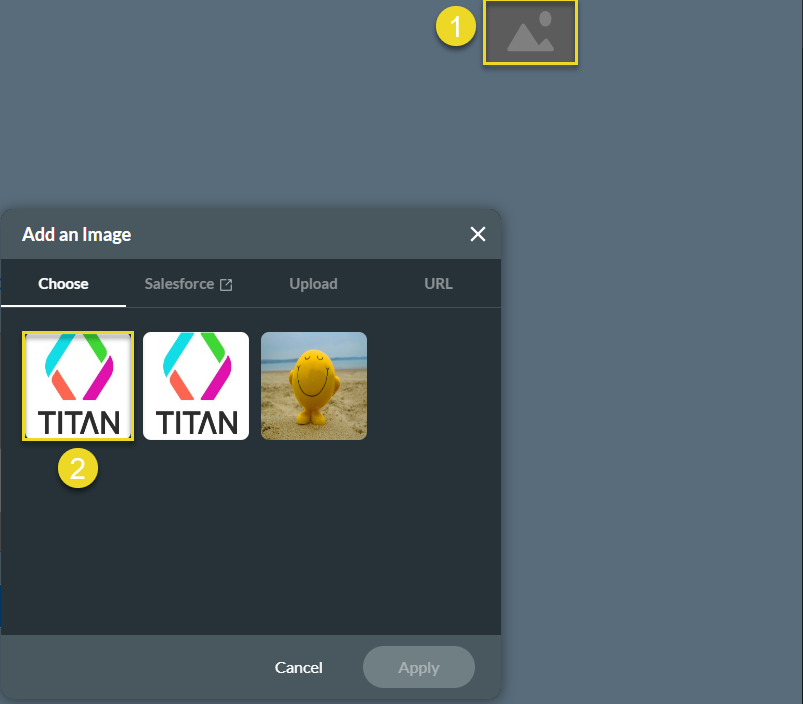
3. Next, add a logo to your survey by clicking the empty logo box and either choosing an image from your library, selecting an image from Salesforce, uploading an image, or pasting an image URL. Below, the Titan logo has been chosen from the image library. After this, click Apply. You can add an image to your Start Slide in the same way by first clicking the empty image box and then choosing your desired image.
4. Customize the title of your survey by selecting the "Title" field, then activating the Advanced Mode toggle switch on the Content panel.
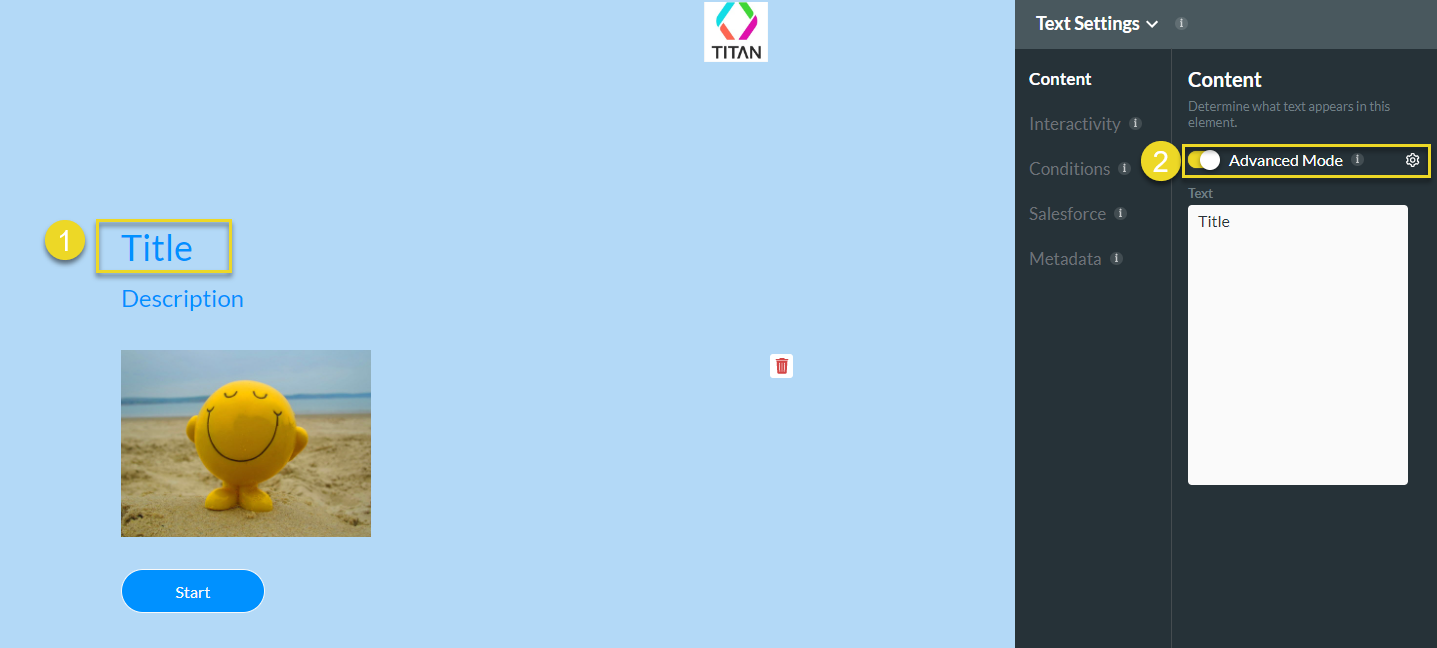
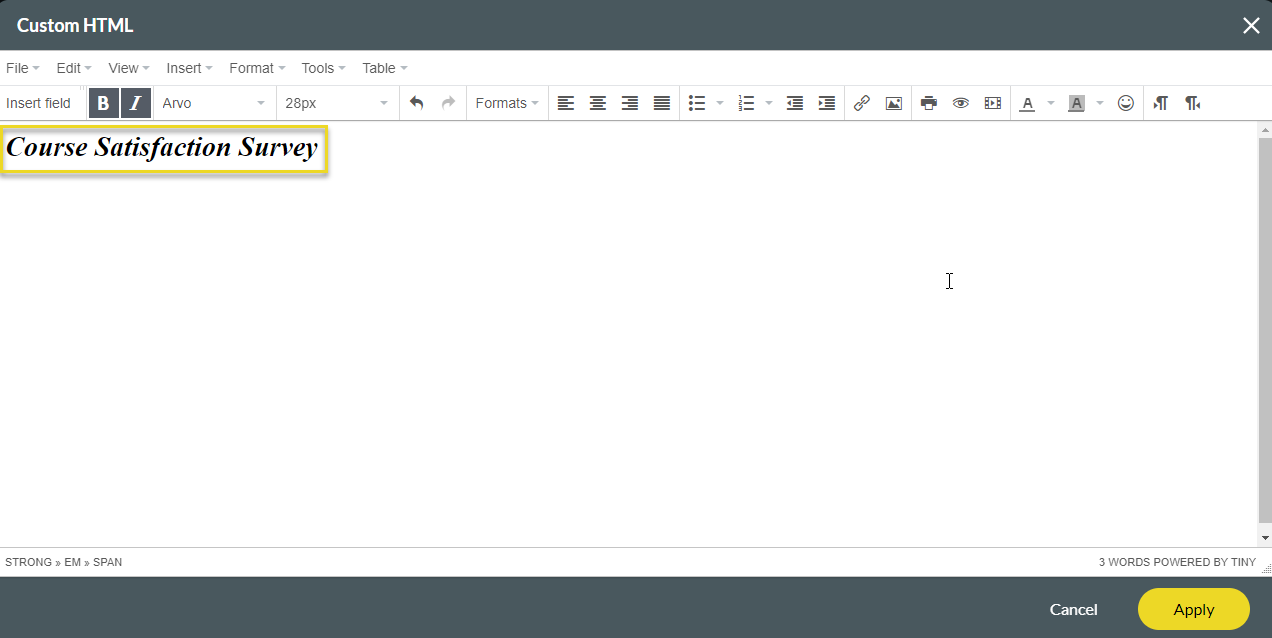
5. Click the Advanced Mode gear icon. From here, you can type or paste your title and customize the look and feel of your title font. An identical process can be followed to customize your Start Slide description; select the "Description" field.
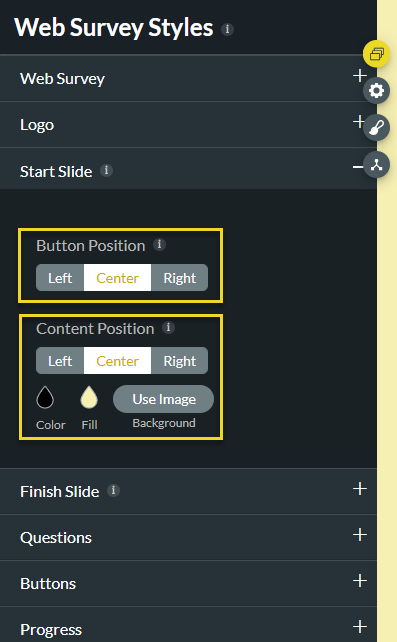
6. Next, style the Start Slide by clicking the styling icon on the left of the screen. Under styling, select the Start Slide option. From here, set your desired button position, content position, and color. You also have the option to set a background image.
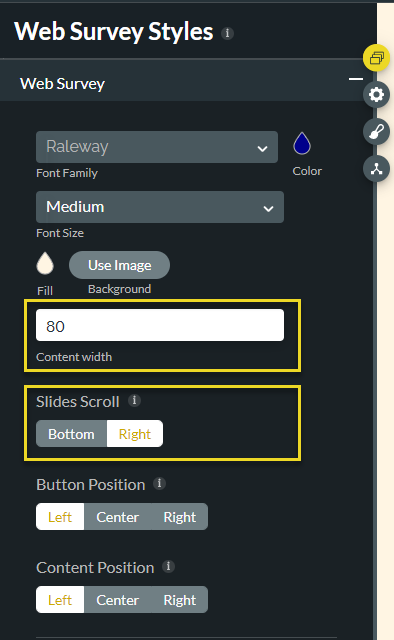
7. Next, select the Web Survey styling drop-down. Here, you can style the survey's font, button, and content position. You can also set the desired content width, select the Slides Scroll Bottom option to scroll up or down, or set the Slides Scroll Right option to scroll left or right.
8. Finally, set your desired survey navigation option by visiting Project Settings> Survey> Survey Navigation. In this case, we have enabled the Start Over button, allowing respondents to take the survey from the beginning.

2. Select the Start Slide on the left-hand menu and choose a slide layout from the menu on the right of the screen.
3. Next, add a logo to your survey by clicking the empty logo box and either choosing an image from your library, selecting an image from Salesforce, uploading an image, or pasting an image URL. Below, the Titan logo has been chosen from the image library. After this, click Apply. You can add an image to your Start Slide in the same way by first clicking the empty image box and then choosing your desired image.
4. Customize the title of your survey by selecting the "Title" field, then activating the Advanced Mode toggle switch on the Content panel.
5. Click the Advanced Mode gear icon. From here, you can type or paste your title and customize the look and feel of your title font. An identical process can be followed to customize your Start Slide description; select the "Description" field.
6. Next, style the Start Slide by clicking the styling icon on the left of the screen. Under styling, select the Start Slide option. From here, set your desired button position, content position, and color. You also have the option to set a background image.
7. Next, select the Web Survey styling drop-down. Here, you can style the survey's font, button, and content position. You can also set the desired content width, select the Slides Scroll Bottom option to scroll up or down, or set the Slides Scroll Right option to scroll left or right.
8. Finally, set your desired survey navigation option by visiting Project Settings> Survey> Survey Navigation. In this case, we have enabled the Start Over button, allowing respondents to take the survey from the beginning.
03 Survey List Question
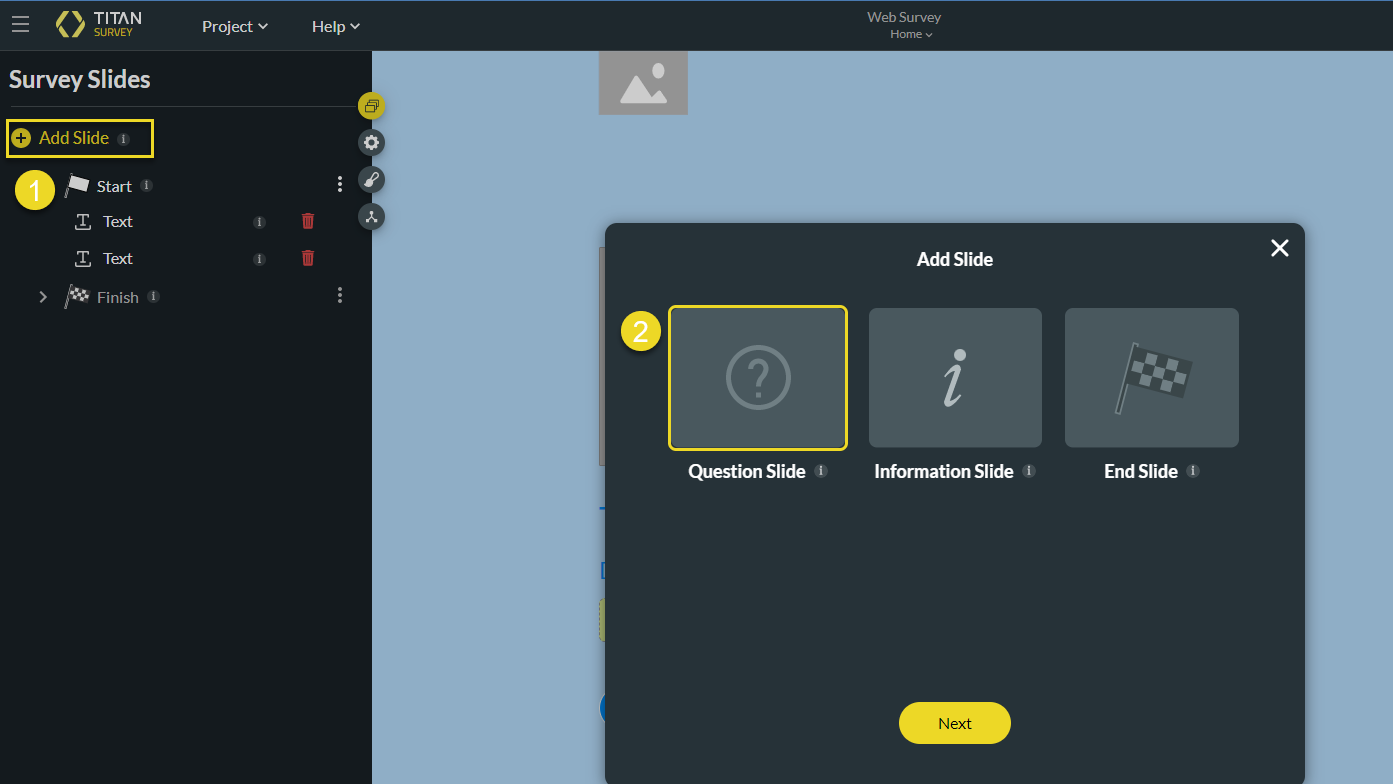
1. Once the Start Slide has been set up, you can start creating slides. To do so, click the Add Slide option on the left of the screen and choose from the Question, Information, and End Slide types. The Question Slide has been selected below.
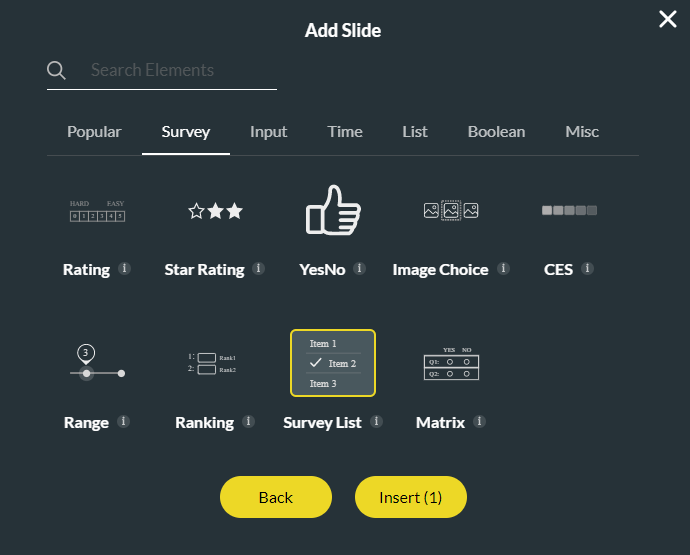
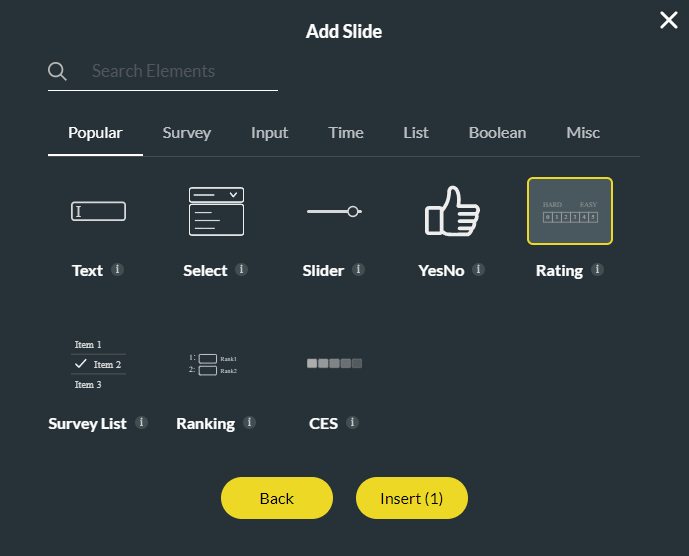
2. Next, select a question type from the Popular, Survey, Input, Time, List, Boolean, and Misc categories. Below, the Survey List question type has been chosen:
3. Your Survey List question will appear on your slide after clicking Insert. You can edit the question text by selecting this field and typing your text in the Content section. As with the Start Slide, you can enable Advanced Mode to tailor your text. The question description was deleted in the example below by hovering over it and clicking the trash icon. This is because the question is already clear enough.
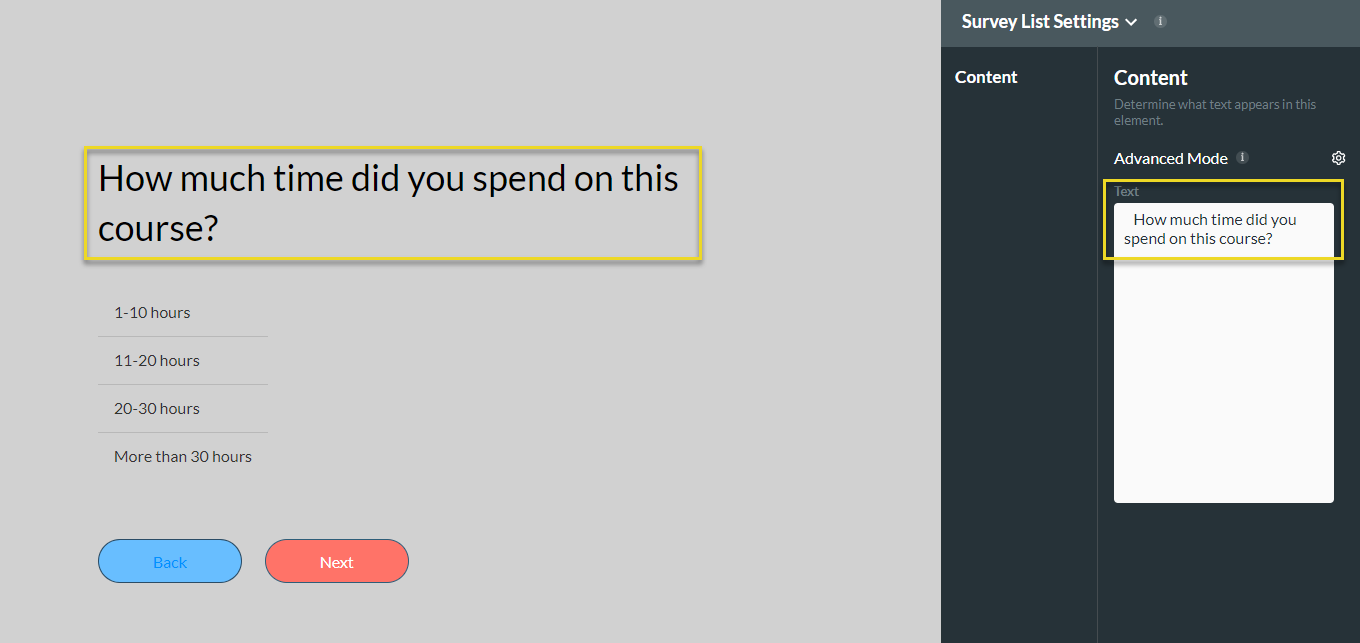
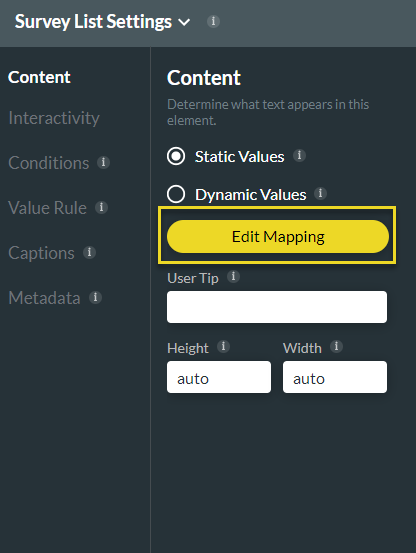
4. To customize this question type further, click the Edit Mapping button under Survey List Settings (where static values are automatically selected) on the right of the screen.
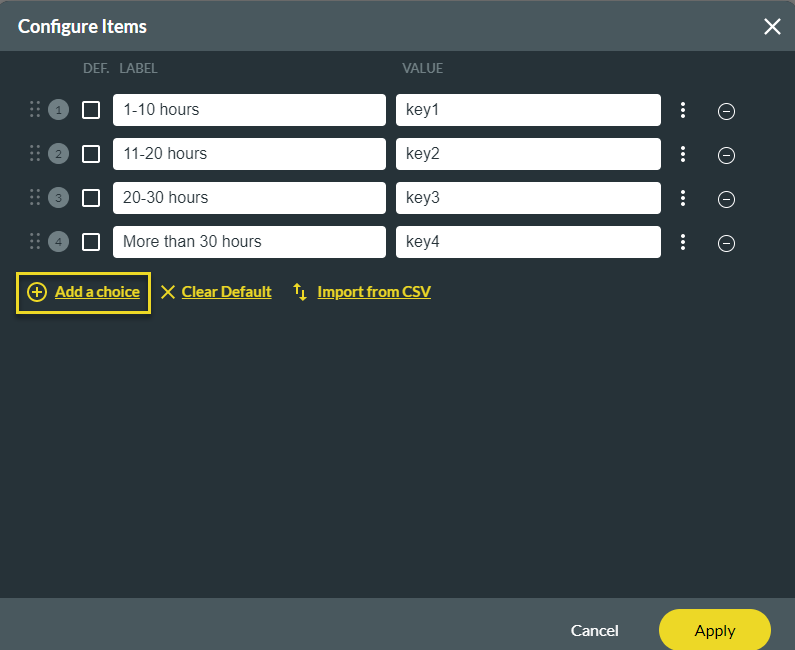
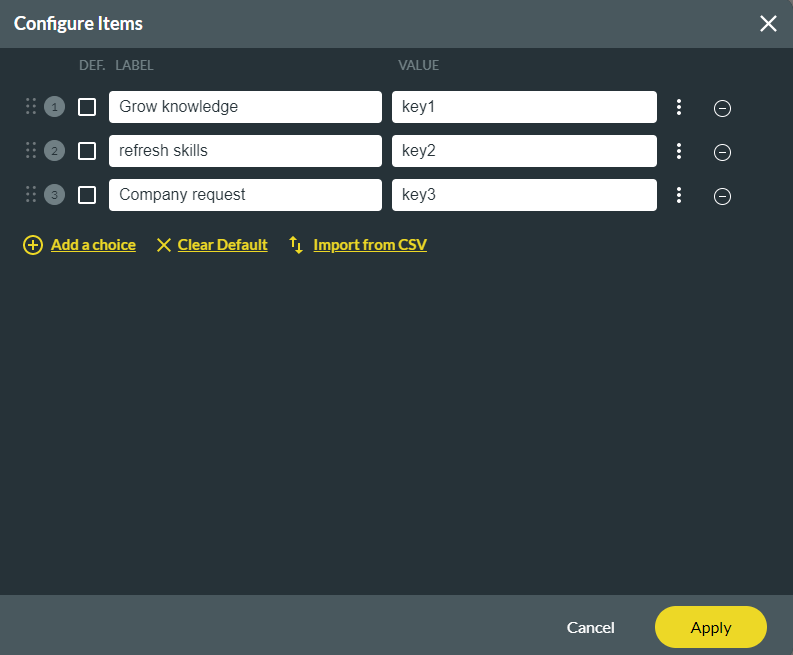
5. Next, add desired answers to the screen. You also have the option to click “Add a choice” and add the answer to the screen.
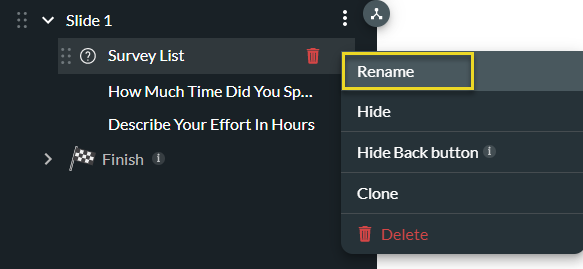
6. You can also choose to rename your slide by navigating to the slide’s kebab menu, clicking Rename, and typing in a new slide name. Respondents won’t see this name, but it will help you navigate your survey builder.
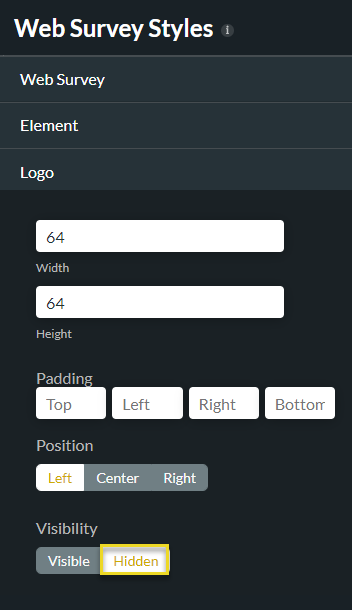
7. To hide the logo on this slide, navigate to the left of the screen, select the styling icon, then the Logo drop-down, and click Hidden.
2. Next, select a question type from the Popular, Survey, Input, Time, List, Boolean, and Misc categories. Below, the Survey List question type has been chosen:
3. Your Survey List question will appear on your slide after clicking Insert. You can edit the question text by selecting this field and typing your text in the Content section. As with the Start Slide, you can enable Advanced Mode to tailor your text. The question description was deleted in the example below by hovering over it and clicking the trash icon. This is because the question is already clear enough.
4. To customize this question type further, click the Edit Mapping button under Survey List Settings (where static values are automatically selected) on the right of the screen.
5. Next, add desired answers to the screen. You also have the option to click “Add a choice” and add the answer to the screen.
6. You can also choose to rename your slide by navigating to the slide’s kebab menu, clicking Rename, and typing in a new slide name. Respondents won’t see this name, but it will help you navigate your survey builder.
7. To hide the logo on this slide, navigate to the left of the screen, select the styling icon, then the Logo drop-down, and click Hidden.
04 Rating Question
1. Now that you added a Survey List question, you can add another question type, such as a Rating question. To do so, add a new question slide, click the Rating option under “Popular”, and insert.
2. Edit the question text and description in the Content panel. Next, select the rating scale, and under Content, configure minimum, maximum, and default values.

2. Edit the question text and description in the Content panel. Next, select the rating scale, and under Content, configure minimum, maximum, and default values.
05 Multi Select Question
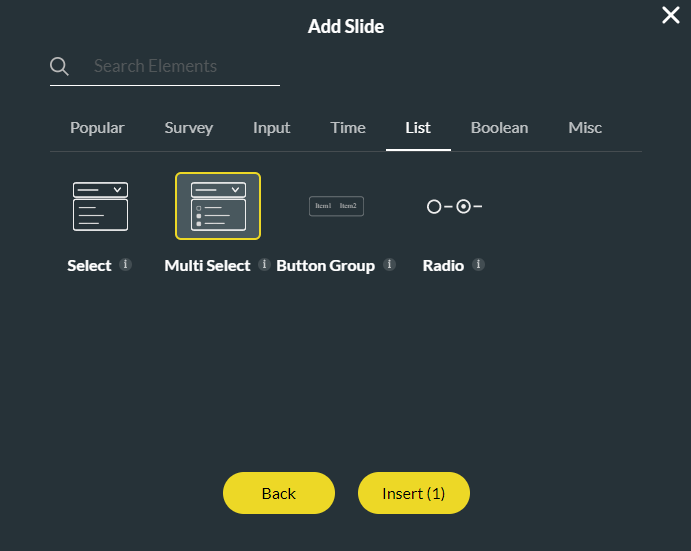
1. Another example of a practical Survey question is the Multi-Select question type. Add a question slide, search under List, click Multi Select, and then Insert.
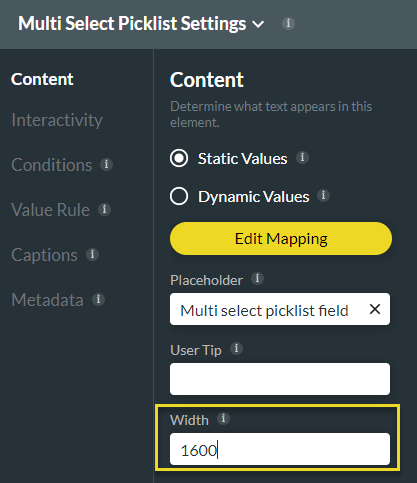
2. Add a question text and description. Next, select the Multi-select picklist field, click Edit Mapping in the Content screen, and add your answer types.
3. Next, navigate to the Interactivity tab, select Number Choices, and set the Choices Count Limit to the number of choices the respondent can make. Below, the number is set to 3, meaning that the respondent can select all 3 of the answer options available. If there were more than three options, it would limit the respondents to choosing just 3.
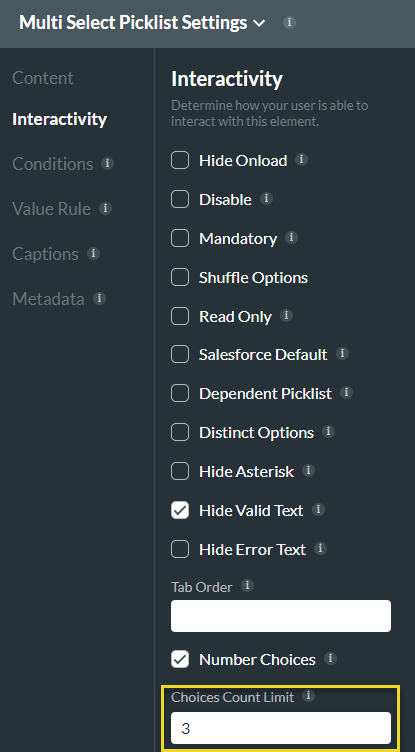
4. You can customize this question by navigating to the Content tab and altering its width.
2. Add a question text and description. Next, select the Multi-select picklist field, click Edit Mapping in the Content screen, and add your answer types.
3. Next, navigate to the Interactivity tab, select Number Choices, and set the Choices Count Limit to the number of choices the respondent can make. Below, the number is set to 3, meaning that the respondent can select all 3 of the answer options available. If there were more than three options, it would limit the respondents to choosing just 3.
4. You can customize this question by navigating to the Content tab and altering its width.
06 Styling the Slide Background Color
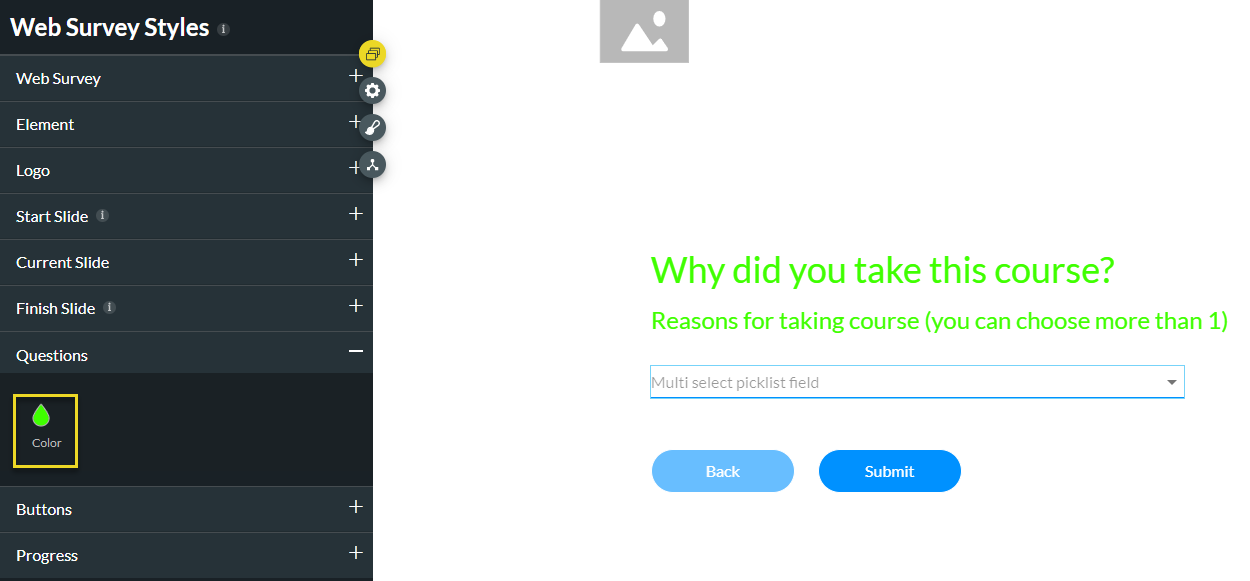
1. Once you have set up your desired slides, you are ready to set up the styling parameters of your survey. To do so, click the survey styles icon, then the questions drop-down, and set a font color for all your survey questions.
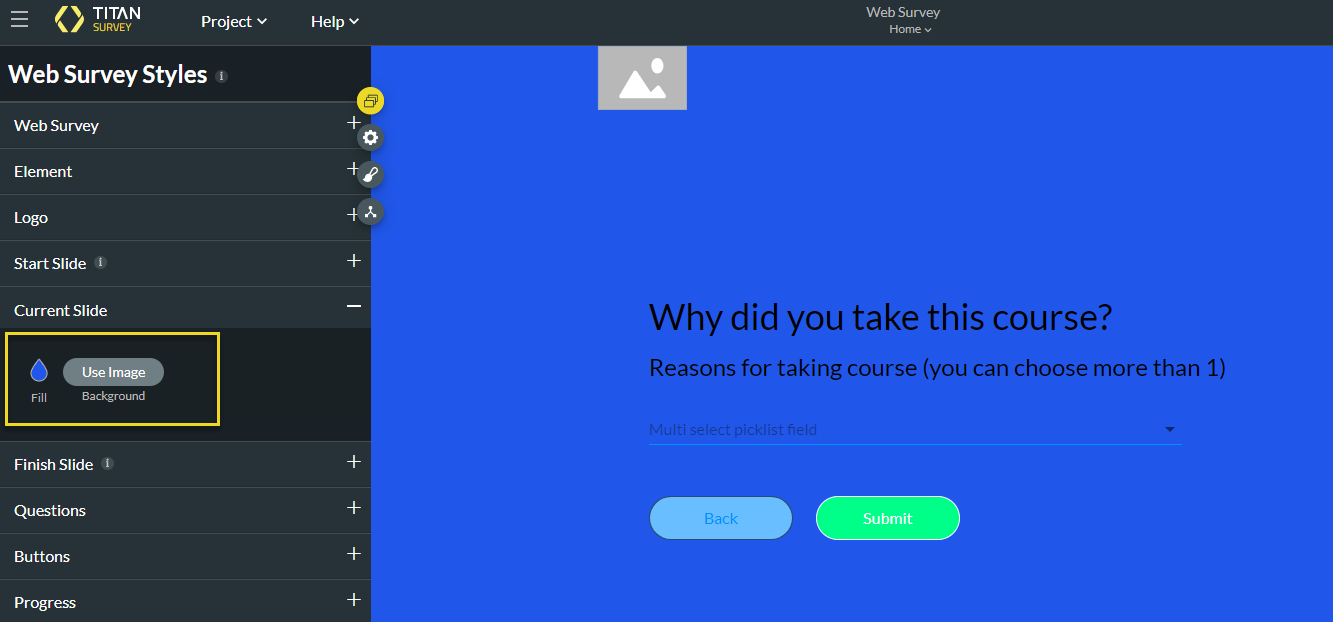
2. Next, set the background color for all slides in the Web Survey drop-down.
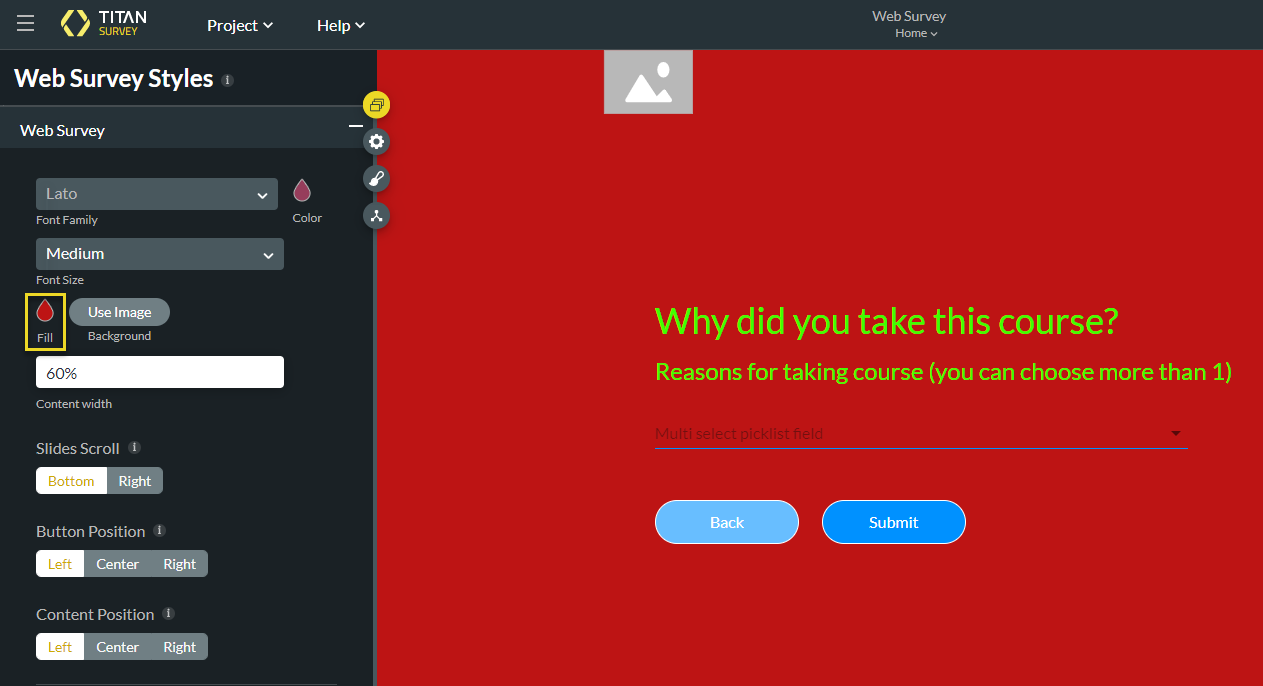
3. The Web Survey will customize styling for your whole survey, while selecting the Current Slide drop-down enables you to set it for the current slide. The Current Slide option has fewer styling options and only allows you to set a fill color or background image.
2. Next, set the background color for all slides in the Web Survey drop-down.
3. The Web Survey will customize styling for your whole survey, while selecting the Current Slide drop-down enables you to set it for the current slide. The Current Slide option has fewer styling options and only allows you to set a fill color or background image.
07 Finish Slide
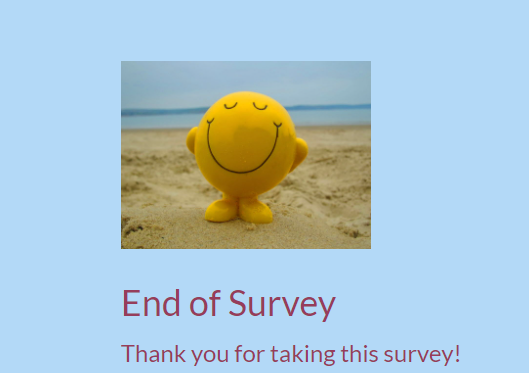
1. Select the Finish Slide and add a title and description. You can also add an image of your choice.
2. To ensure respondents take the survey only once, visit Project settings> Survey> Survey Navigation gear icon> Disable the “ Enable Again” button.

2. To ensure respondents take the survey only once, visit Project settings> Survey> Survey Navigation gear icon> Disable the “ Enable Again” button.
08 Progress Styles
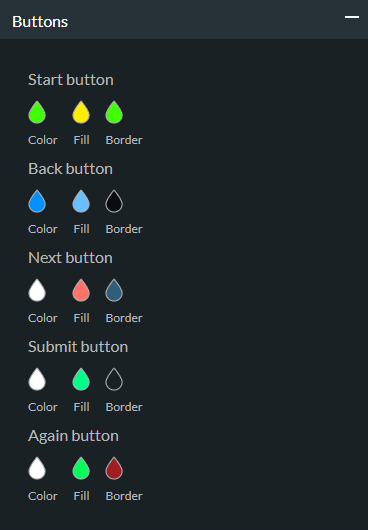
1. Add styling to navigation buttons by clicking the styling icon, then the Buttons drop-down, and customizing the colors of the Start, Back, Next, Submit, and Again buttons via a color palette or specifying a HEX color code.
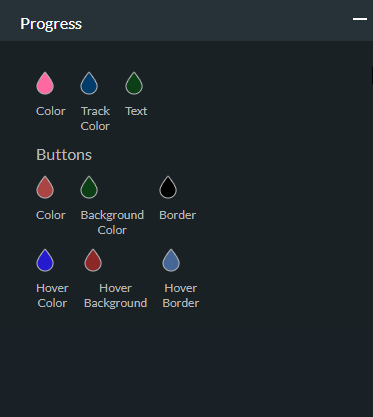
2. Next, click on the Progress drop-down and style the progress bar, track, and text colors and buttons using a color palette or specifying a HEX color code.
2. Next, click on the Progress drop-down and style the progress bar, track, and text colors and buttons using a color palette or specifying a HEX color code.
09 Distributing the Survey
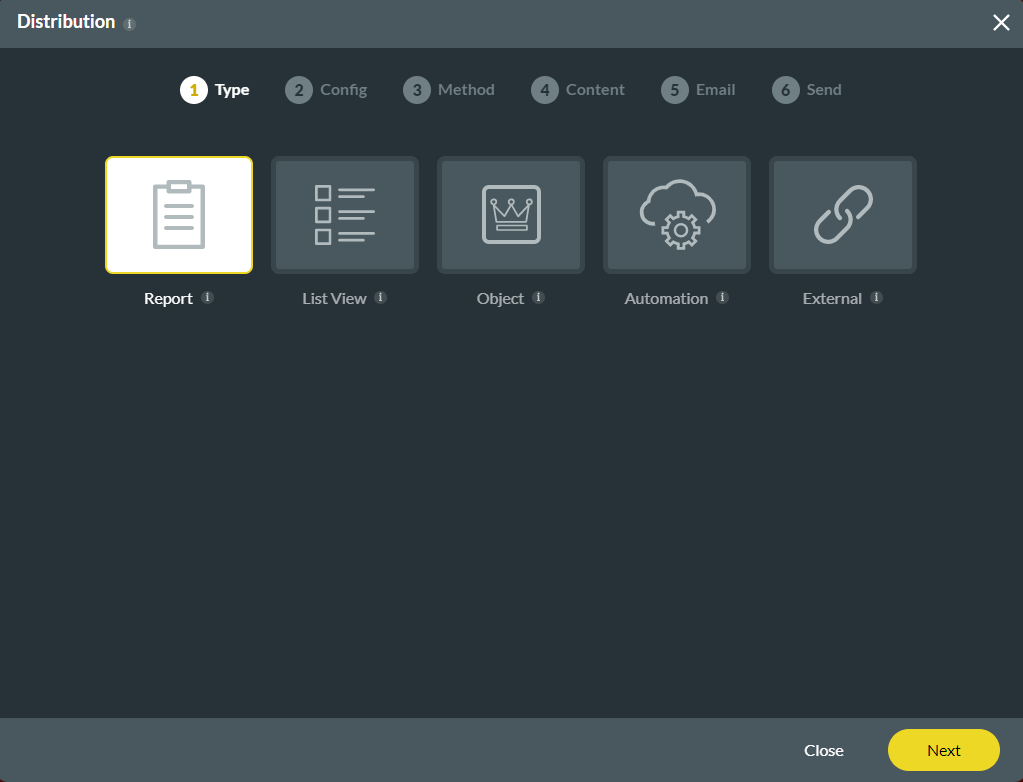
1. Once you have completed setting up your survey, you can choose a distribution type. To do so, click the Publish button, then select your Distribution type. In this example, a Report has been determined.
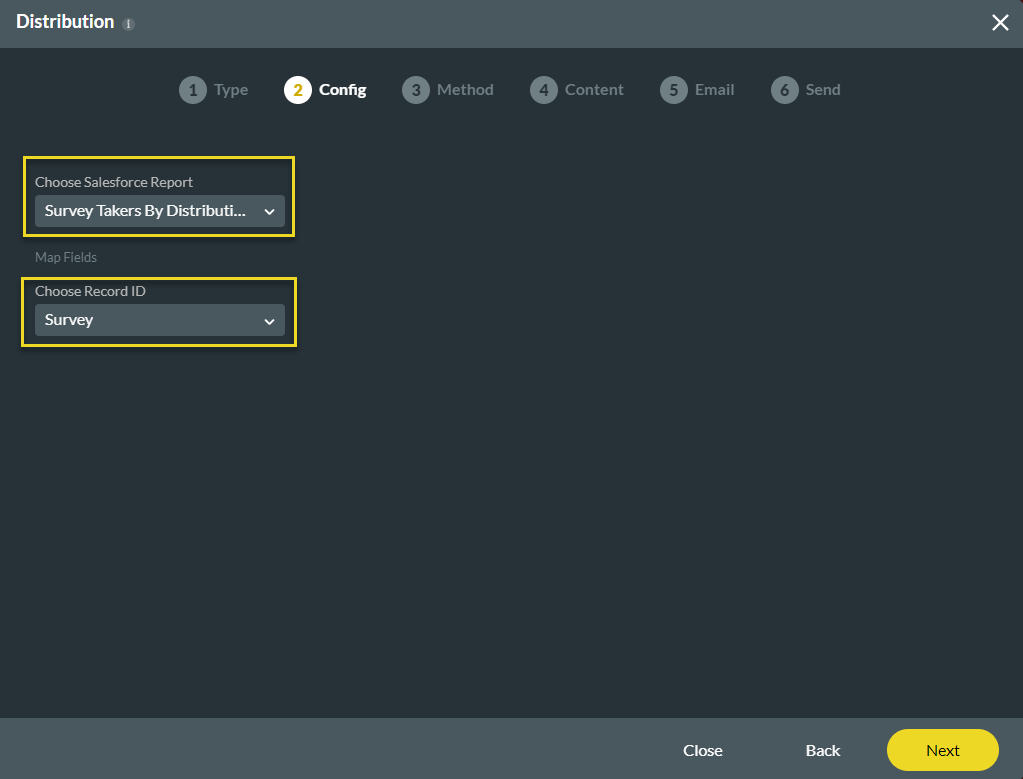
2. Select the Salesforce Report and the Record ID from the drop-down lists.
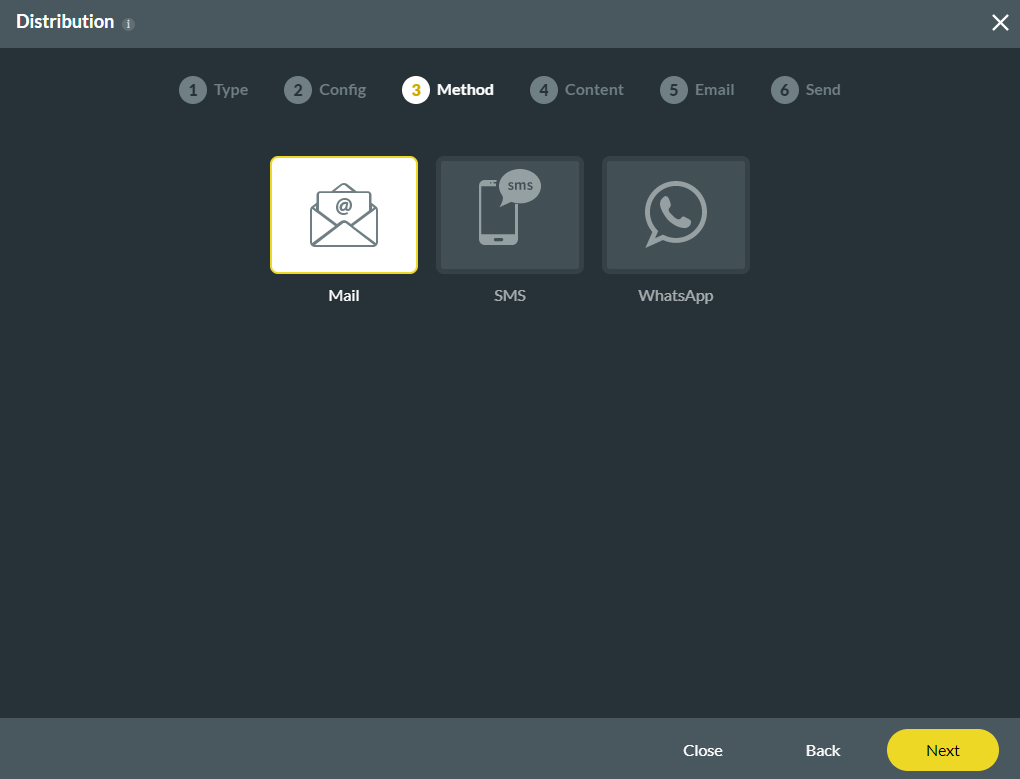
3. Next, set the Survey distribution method; in this instance, Mail is selected.
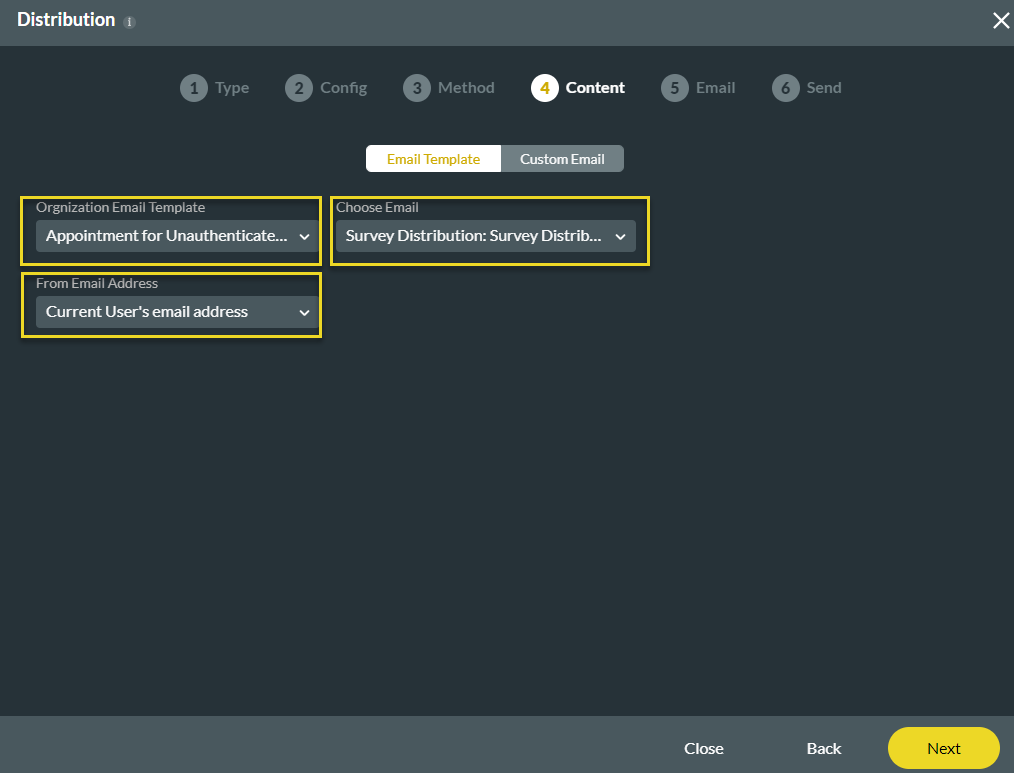
4. Set up an Email Template by configuring the Organization Email Template, Choose Email, and From Email Address fields using the drop-down menus.
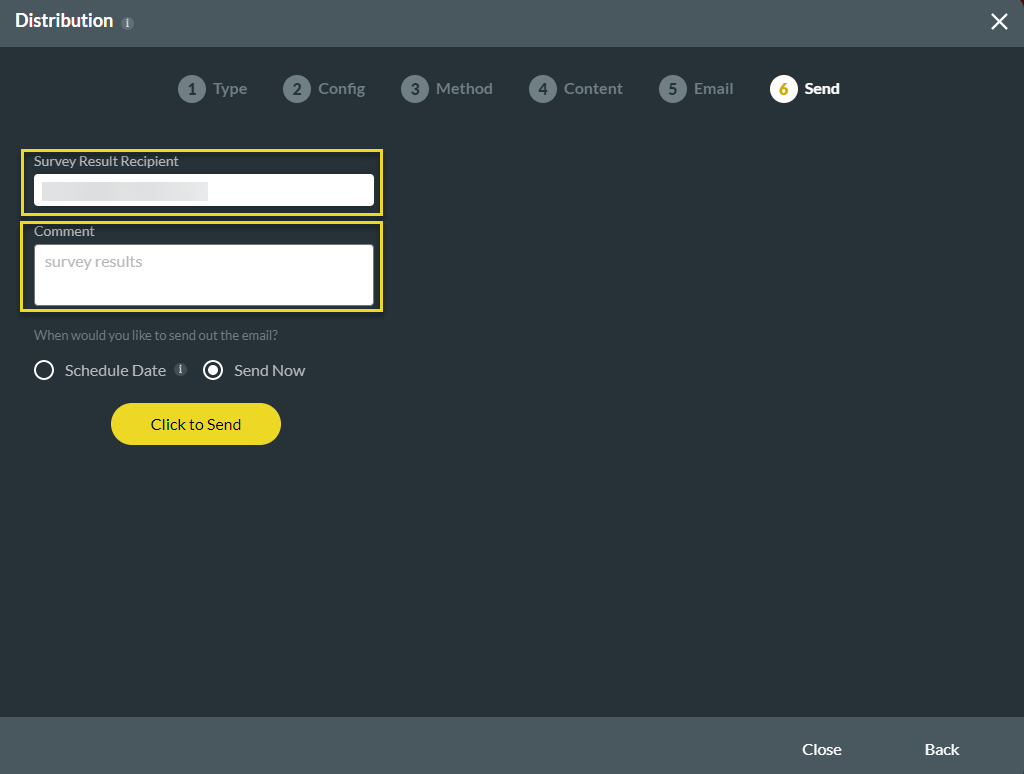
5. You can then decide whether or not to send a test email. We will skip this instance. Finally, enter the survey result recipient data, add a comment, and opt to Schedule Date or Send Now to distribute your Email.
2. Select the Salesforce Report and the Record ID from the drop-down lists.
3. Next, set the Survey distribution method; in this instance, Mail is selected.
4. Set up an Email Template by configuring the Organization Email Template, Choose Email, and From Email Address fields using the drop-down menus.
5. You can then decide whether or not to send a test email. We will skip this instance. Finally, enter the survey result recipient data, add a comment, and opt to Schedule Date or Send Now to distribute your Email.