Hiddens (5 min)
01 Getting Started
This tutorial covers migrating from Titan 1.0 to Titan Form 2.0 or Titan Web.
Make sure you check out the Working with Variables course to familiarize yourself with working with variables.
02 Hidden Variables
Hidden variables are used to store and pass values that are not exposed to your clients. In Titan Web and Forms 2.0, these variables are handled differently. Hidden variables are known as just variables, and there are different kinds.
You can set global and page-specific variables.
03 Page Variables
You can set variables per page.
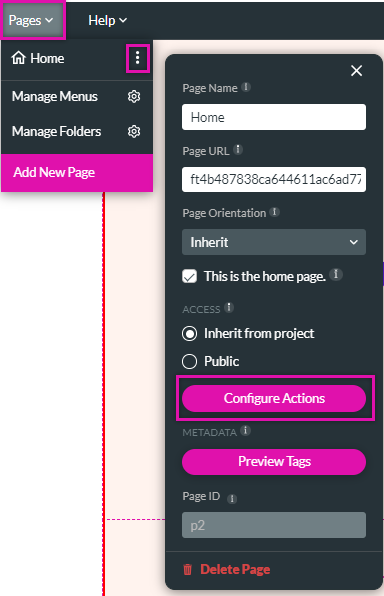
1. Expand the pages dropdown, and click the kebab menu next to the page for which you want to create the variable.
2. Click Configure Actions.
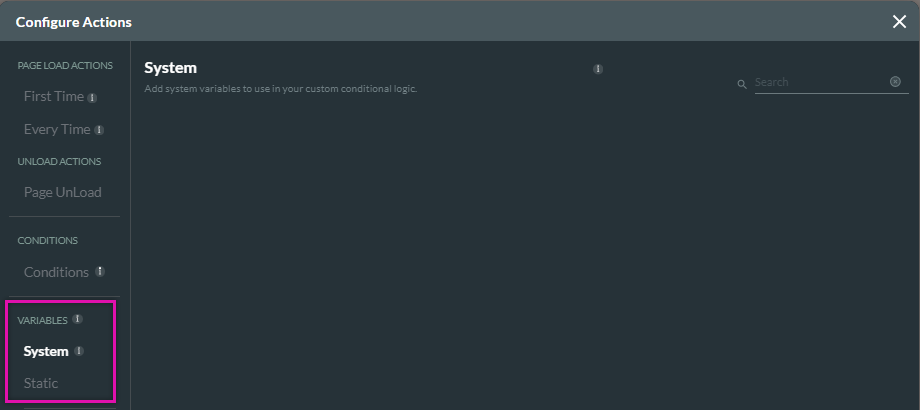
You can create both system and static variables in the Configure Actions screen.
1. Expand the pages dropdown, and click the kebab menu next to the page for which you want to create the variable.
2. Click Configure Actions.
You can create both system and static variables in the Configure Actions screen.
04 Global Variables
To create variables that apply to your entire project.
1. Navigate to the Project Settings menu and click the Tools tab.
2. Select the Custom Variables gear icon.

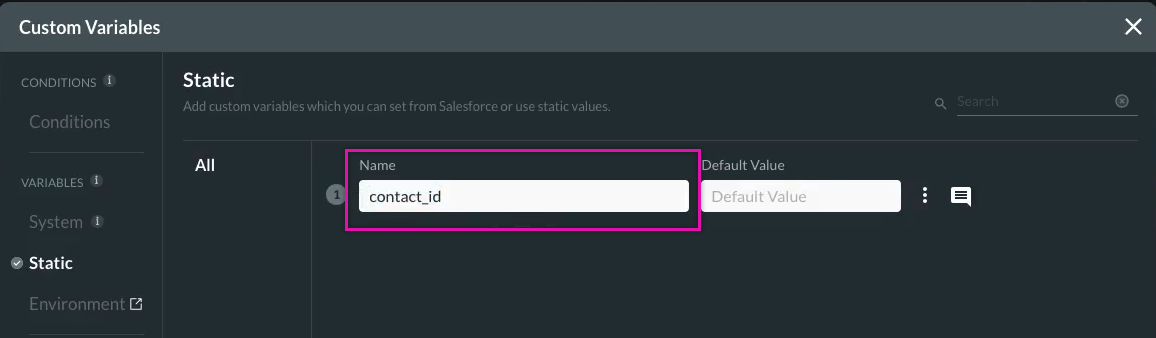
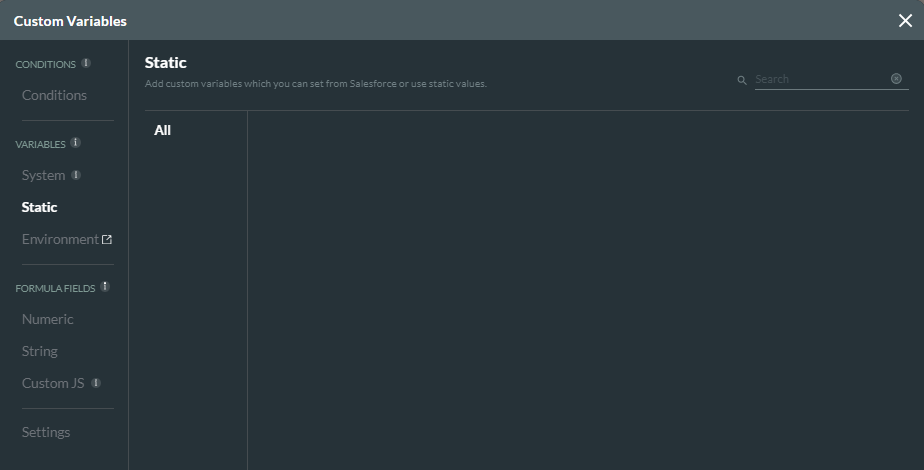
In the Custom Variables screen, you can create custom variables that apply to your project.
1. Navigate to the Project Settings menu and click the Tools tab.
2. Select the Custom Variables gear icon.
In the Custom Variables screen, you can create custom variables that apply to your project.
05 Main Differences
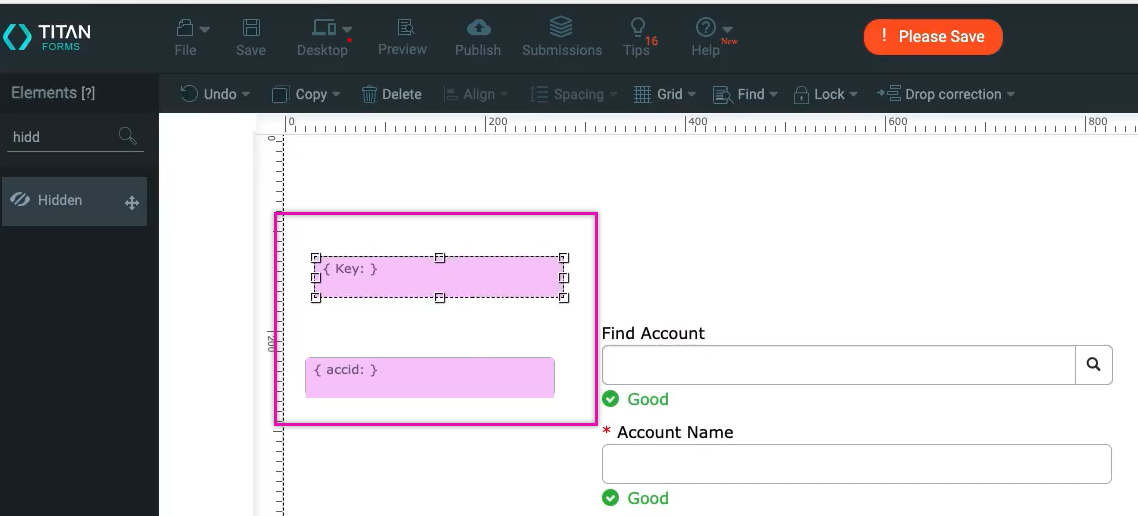
In Form 1.0, you could visually see the variables on your page.
In Forms 2.0 and Web, you must navigate to your page and global variables.
In Forms 2.0 and Web, you must navigate to your page and global variables.
06 Passing Variables through the URL
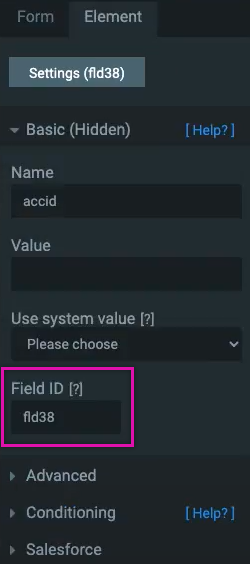
The way that you pass the variables will also differ. In Form 1.0, the hidden variable would use the field ID. This ID would be used to pass the variable through the URL.