Manual Void (4 min)
Completion requirements
01 Getting Started
This tutorial explores how to void documents you sent from Salesforce to be signed manually.
02 Essential Tips for Voiding
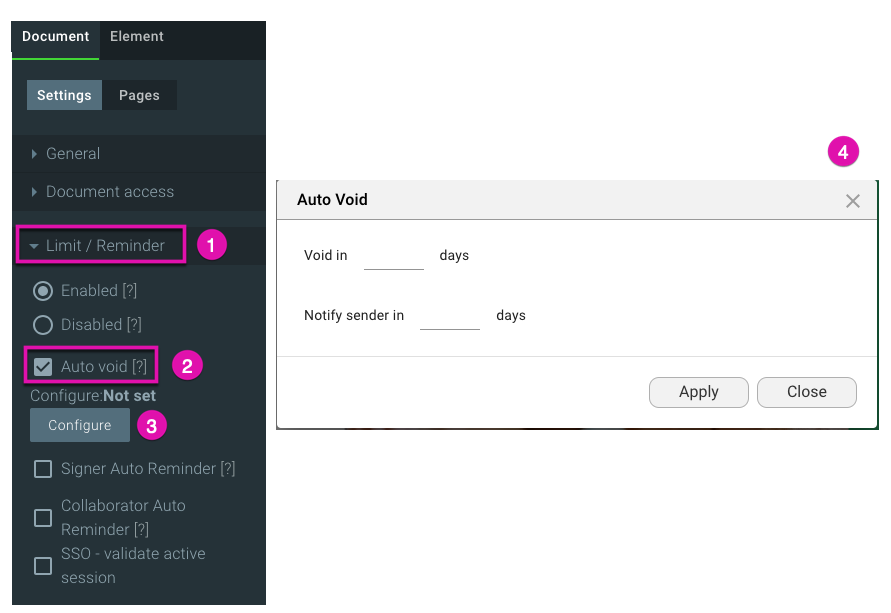
1. You can void documents using automation in Salesforce. Alternatively, navigate to the Limit/Reminder option and select the Auto Void checkbox.
2. Click the Configure button and automatically enter the details required to void your documents after a certain number of days.
2. Click the Configure button and automatically enter the details required to void your documents after a certain number of days.
03 How to Manually Void your Distributed Document
Follow the steps below to configure an email that users will receive when they void a document.
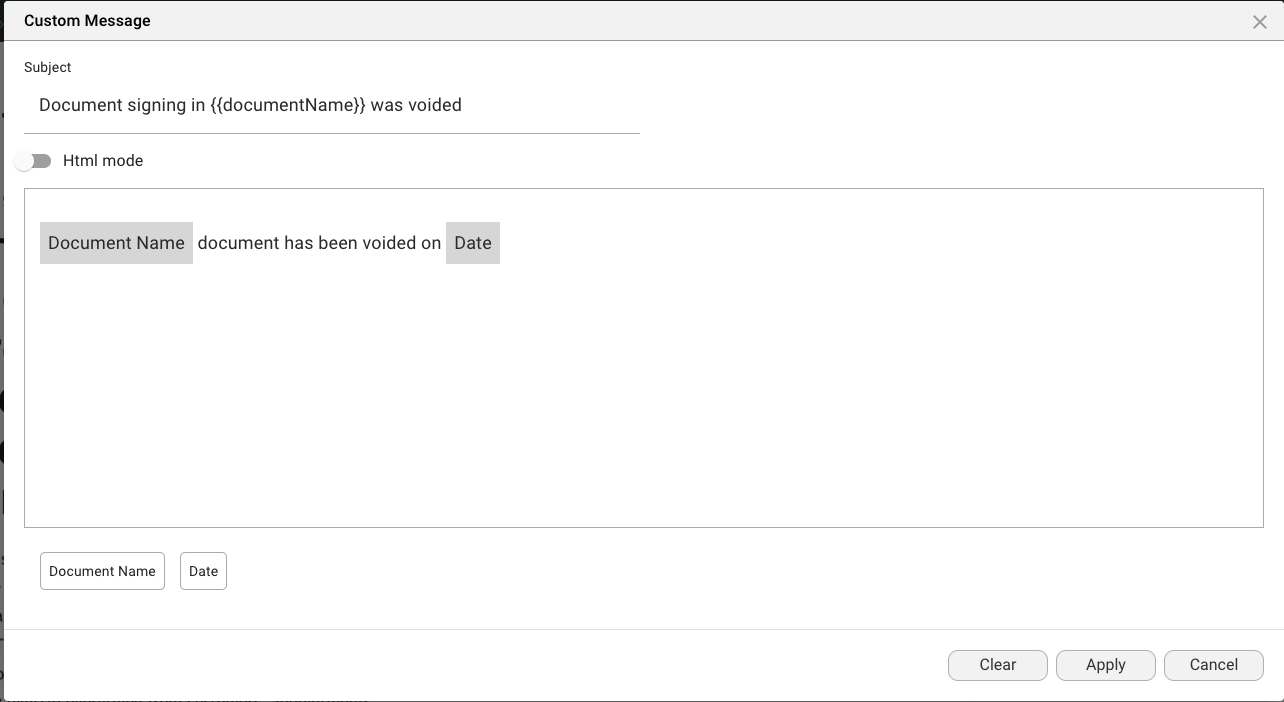
1. Navigate to the Email option, scroll through the list, and click the Edit button under the Void checkbox.
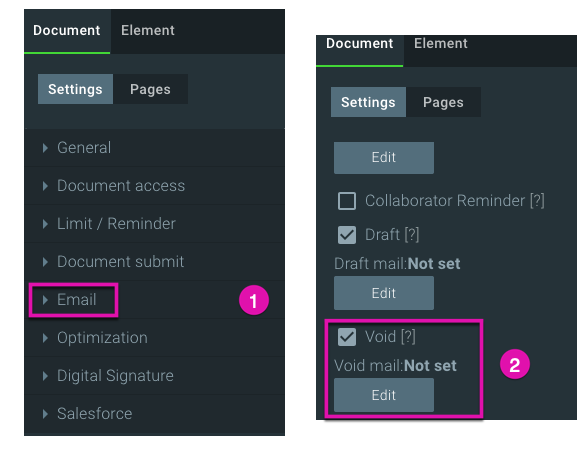
2. Change the email as you would like and click the Apply button to save your settings.
3. Save your document by clicking on the Save button.

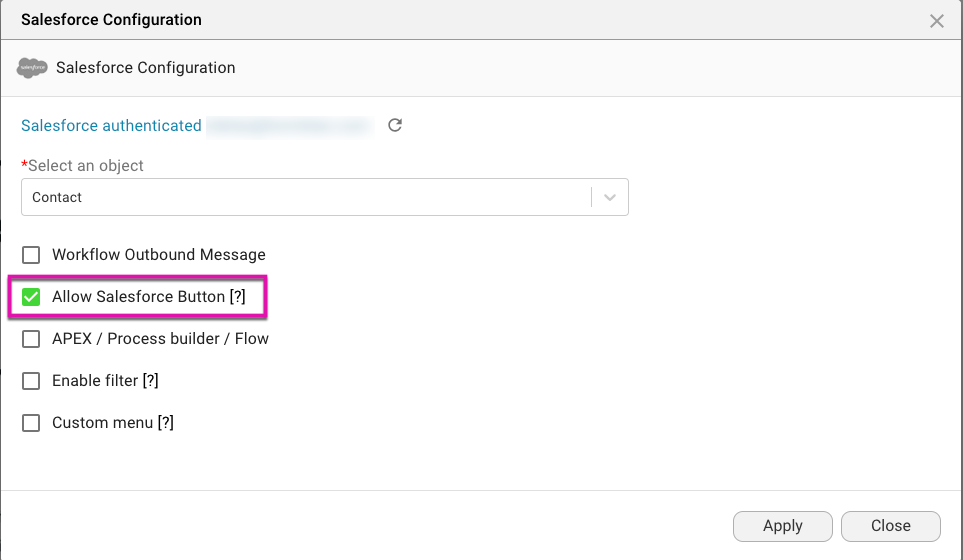
4. Navigate to Document Access and click the Salesforce Configuration button.
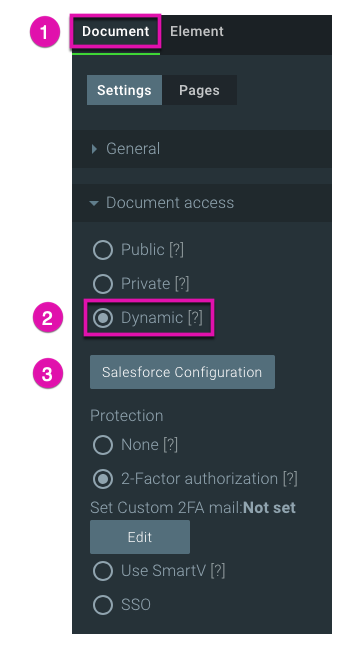
5. Ensure you have the "Allow Salesforce Button "configured to void the document successfully.
6. Click on the Titan Sign logo to navigate the Titan Dashboard.

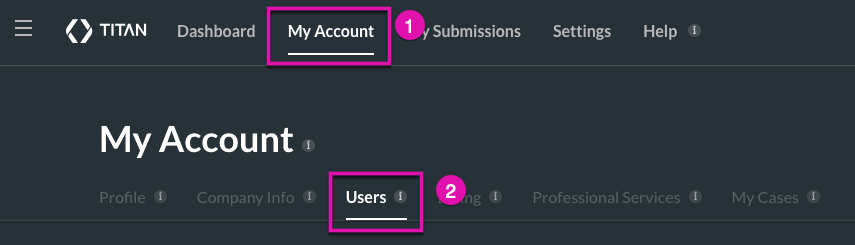
7. Select the My Account tab and then the Users tab to access your Collaborator settings.
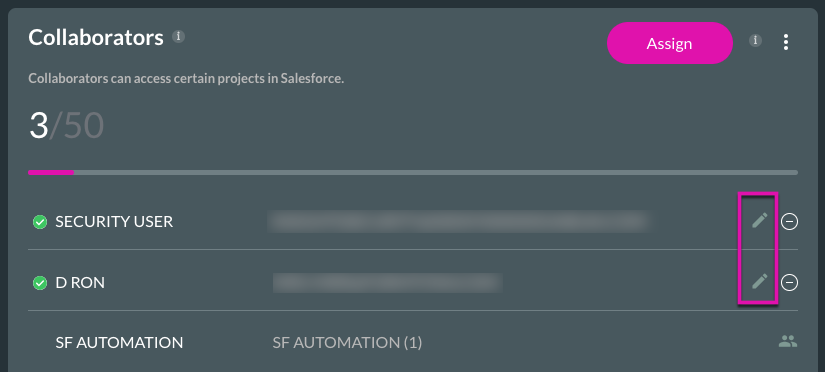
8. Click the pencil icon next to your users' names to give them permission to sign or void a document.
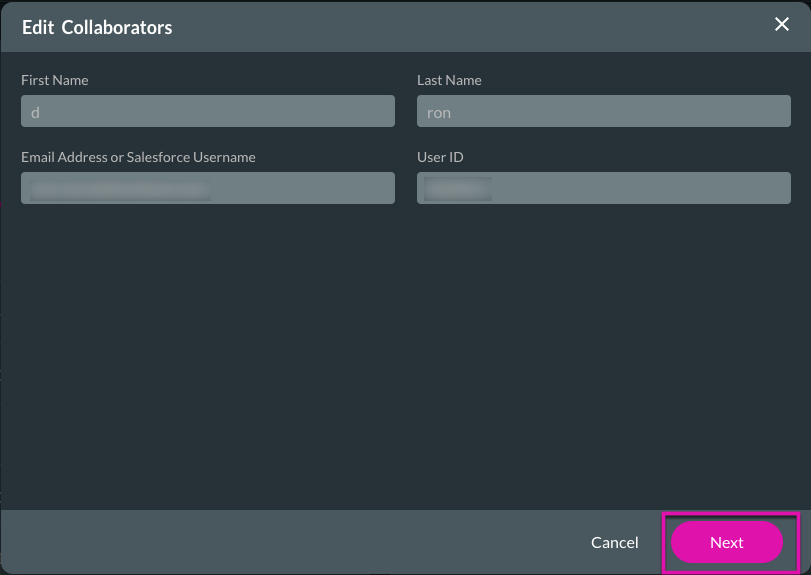
9. Click on the Next button to access the Permission checkboxes.
10. Select your document's Sign and Void checkboxes under the Sign tab.

11. Go to Salesforce and click the FT Gen button to generate a document for signing.

12. Select the sign icon.
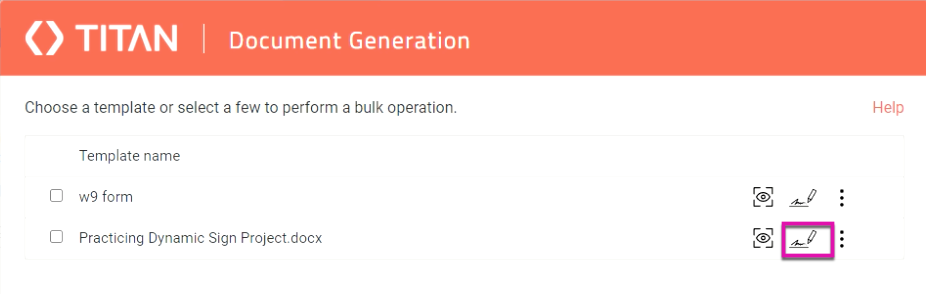
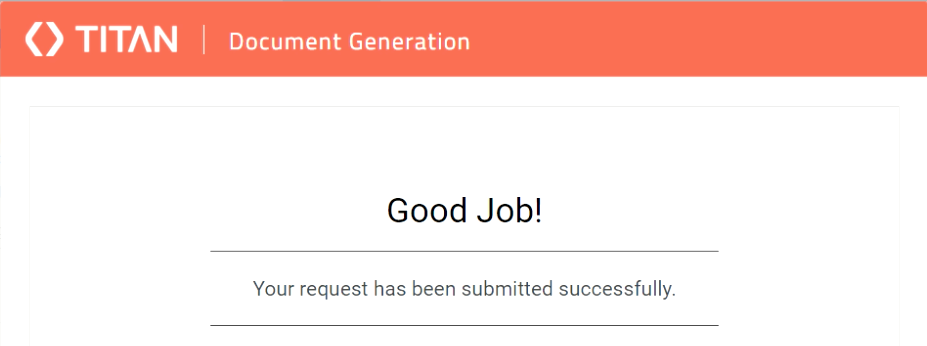
13. You will receive a notification acknowledging your document was distributed successfully.
14. The document can be opened via email. Click on the link to navigate to the document and interact with it.

15. The document renders, and the user can go ahead and sign it.
In our tutorial example, the user does not sign the document, so we want to void it manually.
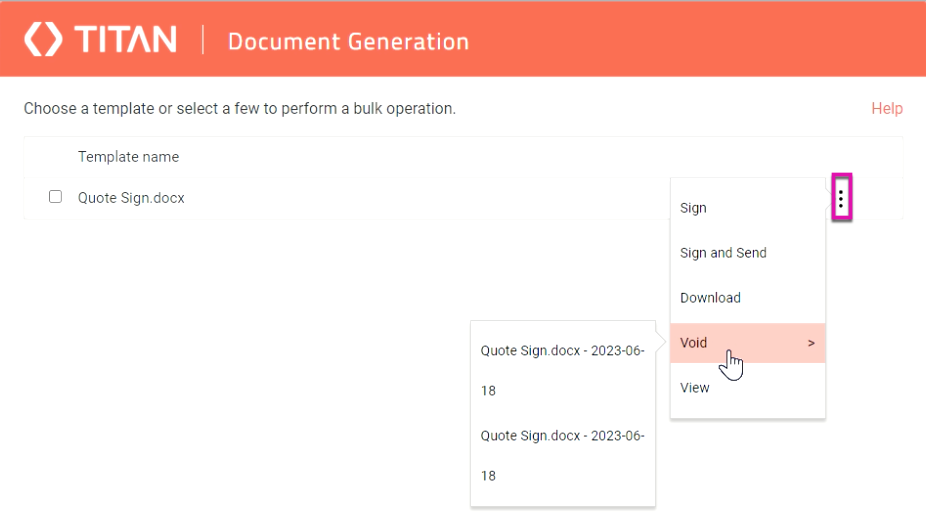
16. Head to Salesforce and click the FT Gen button.

17. Open the Kebab menu next to your desired document and choose the Void option.
18. Select the version of the document you would like to void.
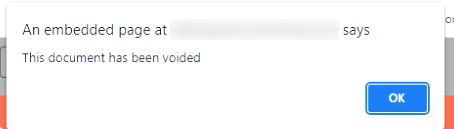
19. You will receive a notification acknowledging that your document has been voided. Click on the OK button to dismiss it.
1. Navigate to the Email option, scroll through the list, and click the Edit button under the Void checkbox.
2. Change the email as you would like and click the Apply button to save your settings.
3. Save your document by clicking on the Save button.
4. Navigate to Document Access and click the Salesforce Configuration button.
5. Ensure you have the "Allow Salesforce Button "configured to void the document successfully.
6. Click on the Titan Sign logo to navigate the Titan Dashboard.
7. Select the My Account tab and then the Users tab to access your Collaborator settings.
8. Click the pencil icon next to your users' names to give them permission to sign or void a document.
9. Click on the Next button to access the Permission checkboxes.
10. Select your document's Sign and Void checkboxes under the Sign tab.
11. Go to Salesforce and click the FT Gen button to generate a document for signing.
12. Select the sign icon.
13. You will receive a notification acknowledging your document was distributed successfully.
14. The document can be opened via email. Click on the link to navigate to the document and interact with it.
15. The document renders, and the user can go ahead and sign it.
In our tutorial example, the user does not sign the document, so we want to void it manually.
16. Head to Salesforce and click the FT Gen button.
17. Open the Kebab menu next to your desired document and choose the Void option.
18. Select the version of the document you would like to void.
19. You will receive a notification acknowledging that your document has been voided. Click on the OK button to dismiss it.
04 Working with a Voided Document
1. A user clicks on a link to interact with a document sent to them via email. Click on the link to navigate to the document and interact with it.

2. The user is directed to a page with the following void message.

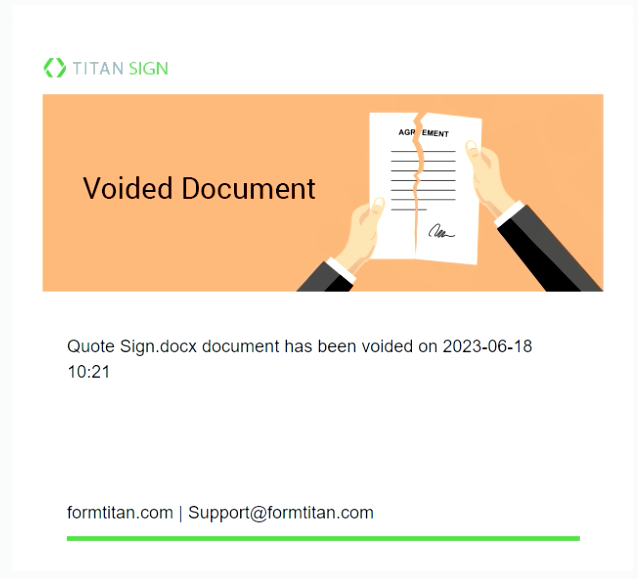
3. The user will also receive an email to be notified that the document has been voided.
2. The user is directed to a page with the following void message.
3. The user will also receive an email to be notified that the document has been voided.