Static - Types Overview (6:30 min)
Completion requirements
01 Getting Started
This tutorial covers user access when using a static document in Titan Sign.
02 Static vs Dynamic Documents
You have the option to upload a PDF or a Word document. If you upload a Word document from your Titan Word Add-In that contains merge fields from Salesforce, this would be a dynamic document. This tutorial will focus on static documents, which are static documents.
03 Uploading a Document
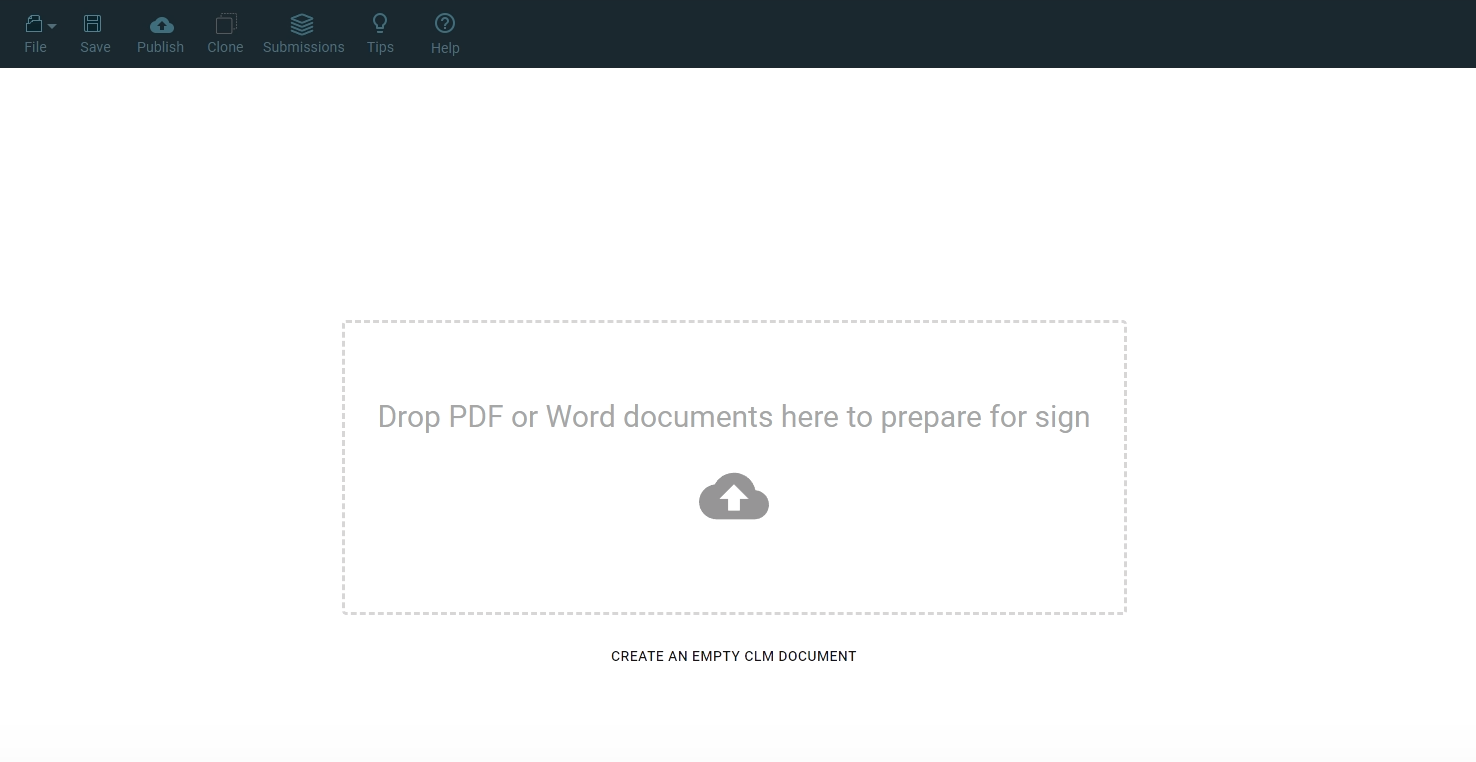
Drag and drop a PDF into the upload field or follow the alternative method.
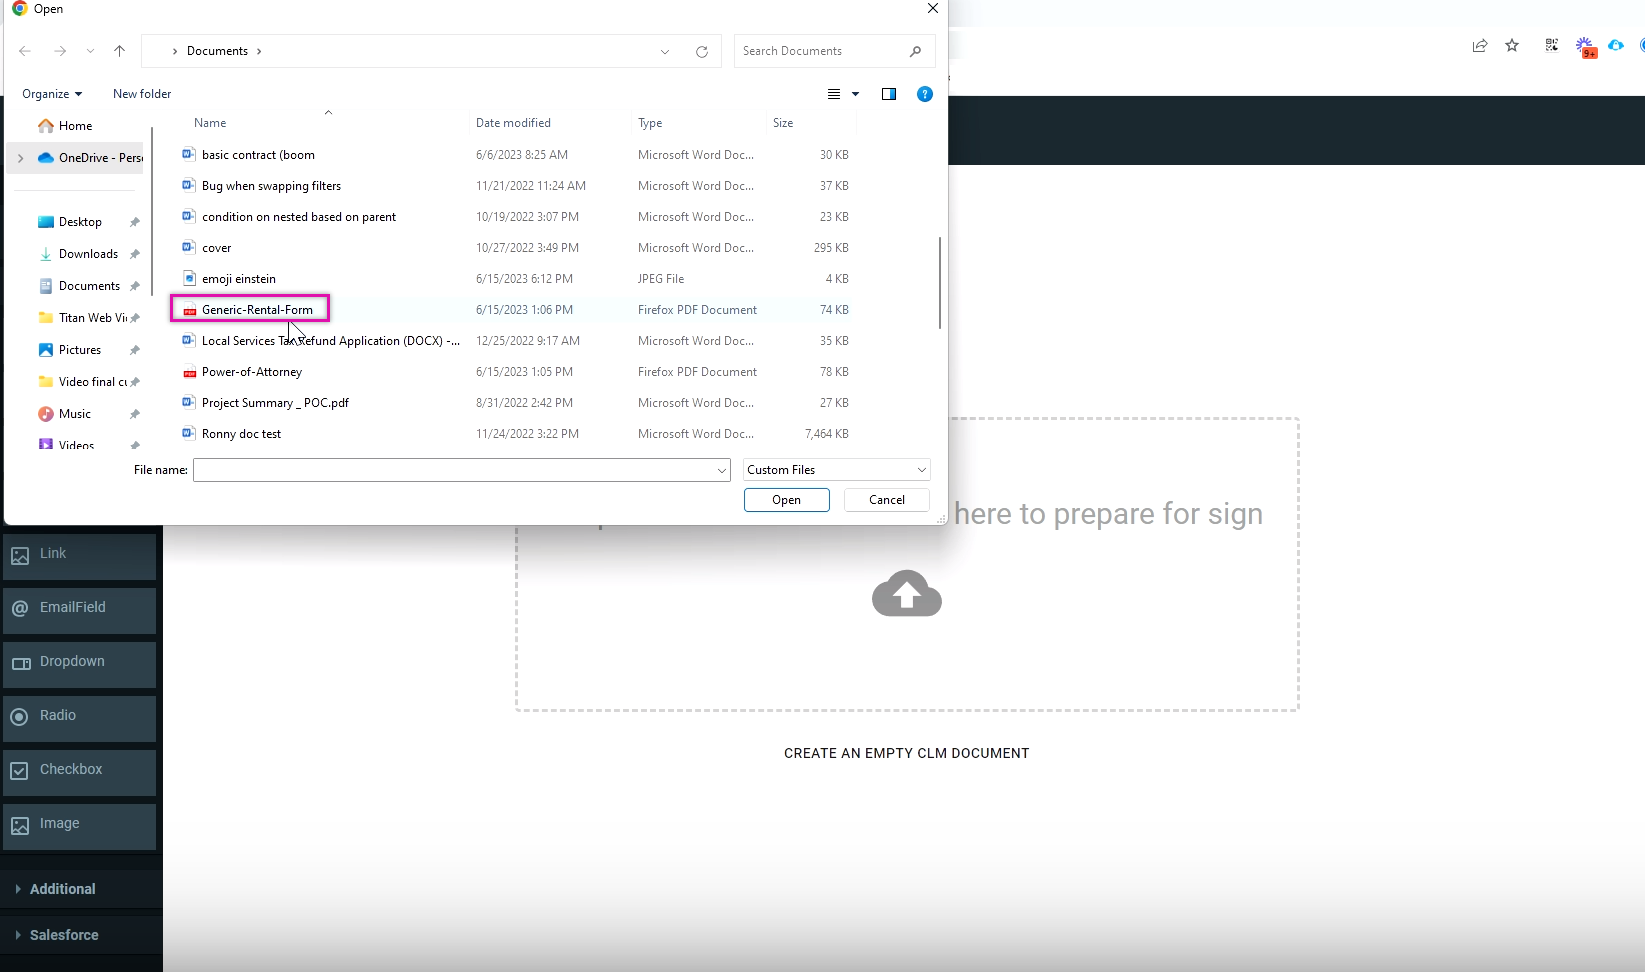
1. Click on the upload icon. The file explorer window opens.
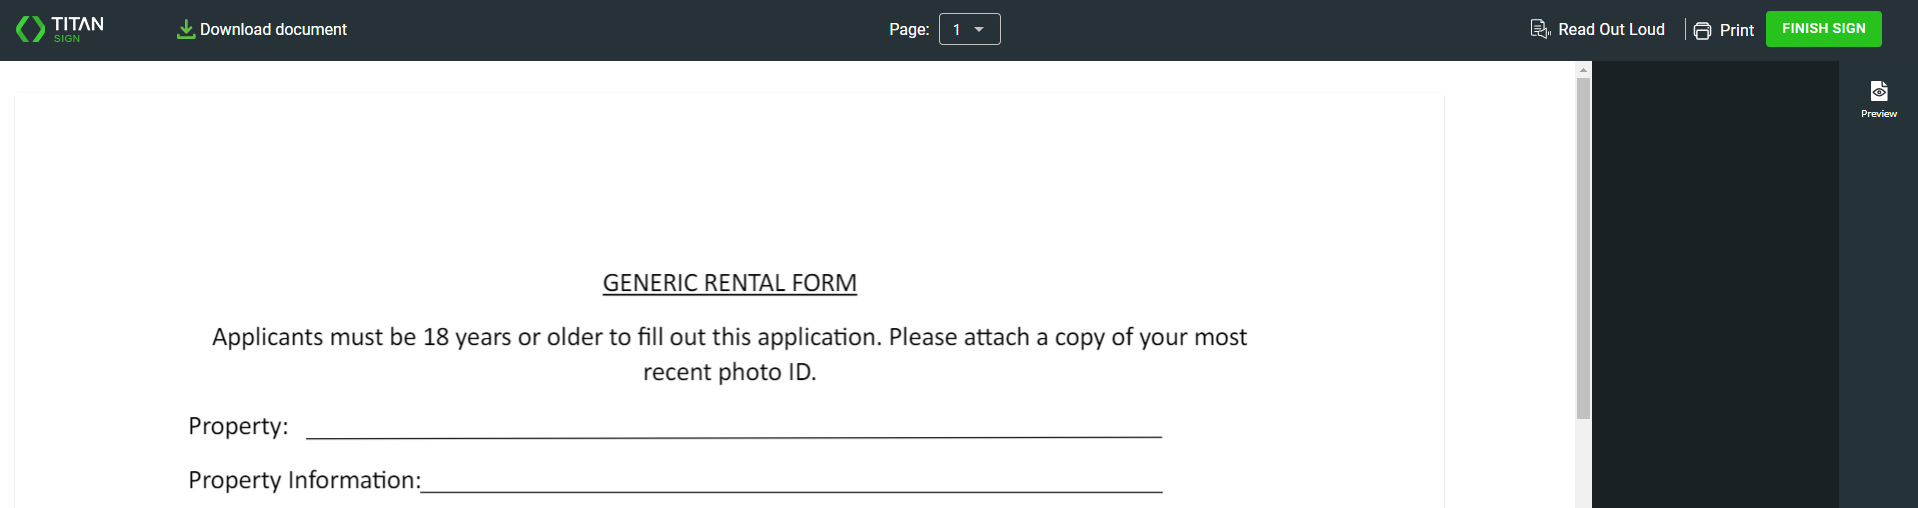
2. Select the document you want to upload, such as a Generic Rental form, and click Open.
1. Click on the upload icon. The file explorer window opens.
2. Select the document you want to upload, such as a Generic Rental form, and click Open.
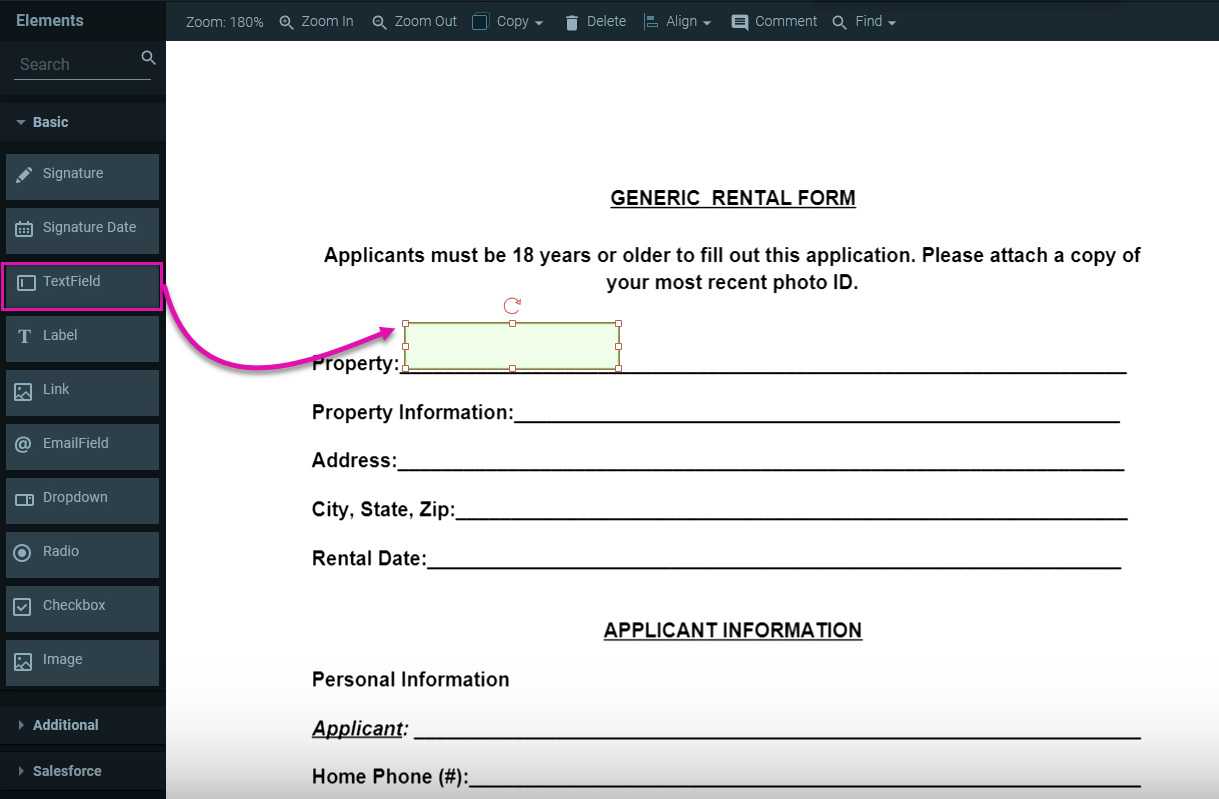
04 Adding Fields to the Document
1. Using the elements menu on the left-hand column, drag and drop the fields onto your document for users to fill out.
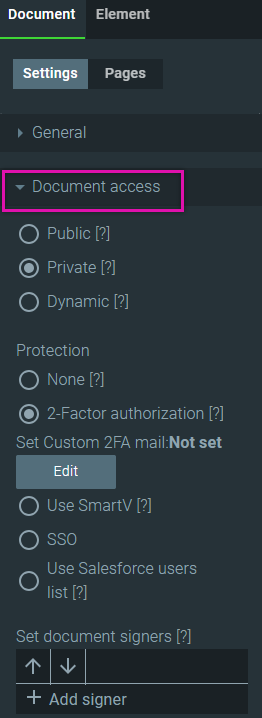
05 Document Access
1. Click the Settings Tab in the right-hand menu.

2. Click the Document Access Dropdown to display the complete list of options.
The first 3 document access options available are:
2. Click the Document Access Dropdown to display the complete list of options.
The first 3 document access options available are:
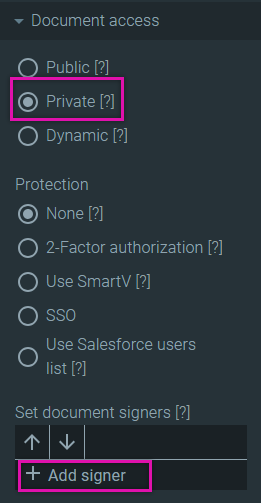
- Public: Anyone with access to the URL can see this document and complete the fields.
- Private: You can define access for specific signers.
- Dynamic: This assigns dynamic signers from Salesforce.
06 Public
1. Click on the Public Radio button and click Publish.

The Publish Document window opens. This is where you can retrieve your document URL.
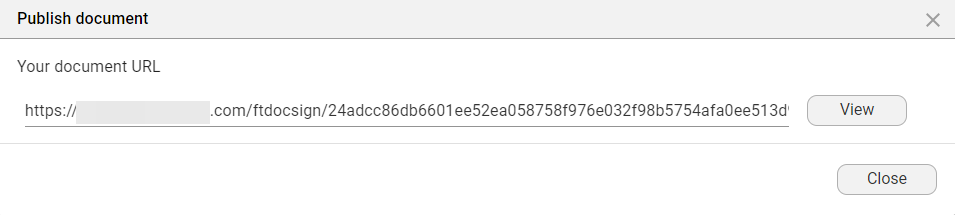
2. Click the View button to preview how your document will display to the public.
The Publish Document window opens. This is where you can retrieve your document URL.
2. Click the View button to preview how your document will display to the public.
07 Private
1. Click on the Private Radio button.
2. To add a signer, click the Add Signer button.
3. Add the details of the signer. I.e., First Name, Last Name, email address.
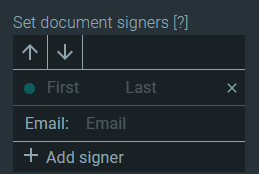
You can add as many signers as you need.
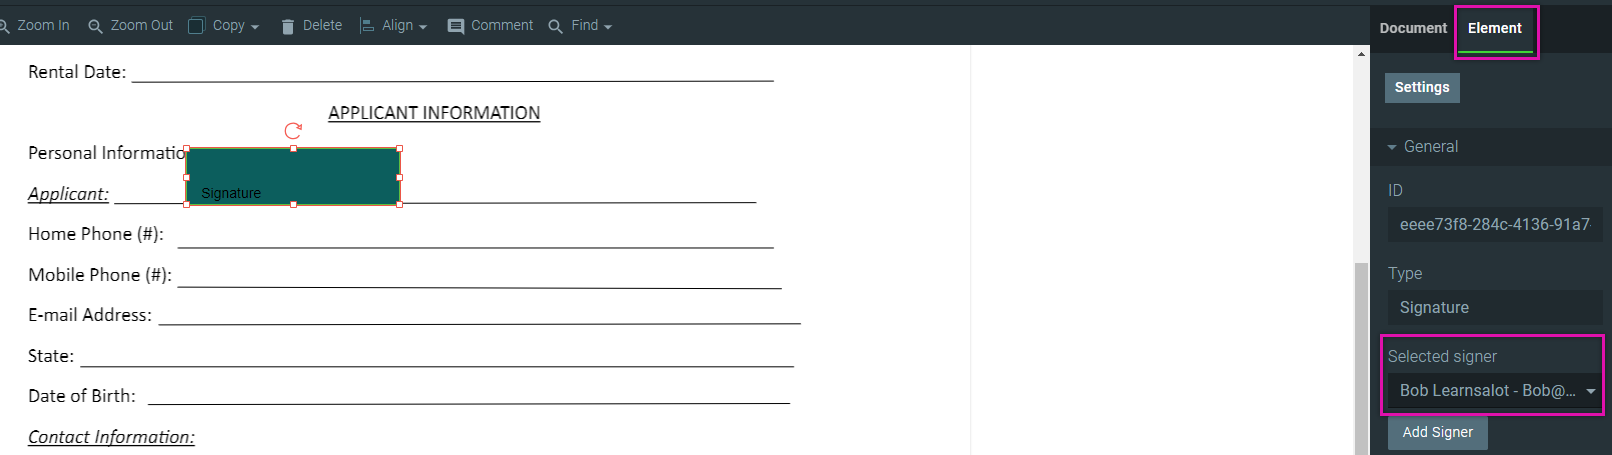
Once your signers are configured, you can assign specific fields to them. Select the element you want to assign, click the element tab, and use the selected signer drop-down to assign the element.
2. To add a signer, click the Add Signer button.
3. Add the details of the signer. I.e., First Name, Last Name, email address.
You can add as many signers as you need.
Once your signers are configured, you can assign specific fields to them. Select the element you want to assign, click the element tab, and use the selected signer drop-down to assign the element.
08 Dynamic
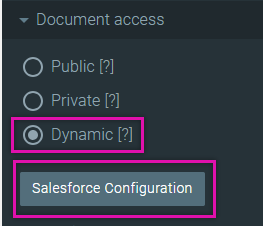
1. Select the Dynamic Radio button and click the Salesforce Configuration button.
The Salesforce Configuration screen opens.
2. Use the Select an Object dropdown to determine which object you want to launch your signing process from in Salesforce. For example, when a specific button is clicked in an opportunity, it will launch the document. Once your configuration is completed, click Apply.
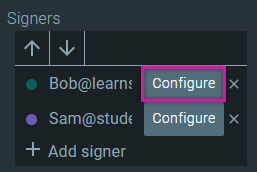
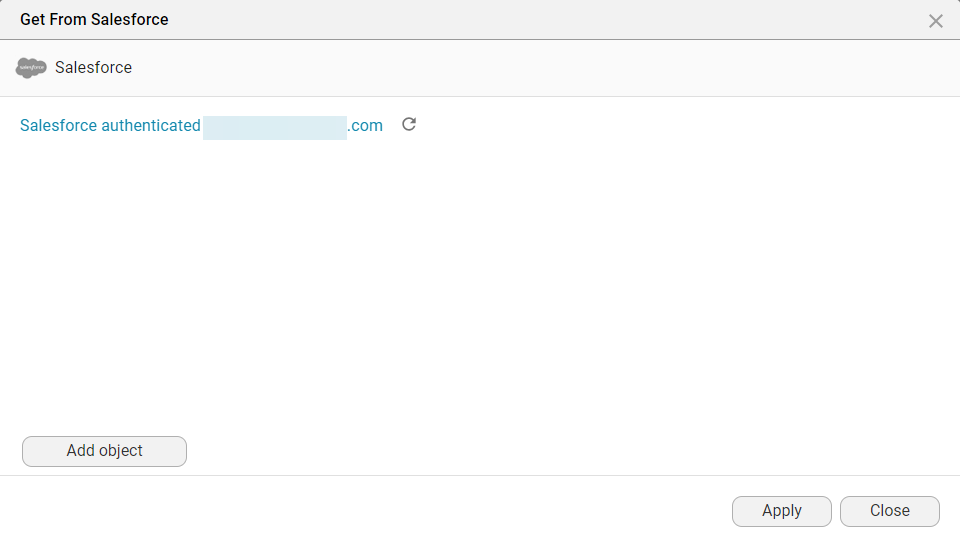
3. To configure which Objects to query in Salesforce to initiate with the signers, click the Configure icon next to the signers. The Get from Salesforce screen opens.
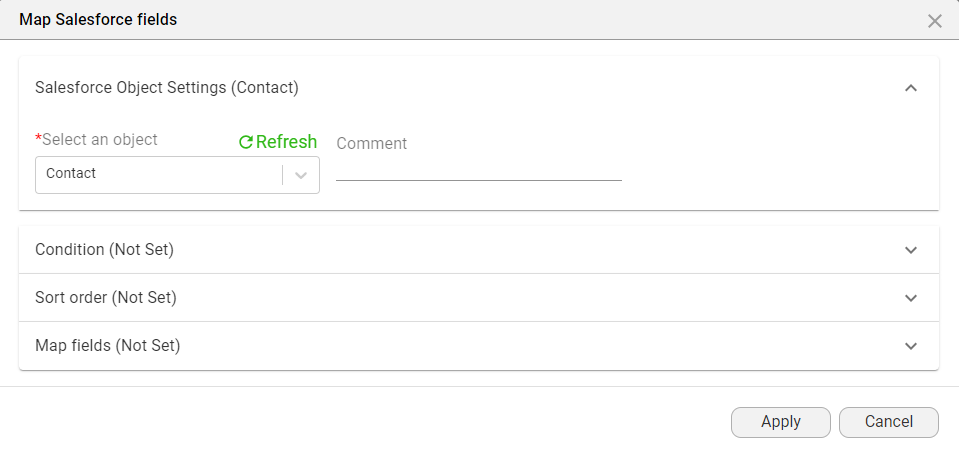
4. Select the Add Object button. The Map Salesforce Fields window opens.
5. Use the Select an Object dropdown to choose your Salesforce Object—for example, Contact.
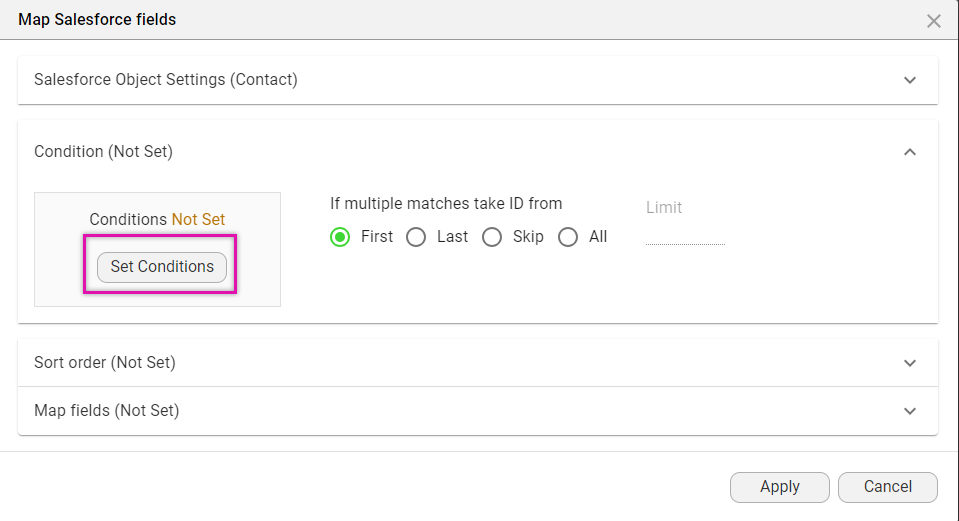
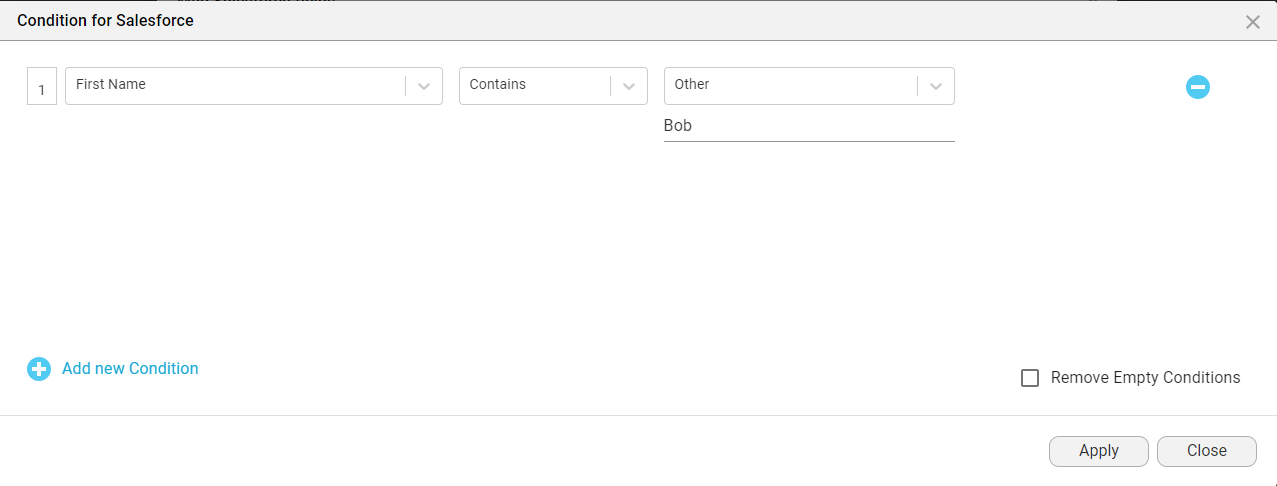
6. Select the Conditions dropdown and click the Set Conditions button. The Condition for Salesforce window opens.
7. Configure your condition criteria and click Apply.
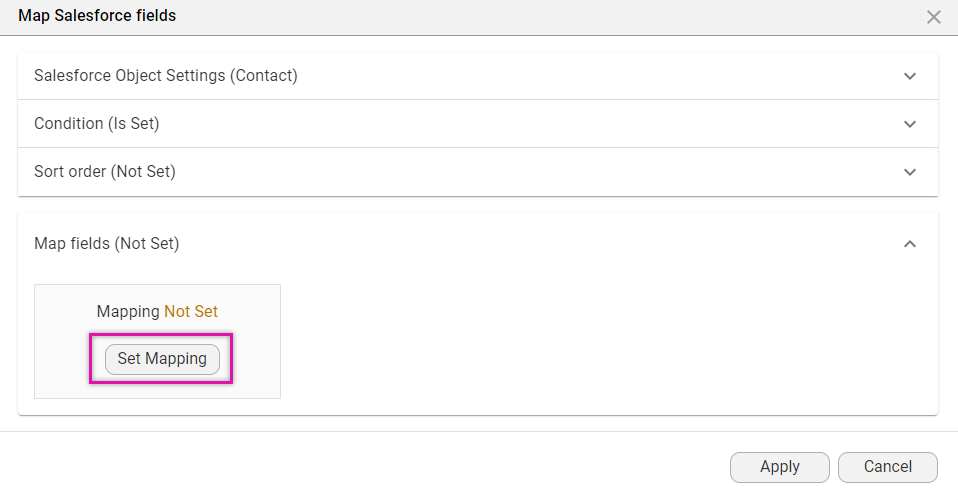
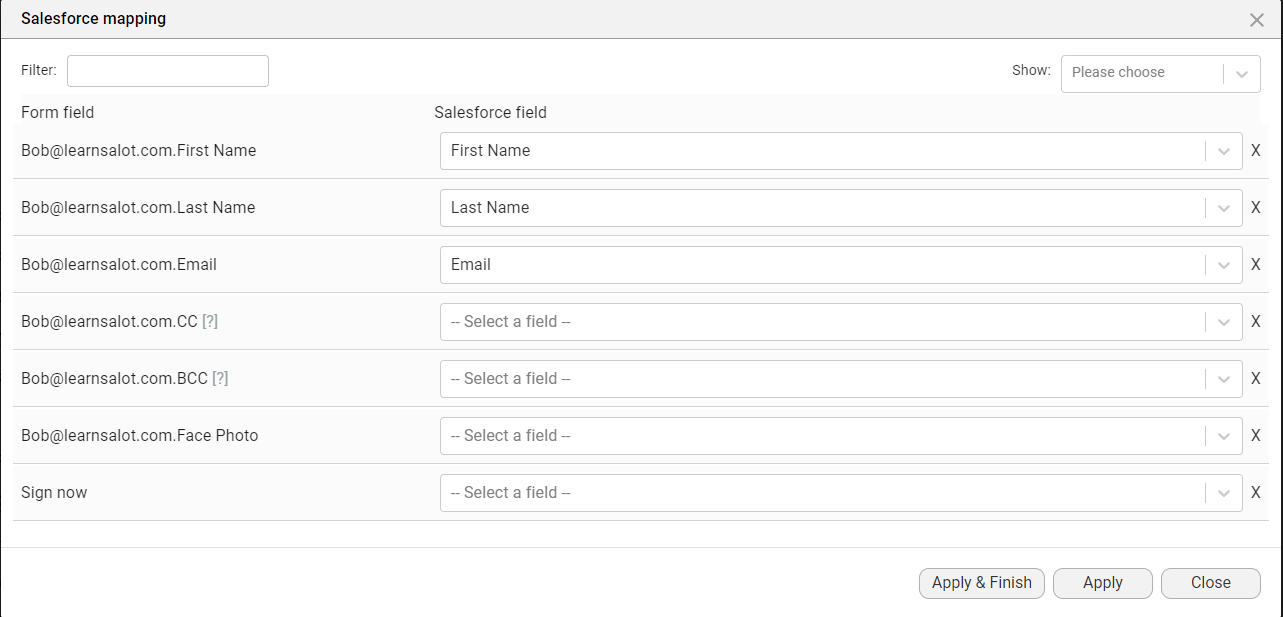
8. Select the Map Fields dropdown and click the Set Mapping button. The Salesforce Mapping screen opens.
9. Use the dropdown to map your form fields to your Salesforce fields. Once your configuration is complete, click Apply and Finish.
The Salesforce Configuration screen opens.
2. Use the Select an Object dropdown to determine which object you want to launch your signing process from in Salesforce. For example, when a specific button is clicked in an opportunity, it will launch the document. Once your configuration is completed, click Apply.
3. To configure which Objects to query in Salesforce to initiate with the signers, click the Configure icon next to the signers. The Get from Salesforce screen opens.
4. Select the Add Object button. The Map Salesforce Fields window opens.
5. Use the Select an Object dropdown to choose your Salesforce Object—for example, Contact.
6. Select the Conditions dropdown and click the Set Conditions button. The Condition for Salesforce window opens.
7. Configure your condition criteria and click Apply.
8. Select the Map Fields dropdown and click the Set Mapping button. The Salesforce Mapping screen opens.
9. Use the dropdown to map your form fields to your Salesforce fields. Once your configuration is complete, click Apply and Finish.