Sign Wizard (11 min)
Completion requirements
01 Getting Started
You can use the Titan Sign Wizard with templates built in Titan Sign, documents you have in Salesforce, or locally on your device. Use the Titan Sign Wizard to add merge or signature fields and send the document to signers.
02 Configure Document Generation in Titan
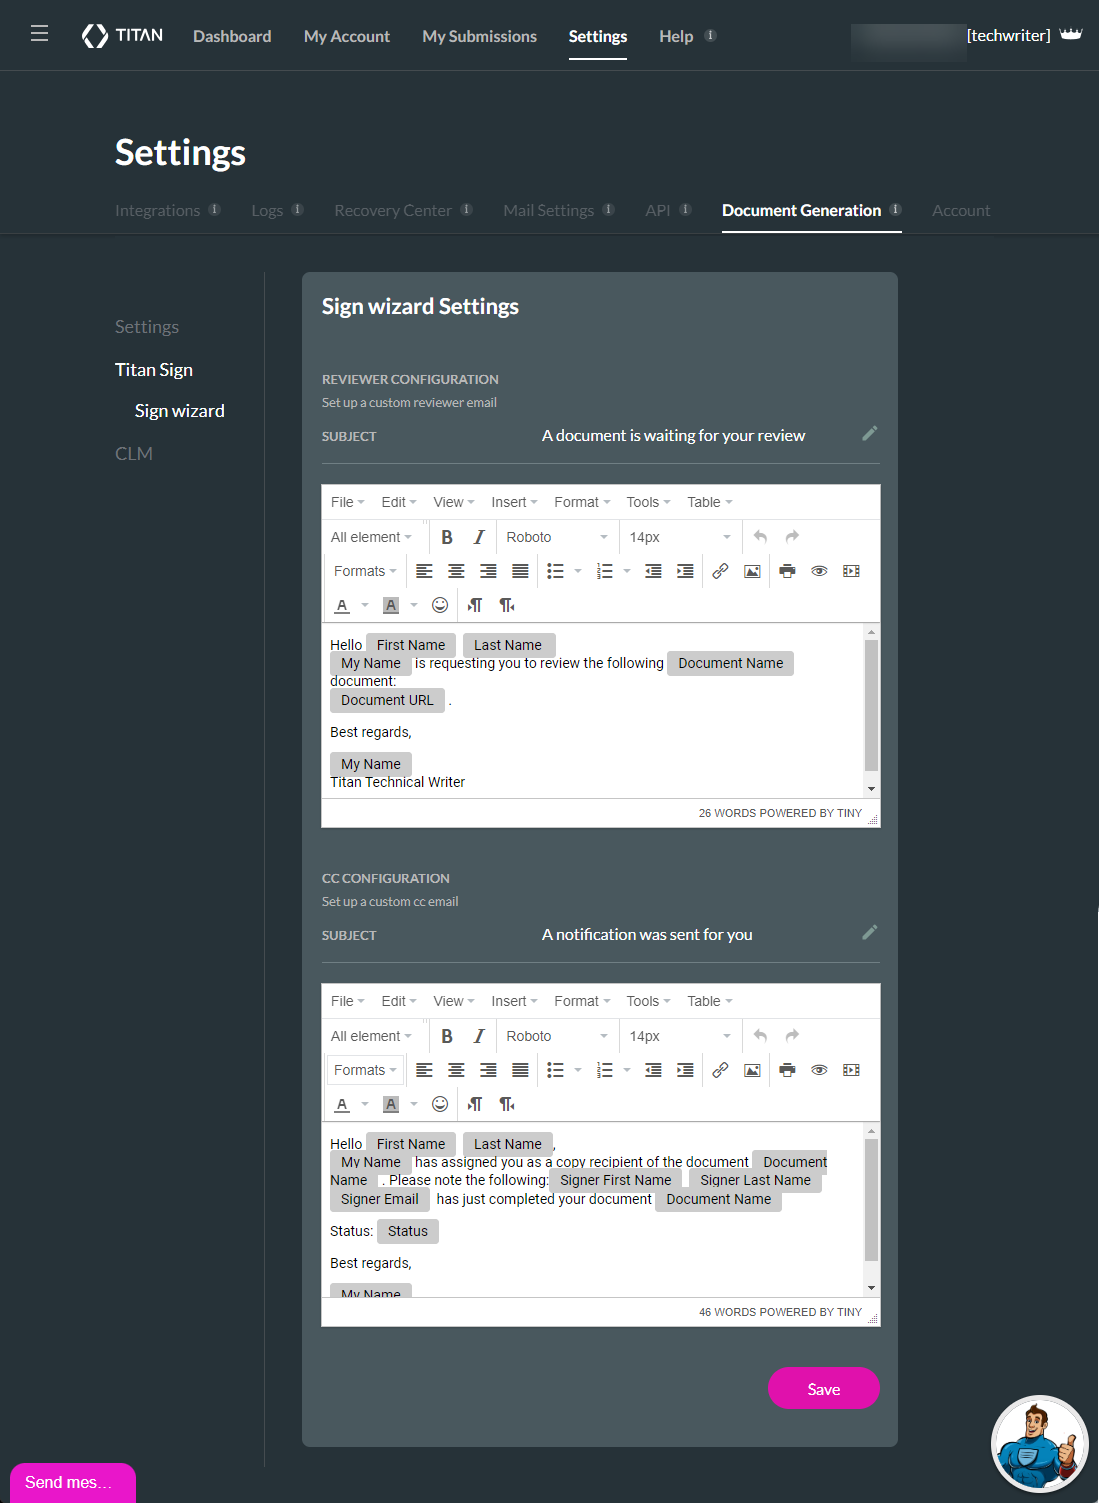
You can set up the emails used in the Sign Wizard. This is a one-time setup.
1. Browse to the Dashboard and open the Settings tab.
2. Click the Document Generation option and Titan Sign > Sign Wizard.
3. Configure the reviewer email and the CC email.
4. Click the Save button.
1. Browse to the Dashboard and open the Settings tab.
2. Click the Document Generation option and Titan Sign > Sign Wizard.
3. Configure the reviewer email and the CC email.
4. Click the Save button.
03 Configure the Titan Sign Wizard in Salesforce
Let’s look at how you can add the Titan Sign Wizard to the page layout. The wizard is included in our managed package and can be found in Salesforce. In the sample Salesforce record below, we have added the Sign wizard to a contact page.
04 Add the Sign Wizard to a Salesforce Contact Page
In this lesson, we added the Sign Wizard to a tab, but you can add it anywhere on the page.
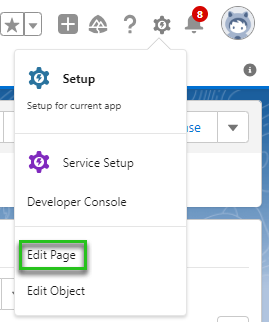
1. Click the Setup Gear icon in Salesforce and choose Edit Page.
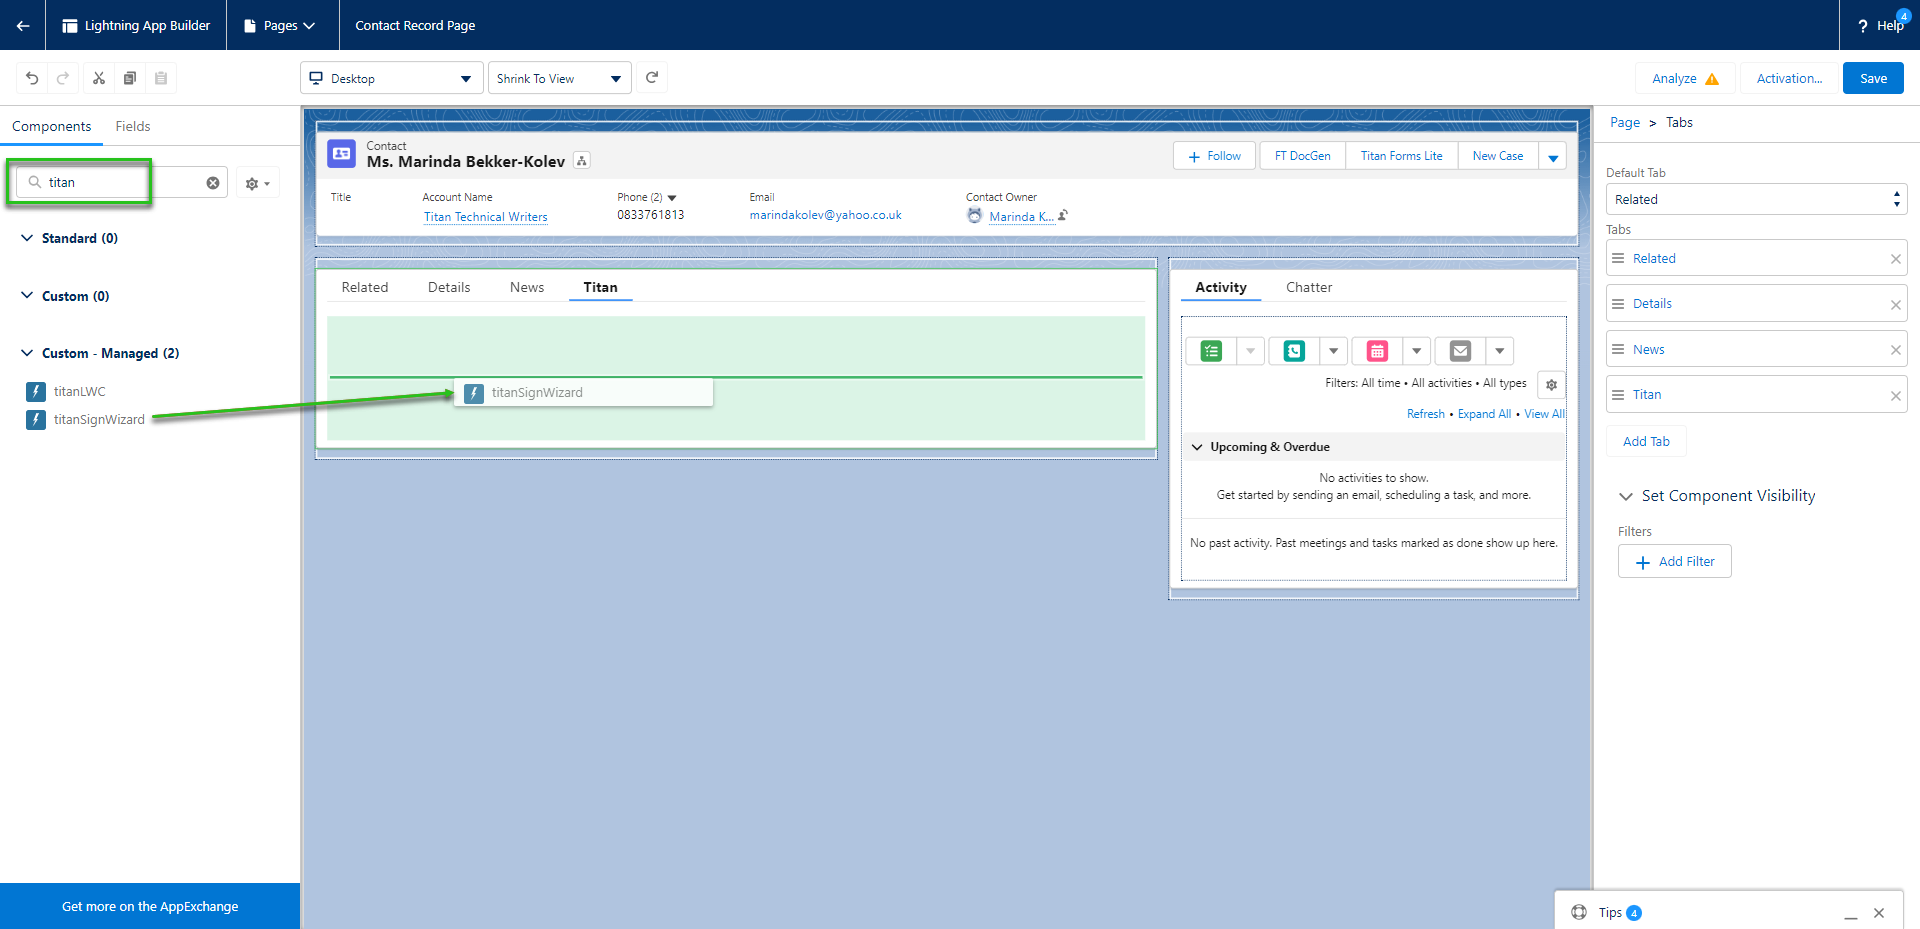
2. On the right of the screen, click the Add Tab option.
3. Use the drop-down list to select the Custom option and add a name, for instance, Titan Sign Wizard.
4. Click the Done button. The tab is added to the screen.

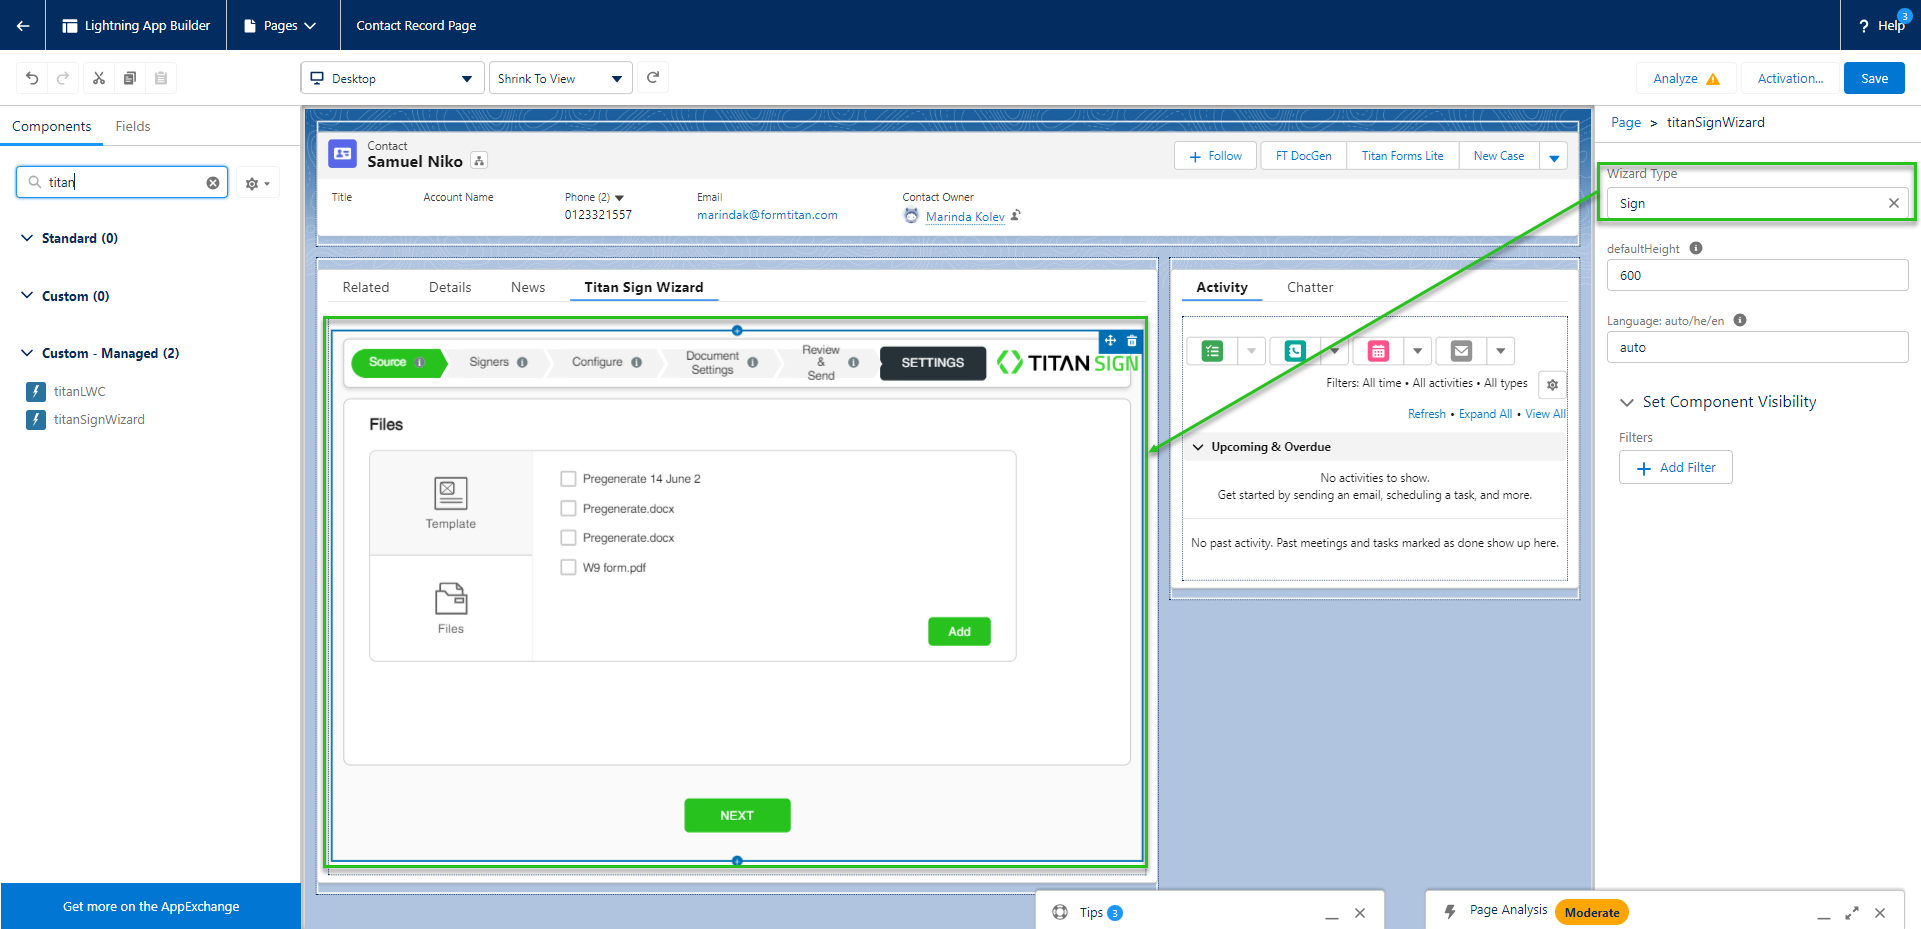
5. Search for “titan” and drag the titanSignWizard to the tab.
8
6. Use the Wizard Type drop-down list to select the Sign option.
7. Set your height. In our example, we will leave the height at the default 700px.
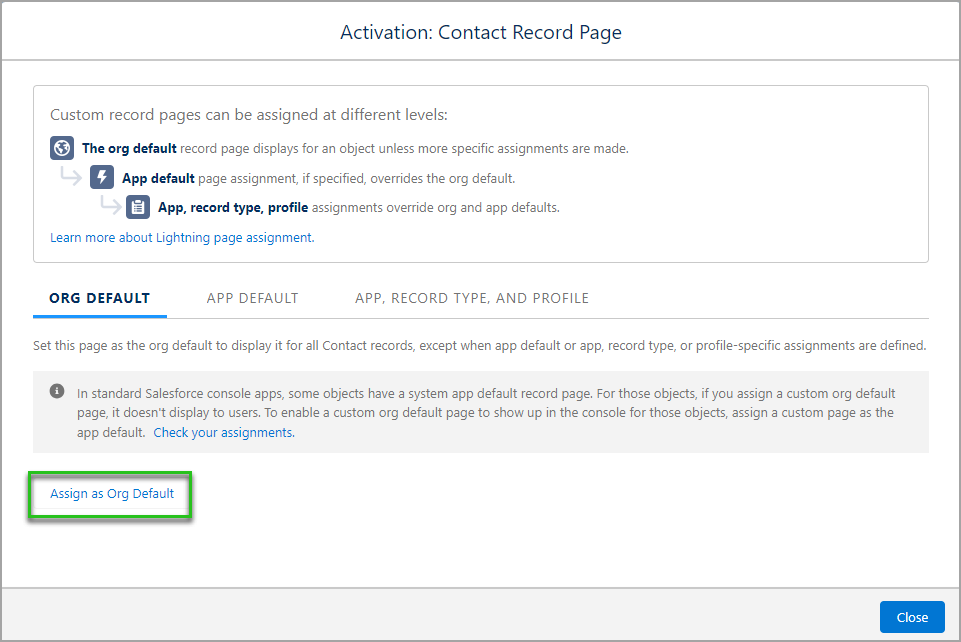
8. Click the Activation button.
9. Click the Assign as Org Default and click the Close button.
10. Click the applicable radio button and click the Next button.

11. Review the assignment and click the Save button.

12. Click the Save button at the top right of the screen.
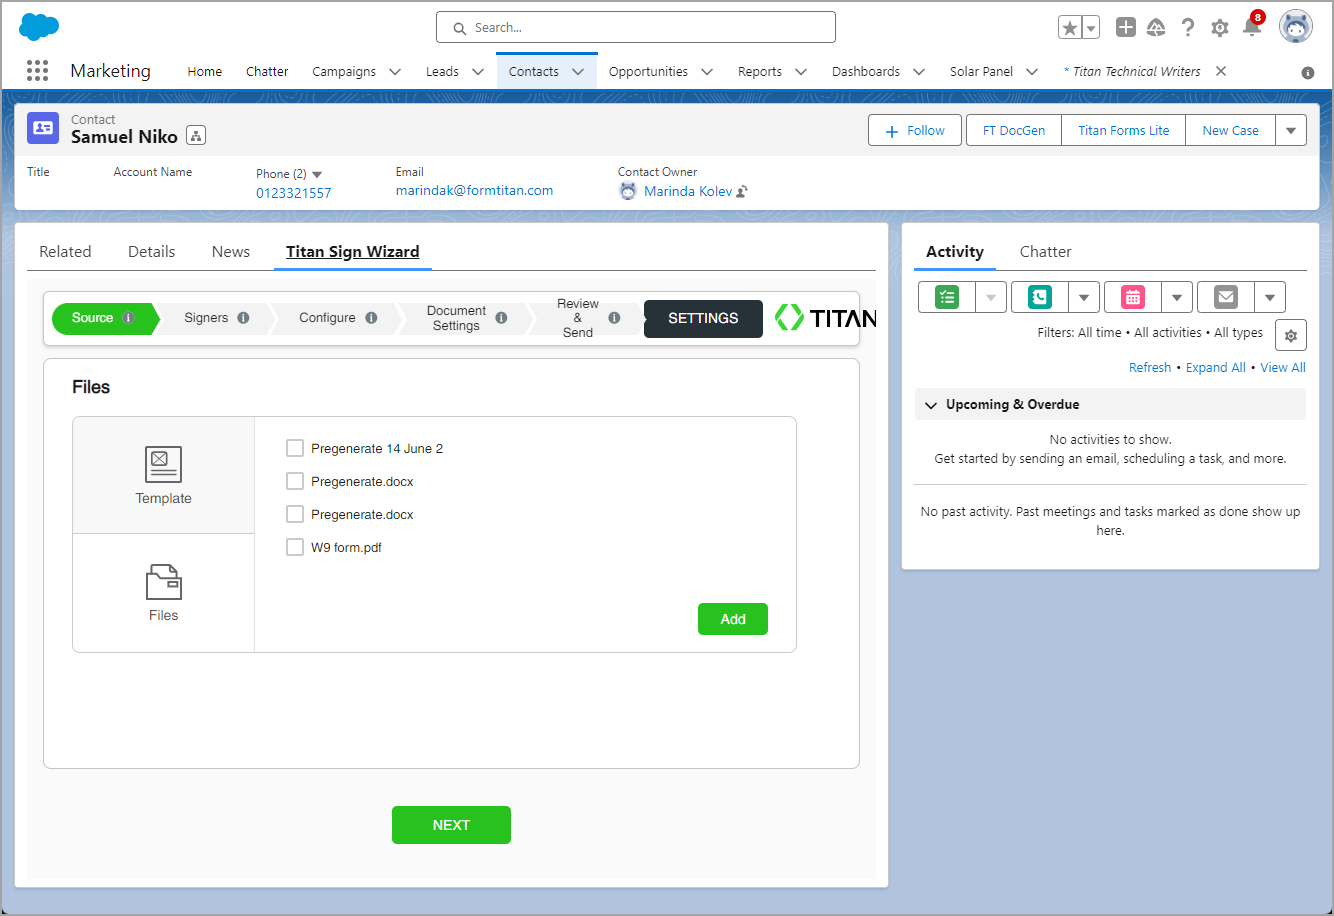
13. Navigate back to the contact. The Titan Sign Wizard tab with the Sign Wizard was added.
1. Click the Setup Gear icon in Salesforce and choose Edit Page.
2. On the right of the screen, click the Add Tab option.
3. Use the drop-down list to select the Custom option and add a name, for instance, Titan Sign Wizard.
4. Click the Done button. The tab is added to the screen.
5. Search for “titan” and drag the titanSignWizard to the tab.
8
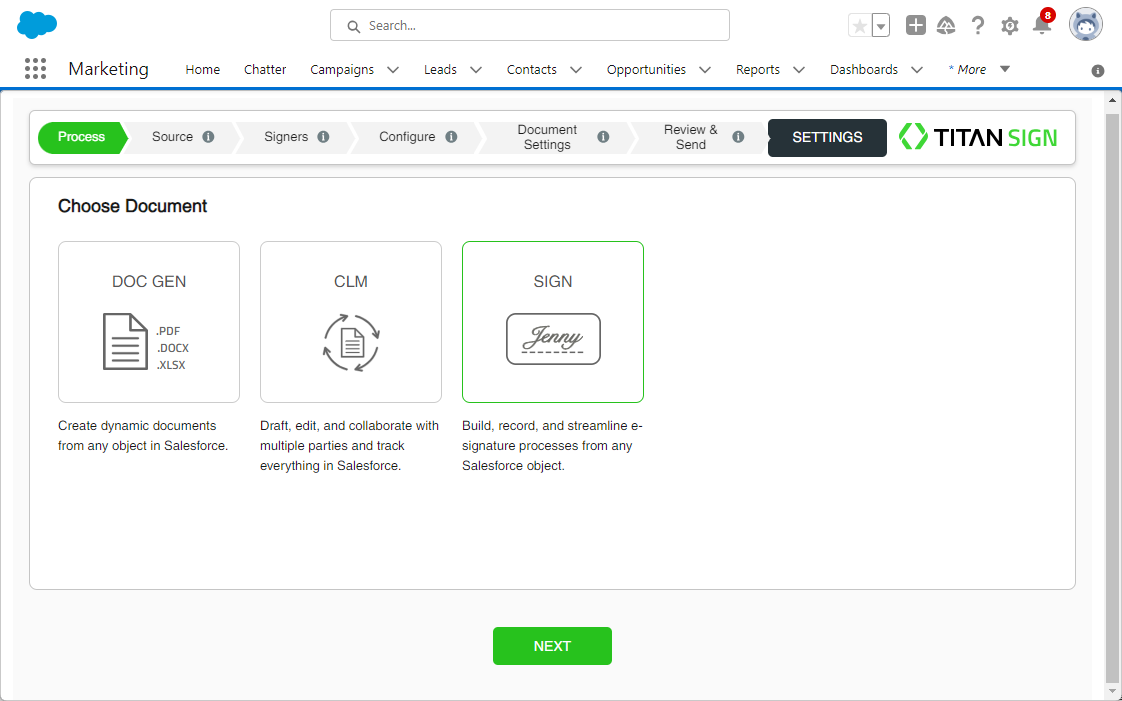
6. Use the Wizard Type drop-down list to select the Sign option.
- You can set your Wizard Type to Full to show all the wizard options or choose Titan Sign, CLM, or DocGen.
- We will choose Sign for this tutorial, which we cover in this exercise. The layout of the wizard changes, and only the Sign wizard is shown.
7. Set your height. In our example, we will leave the height at the default 700px.
8. Click the Activation button.
9. Click the Assign as Org Default and click the Close button.
10. Click the applicable radio button and click the Next button.
11. Review the assignment and click the Save button.
12. Click the Save button at the top right of the screen.
13. Navigate back to the contact. The Titan Sign Wizard tab with the Sign Wizard was added.
05 Use Titan Sign Wizard to Add Documents
You can add Templates (that were created using the Word add-in) ...
… or Files (from Salesforce) …

… or you can upload files from your device.

… or Files (from Salesforce) …
… or you can upload files from your device.
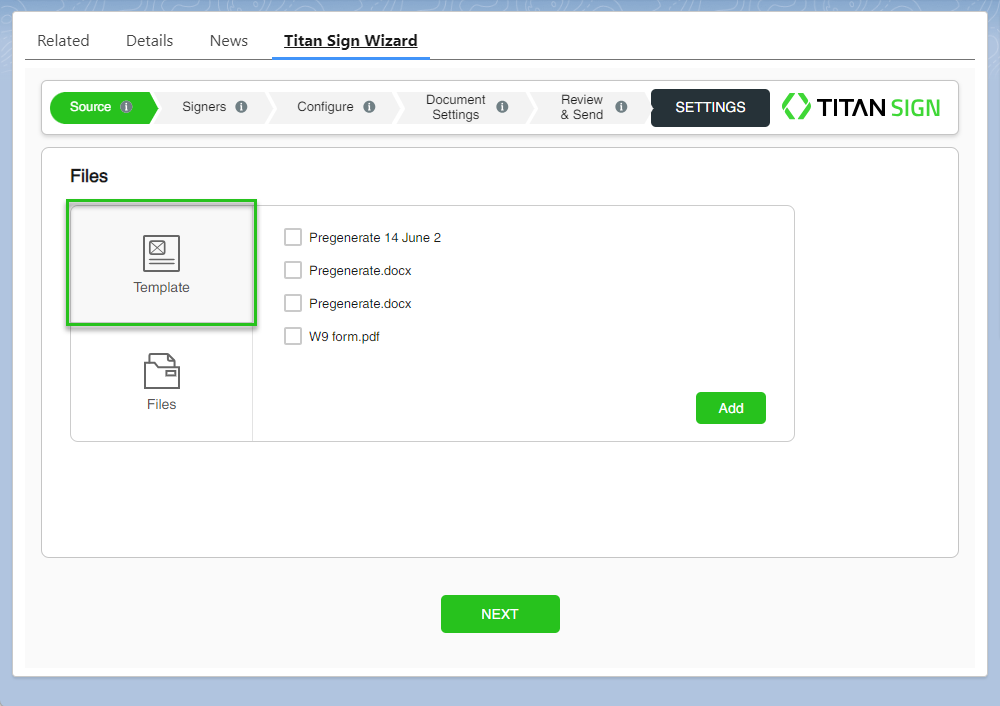
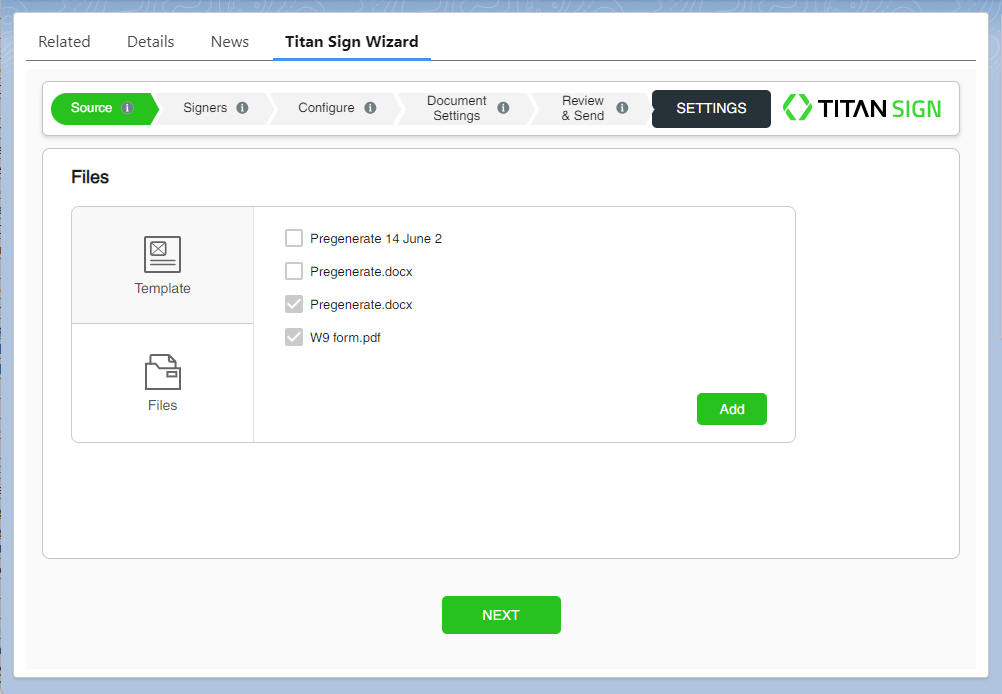
06 Add a Source from the Template List
The Template list contains templates available for an object, in this case, the contact object and the Salesforce current user (collaborator). You can select one or multiple checkboxes in the Template list.
1. Select one or more templates.
2. Click the Add button.
3. Notice that the two different Titan document projects have been added to the Titan Sign Wizard. You can drag files around to rearrange them as you need.
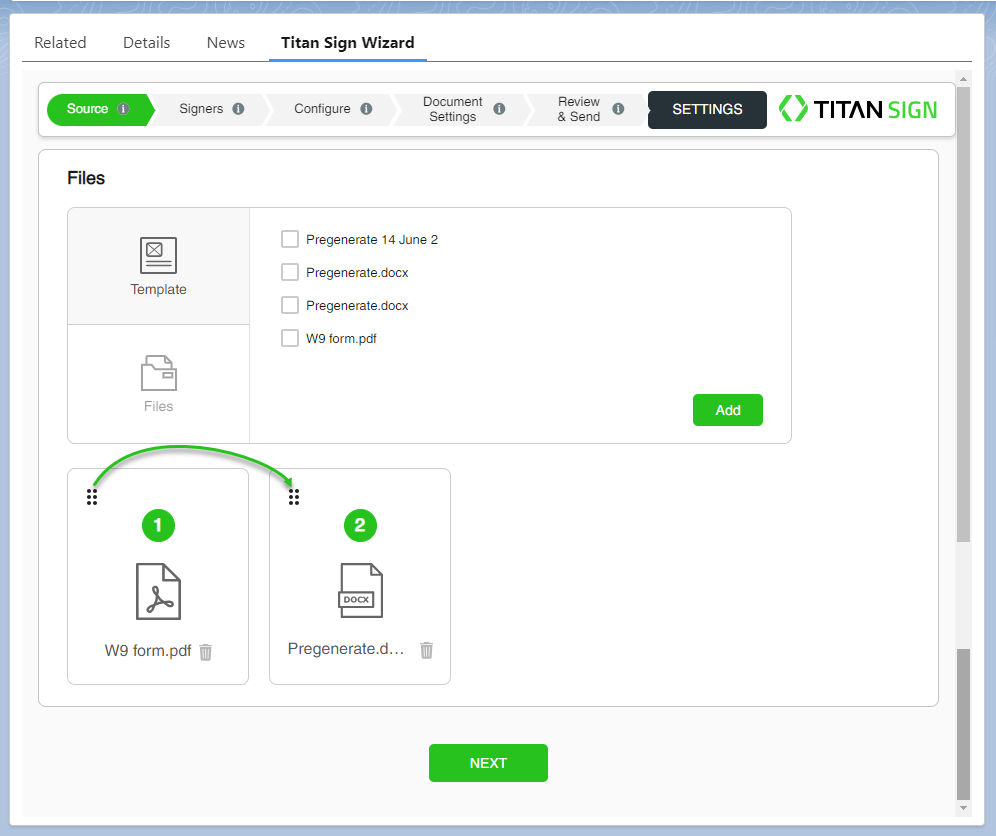
When we run the Sign process, these two documents will be generated simultaneously and merged into the same document!
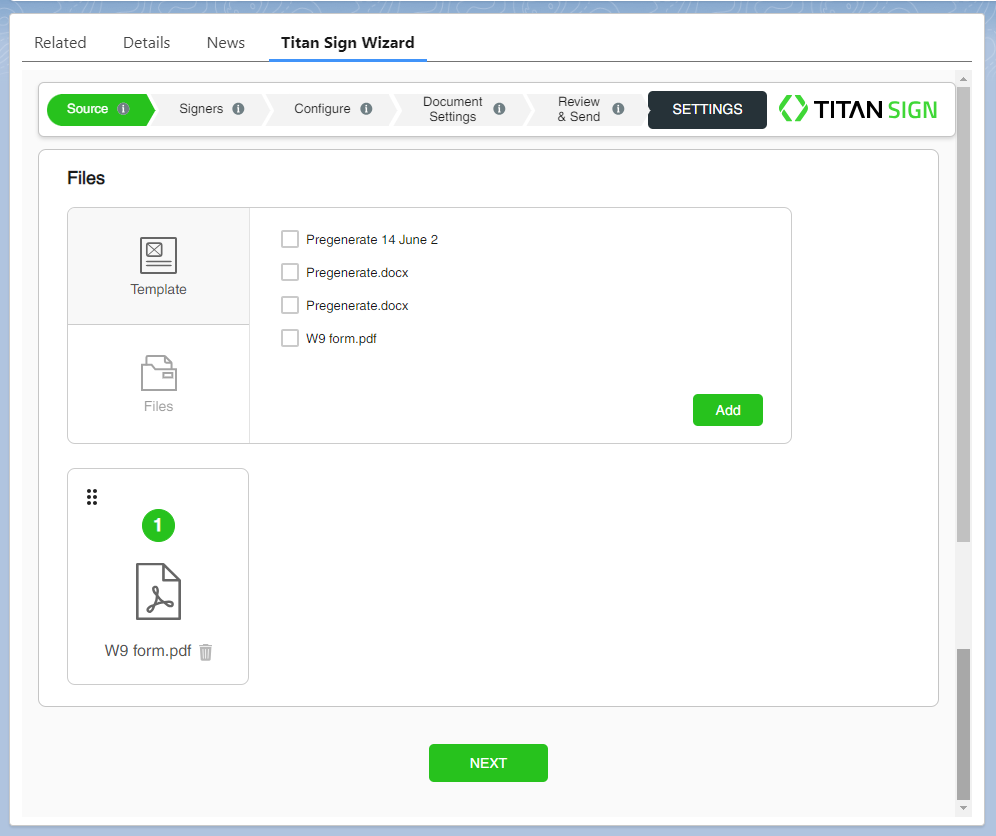
We deleted one of the documents for the rest of this lesson before we clicked the Next button.
1. Select one or more templates.
2. Click the Add button.
3. Notice that the two different Titan document projects have been added to the Titan Sign Wizard. You can drag files around to rearrange them as you need.
When we run the Sign process, these two documents will be generated simultaneously and merged into the same document!
We deleted one of the documents for the rest of this lesson before we clicked the Next button.
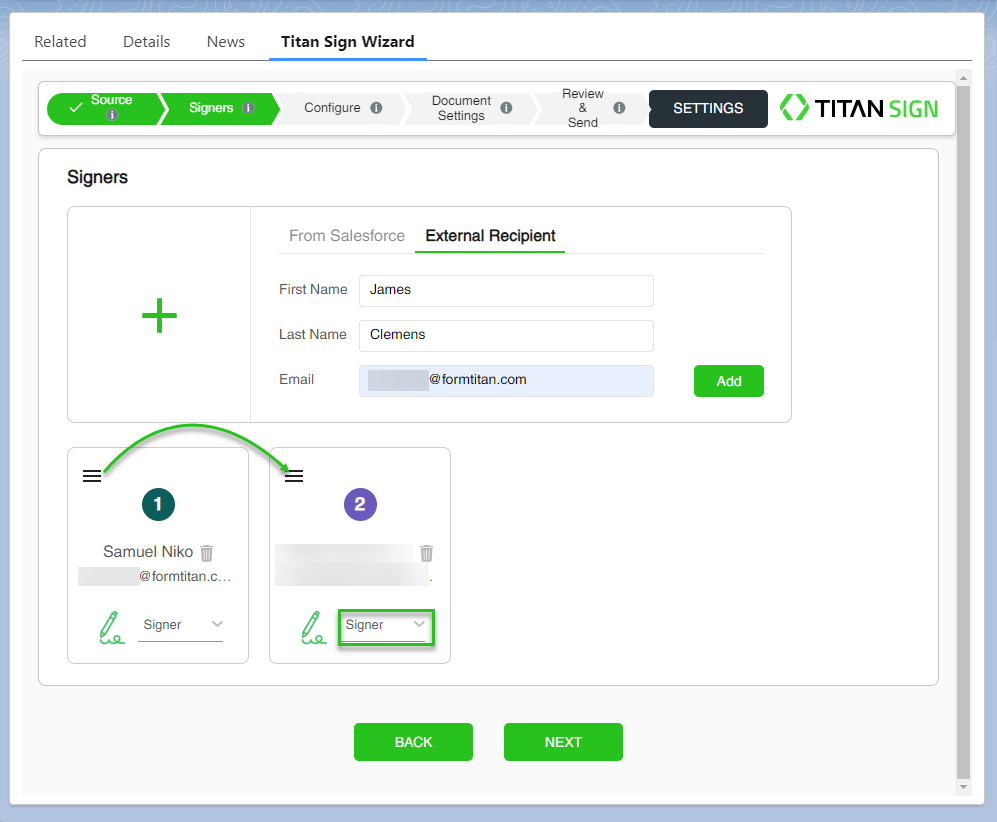
07 Configure Signers
The signers that were configured on the Titan Sign project are shown here.
1. Click the + icon to add any additional signers.
3. Use the drop-down list to change the signer type:
1. Click the + icon to add any additional signers.
- You can select signers from Salesforce using the drop-down list, or
- Add external recipients by typing a static first name, last name, and email.
3. Use the drop-down list to change the signer type:
- Signer
- Reviewer
- CC
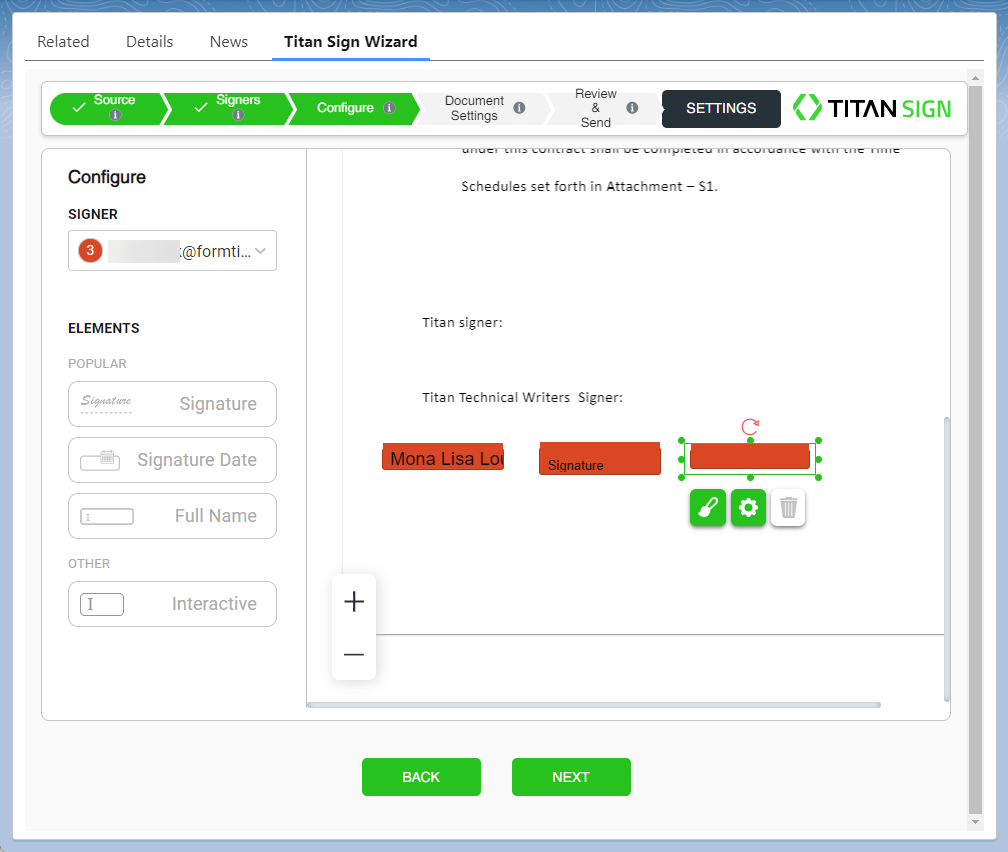
08 Configure the Document
Titan renders a preview, and the document opens in the next window.
The signers are listed in the drop-down list.
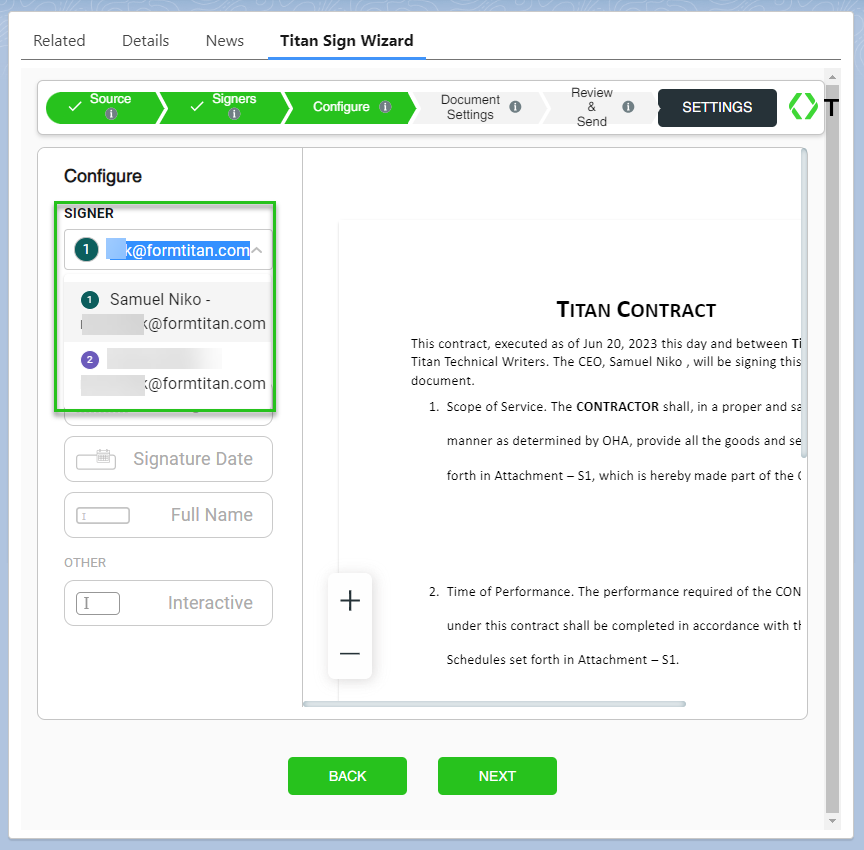
1. Select a signer from the drop-down list and drag an element onto the previewed document. The selected signer must complete the fields assigned to them.
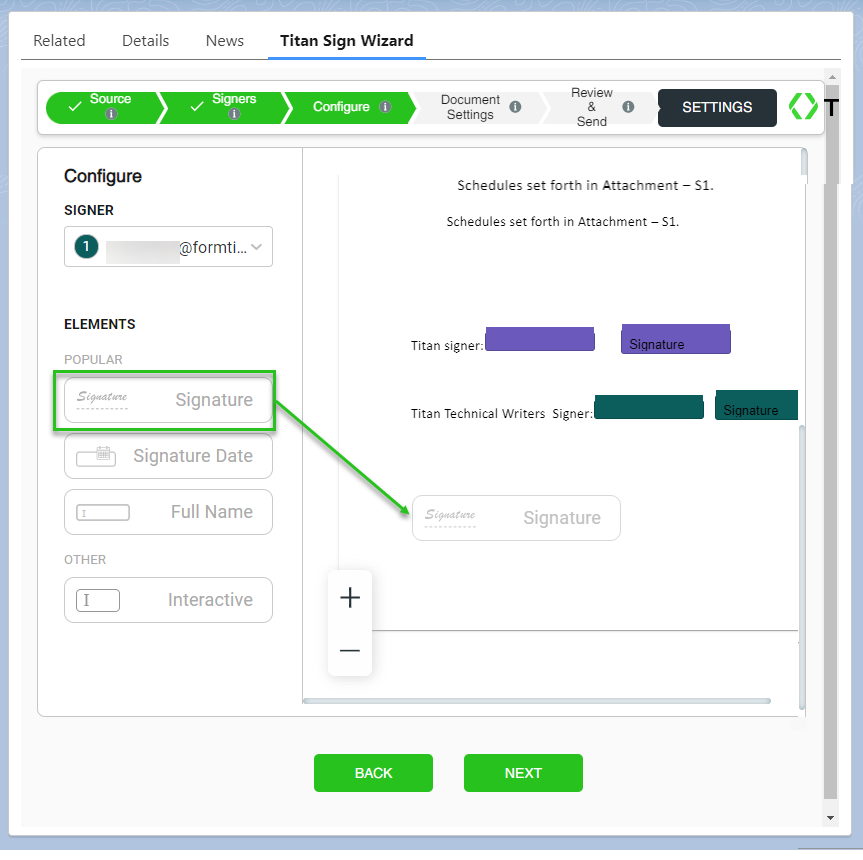
2. Drag-and-drop Interactive fields into your documents for users to fill in.
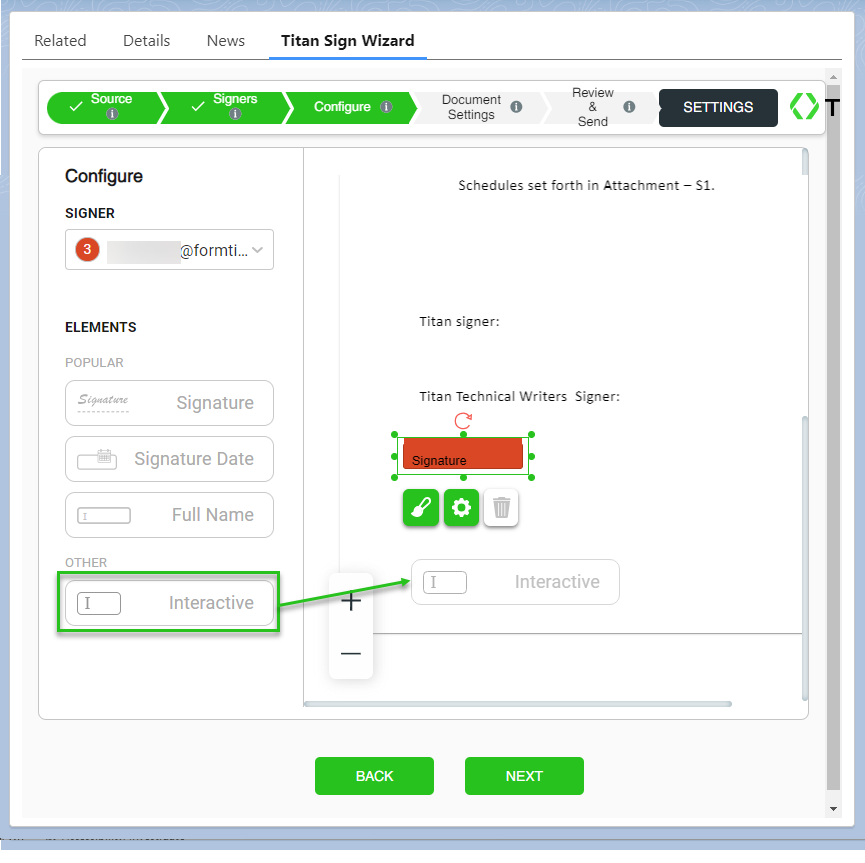
3. Select one or multiple input fields from the Interactive Element options before clicking the Add button.
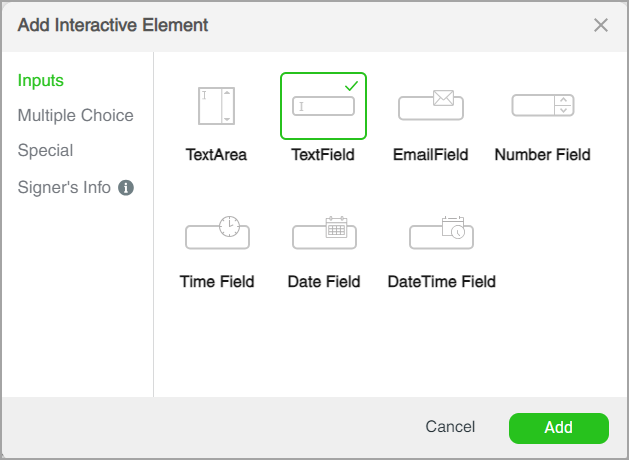
4. Add a Text field.
6. Click the element’s Gear icon to change the Type or add validation or conditions.
7. Click the Next button.
The signers are listed in the drop-down list.
1. Select a signer from the drop-down list and drag an element onto the previewed document. The selected signer must complete the fields assigned to them.
2. Drag-and-drop Interactive fields into your documents for users to fill in.
3. Select one or multiple input fields from the Interactive Element options before clicking the Add button.
4. Add a Text field.
- You can change the size and position of the elements.
6. Click the element’s Gear icon to change the Type or add validation or conditions.
7. Click the Next button.
09 Document Settings
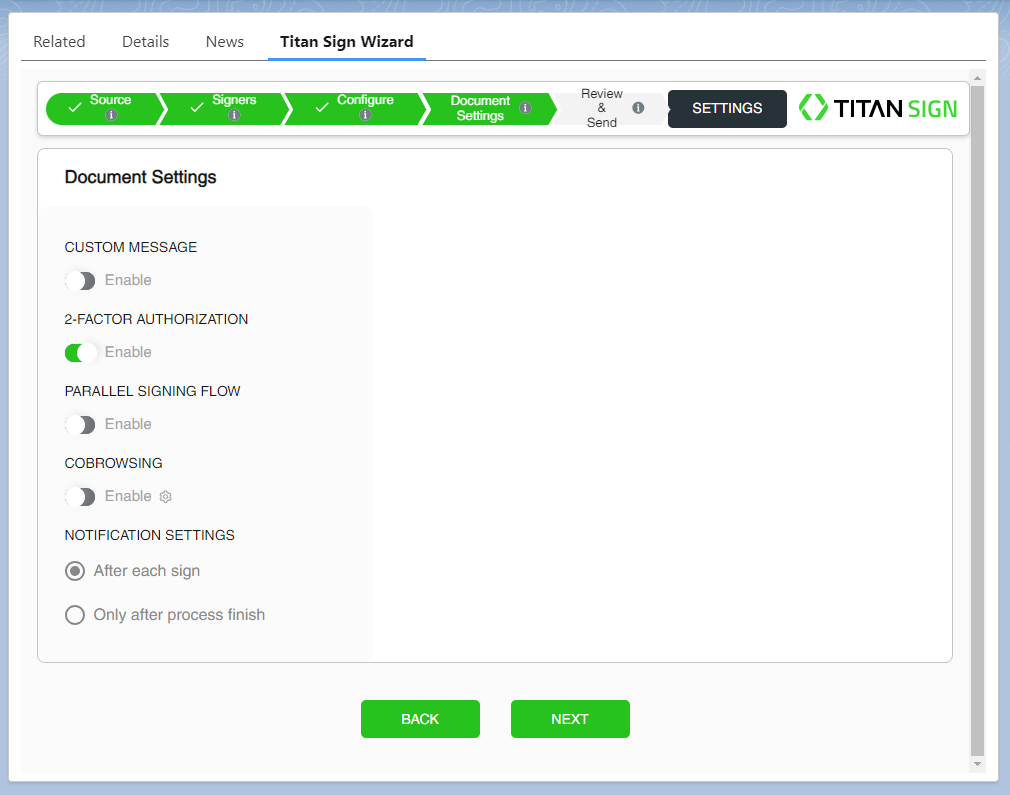
1. Choose your document settings by turning on the toggle switches.

- Custom message
- 2-Factor Authentication for added security
- Parallel signing flow so that users can sign at the same time
- Co-browsing for support during the signing process
- Notification settings
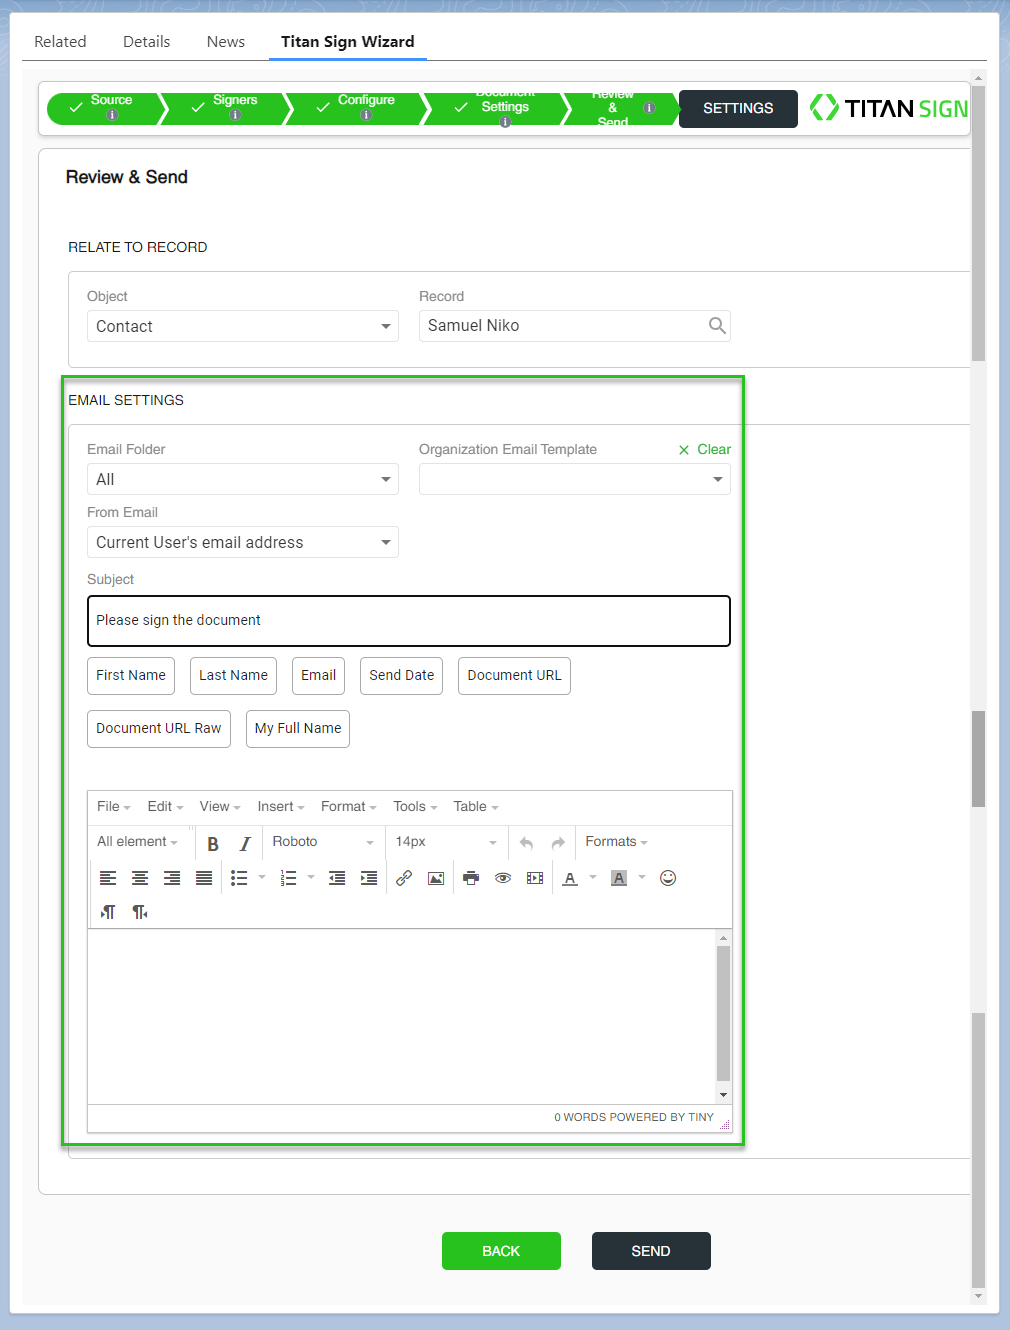
10 Review and Send
1. Review and edit the document settings. The document can be related to a specific Salesforce object and record, depending on how the process is configured.
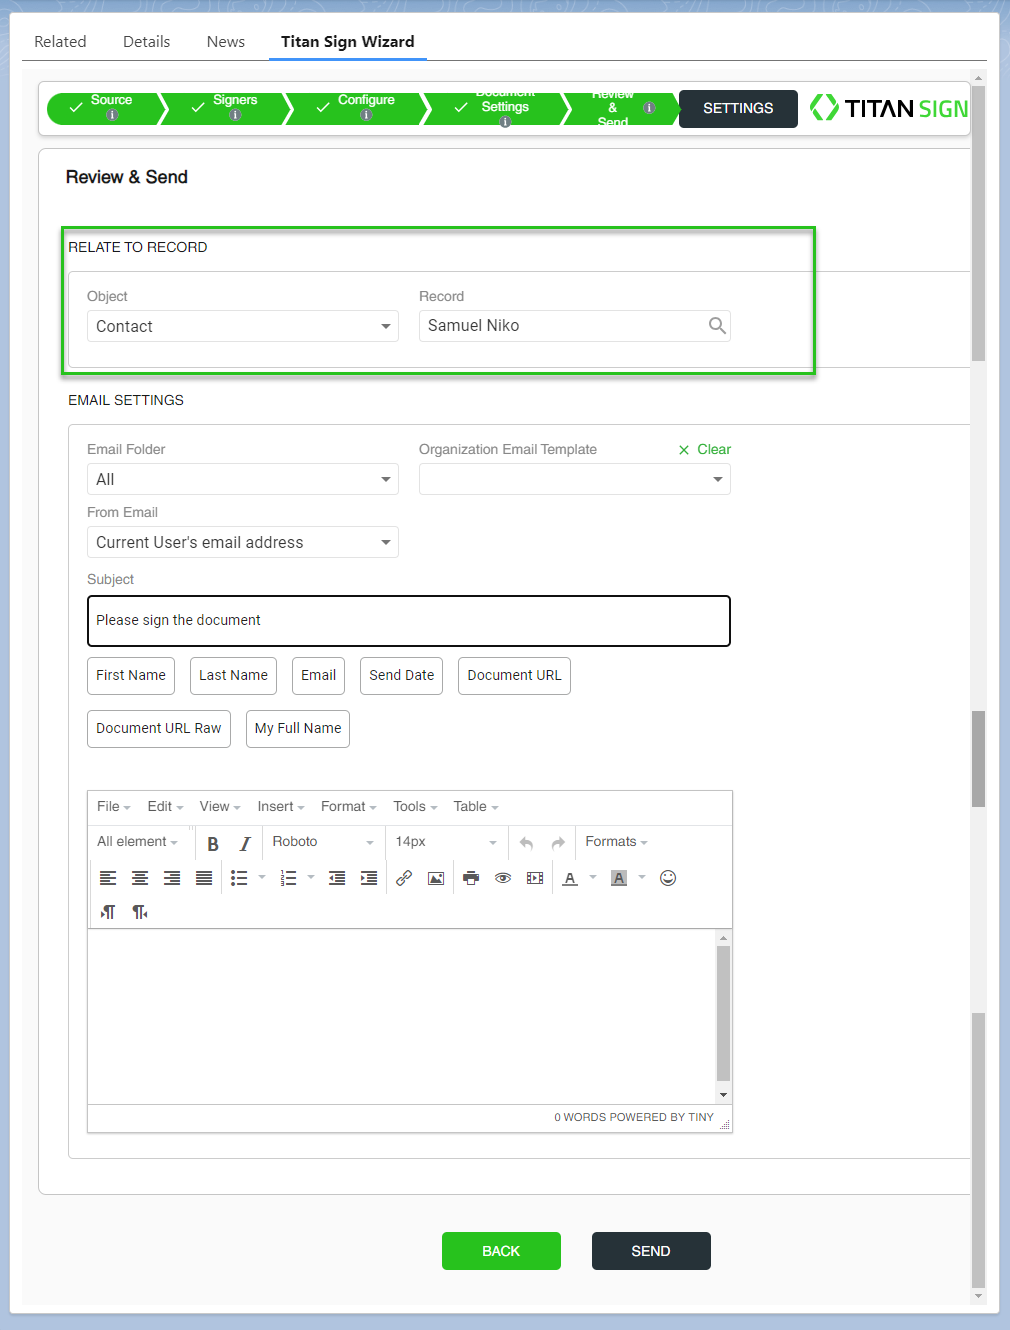
2. Check your Email Settings, which you can configure using all the drop-down options.
3. Click the Send button.

You will receive a notification that your document has been sent.
2. Check your Email Settings, which you can configure using all the drop-down options.
- You can select an Organizational Email Template.
- Add static or select dynamic fields for the To, CC, and/or BCC email addresses.
- You can customize the subject.
- You can customize the body of the email.
- You must add the document URL.
3. Click the Send button.
You will receive a notification that your document has been sent.
11 Choose files from Salesforce or Upload files
One thing to note about the Source tab in Titan Sign is that we can choose either Titan templates or existing files, but you cannot mix or match. It’s either all templates or all files.
12 Select a Source
1. Click on the Source tab in the Titan Sign wizard. You can either choose files from Salesforce or upload files.
2. Click on the From Salesforce tab and use the search field to find a file.
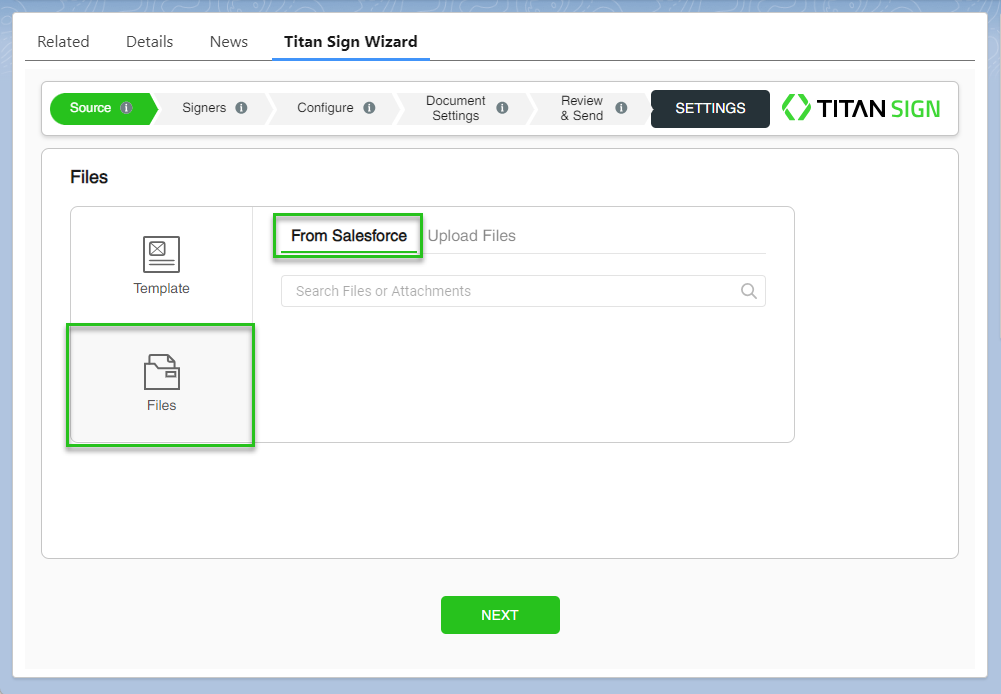
3. Alternatively, drag-and-drop files into the Titan Sign wizard by selecting the Upload Files tab.

4. Notice that you now have a file from Salesforce and a file uploaded from your local computer (this document does not have to be created in the Titan Sign wizard).
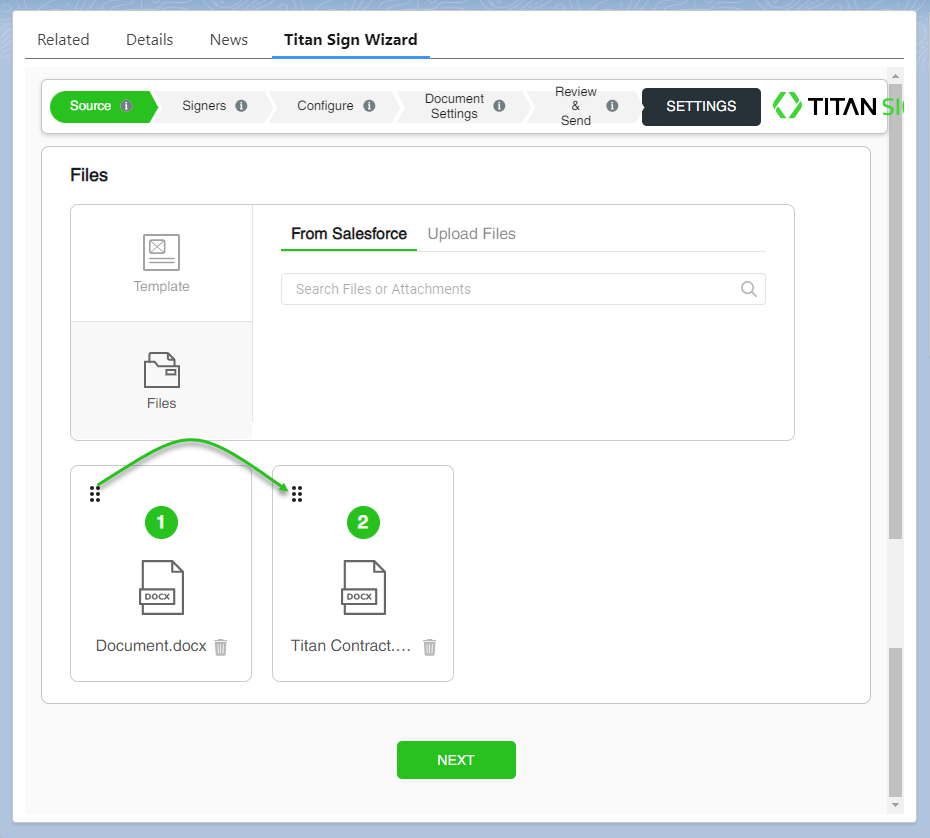
You can drag files around to rearrange them as you need.
5. Click the Next button.
2. Click on the From Salesforce tab and use the search field to find a file.
3. Alternatively, drag-and-drop files into the Titan Sign wizard by selecting the Upload Files tab.
4. Notice that you now have a file from Salesforce and a file uploaded from your local computer (this document does not have to be created in the Titan Sign wizard).
You can drag files around to rearrange them as you need.
5. Click the Next button.
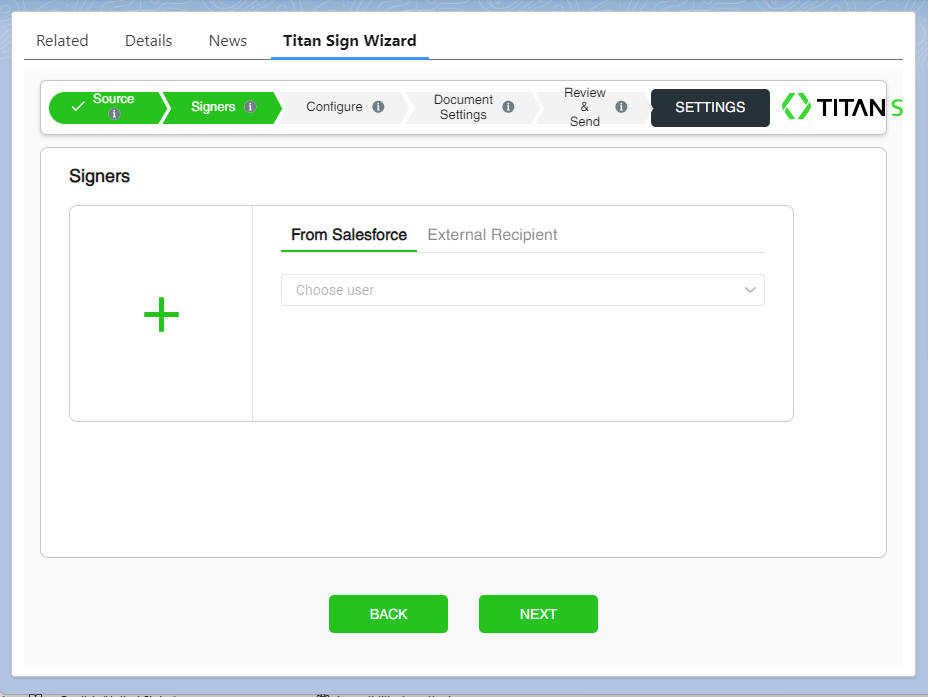
13 Configure Signers
We need to configure signers, as the document we uploaded wasn’t created with Titan Sign or the Titan Word add-in.
1. Click the + icon to add signers from Salesforce or external recipients. Use the drop-down to choose a contact to be the signer.
2. Click the Next button.
1. Click the + icon to add signers from Salesforce or external recipients. Use the drop-down to choose a contact to be the signer.
2. Click the Next button.
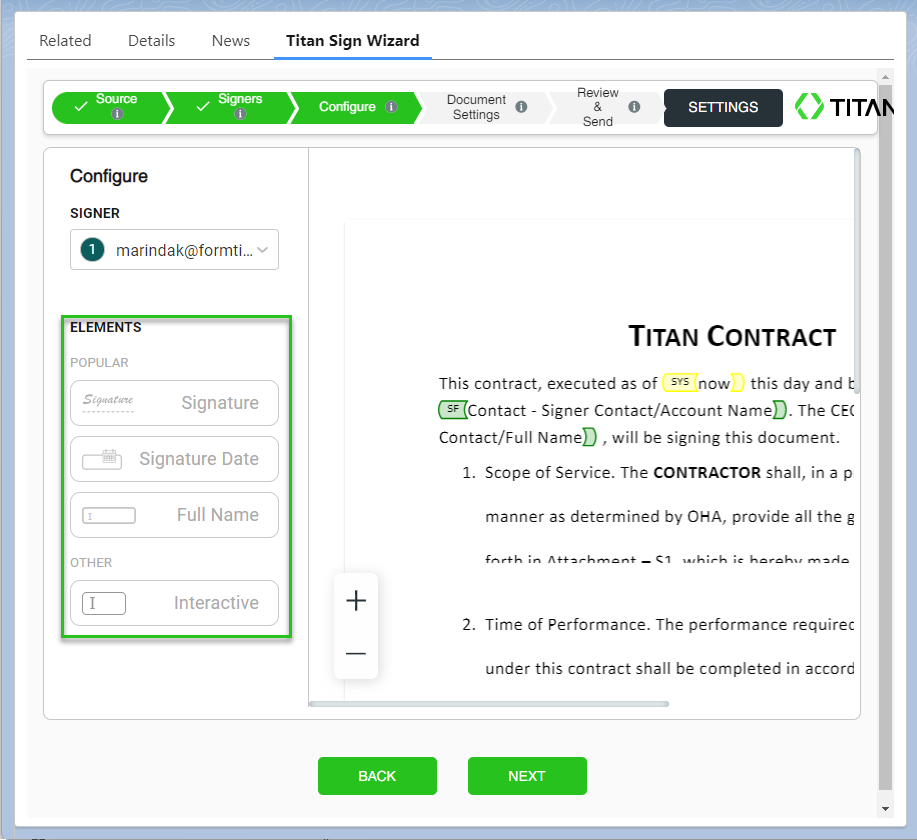
14 Configure the Document
We have to add elements for the signer/s to fill in.
1. Drag any of the elements to the document.
2. Click the Next button.
1. Drag any of the elements to the document.
2. Click the Next button.
15 Document Settings
1. Choose your document settings by turning on the toggle switches. Before clicking the Next button, we have enabled the 2-Factor Authentication option.
16 Review and Send
1. Review and edit settings:

2. Check your Email Settings, which you can configure using all the drop-down options.
3. Click the Send button.
You will receive a notification that your document has been sent.

- The document is related to a specific object and record.
2. Check your Email Settings, which you can configure using all the drop-down options.
- You can select an Organizational Email Template.
- Add static or select dynamic fields for the To, CC, and/or BCC email addresses.
- You can customize the subject.
- You can customize the body of the email.
- You must add the document URL.
3. Click the Send button.
You will receive a notification that your document has been sent.