Overview (8 min)
Completion requirements
01 Getting Started
This tutorial covers Titan Sign's main features and commonly used capabilities.
Using Titan Sign, you can create signature templates using Microsoft Word and the Titan Word Add-in. The Word Add-in tool can create sign projects for a single signer, multiple signers, or a dynamic number of signers.
You can pull any data from Salesforce into your Word document and update Salesforce data using the information provided during the signing process. You can also generate and store the final signed document in the file section in your Salesforce.
02 Viewing Salesforce
Navigate to your Salesforce environment.
You can generate a Titan Sign document in two ways:
Titan supports any standard or custom object in Salesforce. This means that you can generate sign projects from any Salesforce object.
You can generate a Titan Sign document in two ways:
- Clicking the FT Generate Document button - This is included in the Titan Package.
- Salesforce Automation - For example, a flow.
Titan supports any standard or custom object in Salesforce. This means that you can generate sign projects from any Salesforce object.
03 FT Generate Button
After clicking the FT Generate Document button.
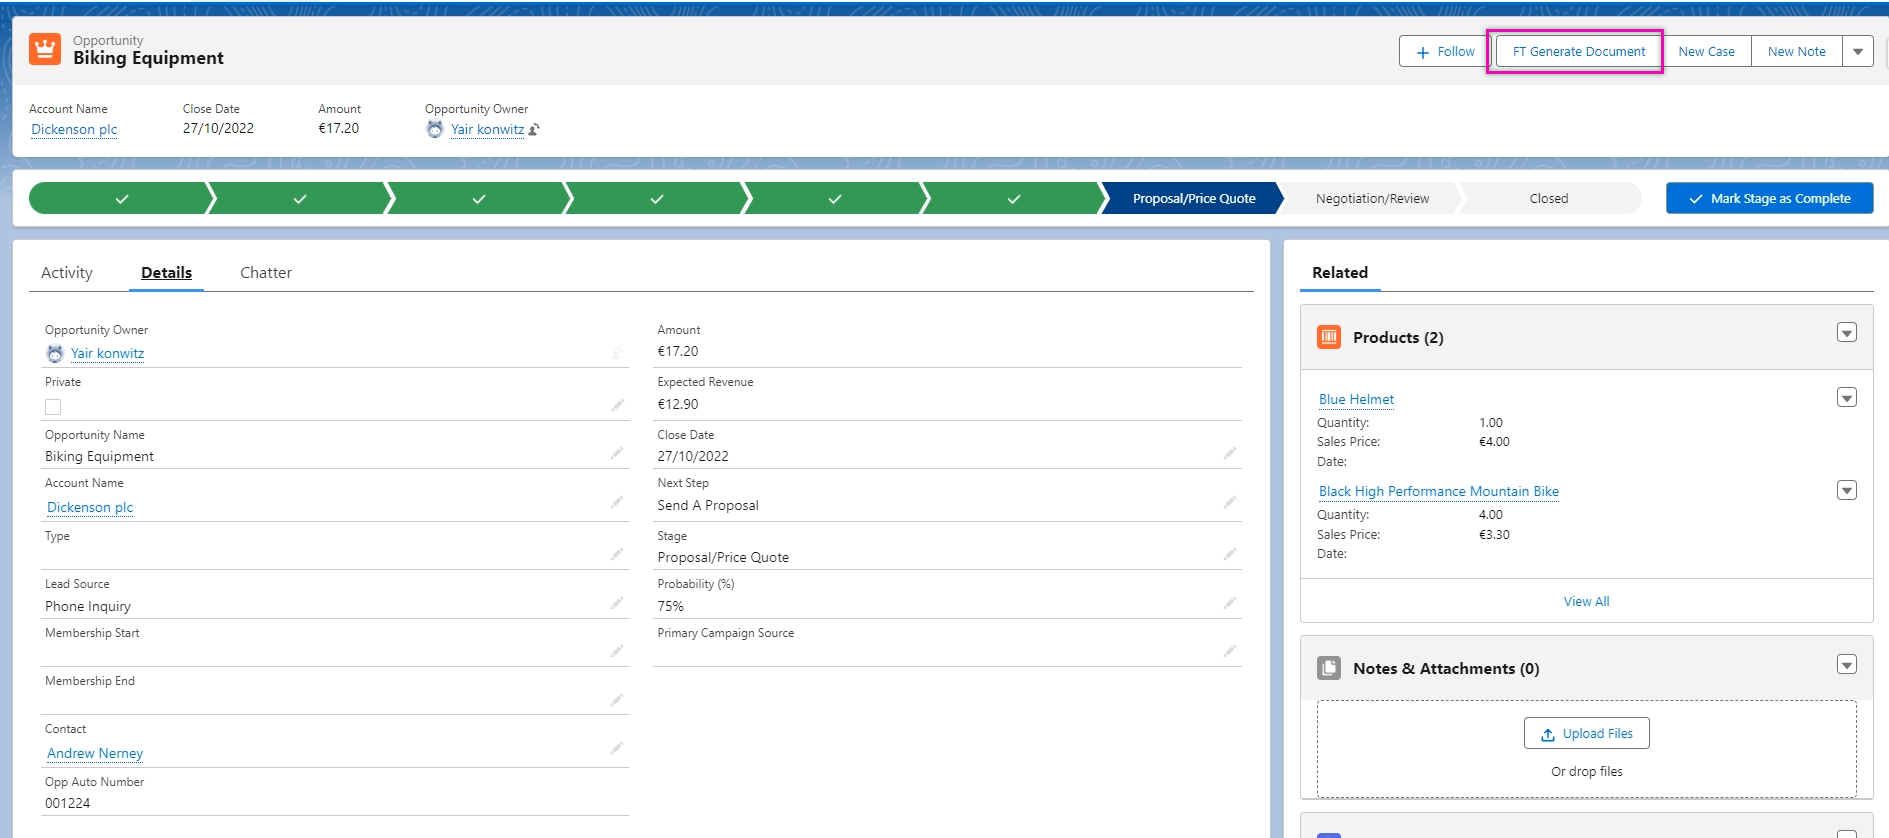
The Titan Document Generation pop-up window displays. This window will display the documents available for generation according to the permissions of the current user profile you are logged into.
You can configure documents only to be available when an opportunity is in a specific stage. For example, you can only generate the Sign a Quote document when the opportunity is in the Proposal/Price Quote stage.
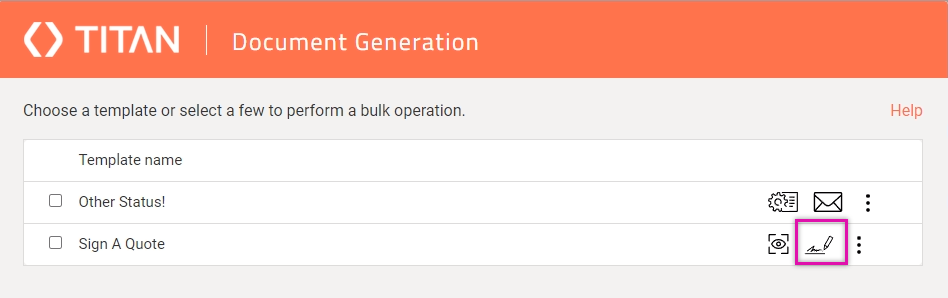
The Document Generation window allows you to preview your document or make changes. You can also kick off the signing process or use the kebab menu to download, view, or sign and send the document.
Click on the sign icon to start the process.
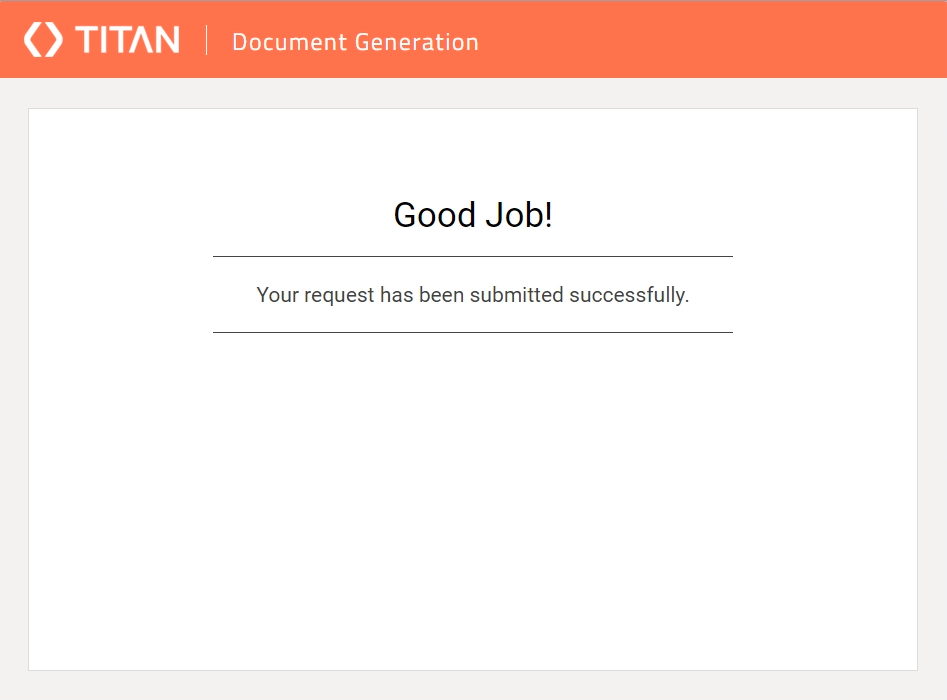
Titan will keep you updated on the progress of the document.
The Titan Document Generation pop-up window displays. This window will display the documents available for generation according to the permissions of the current user profile you are logged into.
You can configure documents only to be available when an opportunity is in a specific stage. For example, you can only generate the Sign a Quote document when the opportunity is in the Proposal/Price Quote stage.
The Document Generation window allows you to preview your document or make changes. You can also kick off the signing process or use the kebab menu to download, view, or sign and send the document.
Click on the sign icon to start the process.
Titan will keep you updated on the progress of the document.
04 Finding Documents in Salesforce
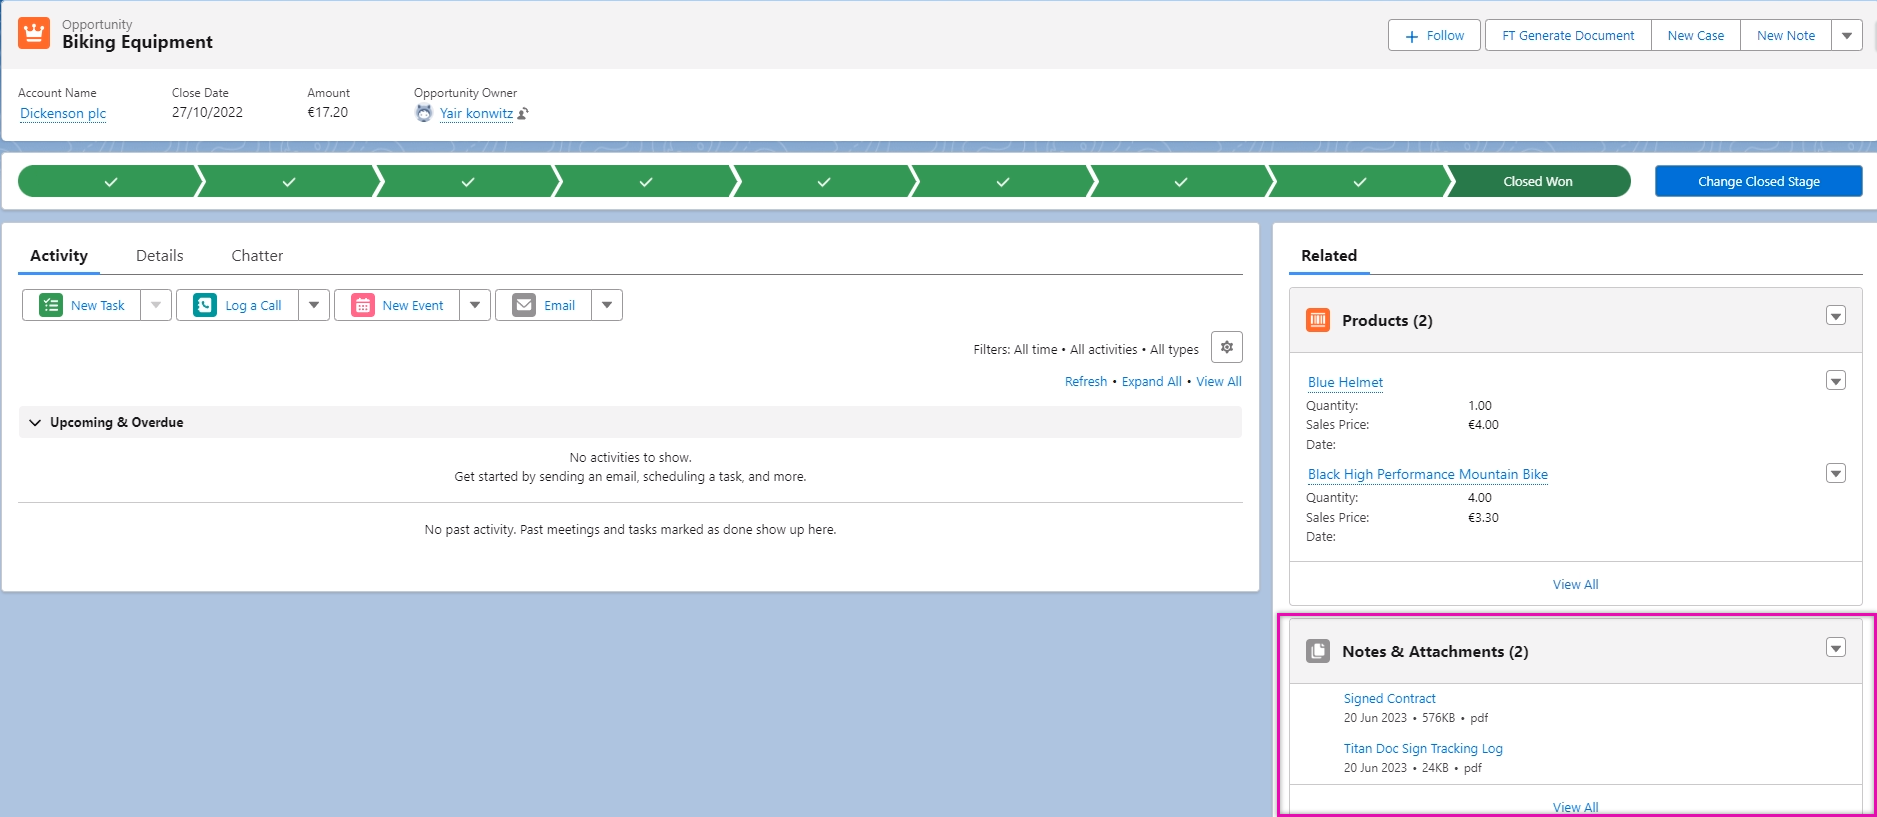
Your documents will be added to the object that triggered the signing process—for example, the opportunity.
05 Automated Flow
You can set up a flow to initiate the sign request process. This tutorial will show an already configured flow for demonstrative purposes.
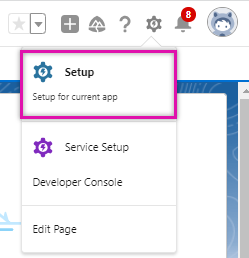
Click the Gear icon in the top menu ribbon and select Set Up.
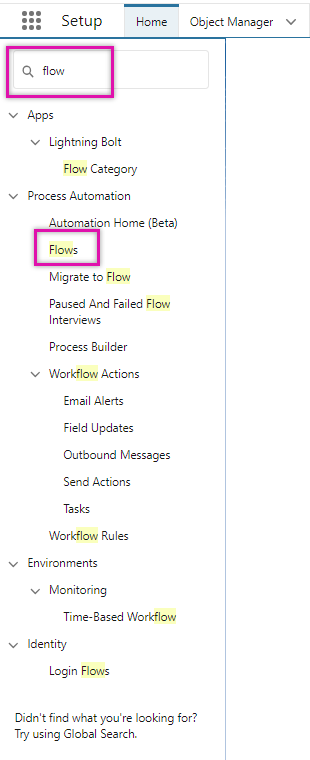
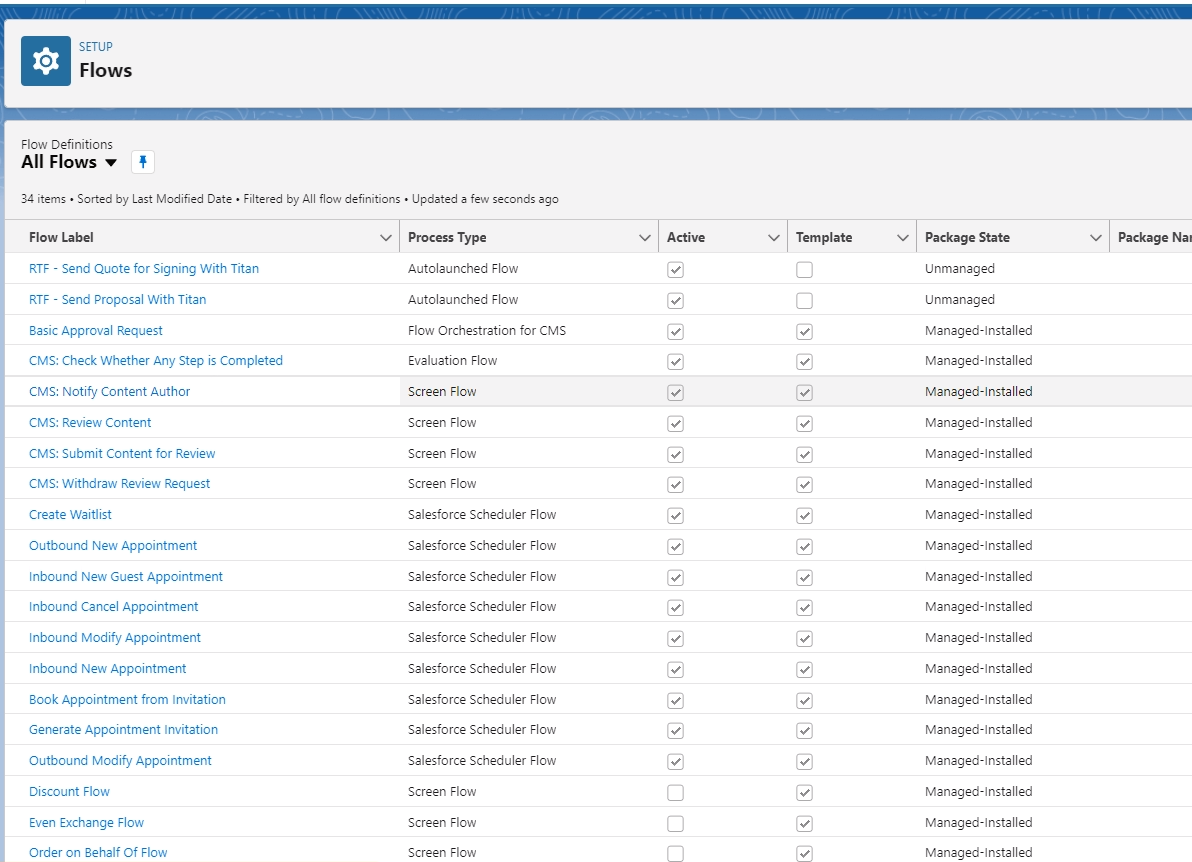
Search for flows in the search fields to easily find the Flow option under Process automation. A complete list of flows is displayed.
Click on the flow you want to review.
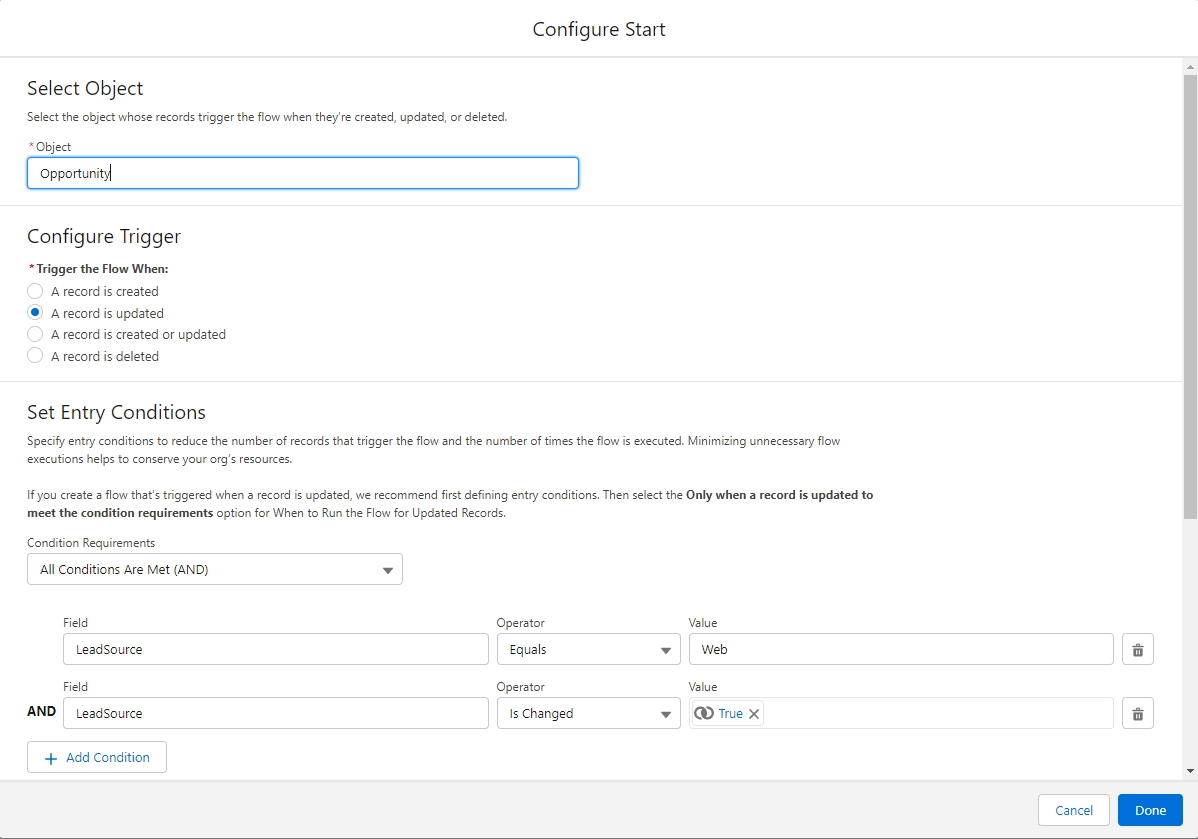
This is an example of a Record-Triggered flow. To view the details of the configured flow, select Edit.
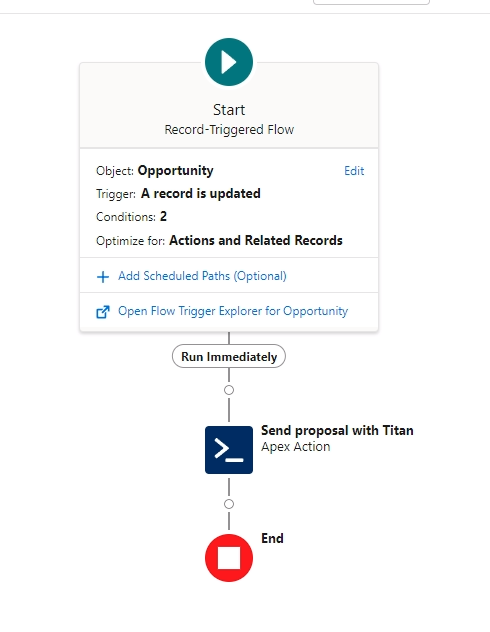
The Configure Start Screen opens. This will show details of the flow.
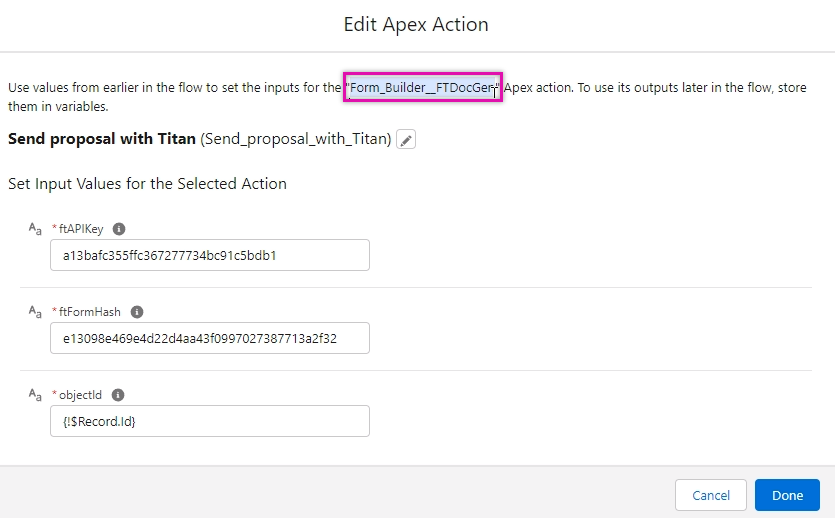
Click on the Apex Action to review the details. The Apex action to invoke is called Form_Builder_FTDocGen.
The API key, the form Hash, and the Object ID. Details on retrieving this information will be covered later in this course.
The signing process will be triggered when the Lead Source is updated on the web. The notification process follows the same logic as when generating a document using the FT Generate Document button.

Click the Gear icon in the top menu ribbon and select Set Up.
Search for flows in the search fields to easily find the Flow option under Process automation. A complete list of flows is displayed.
Click on the flow you want to review.
This is an example of a Record-Triggered flow. To view the details of the configured flow, select Edit.
The Configure Start Screen opens. This will show details of the flow.
Click on the Apex Action to review the details. The Apex action to invoke is called Form_Builder_FTDocGen.
The API key, the form Hash, and the Object ID. Details on retrieving this information will be covered later in this course.
The signing process will be triggered when the Lead Source is updated on the web. The notification process follows the same logic as when generating a document using the FT Generate Document button.
06 Email Notifications and the Signing Process
The first signer for your document will be notified via email. You can customize this notification message.
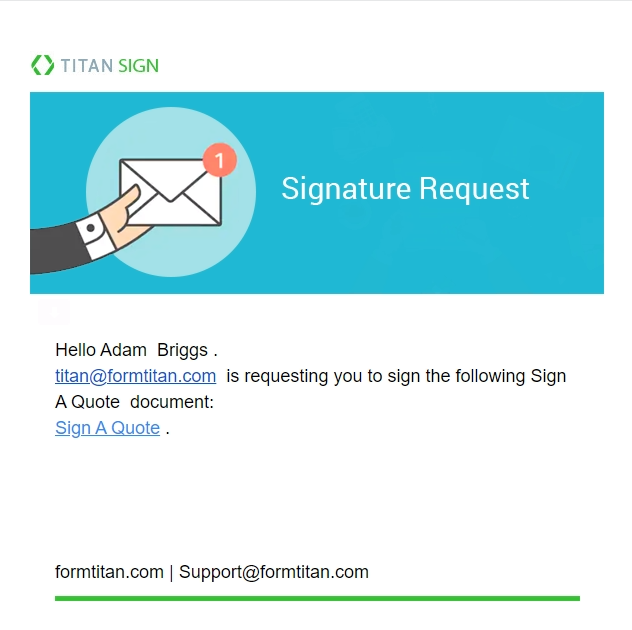
Signers need to click the link to start the process.
You can enable access permissions for your document and include security measures, such as two-factor authentication.
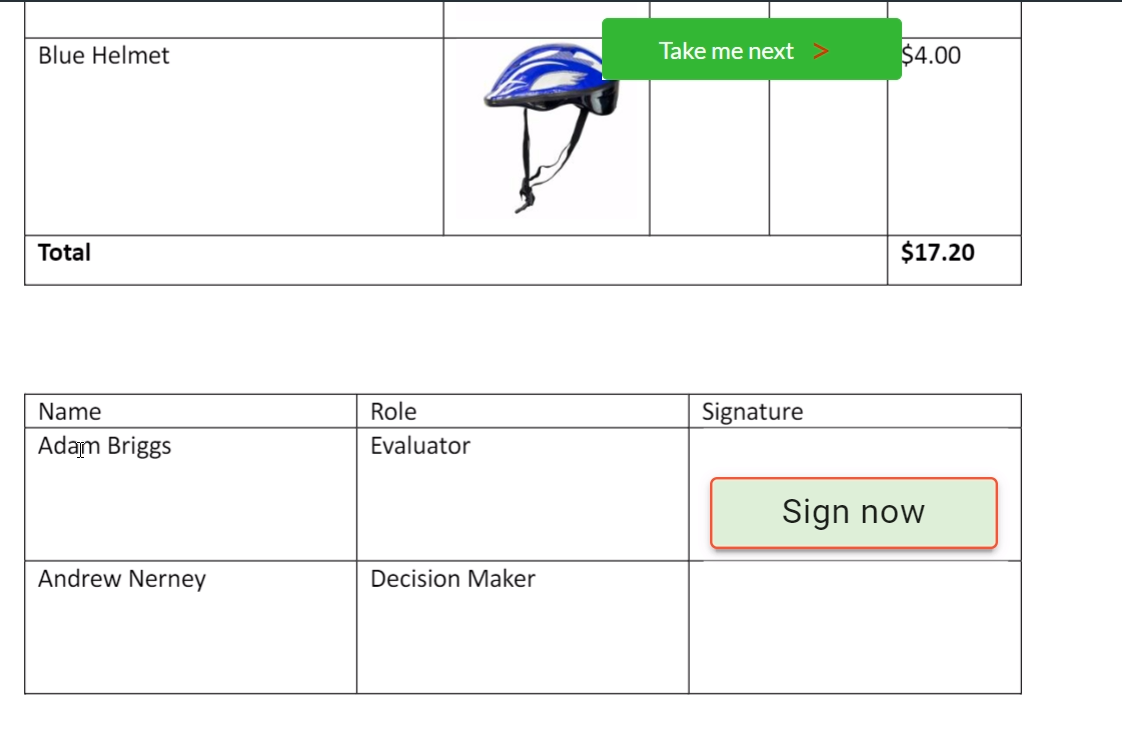
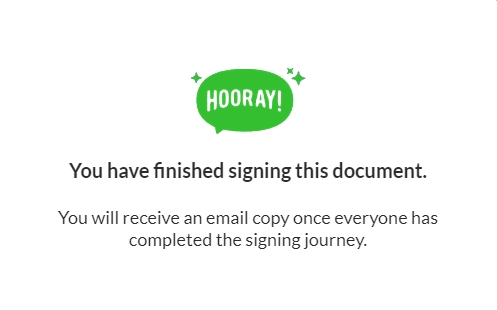
The signer can only interact with fields that have been assigned to them. Once the document has been successfully completed, a pop-up message is displayed.
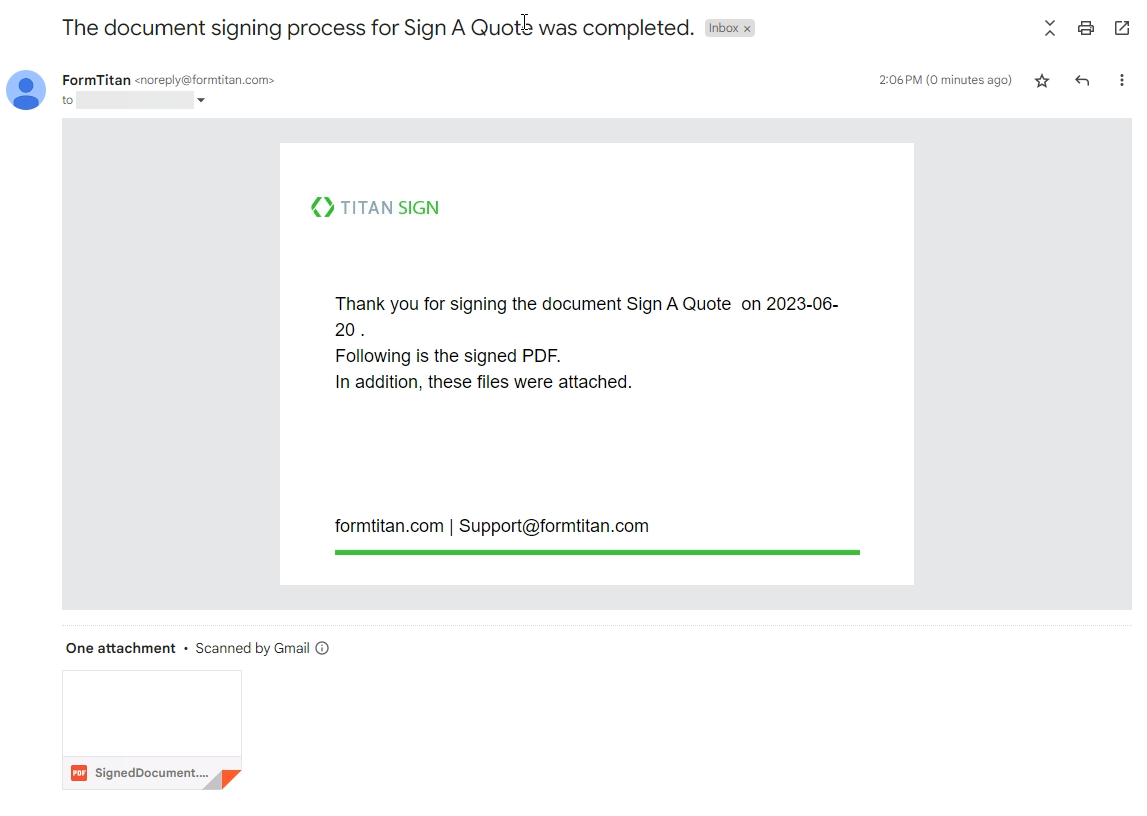
This process is repeated for all signers in chronological order. Once all signatures have been added, you will receive a notification email with a copy of the signed document attached.
Signers need to click the link to start the process.
You can enable access permissions for your document and include security measures, such as two-factor authentication.
The signer can only interact with fields that have been assigned to them. Once the document has been successfully completed, a pop-up message is displayed.
This process is repeated for all signers in chronological order. Once all signatures have been added, you will receive a notification email with a copy of the signed document attached.