Dynamic - Sign Setup (9 min)
Completion requirements
01 Getting Started
Before starting this tutorial, check out our other articles to learn what a dynamic document is and how to build one with the Titan Word Add-in!
We highly recommend understanding these topics, as this article jumps into configuring a Titan Sign project so you can send a document out for signing.
We highly recommend understanding these topics, as this article jumps into configuring a Titan Sign project so you can send a document out for signing.
02 Reviewing your Document
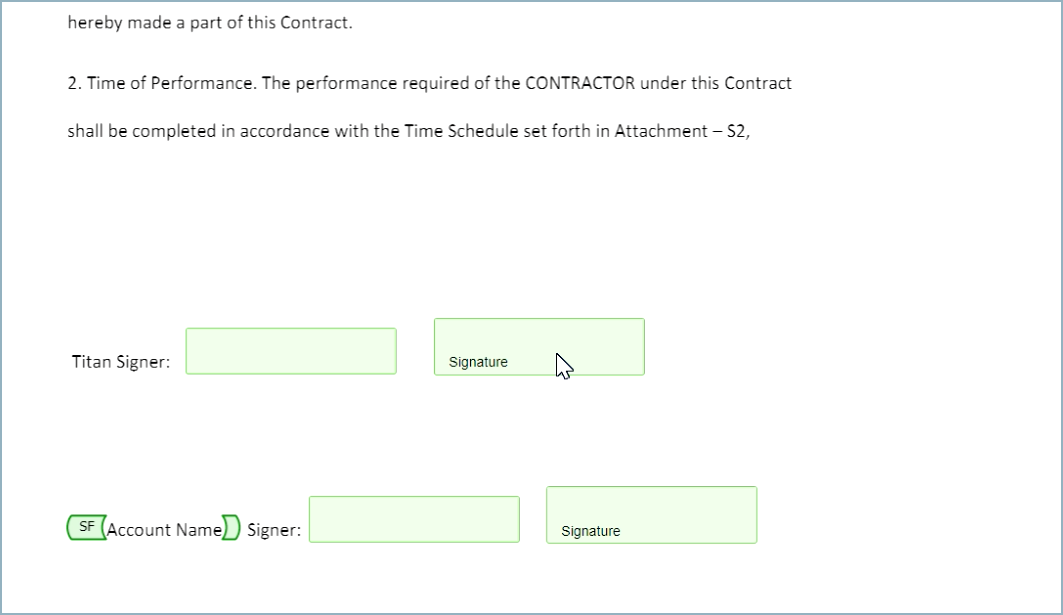
1. Open the document you created with the Titan Word Add-in in Titan Sign.
2. For this tutorial, notice that our document has merge fields, system fields for the current date and time, input fields, and signature fields.
3. Move the fields around with your mouse to position them exactly where you want.
2. For this tutorial, notice that our document has merge fields, system fields for the current date and time, input fields, and signature fields.
3. Move the fields around with your mouse to position them exactly where you want.
03 Change an Input Field
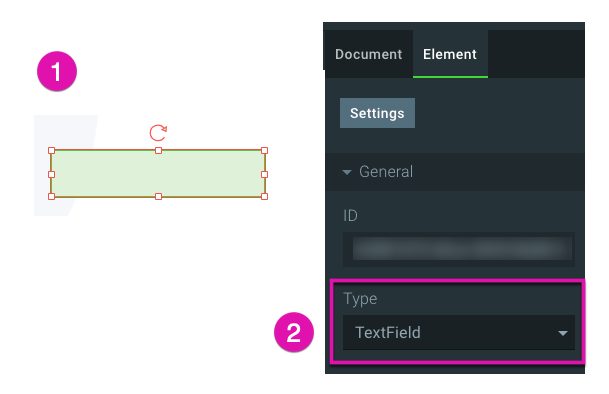
If you need to adjust your document by changing an input field to another type, follow the steps below:
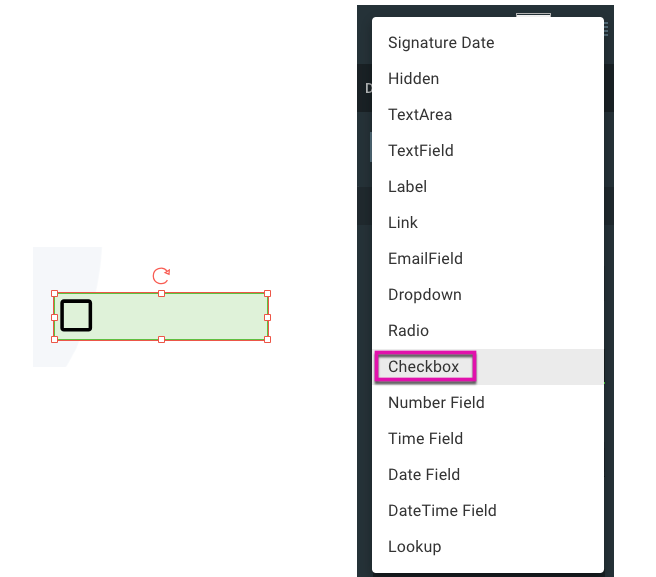
1. Select your input field and choose a new element from the Type drop-down menu.
2. We have selected to swap the input field for a checkbox in the tutorial.
1. Select your input field and choose a new element from the Type drop-down menu.
2. We have selected to swap the input field for a checkbox in the tutorial.
04 How to Configure Document Access
When you are done choosing elements and adjusting the layout of your document, you can begin configuring your Document Access settings.
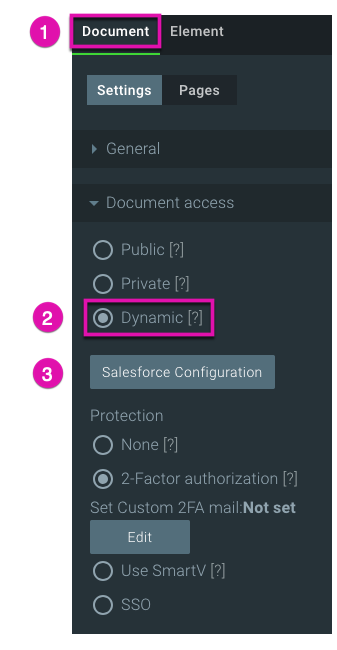
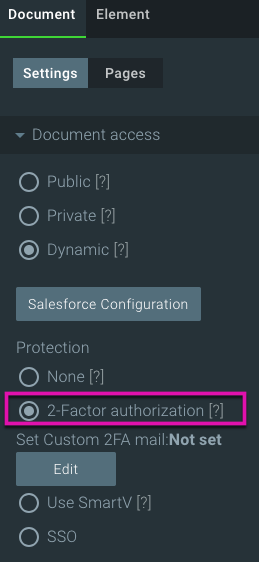
1. Click on the Document Tab and open the Document Access menu.
2. Click the Dynamic radio button and then the Salesforce Configuration button.
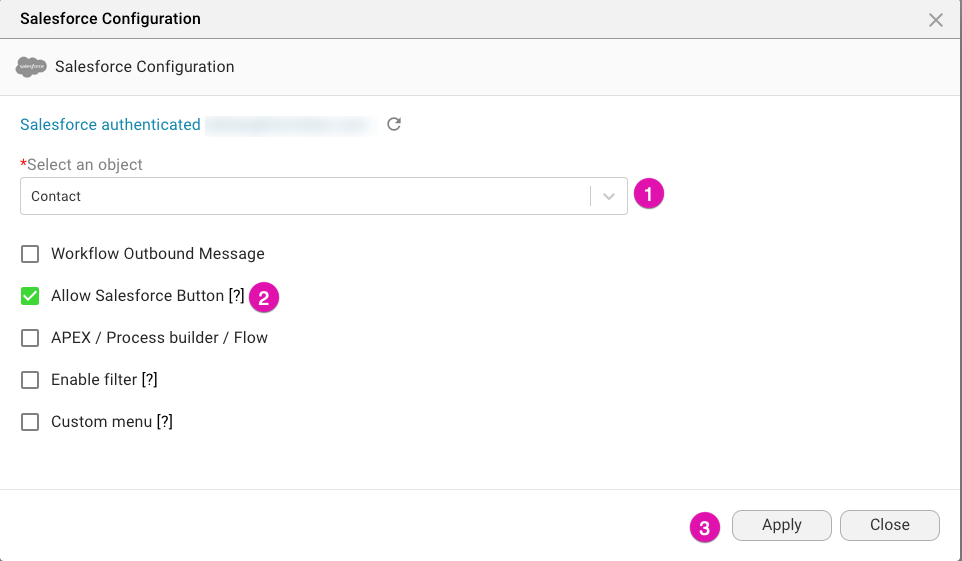
This configuration will allow us to decide where to trigger this document. In this tutorial, we bring and send all the data to a specific contact so that we can continue with the following steps:
3. Choose Contact as an object from the drop-down menu and select the Allow Salesforce Button checkbox before clicking on the Apply button.
For this tutorial, we have chosen to trigger the action with a Salesforce button from the account object, but please note, you can also select any object! That can be a custom or standard object in Salesforce.
4. We will also have a number of different Protections, which we will explore in another article. Still, for this example, we will ensure that the 2-factor authorization radio button is selected.
1. Click on the Document Tab and open the Document Access menu.
2. Click the Dynamic radio button and then the Salesforce Configuration button.
This configuration will allow us to decide where to trigger this document. In this tutorial, we bring and send all the data to a specific contact so that we can continue with the following steps:
3. Choose Contact as an object from the drop-down menu and select the Allow Salesforce Button checkbox before clicking on the Apply button.
For this tutorial, we have chosen to trigger the action with a Salesforce button from the account object, but please note, you can also select any object! That can be a custom or standard object in Salesforce.
4. We will also have a number of different Protections, which we will explore in another article. Still, for this example, we will ensure that the 2-factor authorization radio button is selected.
05 How to Configure Signers
Our first signer is a static contact in Salesforce and represents the Titan user that will be signing the document.
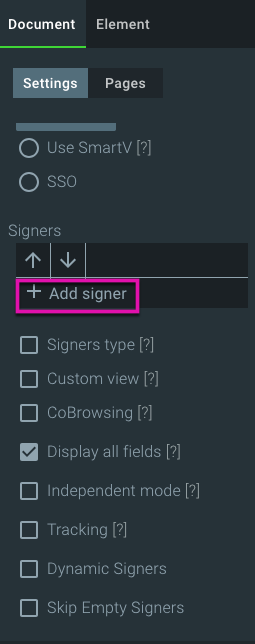
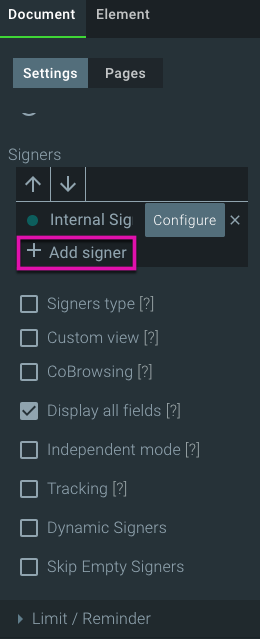
1. Click on the + Add Signer button to add a signer.
2. Type a name into the field and click on the Configure button. For this example, we have called the first signer “Internal Signer“.
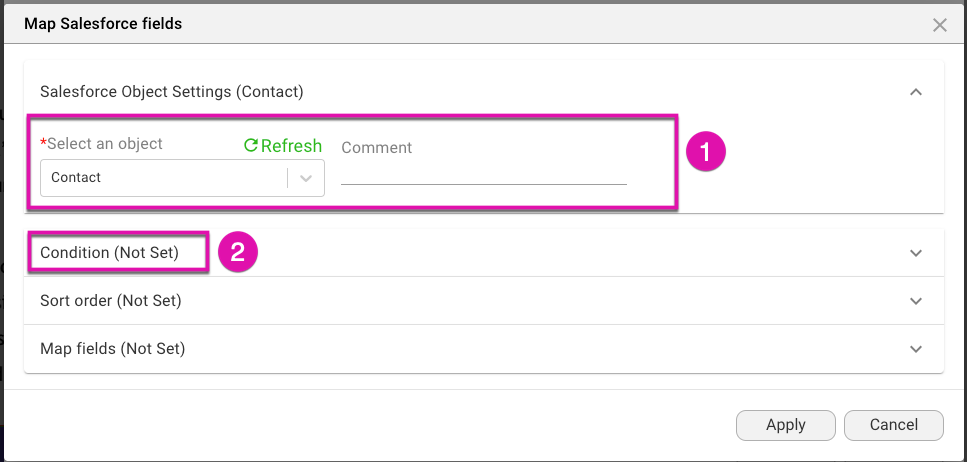
3. Click on the Add Object button, choose Contact from the Object drop-down menu, and select Condition (Not Set).
Since the first signer will always be the same contact, we can set a static Record ID to represent this contact. To do this, follow the below steps:
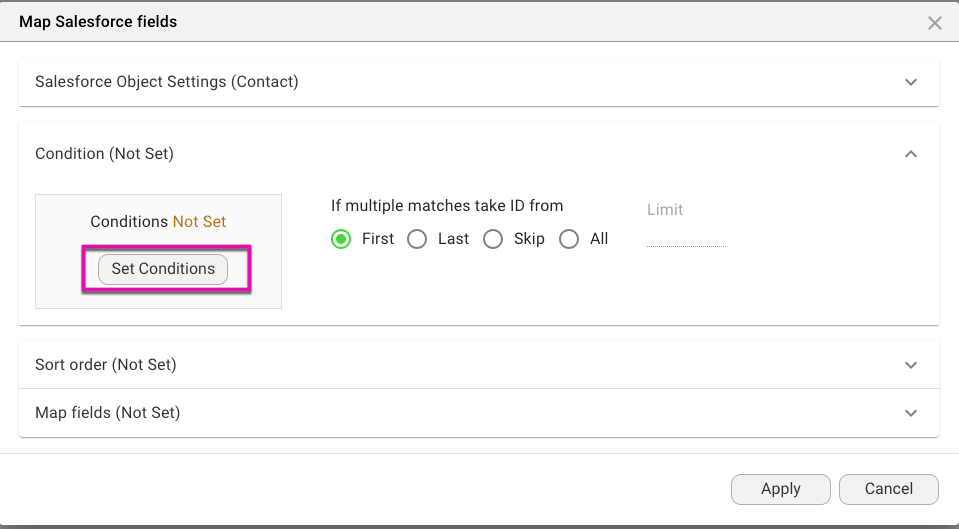
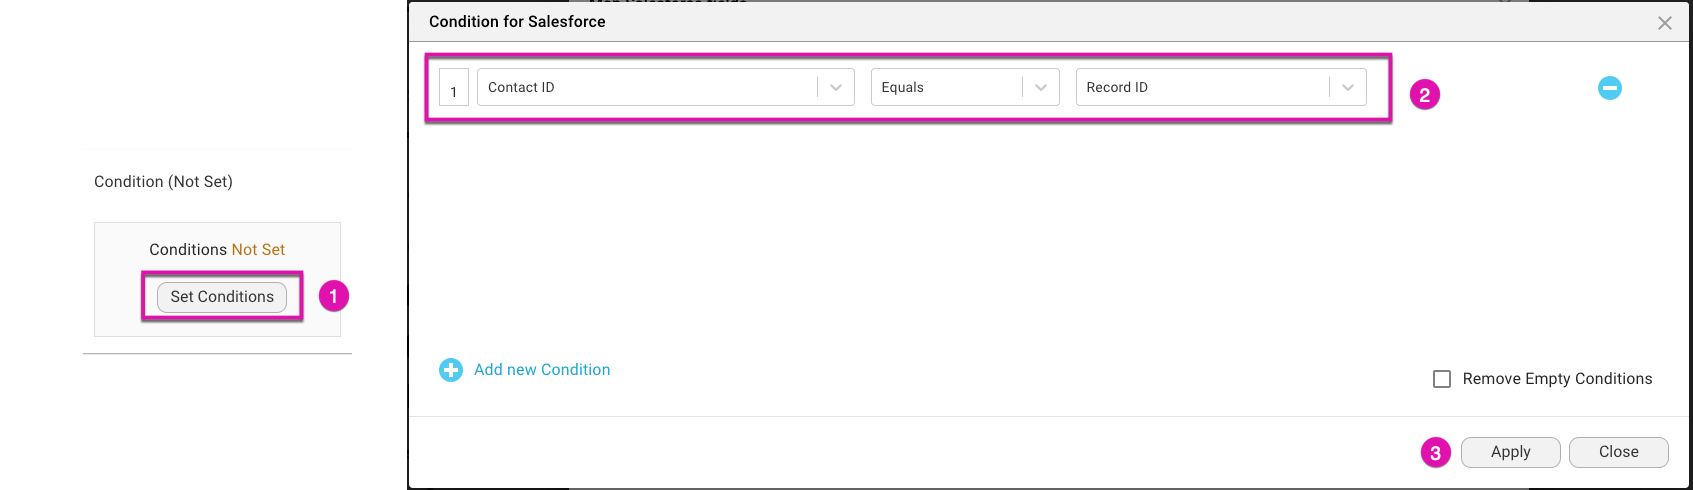
4. Click on the Set Conditions button.
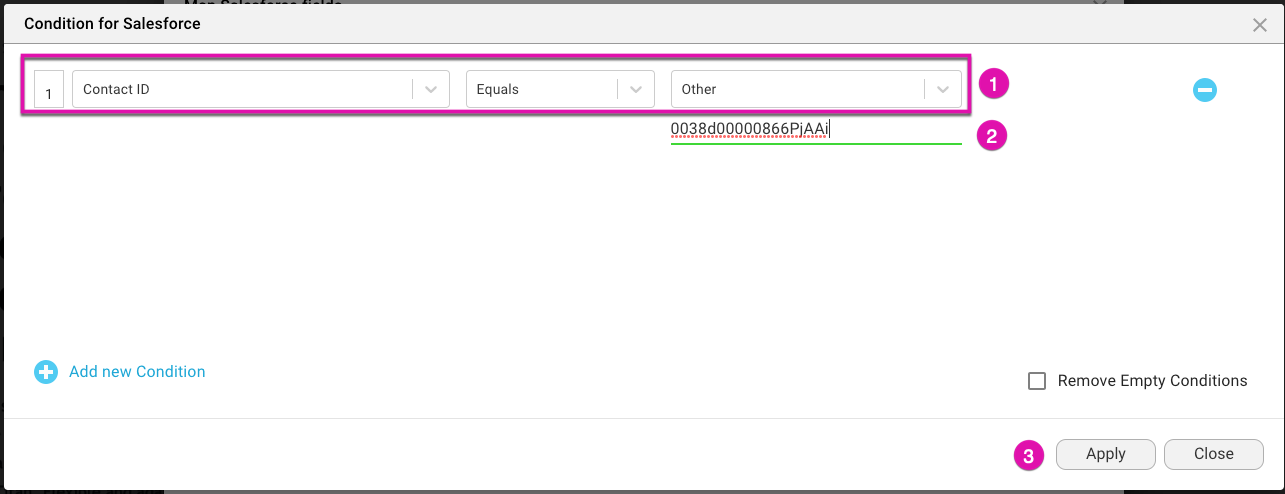
5. Set your conditions with the drop-down menus to read Contact ID > Equals > Other.
6. Enter your Record ID and then click the Apply button to proceed.
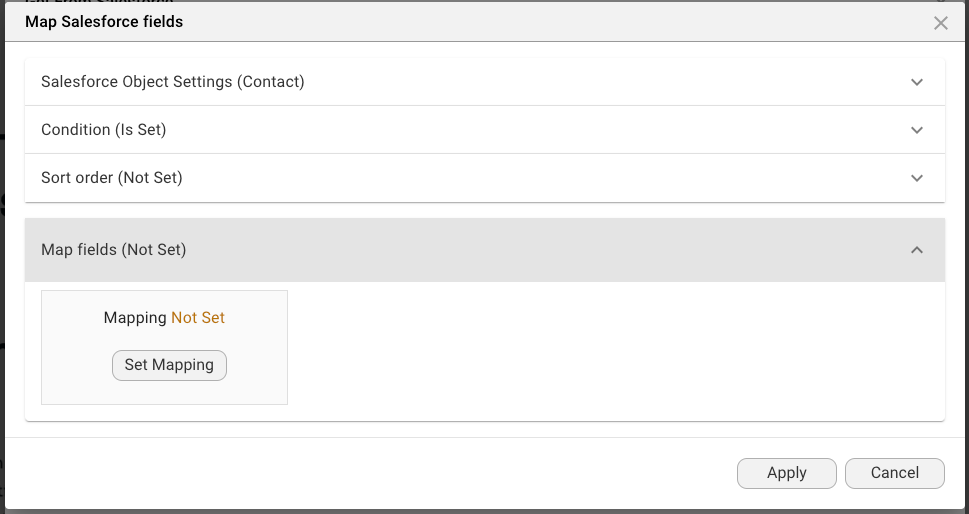
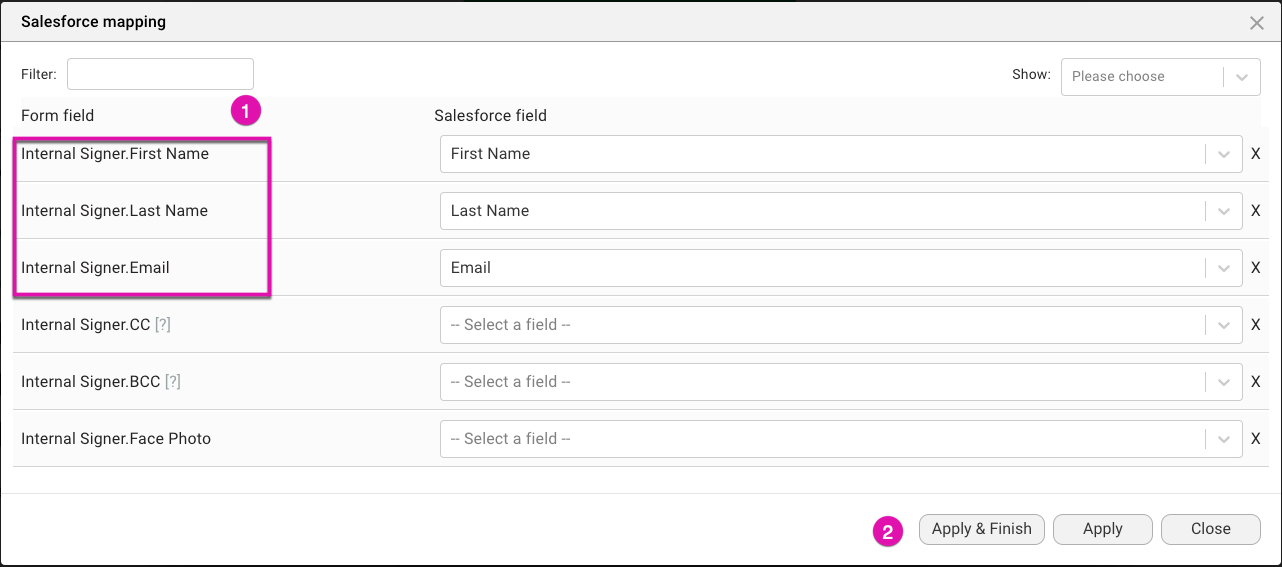
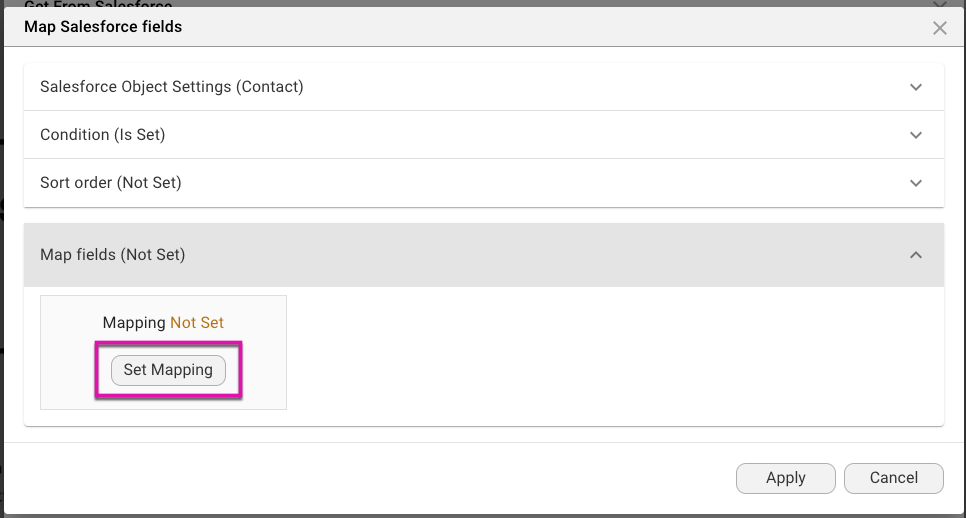
7. Now choose to map fields by clicking on the Set Mapping button.
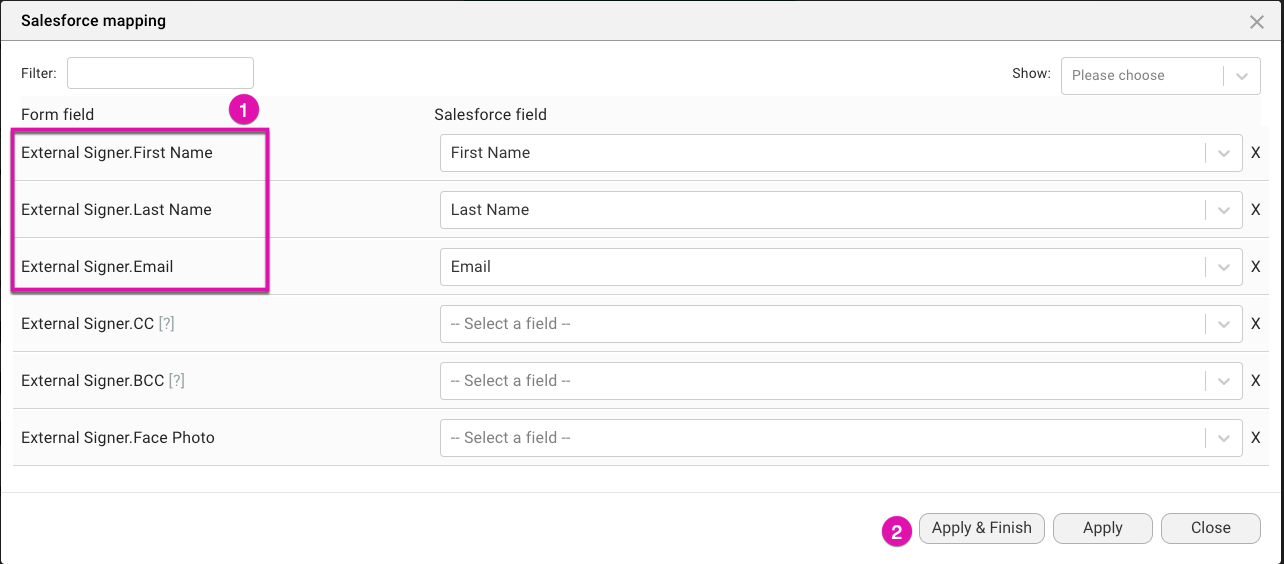
8. For this tutorial, we have mapped the First Name, Last Name, and Email fields using the drop-down menus, before clicking on the Apply & Finish button.
1. Click on the + Add Signer button to add a signer.
2. Type a name into the field and click on the Configure button. For this example, we have called the first signer “Internal Signer“.
3. Click on the Add Object button, choose Contact from the Object drop-down menu, and select Condition (Not Set).
Since the first signer will always be the same contact, we can set a static Record ID to represent this contact. To do this, follow the below steps:
4. Click on the Set Conditions button.
5. Set your conditions with the drop-down menus to read Contact ID > Equals > Other.
6. Enter your Record ID and then click the Apply button to proceed.
7. Now choose to map fields by clicking on the Set Mapping button.
8. For this tutorial, we have mapped the First Name, Last Name, and Email fields using the drop-down menus, before clicking on the Apply & Finish button.
06 How to Configure a Second Signer
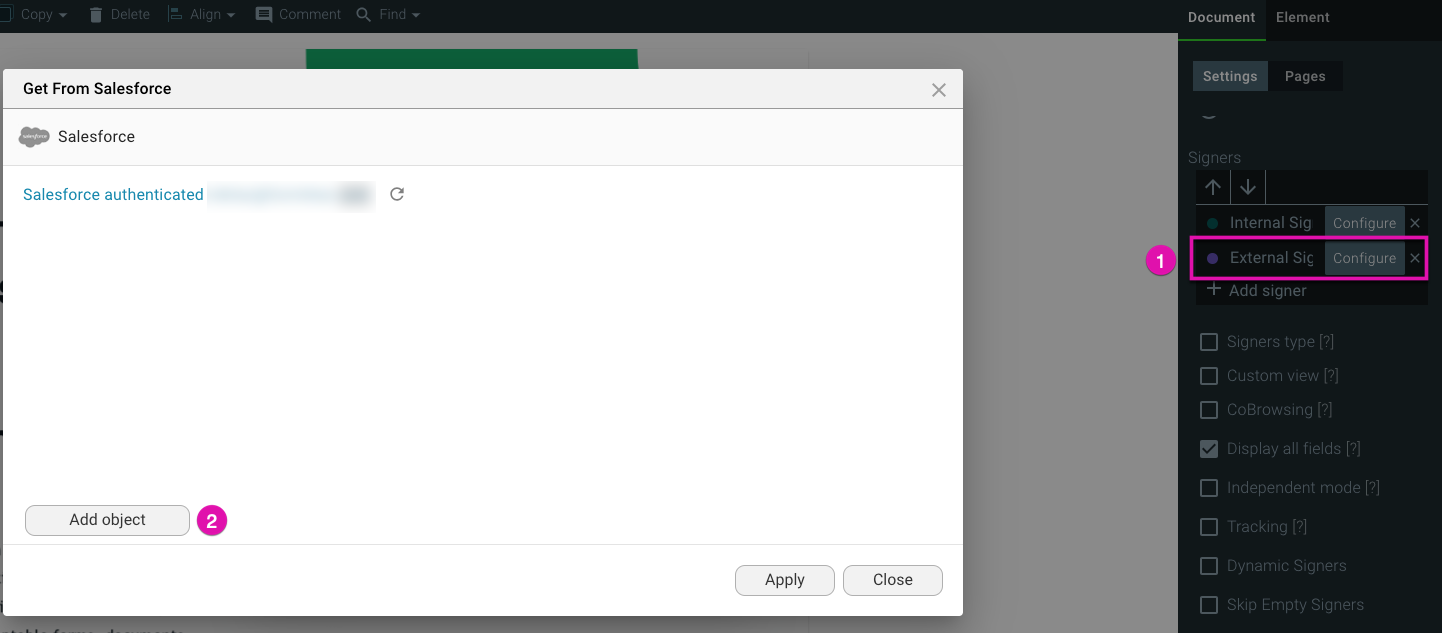
1. Click on the + Add Signer button.
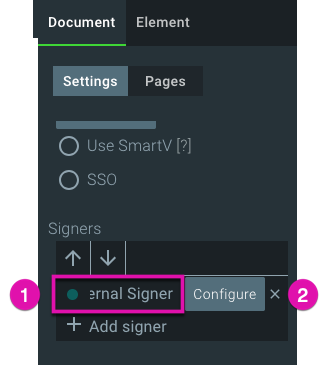
2. We have named the new External Signer before clicking on the Configure button.
3. The Get From Salesforce window appears, please click on the Add Object button to proceed.
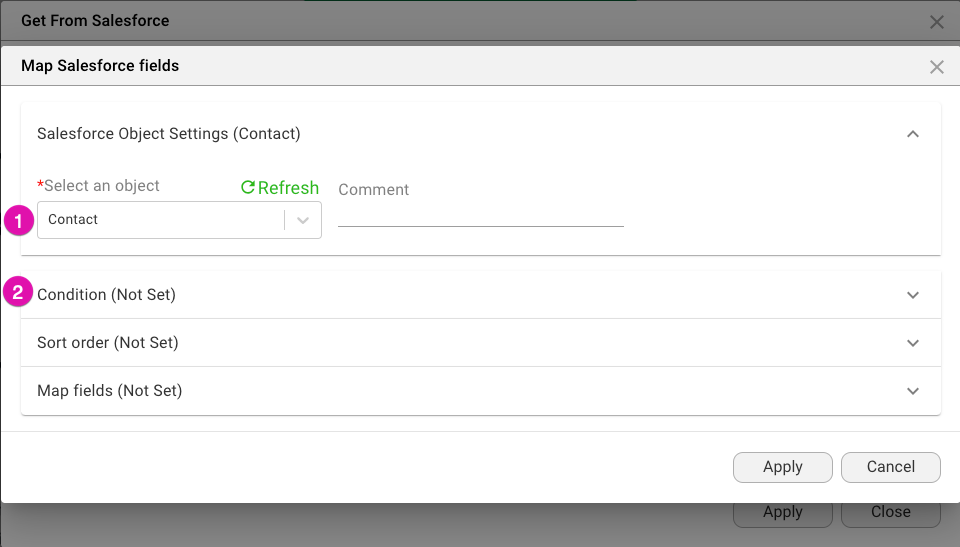
4. Select an object from the drop-down menu; we have selected Contact in the tutorial.
5. Set your conditions by choosing the Condition (Not Set) menu option.
6. Click the Set Conditions button to set up your conditions for the second signer, then click the Apply button.
The Record ID used in our tutorial is populated from the record in Salesforce. Please note that you can query any related records to the record we are working with, but this tutorial focuses on a simple example.
7. Next, we can map fields by choosing the Map fields (Not Set) menu option and clicking the Set Mapping button.
8. For this tutorial, we mapped the First Name, Last Name, and Email fields before clicking the Apply & Finish button.
2. We have named the new External Signer before clicking on the Configure button.
3. The Get From Salesforce window appears, please click on the Add Object button to proceed.
4. Select an object from the drop-down menu; we have selected Contact in the tutorial.
5. Set your conditions by choosing the Condition (Not Set) menu option.
6. Click the Set Conditions button to set up your conditions for the second signer, then click the Apply button.
The Record ID used in our tutorial is populated from the record in Salesforce. Please note that you can query any related records to the record we are working with, but this tutorial focuses on a simple example.
7. Next, we can map fields by choosing the Map fields (Not Set) menu option and clicking the Set Mapping button.
8. For this tutorial, we mapped the First Name, Last Name, and Email fields before clicking the Apply & Finish button.
07 How to Associate an Input Field for A Signer to Fill Out
1. Click on the signature field and select your first signer from the Selected Signer drop-down menu in the General settings.
2. Select the Internal Signer option.
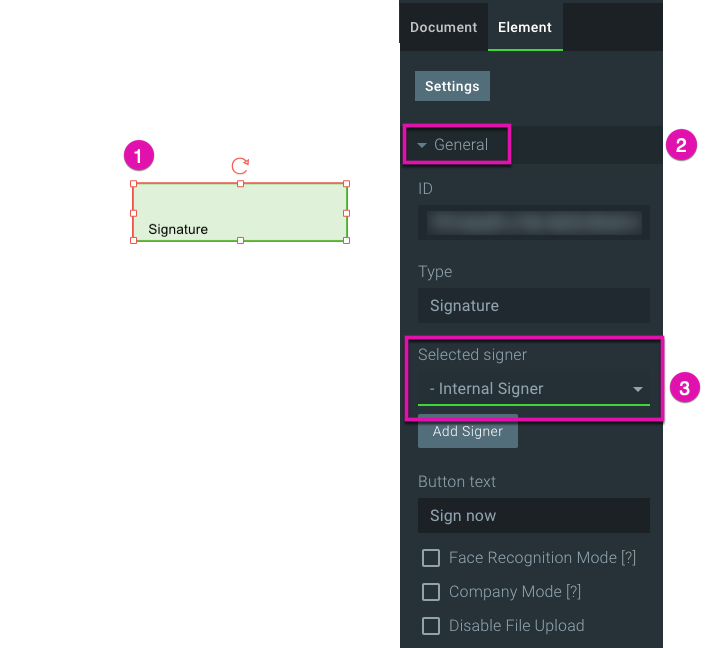
3. Do the same for your second signer by selecting the signature field and then choosing the External Signer option from the Selected Signer drop-down menu.
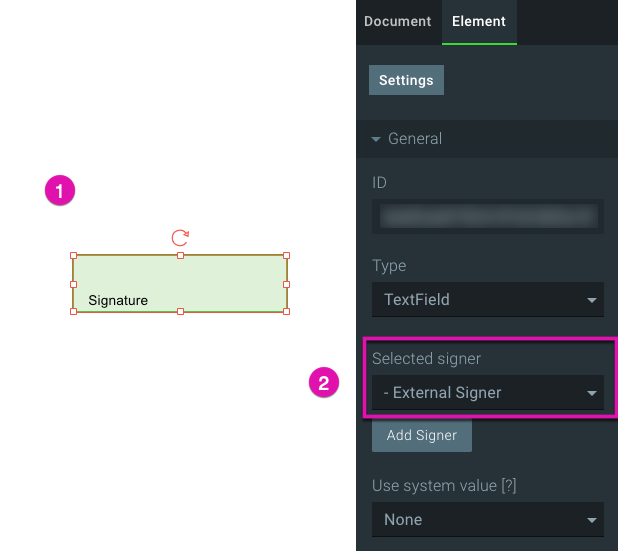
All interactive fields must be assigned to signers.
4. Save your project by clicking on the Save button.

2. Select the Internal Signer option.
3. Do the same for your second signer by selecting the signature field and then choosing the External Signer option from the Selected Signer drop-down menu.
All interactive fields must be assigned to signers.
4. Save your project by clicking on the Save button.
08 How to Rename your Document
1. Navigate to the Name field under the General drop-down menu.
2. Edit the name of your document.
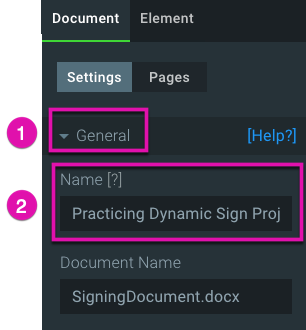
2. Edit the name of your document.
09 How to Give Collaborators Permissions to Interact with Document
1. Click on the Titan Sign logo to navigate to the Titan dashboard.

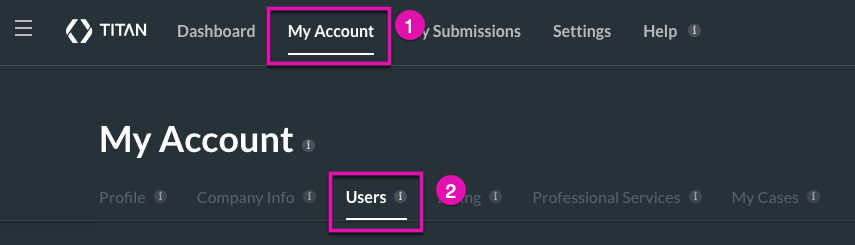
2. Select the My Account tab and click the Users tab.
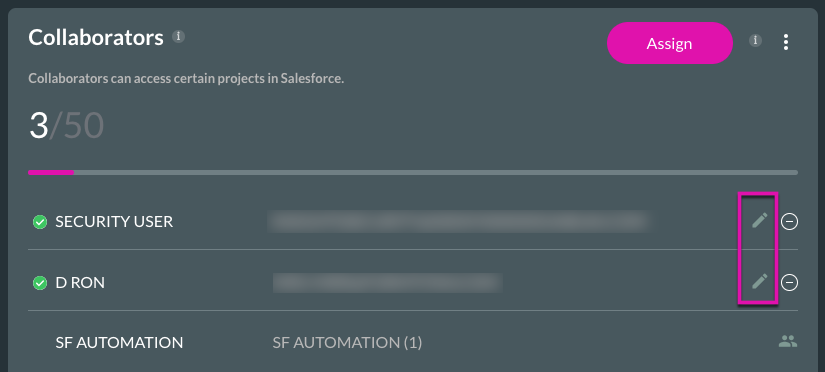
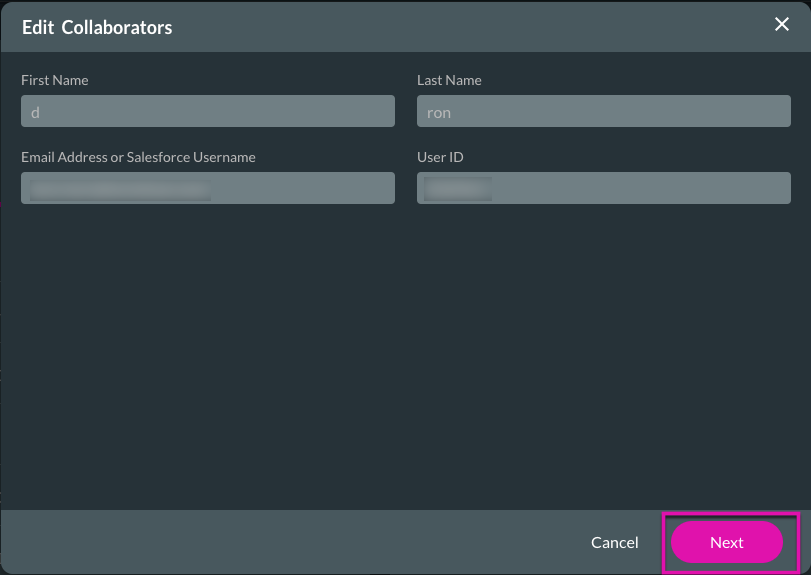
3. Click on the pencil icon next to the collaborator for whom you want to set permissions.
4. Click on the Next button to open the list of permissions for a collaborator.
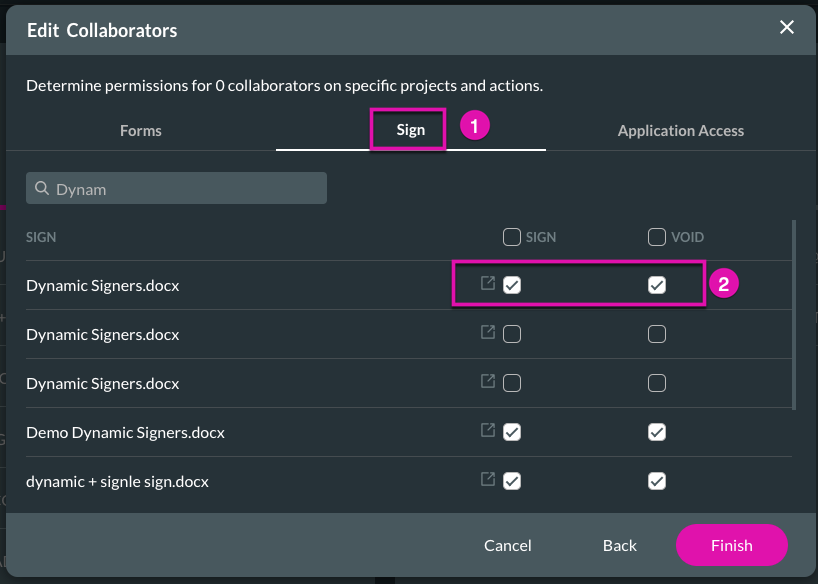
5. Choose the Sign tab, find your document in the Sign list, and choose if you want a collaborator to have access to signing or voiding a document by selecting the checkboxes.
6. Click on the Finish button to apply your permissions.
2. Select the My Account tab and click the Users tab.
3. Click on the pencil icon next to the collaborator for whom you want to set permissions.
4. Click on the Next button to open the list of permissions for a collaborator.
5. Choose the Sign tab, find your document in the Sign list, and choose if you want a collaborator to have access to signing or voiding a document by selecting the checkboxes.
6. Click on the Finish button to apply your permissions.
10 How to Give Salesforce Contacts Permissions to Interact with Document
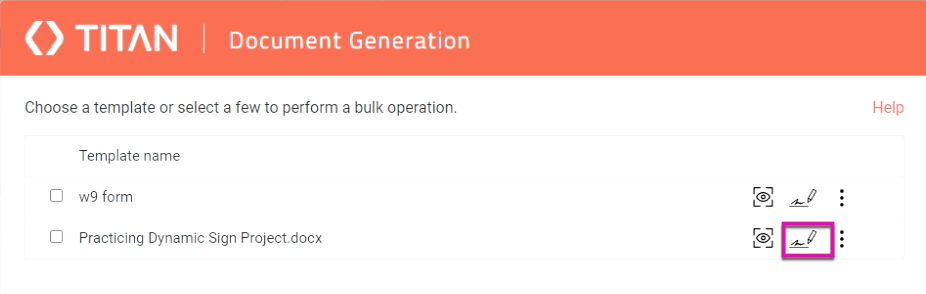
1. Go to your contact details in Salesforce and click the FT Docgen button.

2. Select the sign icon for your document.
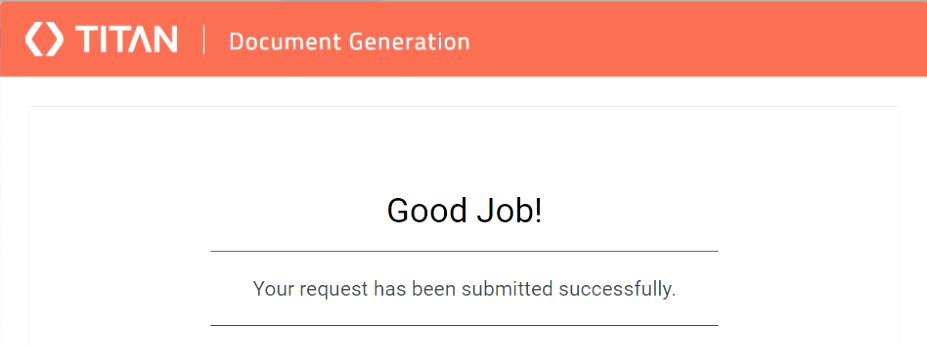
3. You will be notified that your document has been submitted successfully.
2. Select the sign icon for your document.
3. You will be notified that your document has been submitted successfully.
11 Test your Submitted Document
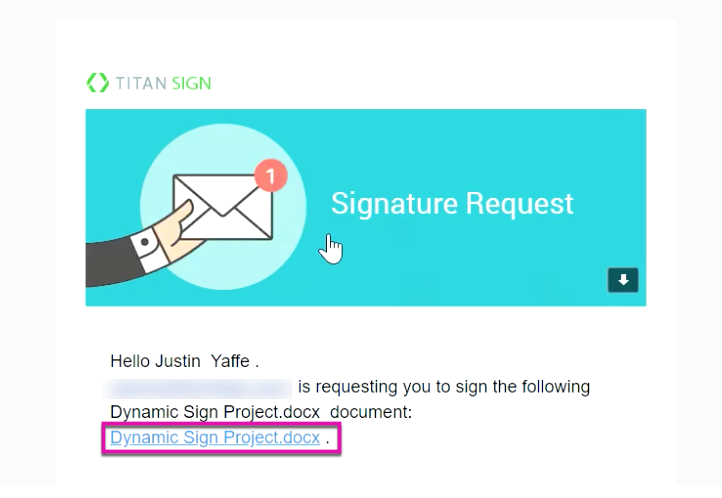
1. Open your email to find the document ready to sign.
2. Click on the link in the email to open the document.
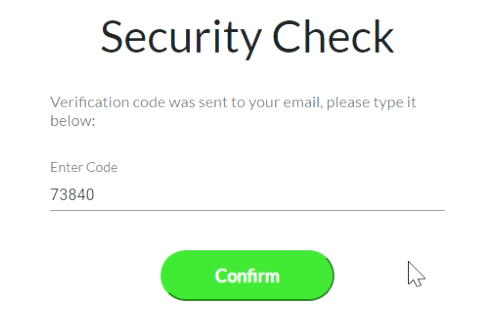
3. Enter the security code sent to your email and click the Confirm button.
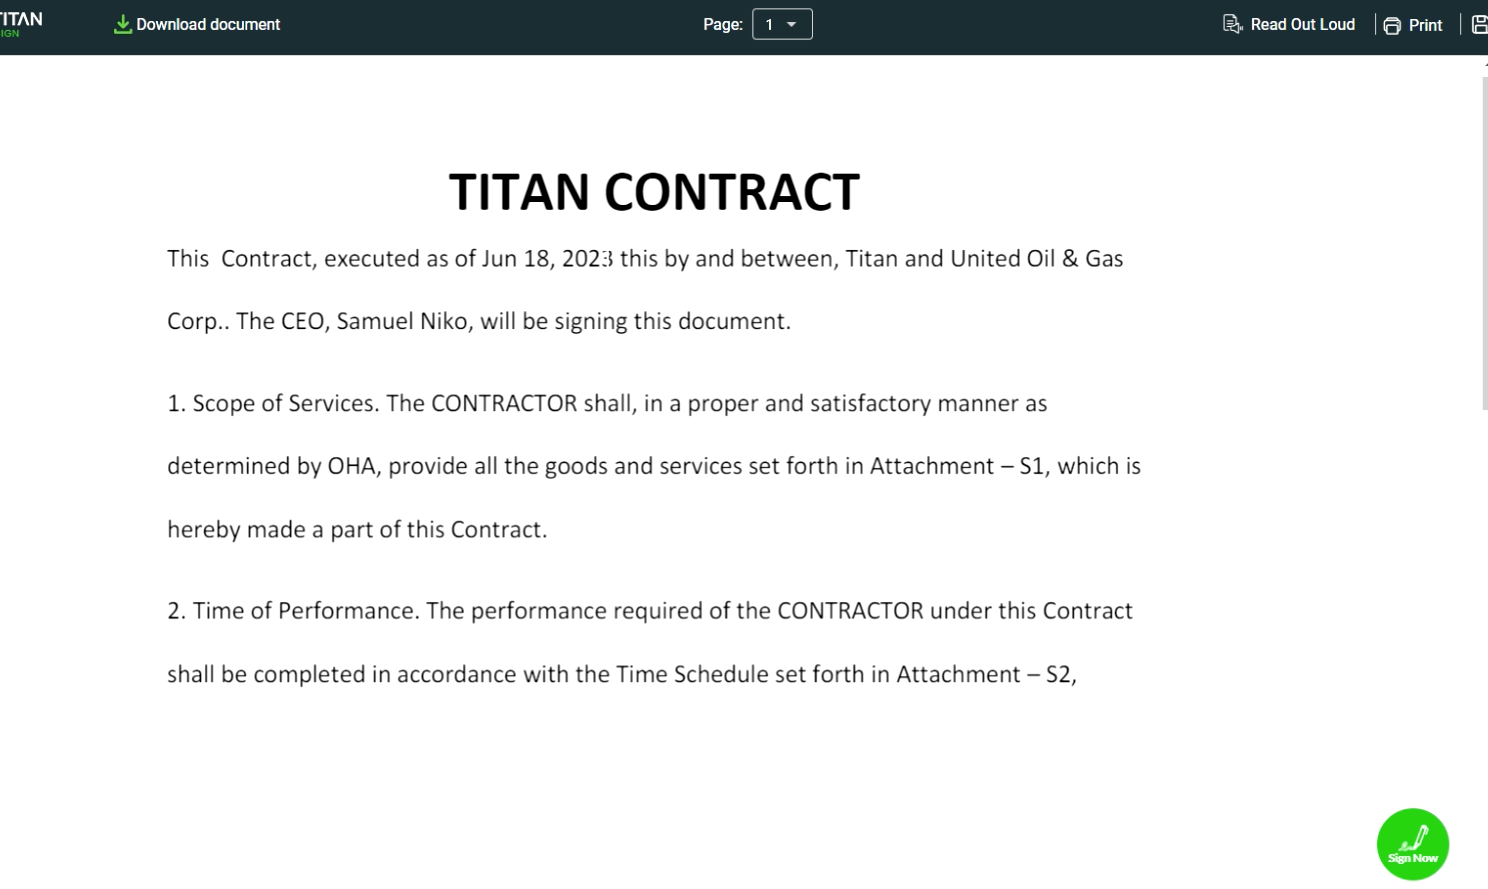
The document will open up with the fields configured for your project.
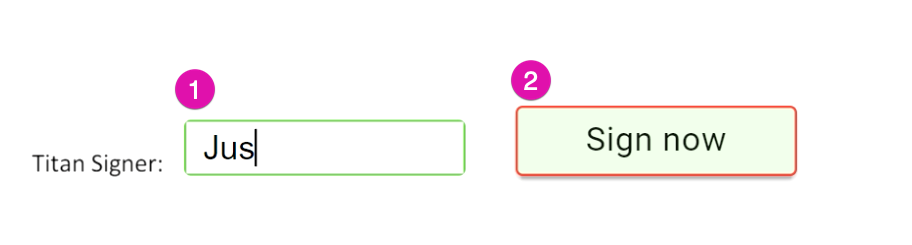
4. Enter a name in the text input field and click the Sign Now button to sign the document.
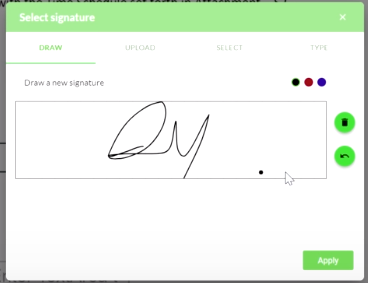
5. Enter your signature in the signature box and click the Apply button.
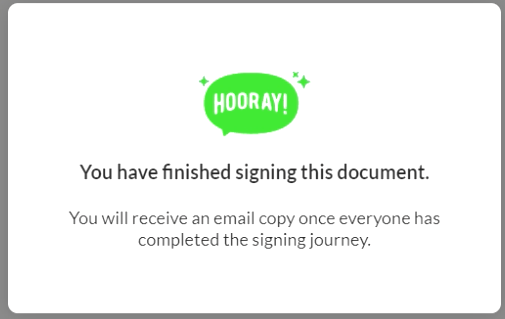
6. Click on the Finish Sign button to submit the signed document.

A notification message will pop up to let you know that your document is signed.
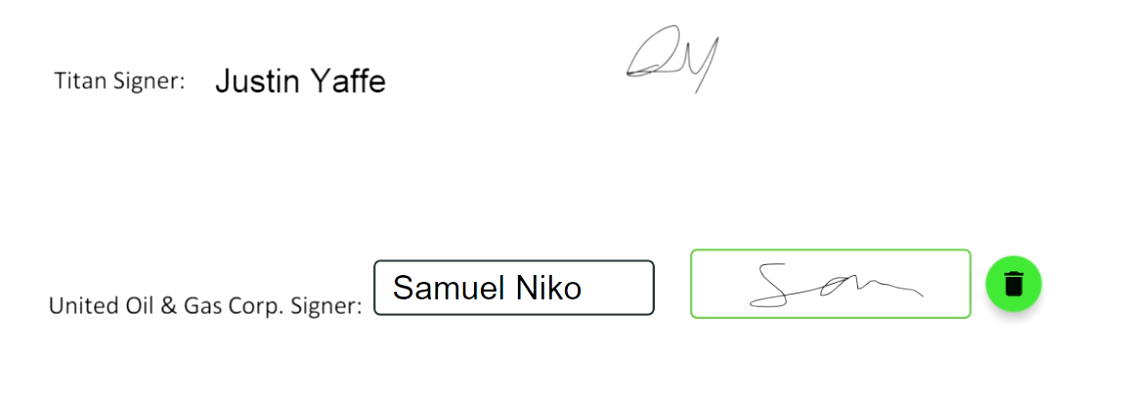
The next step is for the second signer to receive the document via email and sign it. They will follow the steps the first signer just completed to sign the document.
Notice that you now have a document containing the first and second signer’s details.
2. Click on the link in the email to open the document.
3. Enter the security code sent to your email and click the Confirm button.
The document will open up with the fields configured for your project.
4. Enter a name in the text input field and click the Sign Now button to sign the document.
5. Enter your signature in the signature box and click the Apply button.
6. Click on the Finish Sign button to submit the signed document.
A notification message will pop up to let you know that your document is signed.
The next step is for the second signer to receive the document via email and sign it. They will follow the steps the first signer just completed to sign the document.
Notice that you now have a document containing the first and second signer’s details.