Working with Variables (14 min)
01 Getting Started
02 Setup
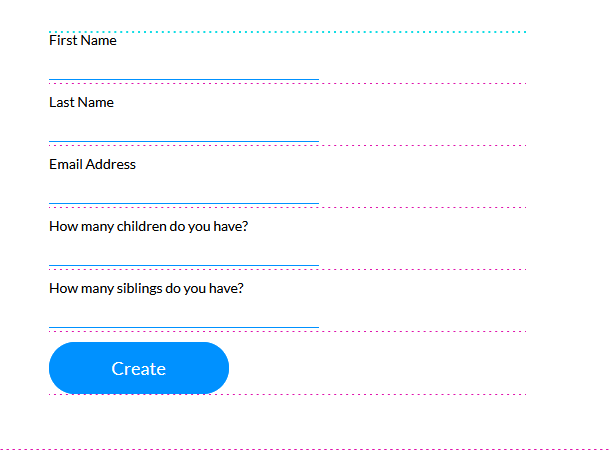
A simple form was created to capture details of a user, when the user clicks the Create button, their details will be captured in Salesforce.
03 Variables
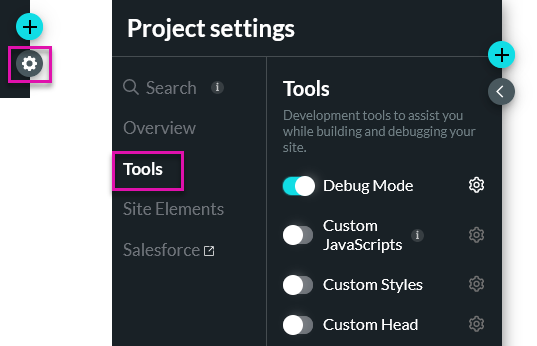
1. Click the Project Settings gear icon, and select the Tools tab.
2. Click the Custom Variables gear icon.
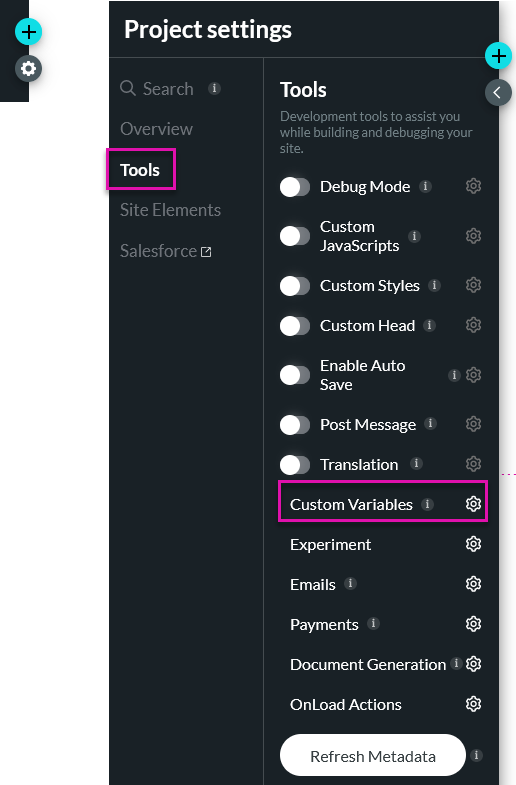
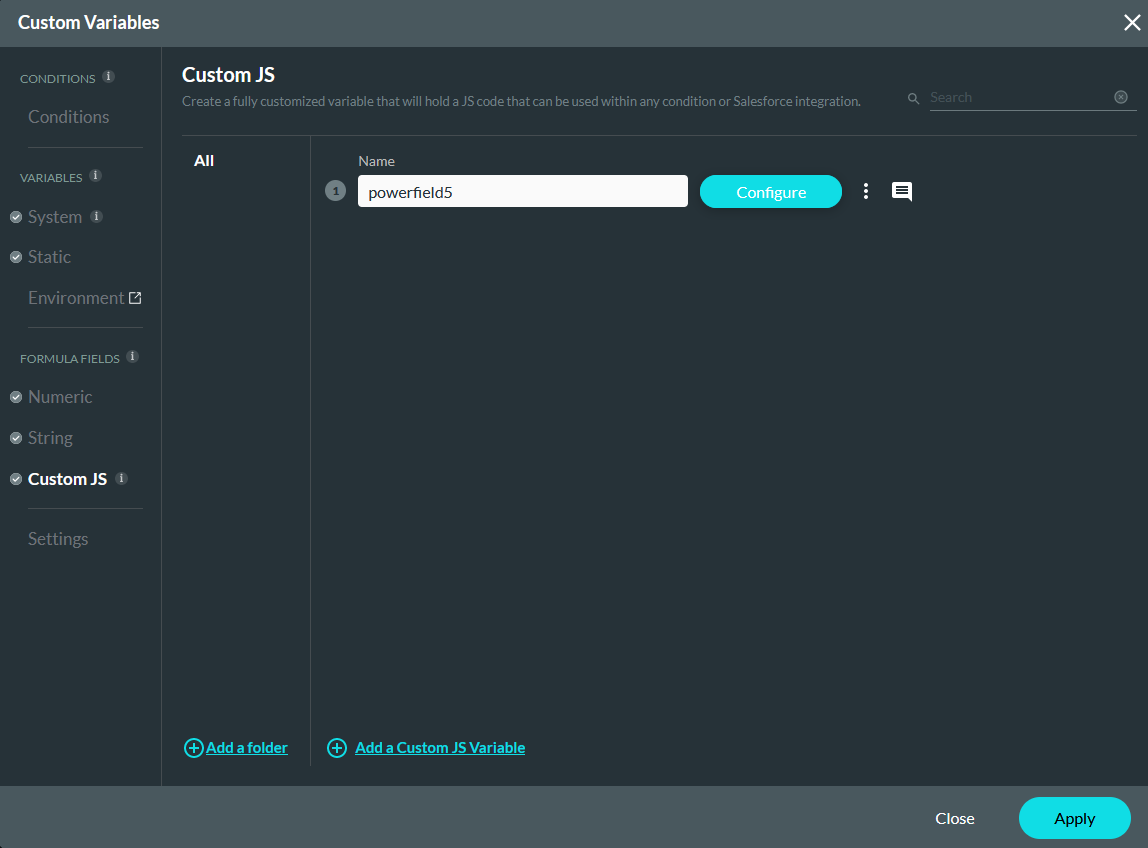
The Custom Variables window opens.
System variables are values that are set at the operating system level and can be accessed by various programs and processes running on the system. These variables provide information about the environment and configuration of the system. You cannot assign a value to a system variable.
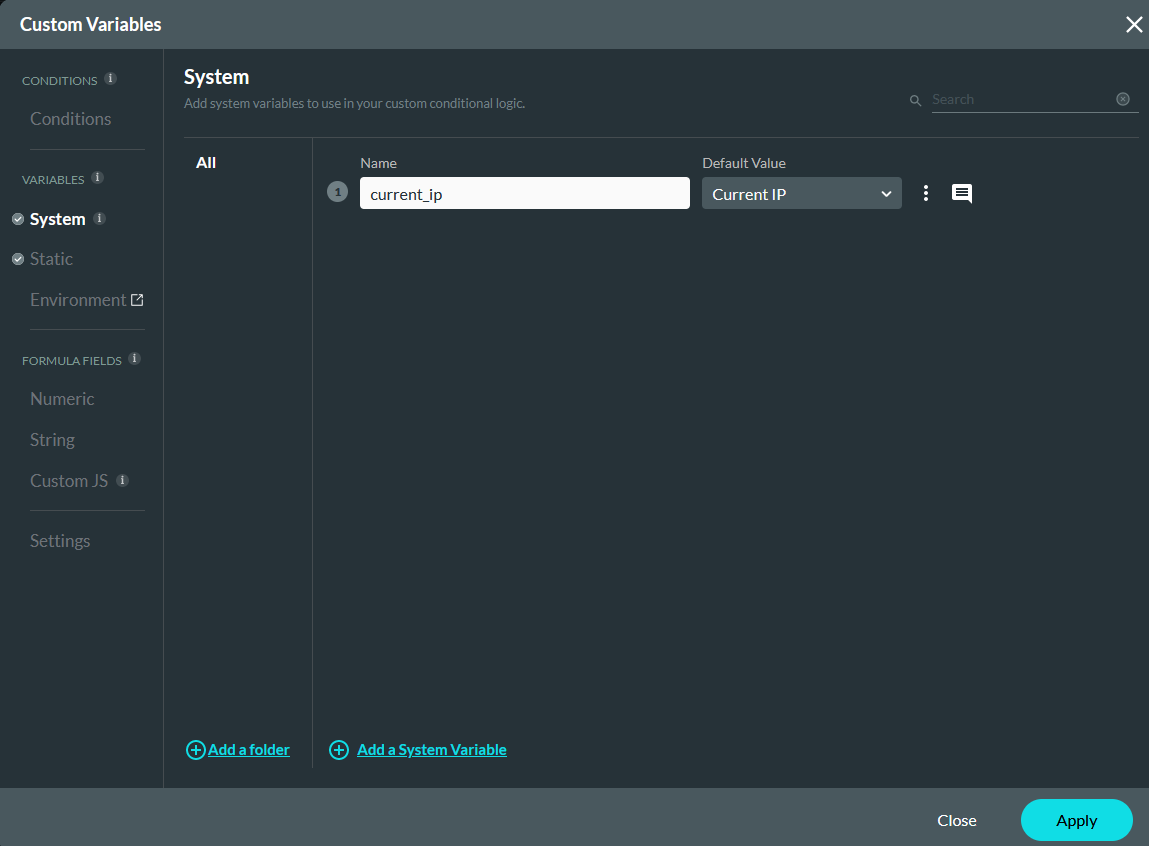
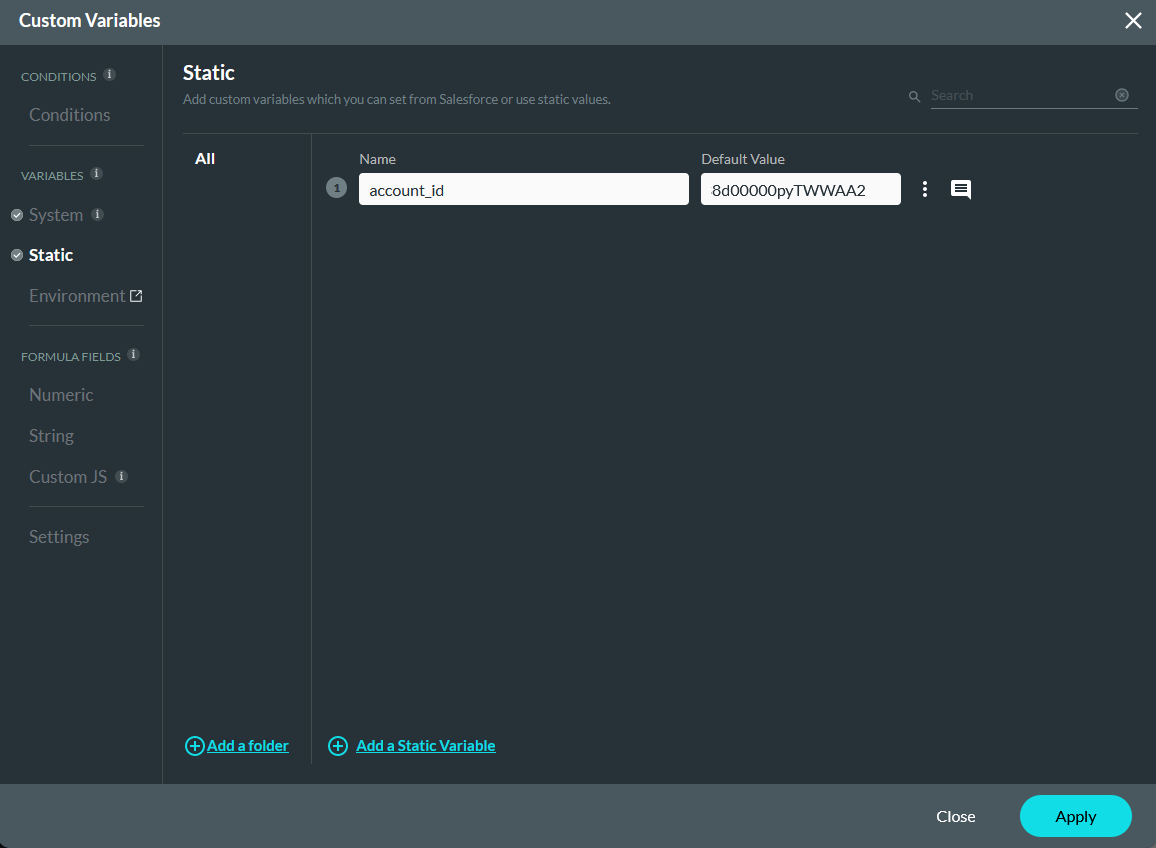
Static Variables are used to affect elements, either from Salesforce, project elements, or other variables. You can set a specific value for static values. For example, you can store a static account ID in this variable.
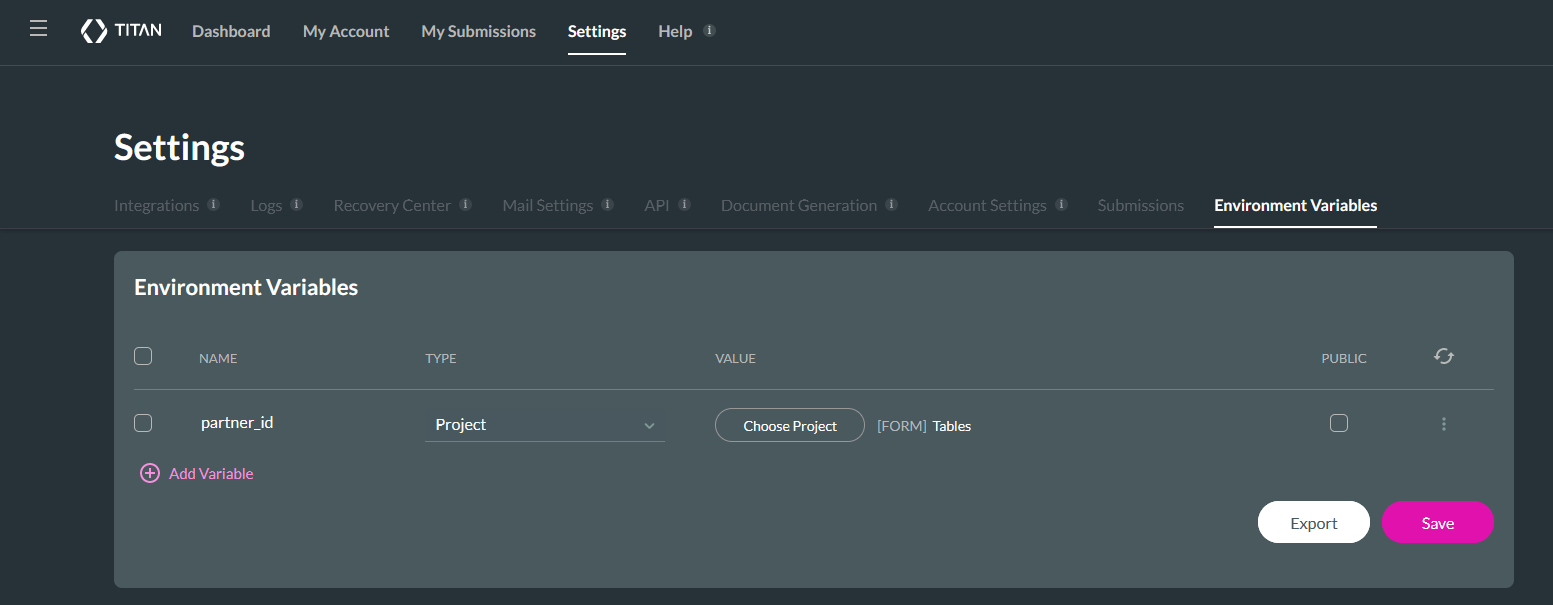
Environment variables are set from your Titan account. These variables can be used across all your projects. For example, storing the IDs of a Salesforce record type.
Numeric variables allow you to create dynamic calculations.
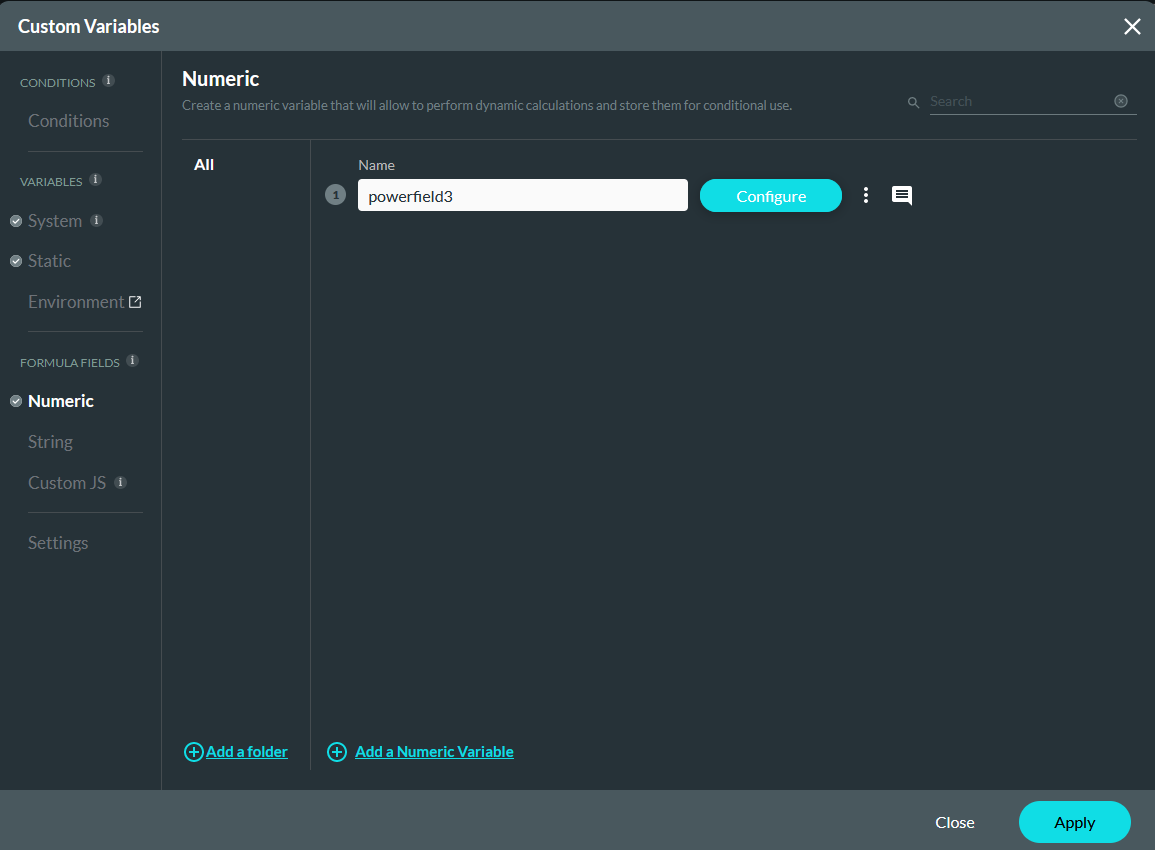
Select the value fields from the drop-down list, you can choose to map the result of the formula to one of your elements in the project.

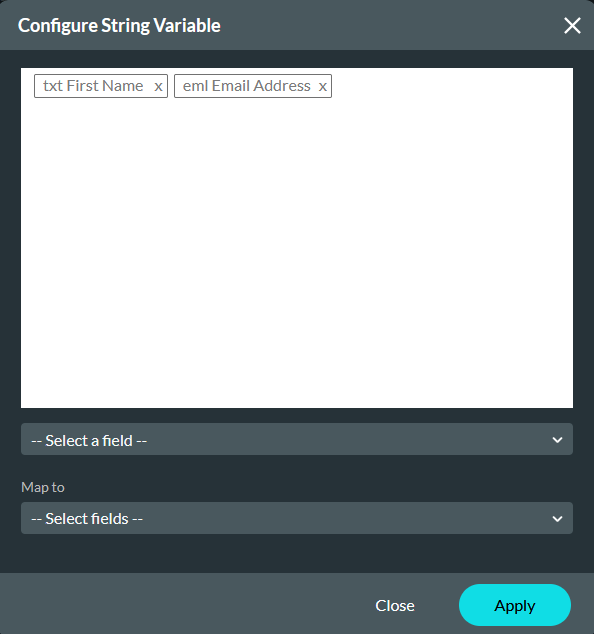
You can create text variables that allow you to perform dynamic manipulations using text inputs and fields.
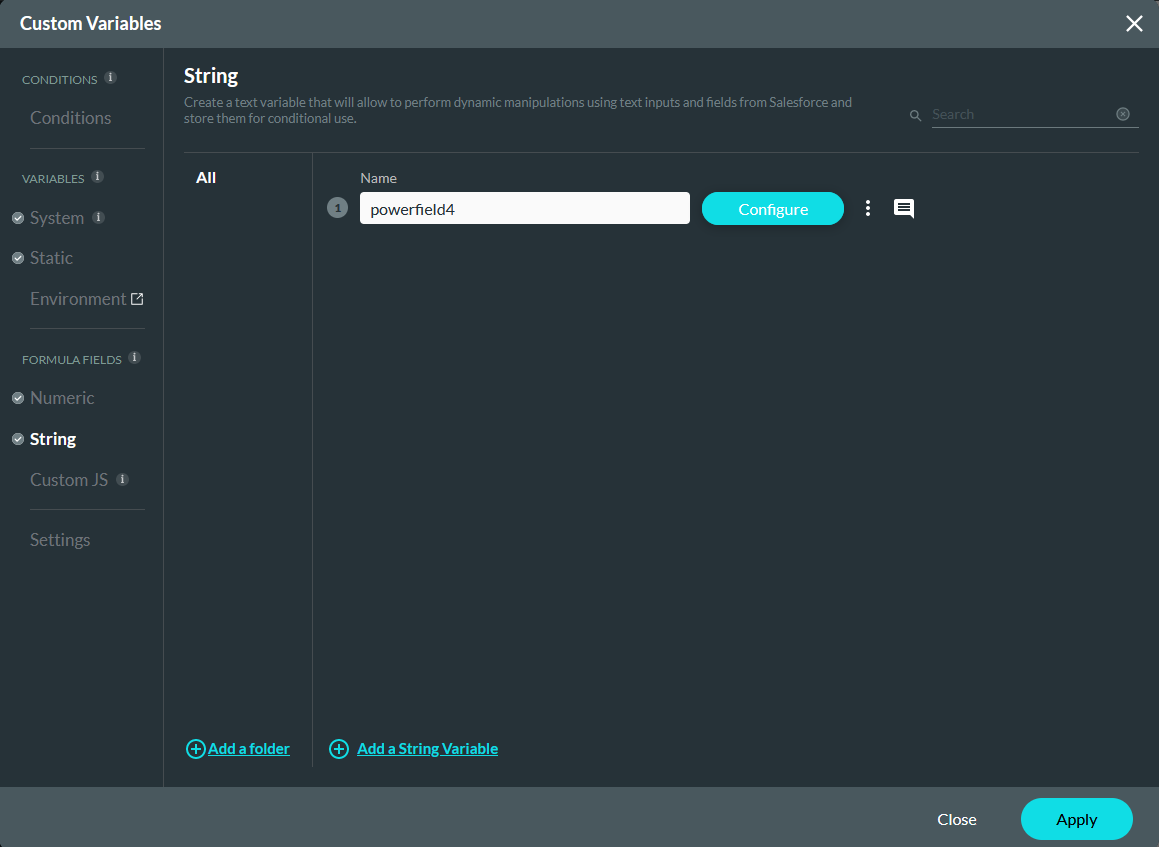
Select the value fields from the drop-down list, you can choose to map the result of the formula to one of your elements in the project. In general, a space will be added to the text fields so ensure you don’t insert any spacing unless you need it.
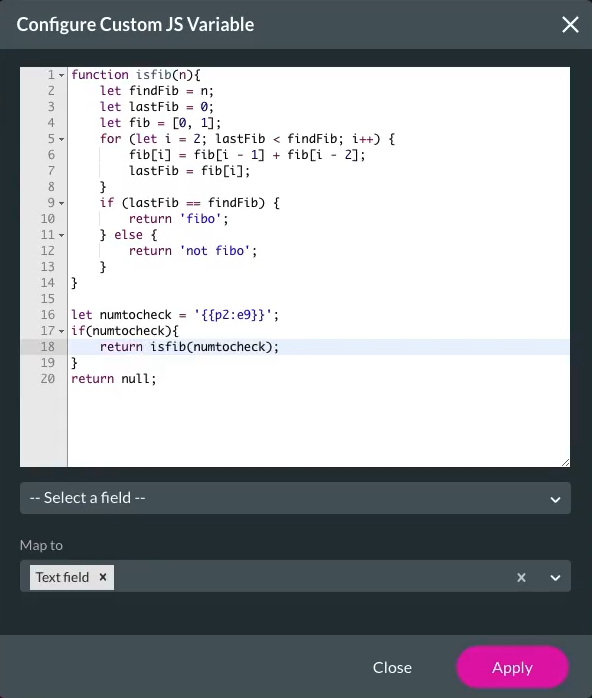
You can create fully customized variables that hold JS code.
Enter your JavaScript, using the dropdown you can enter values from your project. For our example, we have two fields in the project, a numeric and a text field. When a number is entered into the numeric field, the text field will reflect whether this is a Fibonacci number or not.
04 Create a Salesforce Push
1. Navigate to the Salesforce Integration window.
2. Under the Push tab, click Create New.
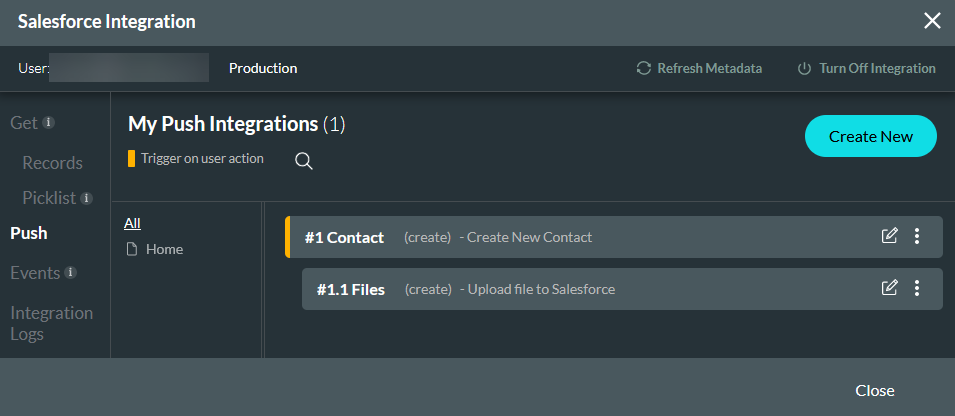
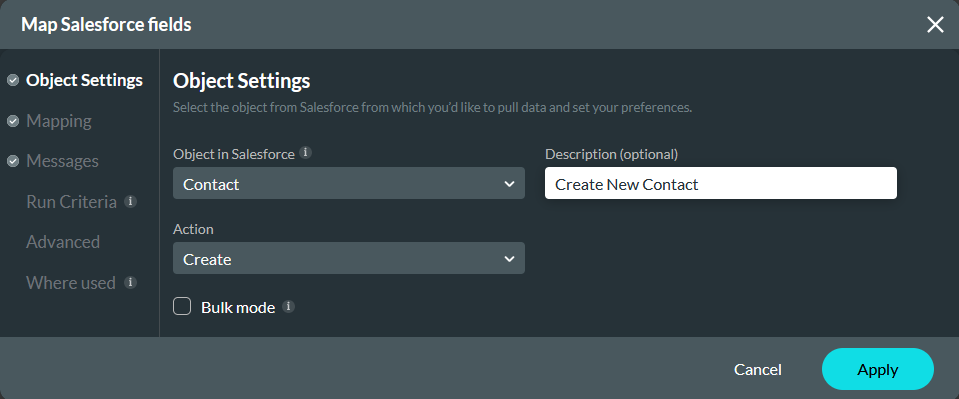
3. In the Object Settings tab, configure: Contact as the Salesforce Object, Create as the Action, and add a description.
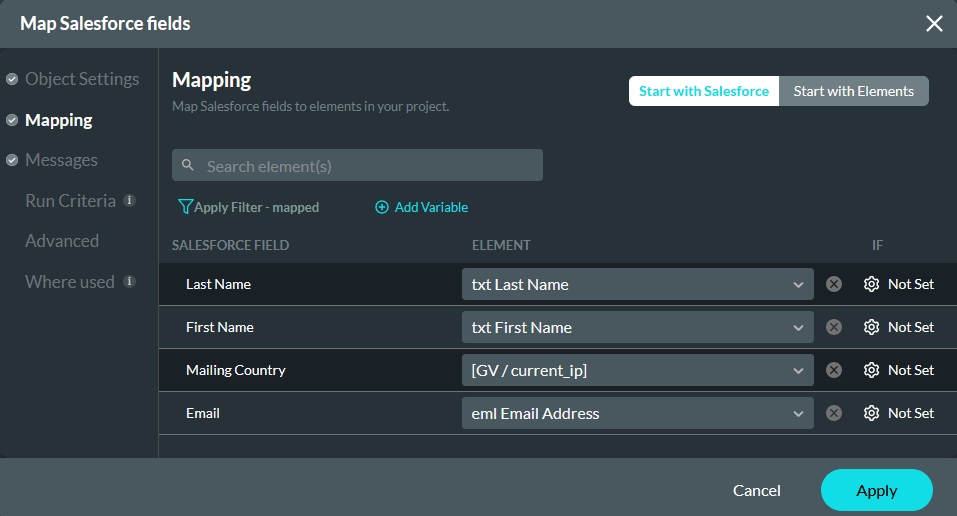
4. In the Mapping tab, map the project elements to the corresponding Salesforce fields. You can map your created variables to Salesforce fields.
Once you have finished configuring your Salesforce push, you must assign it to an interactive element to invoke the action. For example, the button.
05 Preview
When working with variables, it is important to enable debug mode as this is where you will see the stored information.
1. Navigate to the Project Settings menu and click the Tools tab.
2. Enable the Debug toggle switch.
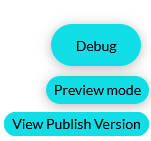
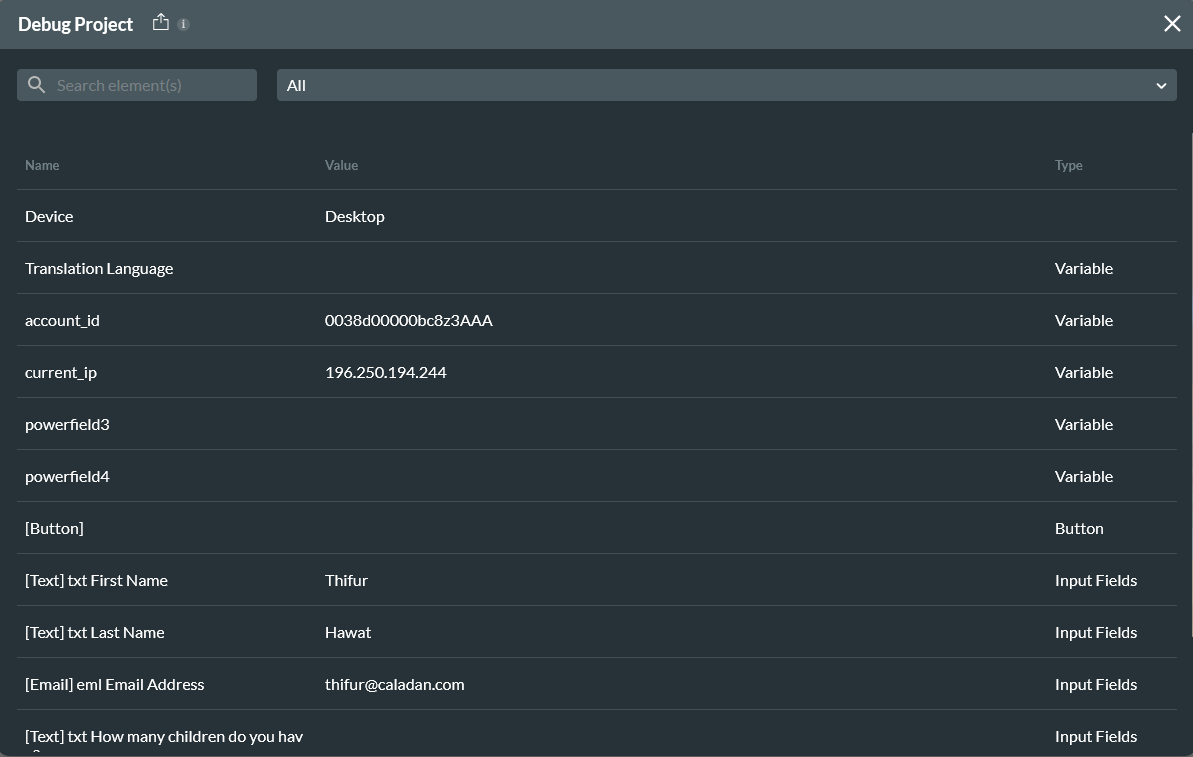
3. When previewing your project, click the Debug button to open the Debug Project window.
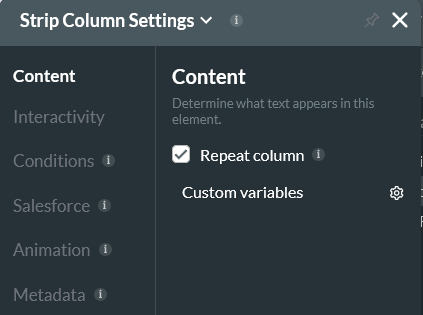
06 Repeat Column and Strip
If you choose to enable the repeat strip or repeat column feature, you can create custom variables specifically for the repeat functionality.