Map to URL & Encrypted ID (9 min)
01 Getting Started
02 The Setup
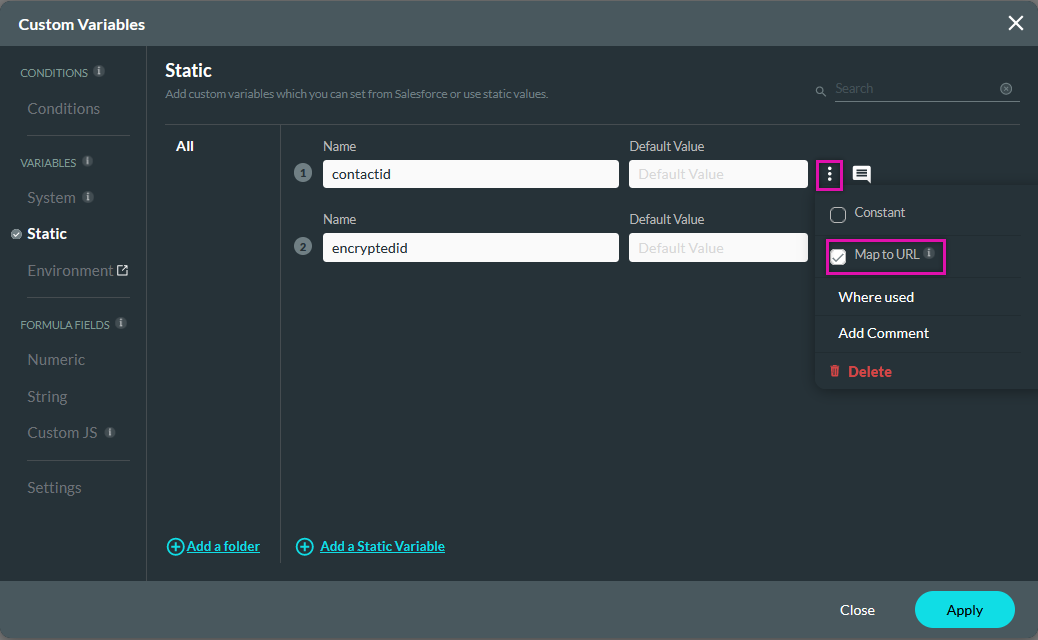
Two static variables were created: contactid and encryptedid.
Note: Only static variables can be passed through the URL.
For the variable to be passed through the URL, click on the ellipsis icon and enable Map to URL.
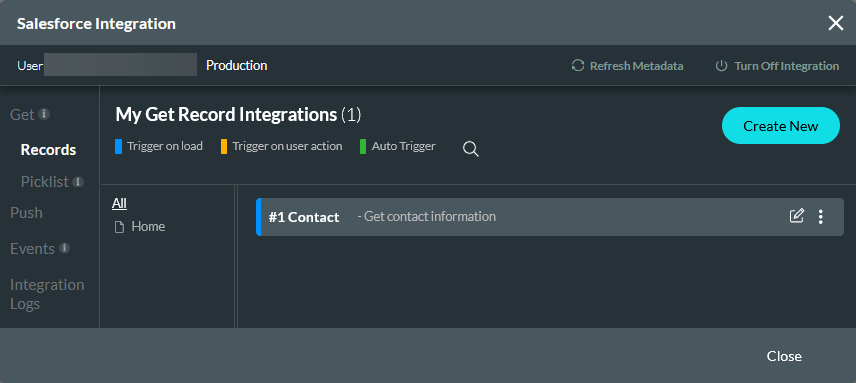
A Salesforce Get action was configured to load a contact's information if the Salesforce Contact ID field is equal to the contactid variable.
03 Preview
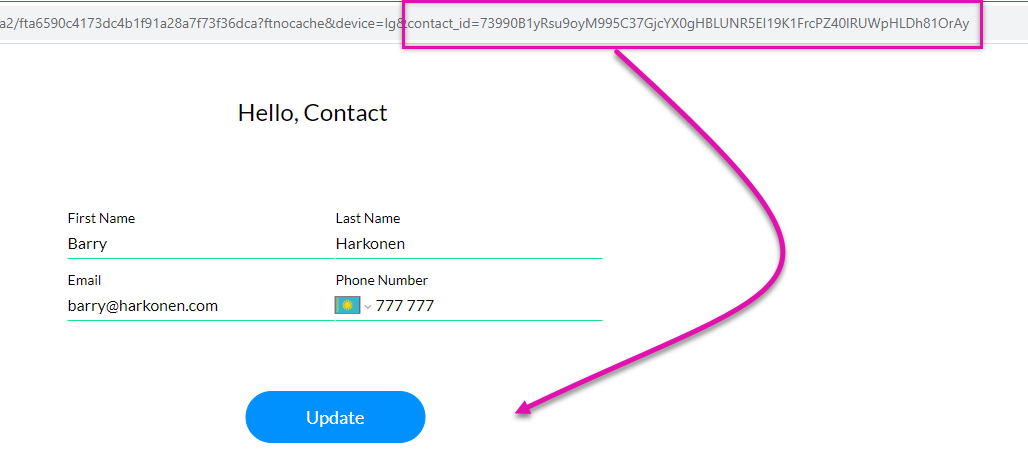
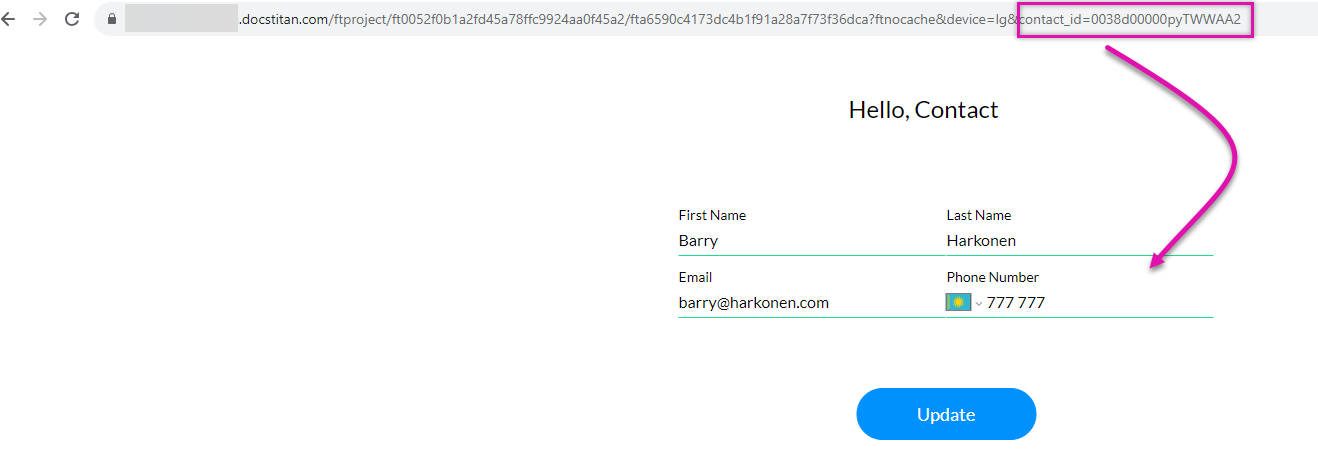
When you pass a contact ID through the URL, the contact’s details are populated in the fields. An issue with this is that Record IDs can often be similar, this means that a user can change a letter and potentially view another contact’s information.
04 Encrypting ID
You need to simply create a new field on your relevant Salesforce object, and make sure that it is a text type and can contain 150 characters.
Next, navigate to Flows in the Salesforce Setup screen and follow these steps:
1. Click the New Flow button.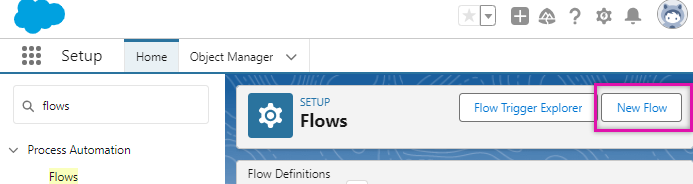
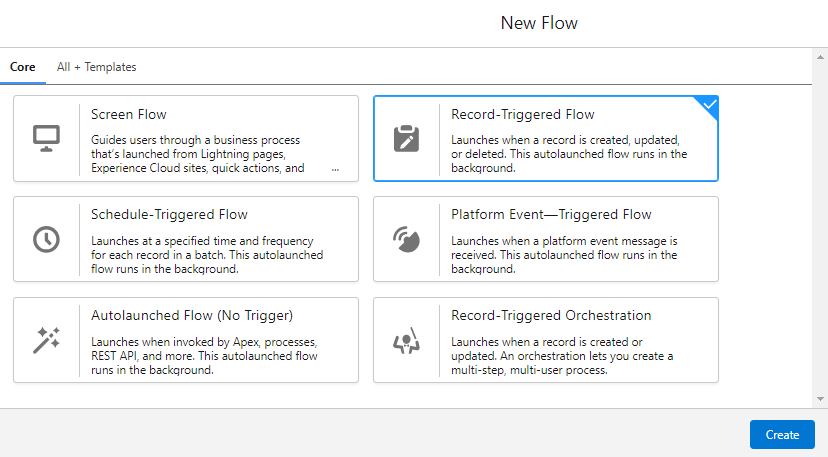
2. Select Record-Triggered Flow and select Create.
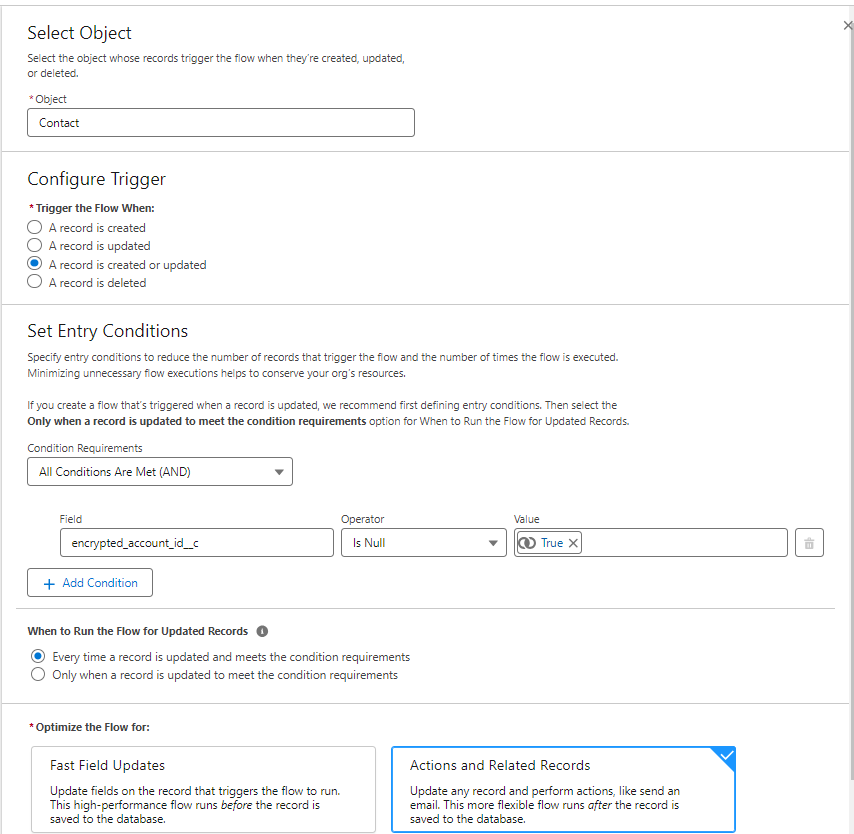
3. For this example, we have selected the Contact object to trigger when a record is created or updated, and the condition requirements must be met.
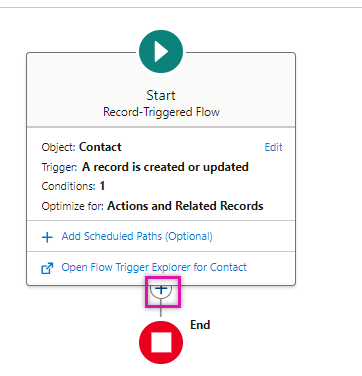
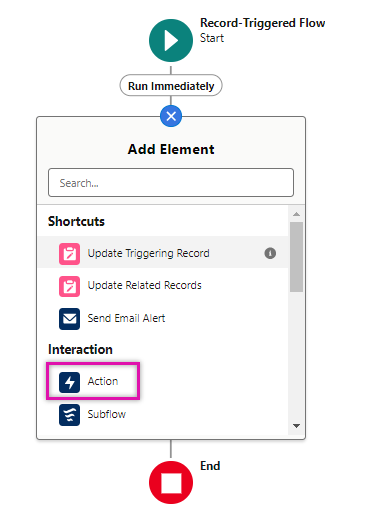
4. Click the + Icon in your Salesforce flow.
5. Select Action.
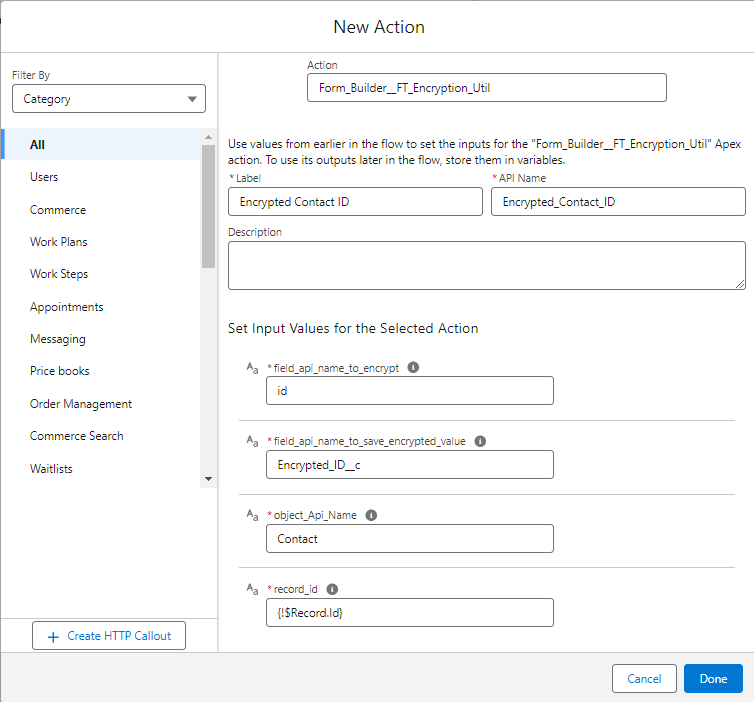
6. Choose the Form_Builder_FT_Encryption_Util action.
7. Give the action a Label.
8. Choose the id as the field_api_name_to_encrypt.
9. Find your custom encrypted ID field under field_api_name_to_save_encrypted_value.
10. Add the Salesforce object under object_Api_Name.
11. Choose the record id for record_id.
12. Click Done.
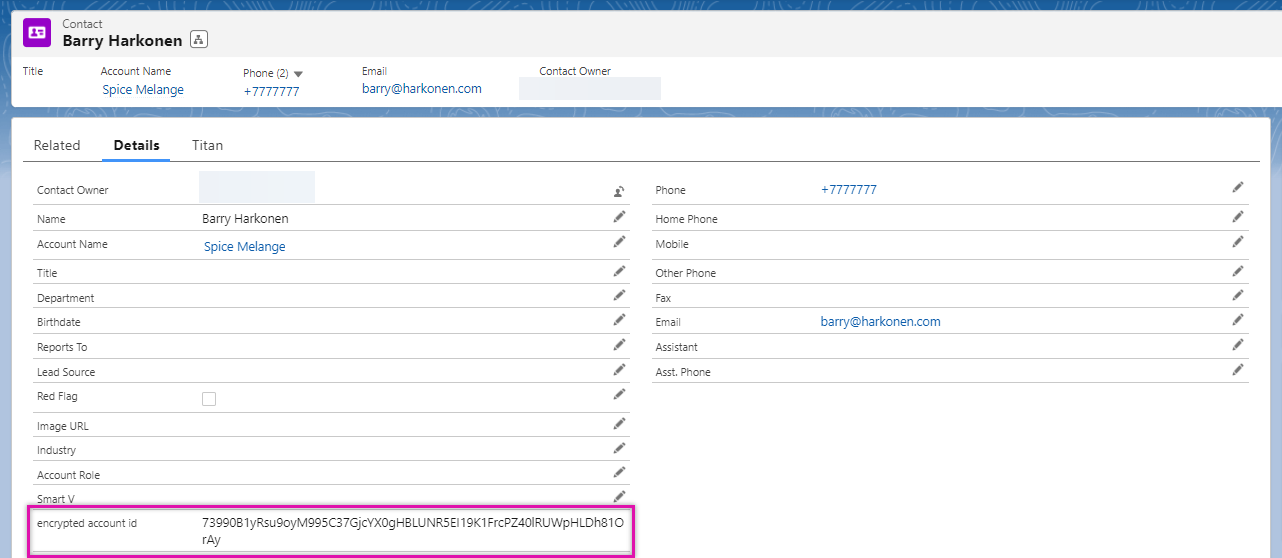
13. Save and Activate your flow. When any record on this object is created or updated, the encrypted id will be populated.
Save and Activate your Flow. When your record is updated, the encrypted ID will populate.
05 Update Conditions
For the Encrypted ID to be passed through the URL, the conditions must be updated to the encrypted account ID field you created.
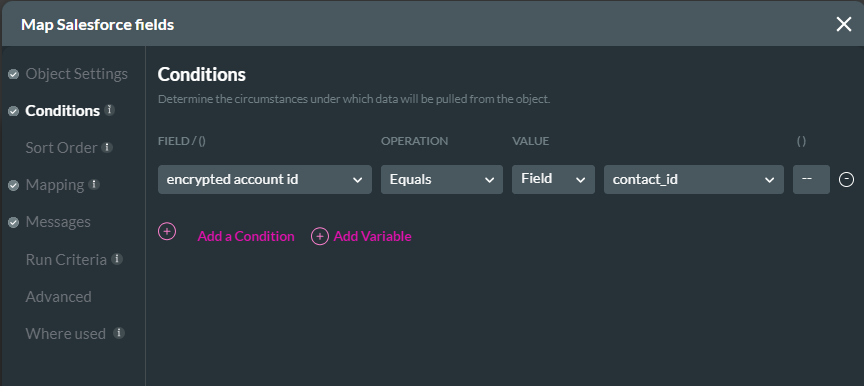
Now you will be able to pass the encrypted ID through the URL to display the contact information without risking the user accessing another contact’s information.