Create a Salesforce Push (8 min)
01 Getting Started
02 Configuring a Push
1. Click the Project Settings gear icon and select the Salesforce tab.
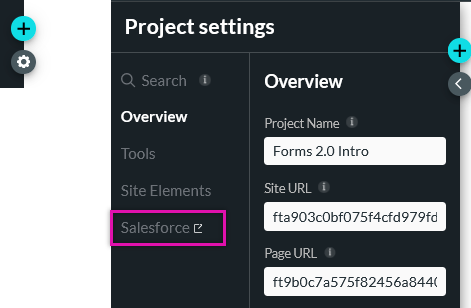
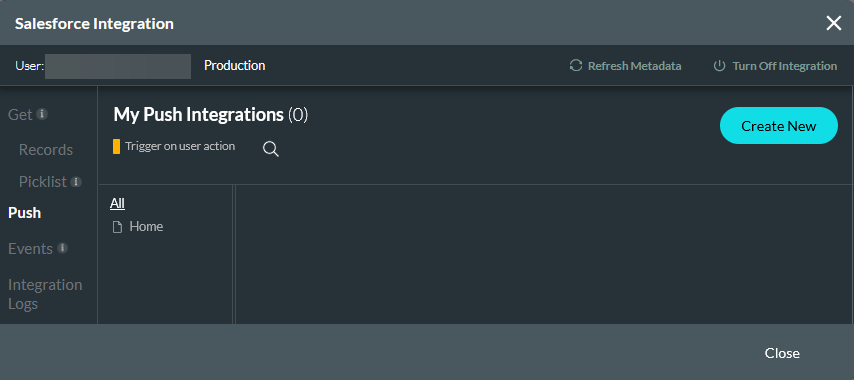
2. Select the Push tab and click Create New.
03 Object Settings
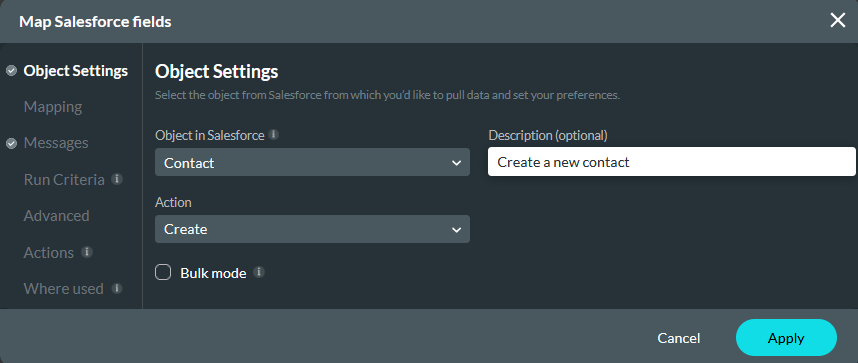
Using the Object dropdown. You can select the object in Salesforce that you want to push the data to. For example, a contact.
Choose the type of action that will be performed. You can choose to create, update, find, or delete data from Salesforce. For example, you want a new contact to be created.
Update, find, or delete actions require a condition to be set, the Conditions tab will be displayed automatically if conditions are required for your chosen action.
Bulk mode is useful if the action you want to carry out will affect a large set of data.
We recommend that you add a description for all your Salesforce actions for easy tracking.
04 Mapping
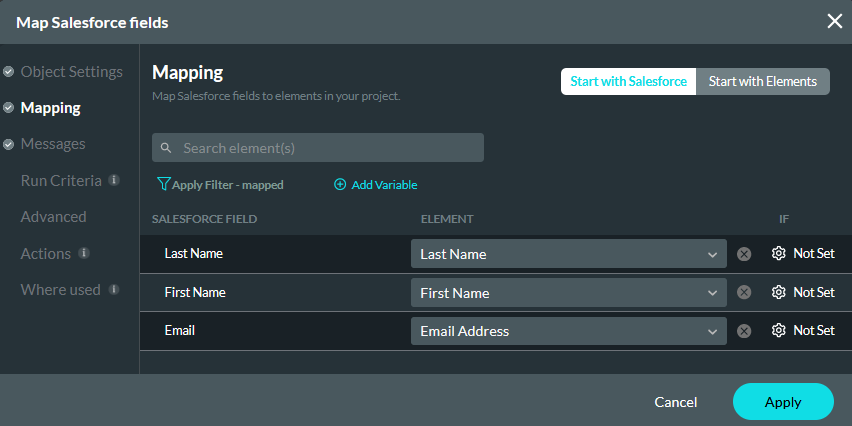
This tab maps elements in your Titan project with corresponding Salesforce fields. For example - the text element labeled First Name in Titan to the first name field in Salesforce.
You can search for elements in your project, filter the fields, and add variables from this tab.
05 Messages
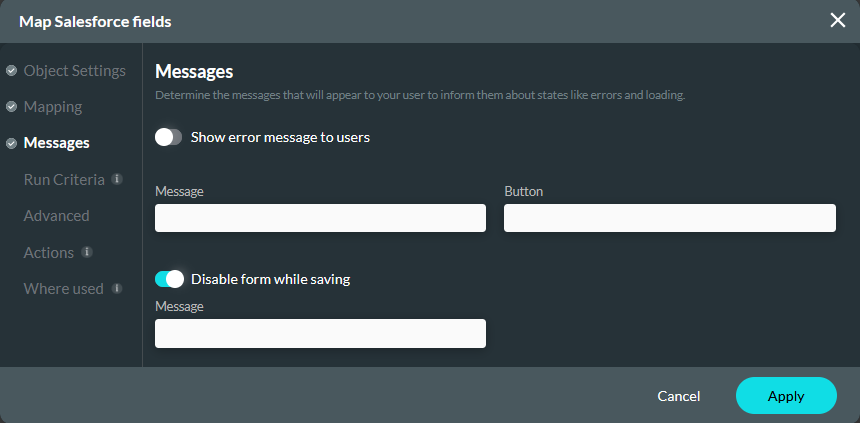
You can configure custom messages to display to users. These messages include errors and loading pop-ups.
06 Run Criteria
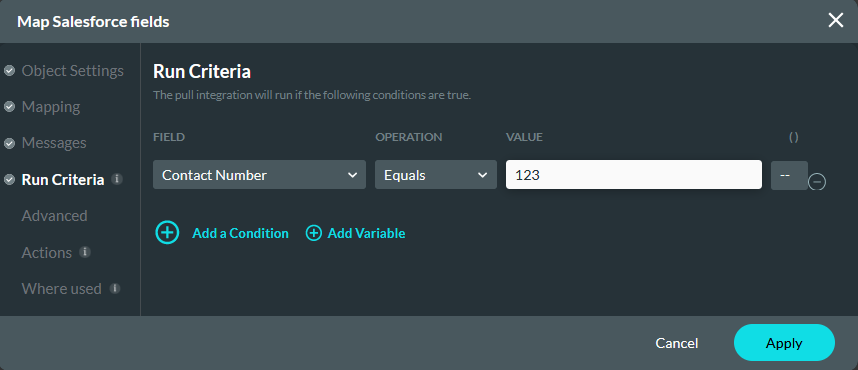
You can create conditions to only run the action if the criteria are met. For example, the contact phone number must contain the digits 123.
07 Advanced
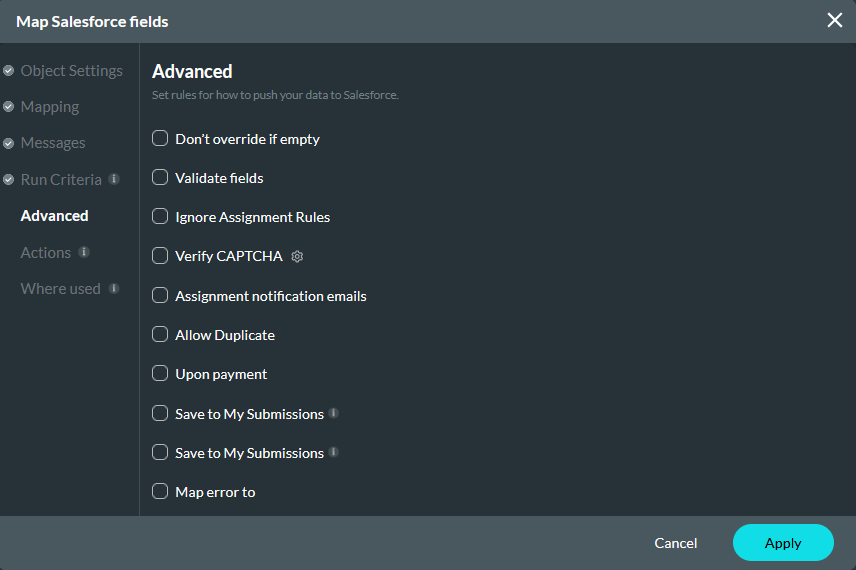
This tab contains several options for you to further specify how the data will be pushed to Salesforce. These options are covered in detail in the Working with Salesforce Data course.
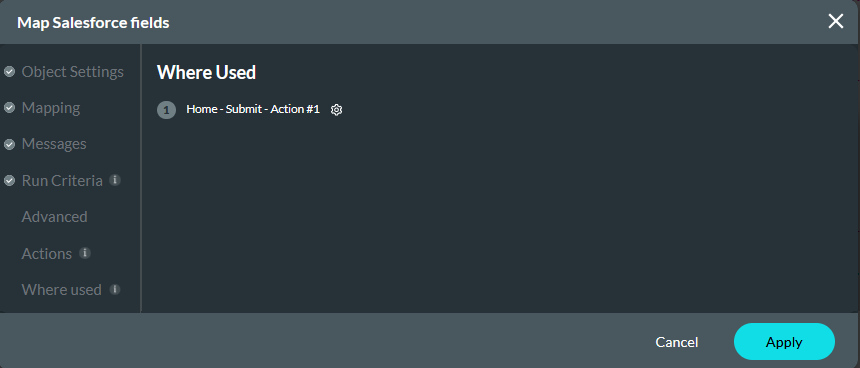
08 Where Used
This tab displays where the Push is invoked from in your form. Once your action is linked to an element, you will be able to see which element it is linked to on this page. For example - the Push to create a new contact is assigned to the submit button on the home page.
