Overview (6 min)
Completion requirements
01 Getting Started
This tutorial covers integrating Titan with Salesforce, including:
- Setting up Salesforce integration.
- How to push records to and get records from Salesforce.
02 Authenticate Salesforce in Titan
1. Log into your Titan account.
2. Select the Settings tab and navigate to the Integrations subtab.
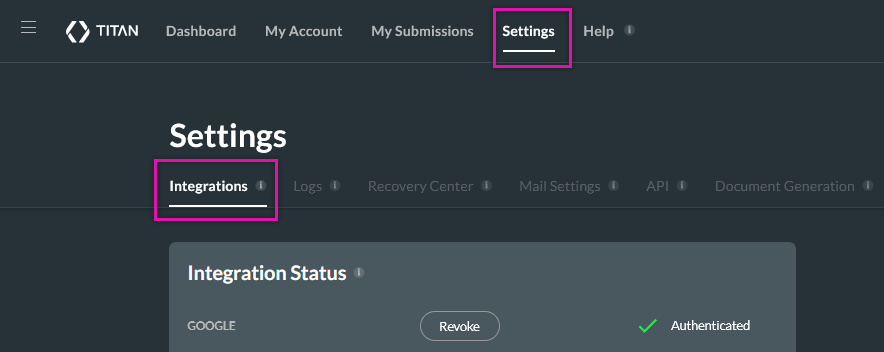
3. Scroll down to the Salesforce option and click Authenticate.

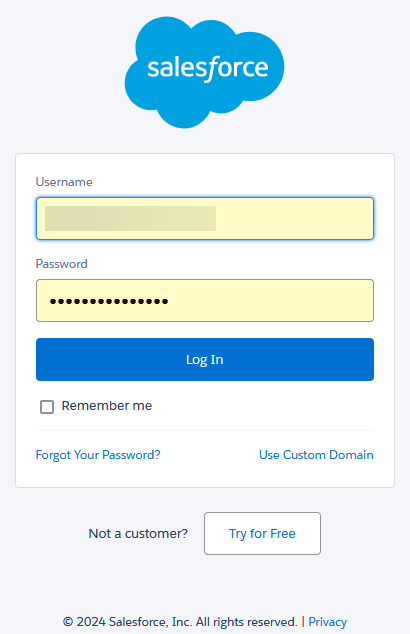
4. Enter your Salesforce login credentials.
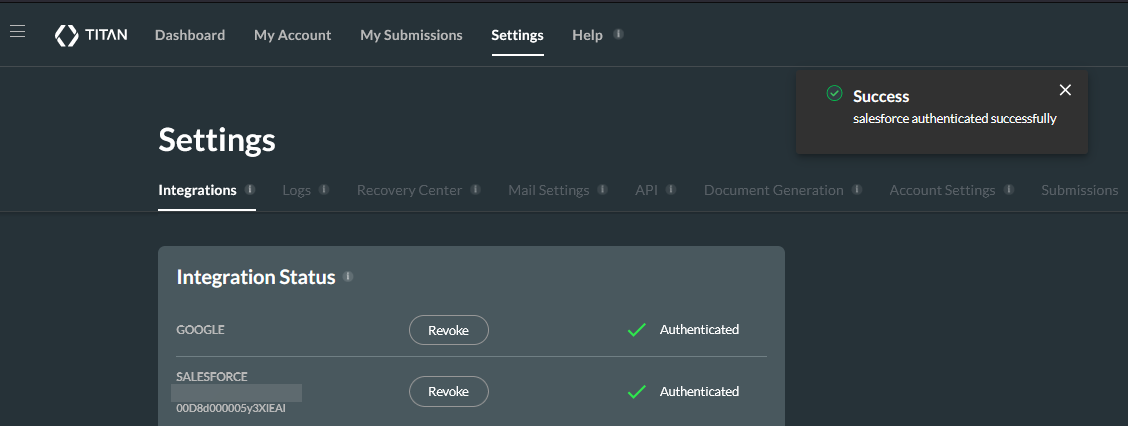
A success message is displayed and your authenticated app will display at the top of the Integrations list.
03 Get and Push Salesforce Actions
Get and Push actions are used to retrieve data from and send data to Salesforce.
1. Click the Project Settings gear icon and select the Salesforce tab.
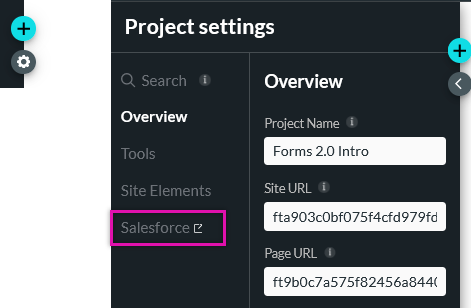
In the Salesforce Integration window, you can see the following:
- The user email address of the user who is logged into Salesforce.
- The environment that you are currently working in. This will be either Production or Sandbox.
- Refresh metadata can be used manually to resynch your Salesforce data in Titan. An automatic refresh occurs once a week. You would normally use this feature if you have added a new field to a Salesforce object.
- Turn-Off Integration is used when you no longer want Titan to sync data with Salesforce. This feature is normally used when you want to run tests without affecting your Salesforce data.
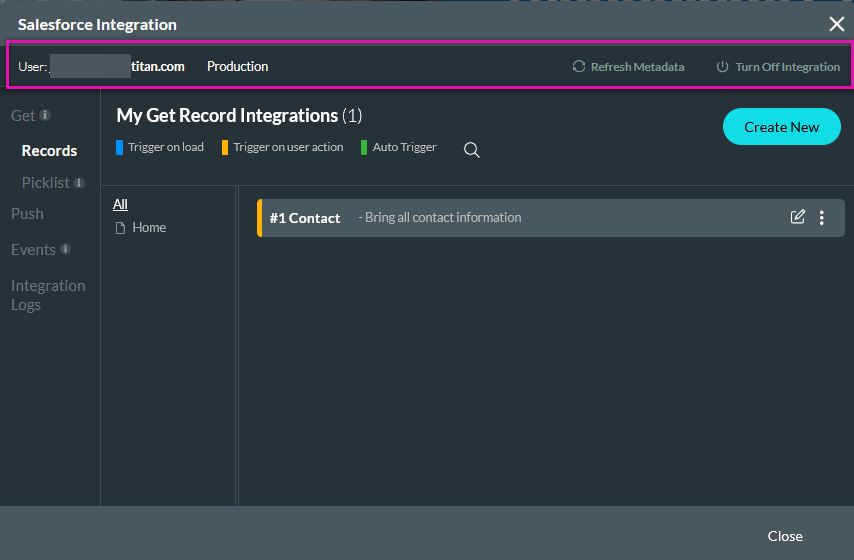
There are several types of Salesforce actions:
- Get Records - This queries data in Salesforce and pulls the relevant information into your Titan Form.
- Get Picklist - This syncs the values between a Salesforce picklist and a Titan picklist element. For example, the type picklist in an object.
- Push - These actions are used to send data to Salesforce. This can be used to update or create a record in Salesforce.
- Events - This monitor is used to scan for occurrences in Salesforce platform events.
- Integration Logs - This hosts the results of your Salesforce actions. This can assist if you need to troubleshoot any errors.