Create a Salesforce Get (8 min)
01 Getting Started
02 Configuring a Get
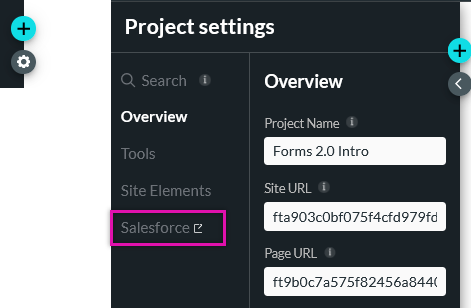
1. Click the Project Settings gear icon and select the Salesforce tab.
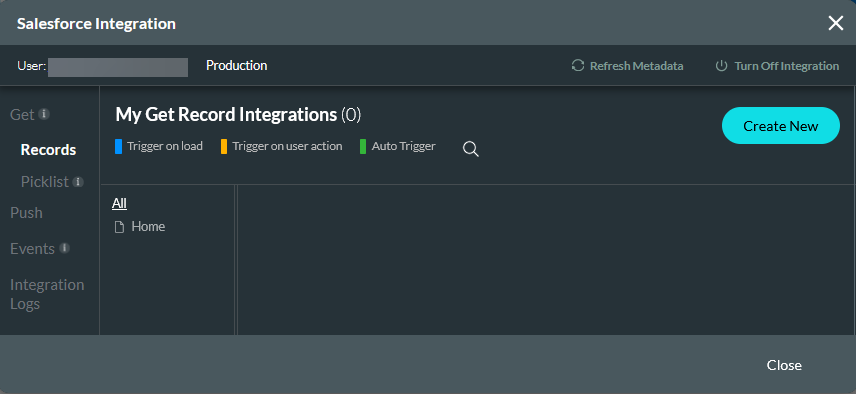
2. Select the Get Records tab and click Create New.
03 Object Settings
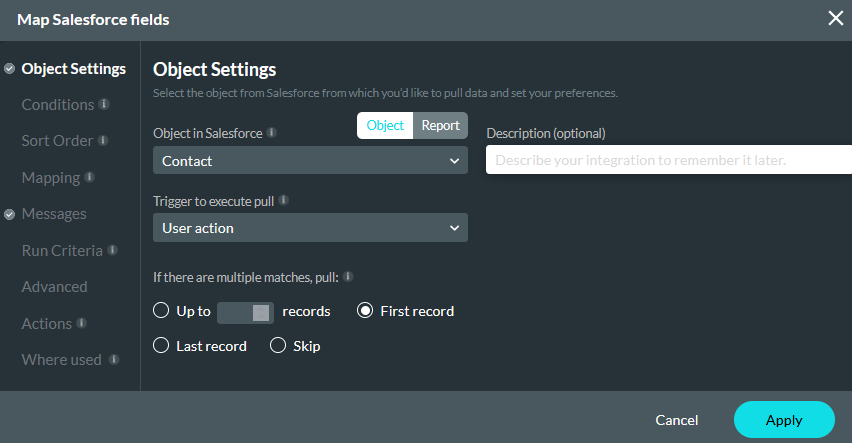
You can choose to pull data from a salesforce Object or Report. This tutorial will focus on the Object option.
Using the Object dropdown, you can select the object in Salesforce that holds the data you want to pull. For example, Contact information.
Choose the type of trigger that will invoke the action. You can choose between an Auto Trigger, On Load, or User Action. For this example, we will choose User Action as it is the most commonly used trigger.
Configure how many records you want to pull. These settings will apply to the verified data only.
We recommend that you add a description for all your Salesforce actions for easy tracking.
04 Conditions
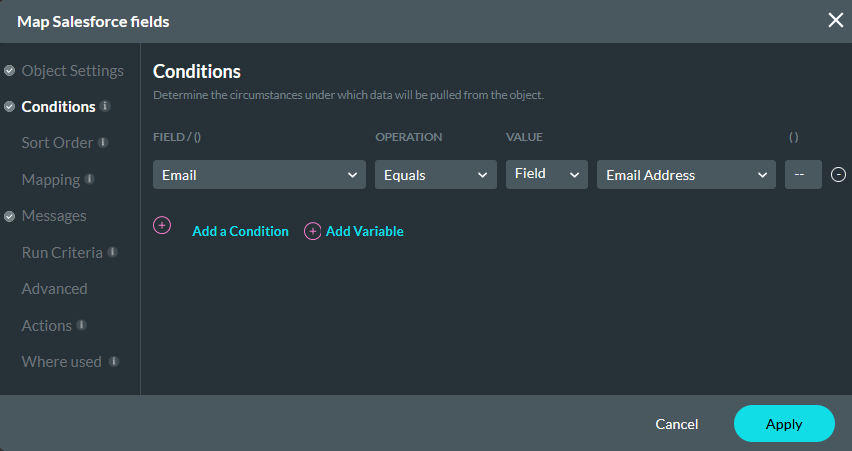
You can set criteria that will be used to validate your Salesforce data. For example - the contact email in Salesforce must equal the email address provided by the user.
05 Sort Order
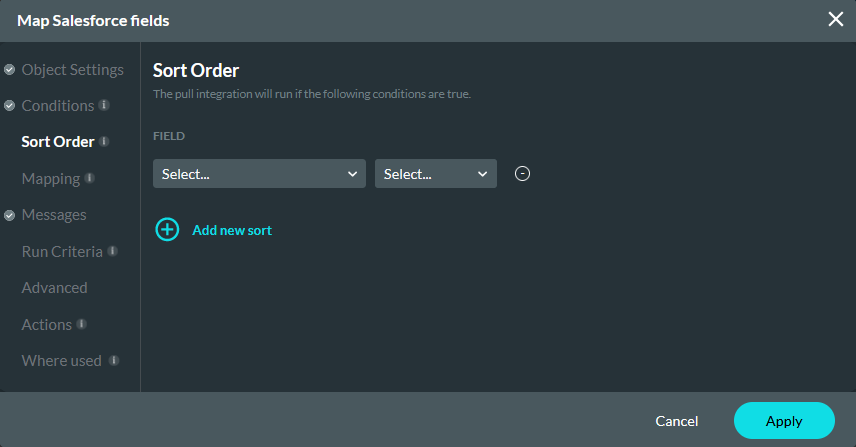
You can choose the Salesforce field to sort the data by. If you only pull a single record, you do not have to set a sort order.
06 Mapping
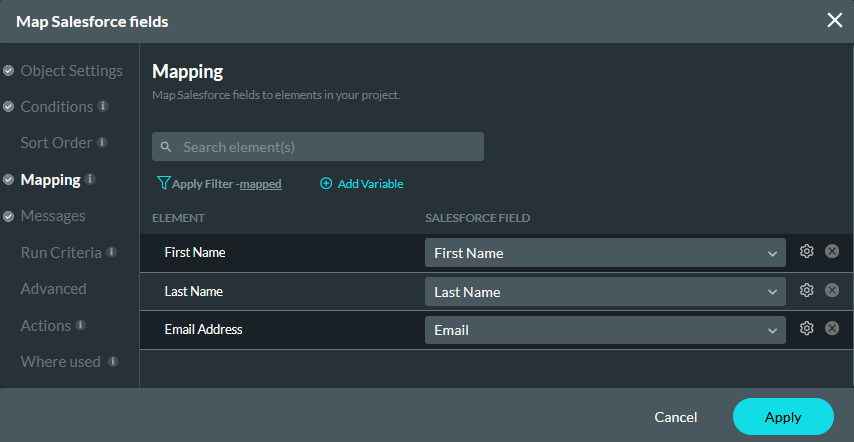
This tab is used to map elements in your Titan project with corresponding Salesforce fields. For example - the text element labeled First Name in Titan to the first name field in Salesforce.
You can search for elements in your project, filter the fields, and add variables from this tab.
07 Messages
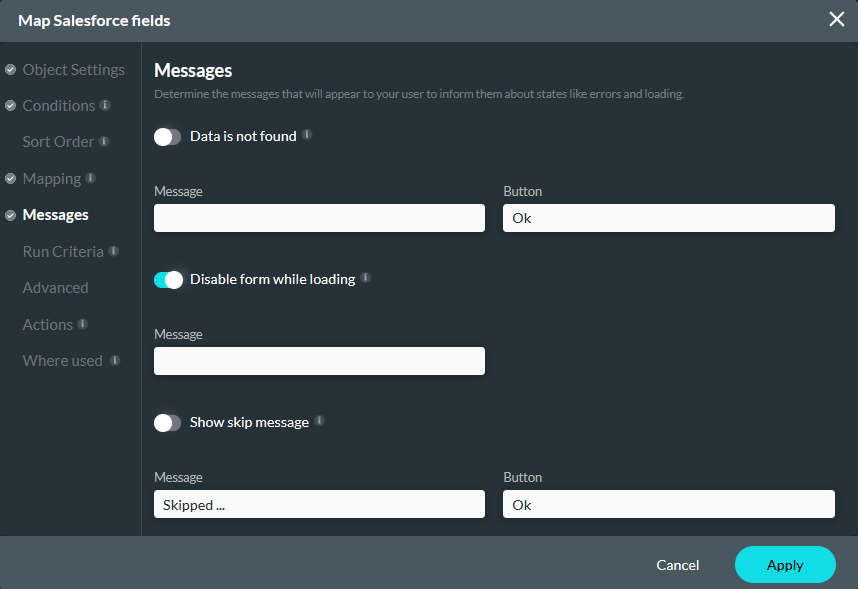
You can configure custom messages to display to users. These messages include errors and loading pop-ups.
08 Run Criteria
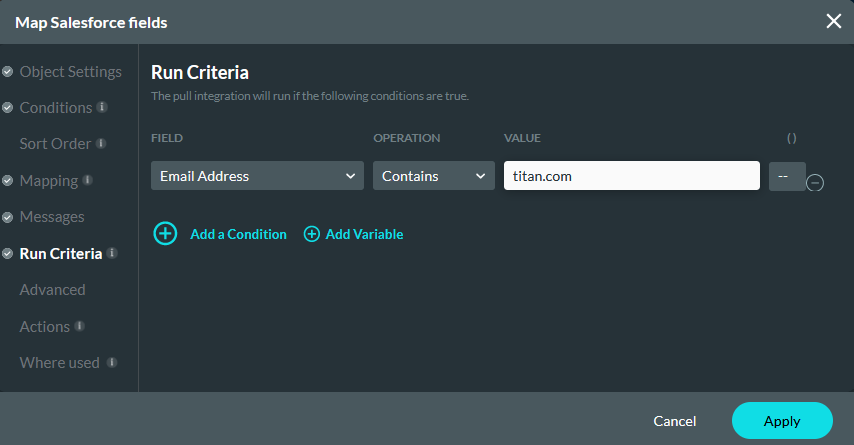
You can create conditions to only run the action if the criteria are met. For example, the email address must contain titan.com
09 Advanced
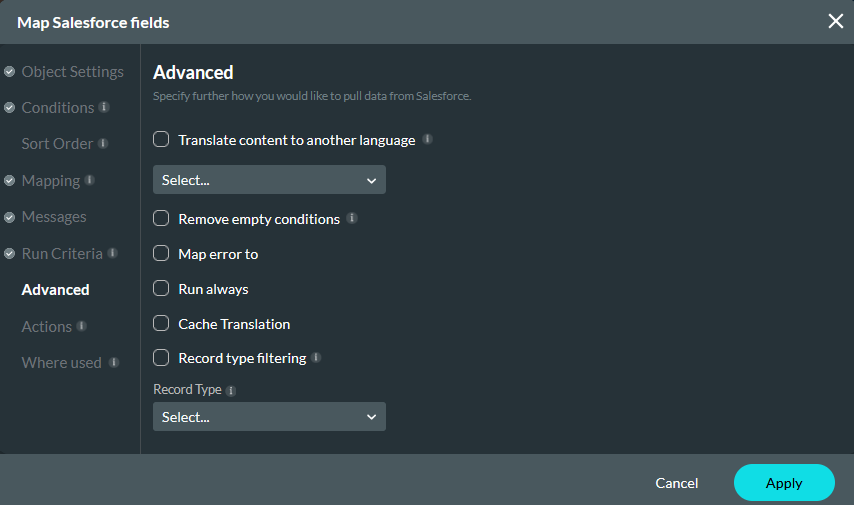
This tab contains several options for you to further specify how the data will be pulled from Salesforce. These options will be covered in detail in another lesson.
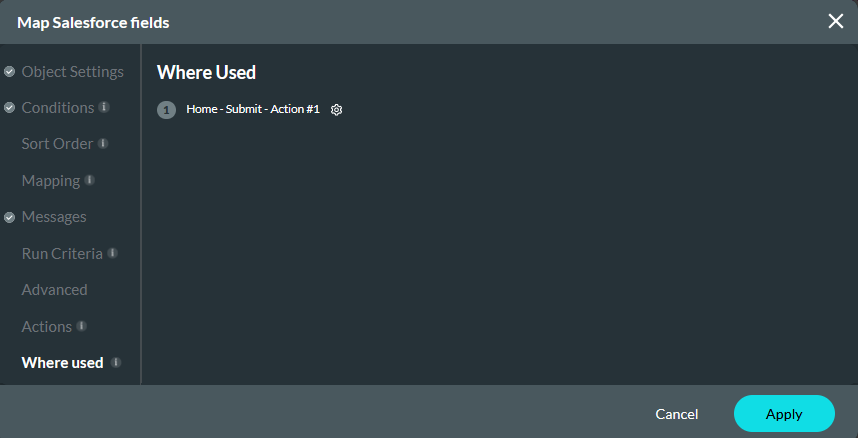
10 Where Used
This tab displays where the get is invoked from in your form. Once your action is linked to an element, you will be able to see which element it is linked to on this page. For example - the Get to pull contact information is assigned to the submit button on the home page.
