Create a Salesforce Push Find (7:30 min)
01 Getting Started
02 Setup
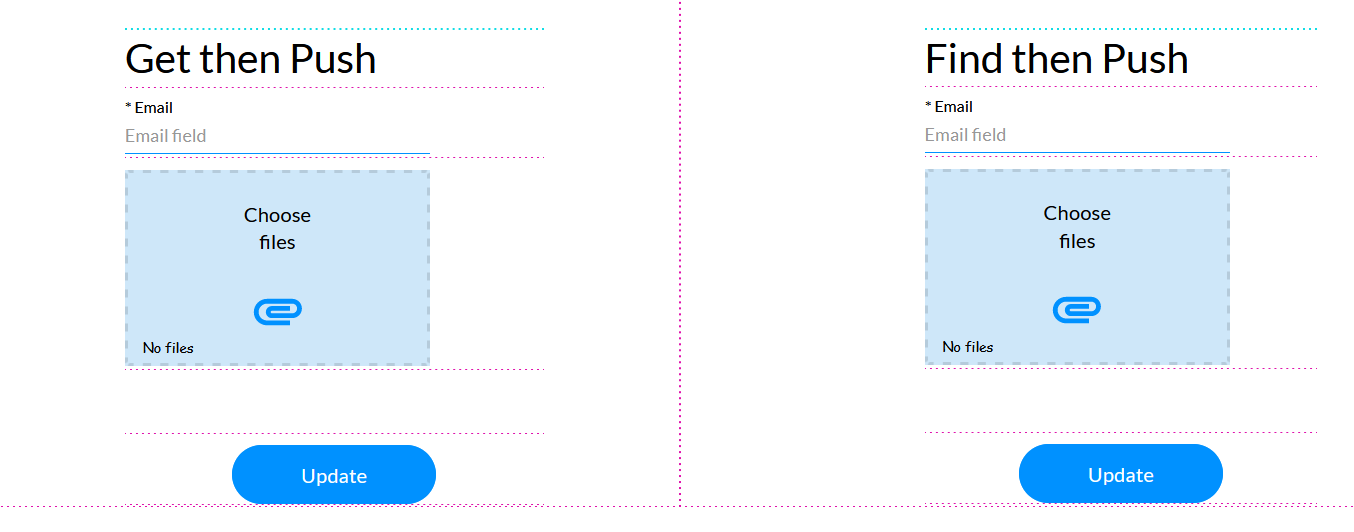
A project was set up with two different forms: the email field in the form will be used to verify the user, the file attachment will be uploaded to Salesforce, and the button invokes the Salesforce action.
The form on the left will be used to demonstrate the Get then Push action and the form on the right will be used to demonstrate the Find then Push action.
For the form on the left, the following Salesforce actions have been configured:
- A Get to pull the contact information if the email address entered into the form matches the email address in Salesforce. A Static Variable labeled “contactid” was mapped to the ContactID field in Salesforce when configuring the mapping tab.
- A Push to send the uploaded file to the content version field in Salesforce.
03 Configuring a Find
Now let’s configure the form on the right using the Find action.
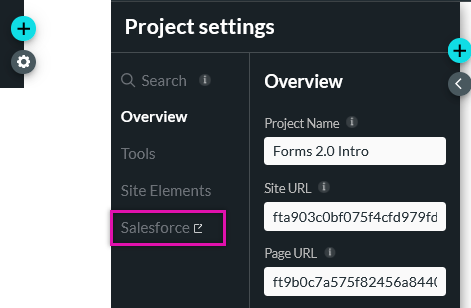
1. Click the Project Settings gear icon and select the Salesforce tab.
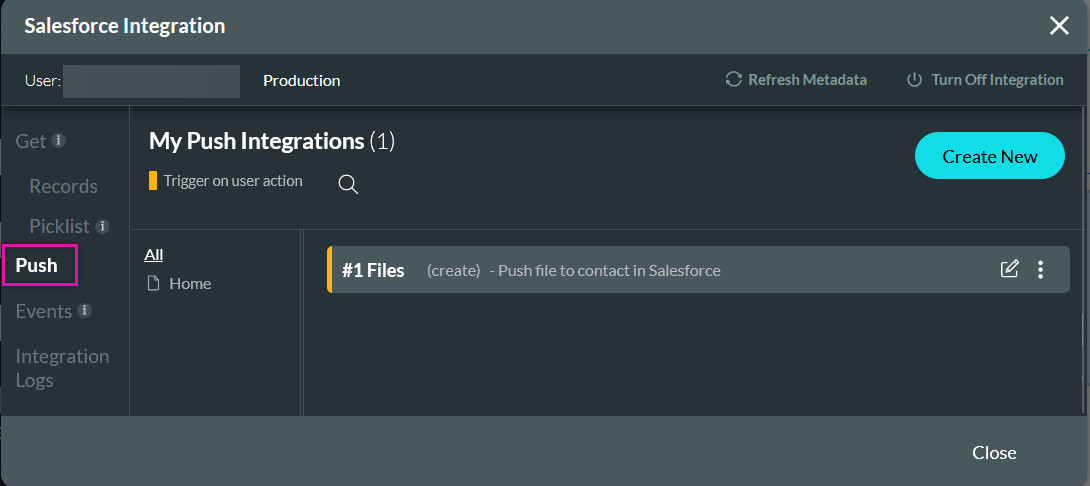
2. Select the Push tab and click Create New.
04 Object Settings
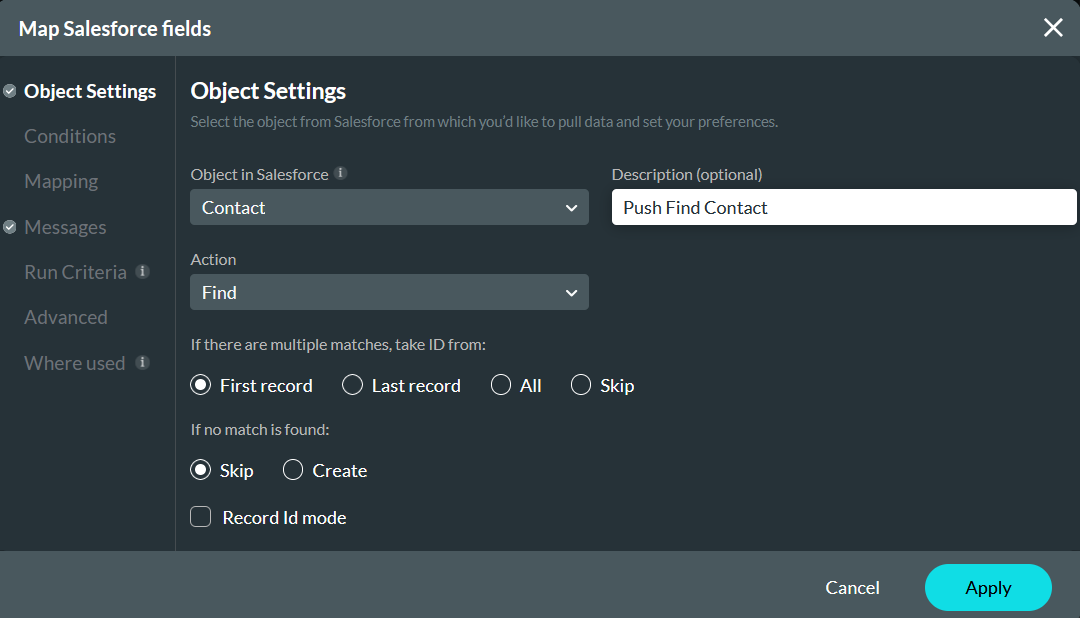
Object Settings Configure the following:
- Object - Contact
- Action - Find
- Matching Criteria - First Record
- If No Match is Found - Skip
- Description - Push Find Contact
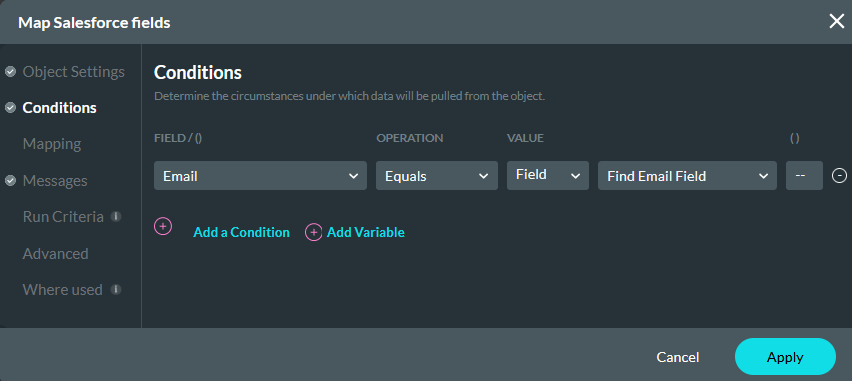
05 Conditions
Configuring a condition will ensure the correct contact is updated with the new data. To verify the user we will use the email field so that when a user enters an email address it must match the current email address for the contact in Salesforce. Click Apply.
Note: This find action does not require any mapping.
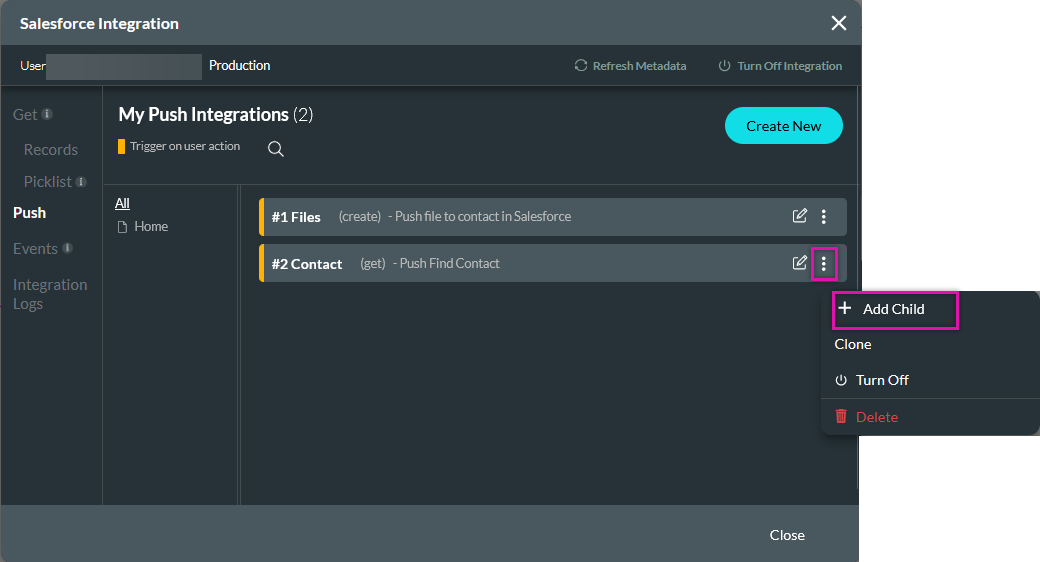
06 Adding a Child Push
Next, we need to configure a child push action to push the uploaded file to Salesforce.
1. Click the Ellipsis icon of the configured Find and select + Add Child.
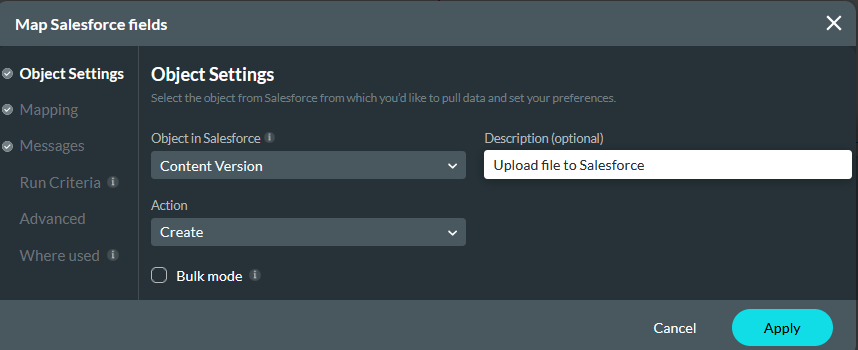
07 Object Settings
Configure the following:
- Object - File (Also known as Content Version)
- Action - Create
- Description - Upload file to Salesforce
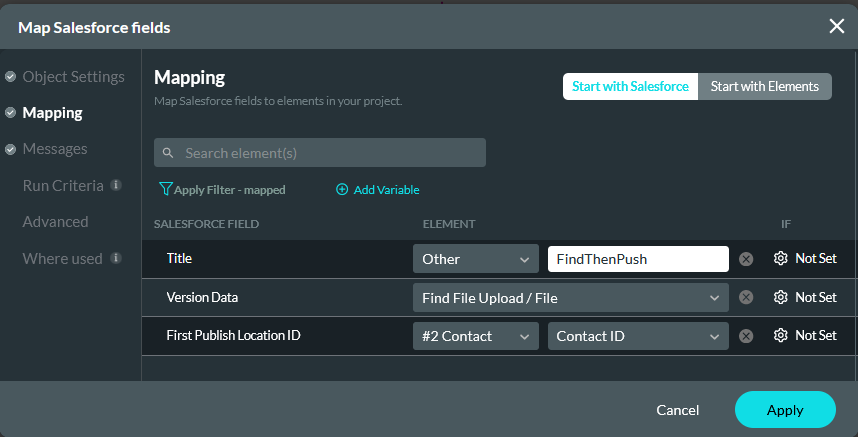
08 Mapping
Configure the following and click Apply.
- Title - Other: FindThenPush
- Version Data - File Upload
- First Publish Location ID - #2 Contact: Contact ID
To assign the Salesforce Action to the button:
1. Select the button and click the Interactivity icon.

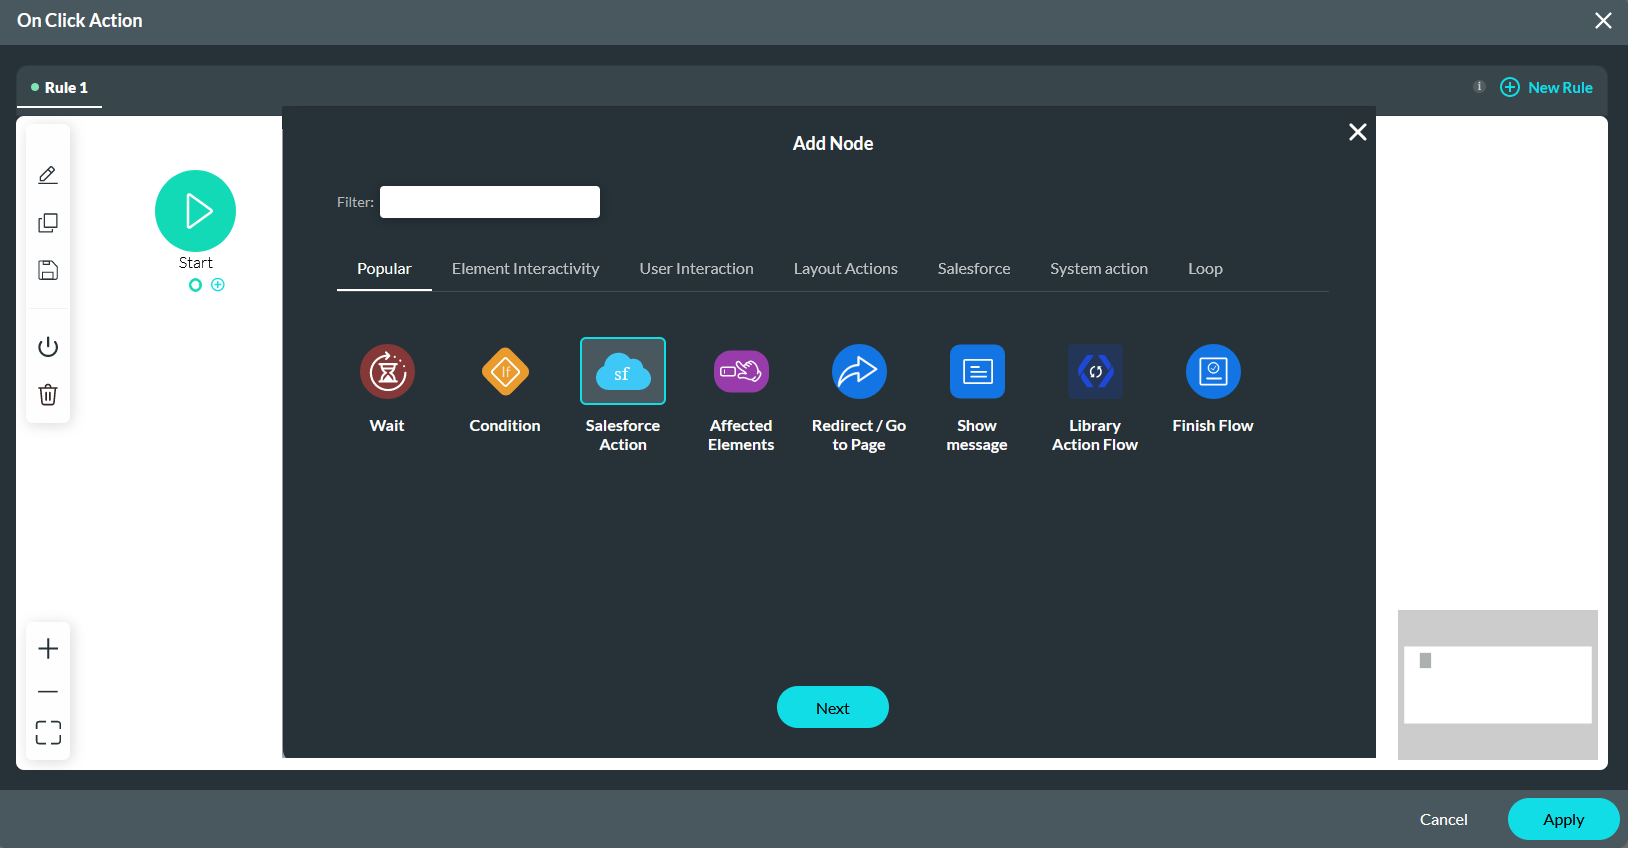
2. Select the Start + icon, choose Salesforce Action as the node, and click Next.
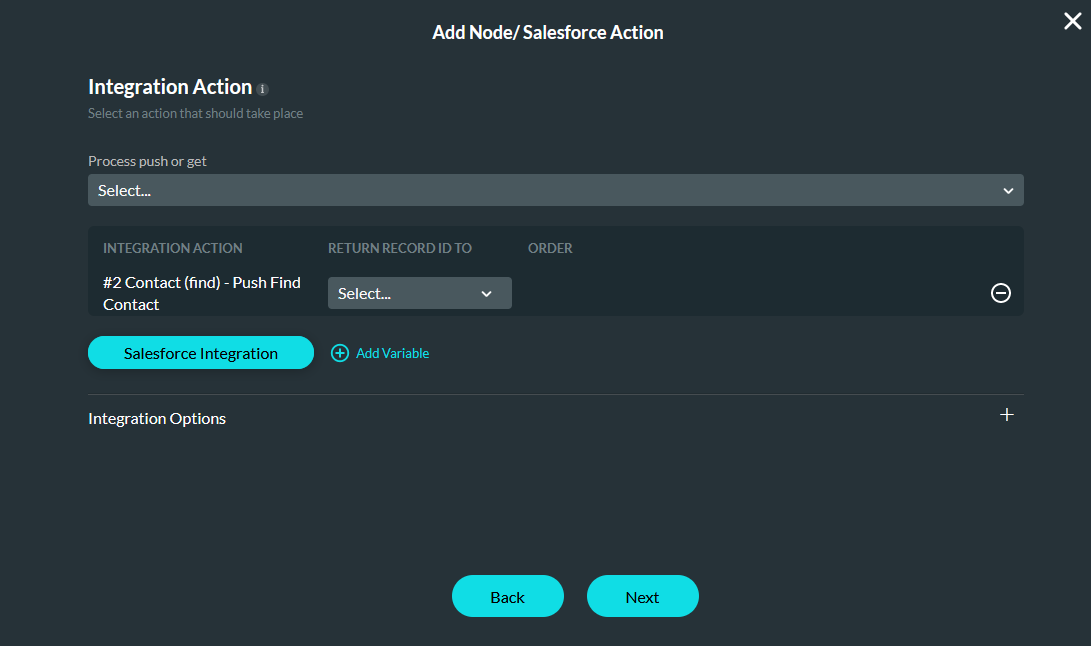
3. Use the dropdown to select the Push Find Contact Salesforce action and click Next. Note that you can only select the parent Push action as the child Push will automatically be triggered.
4. Enter a Tag name and click Insert.
5. Apply the On Click Action configuration.
09 Preview
Save and preview the form.
For the Get then Push form, when the user enters their email address details, uploads a file, and selects the Update button the get action will run to retrieve the contacts information then the file is uploaded. When this occurs, the record ID will be stored in the browser, this is due to the get being configured.
For the Find then Push form, when the user enters their email address details, uploads a file, and selects the Update button the Find action will run to find the contacts information then the file is uploaded. The record ID will not be stored in the browser, as data was not pulled from Salesforce but just found.