Repeat Get (12 min)
01 Getting Started
This tutorial covers how to work with repeat data in Forms 2.0, including:
- Repeat strips
- Repeat columns
- Repeat containers
02 The Setup
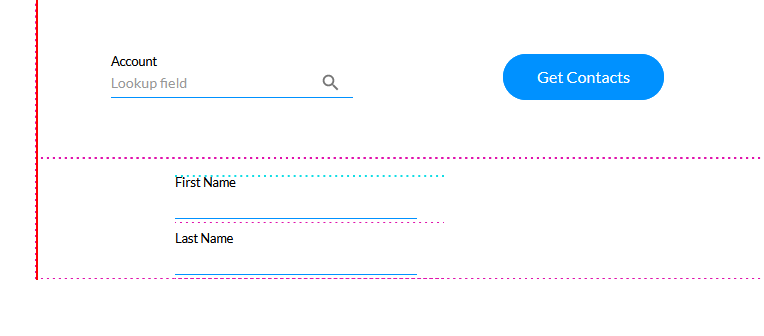
In the first strip, an account look-up field was configured and a button was added. When the button is clicked, a Salesforce Get action runs to retrieve all the contacts associated with that account.
In the second strip, a form was inserted with first name and last name text input fields. This form will be used to display the contact information.
03 Configuring a Get
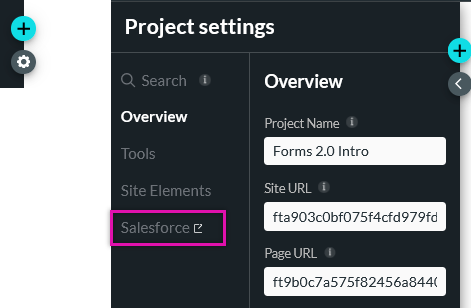
1. Click the Project Settings gear icon and select the Salesforce tab.
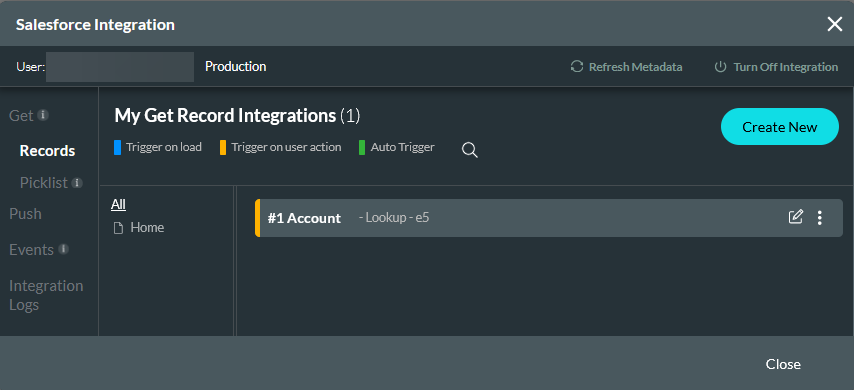
2. Click Create New in the Get Record tab.
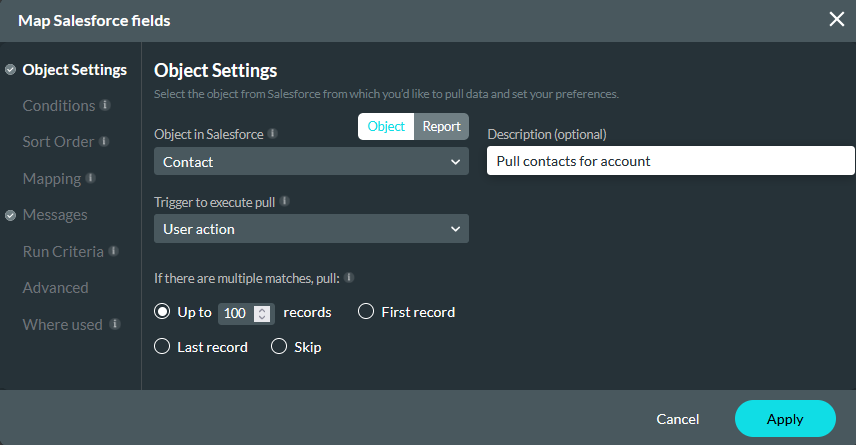
3. In the Object Settings tab configure: Contact as the Salesforce Object, User Action as the Trigger, configure how many matches to pull, and add a description.
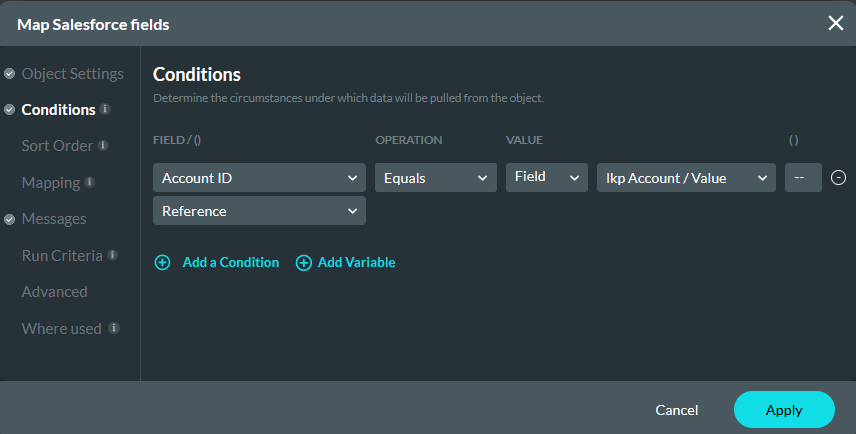
4. In the Conditions tab configure: the Account ID must equal the value of the Lookup field.
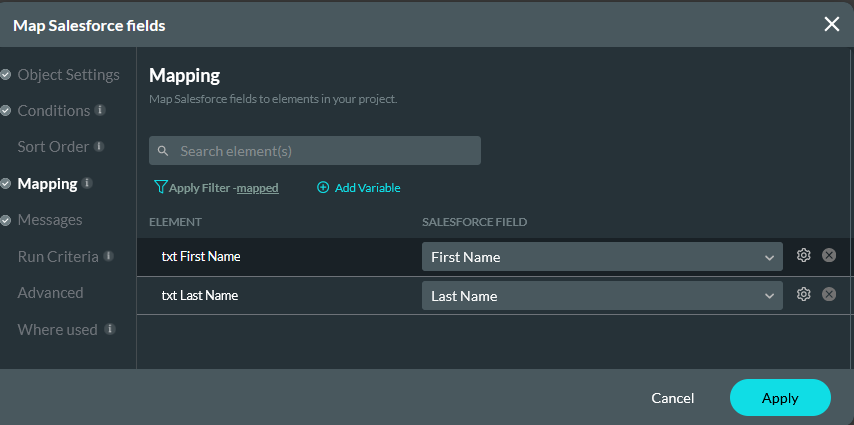
5. In the Mapping tab, map the first name and last name elements to the corresponding Salesforce fields. Click Apply.
Link your configured action to the Get Contacts button using the Salesforce Action node.
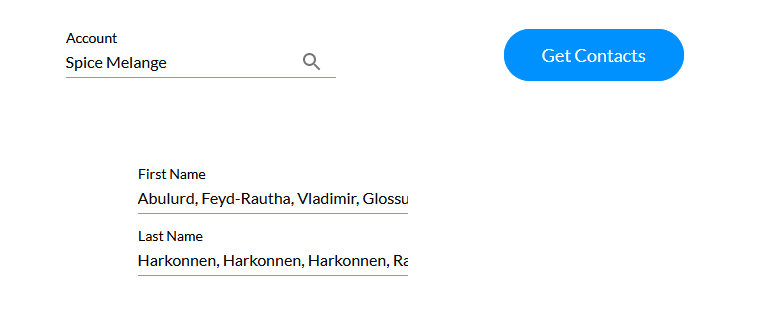
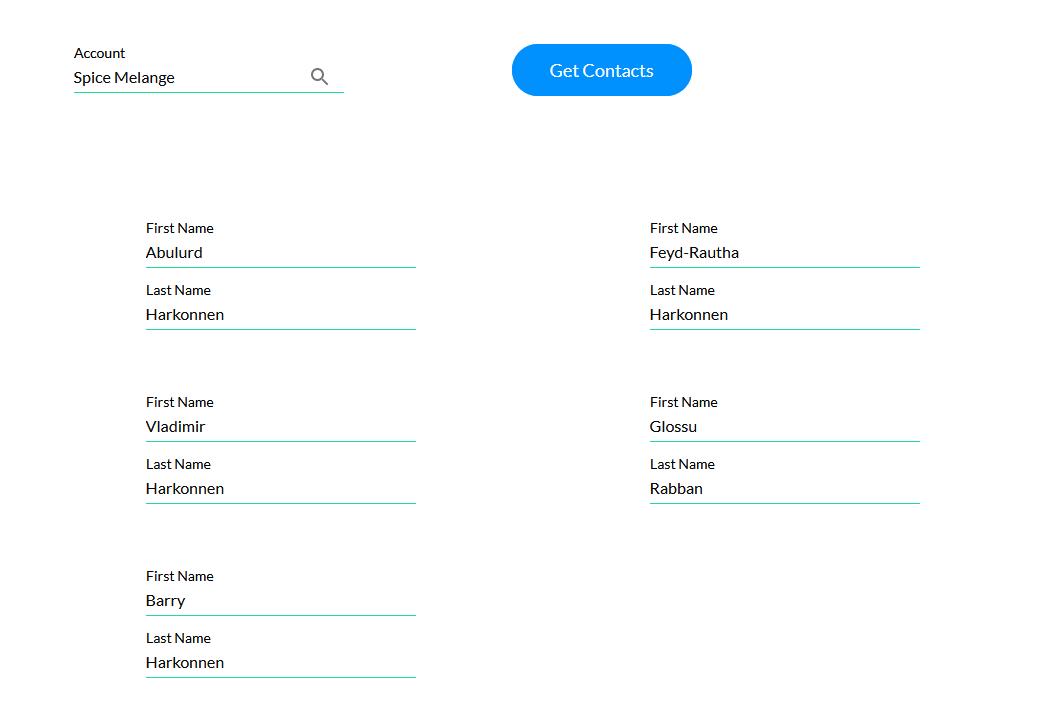
04 Preview
The current configuration allows a user to look up an account and display all the first names of the contacts in one input field and all the last names in another input field.
05 Repeat Strip
You can use Titan’s repeat features to display each contact’s name in a separate strip.
1. Click the Strips gear icon and enable Repeat.
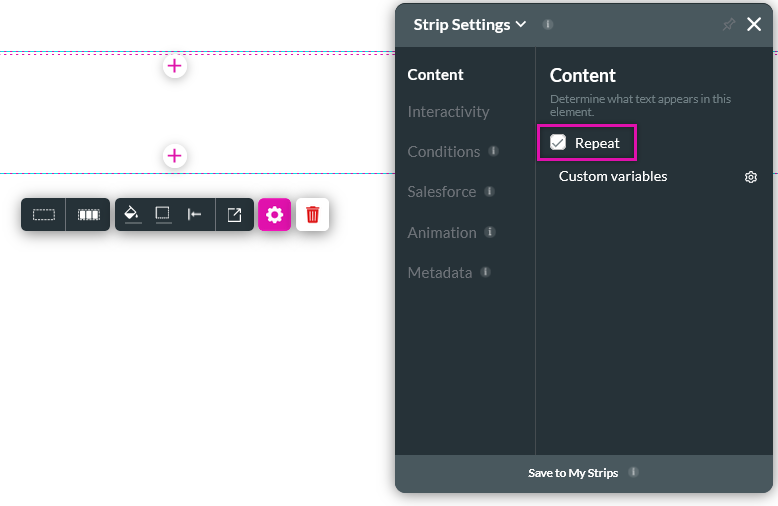
Each contact will have a separate strip.

06 Repeat Column
You can display the information in a repeat column.
Note: You must disable the repeat function on the strip before proceeding.
1. Click the Columns gear icon and enable Repeat.
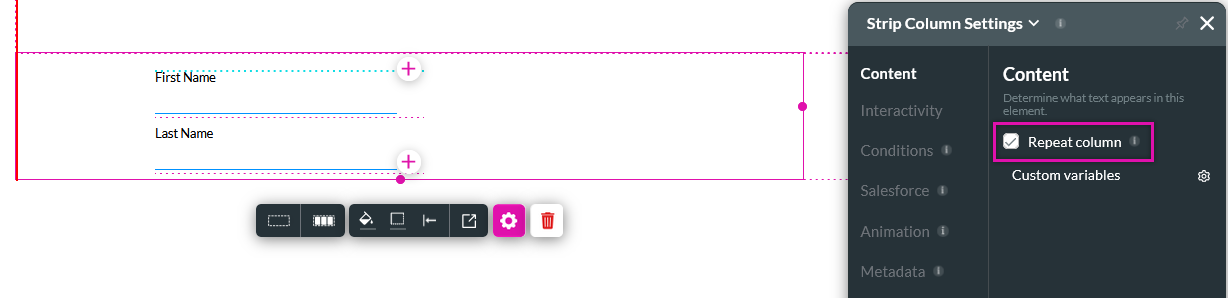
Each contact will be displayed in a separate column.
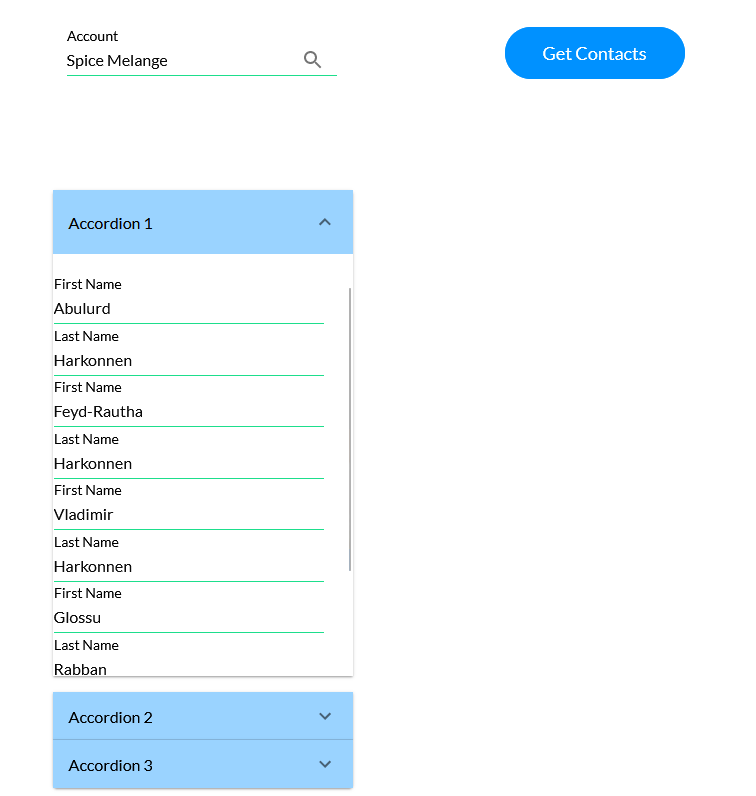
07 Repeat Autofit Container
You can use a repeat autofit container to have a repeat section within a container. For example, a segment of the accordion container requires the information to be repeated. This can be done by inserting a repeat autofit container.
The mapping of the Salefsorce Get was updated to reference the new fields.
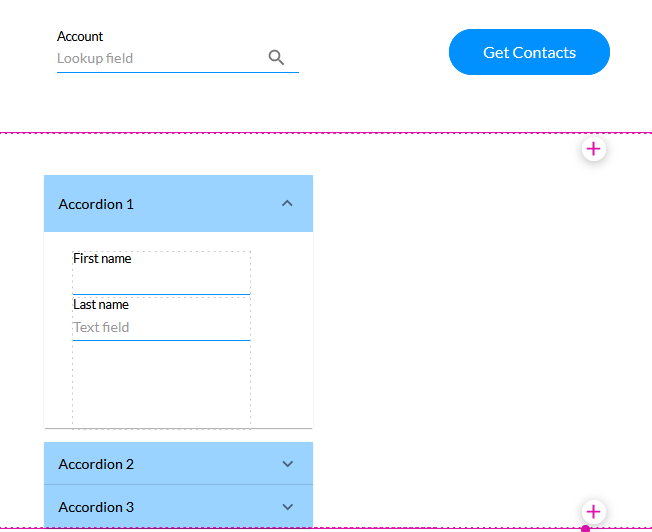
Each contact can now be displayed in the first segment of the accordion.
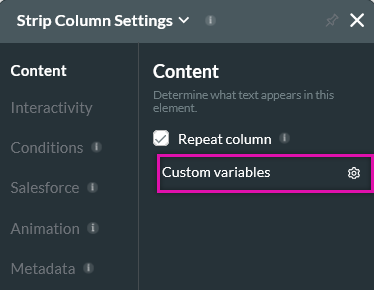
08 Variables in a Repeat
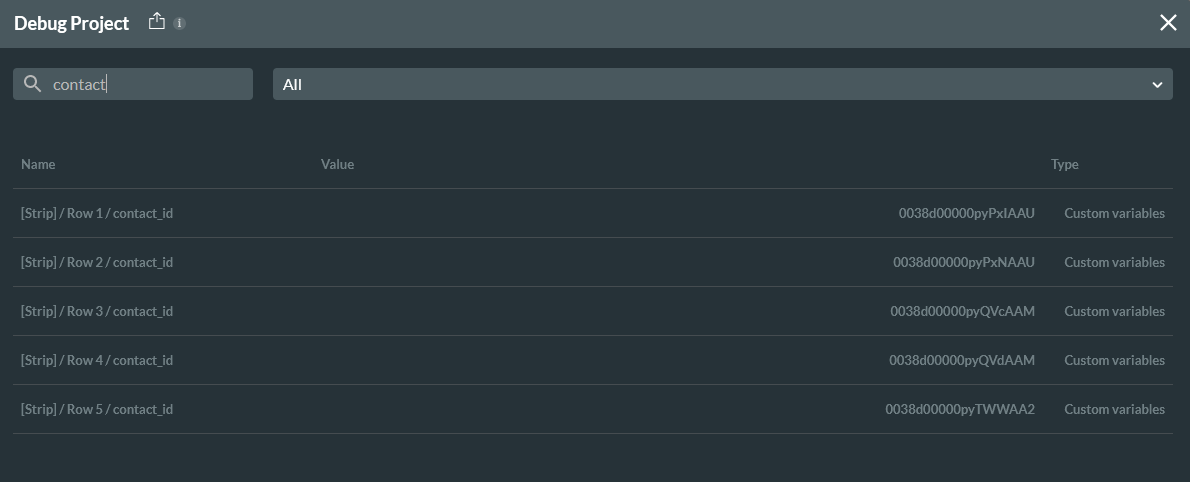
You can set custom variables for a repeat column by clicking the custom variable gear icon. This can help to bring through each contact’s ID from Salesforce.
Simply create a Static contact_id variable and map it in the Salesforce Get.
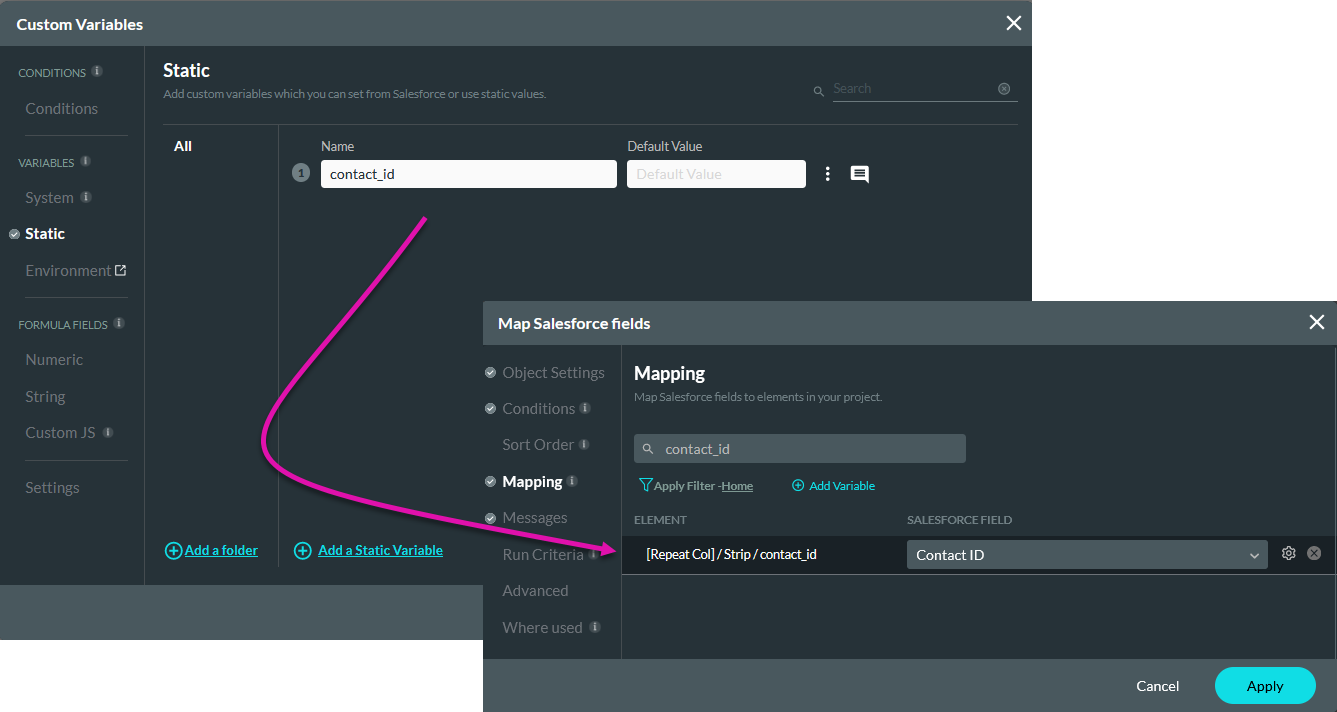
Now when the contacts are brought into the repeat column, their corresponding IDs will be stored in the variable. You can access this using the debug feature.