Media (18 min)
Completion requirements
01 Getting Started
This tutorial provides a general overview of the media element options for Forms 2.0. For an in-depth look at the media elements, please take our Media Course.
02 Image
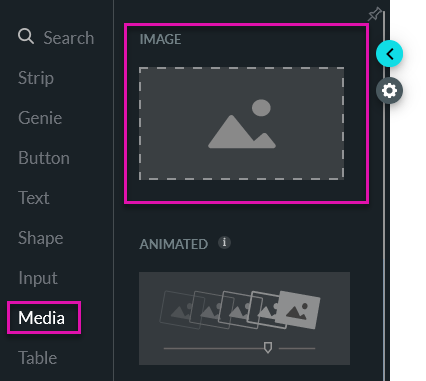
The image element is found under the media tab.
1. Click on the + icon to open the element menu and click the media tab.
2. Drag the Image element onto your canvas.
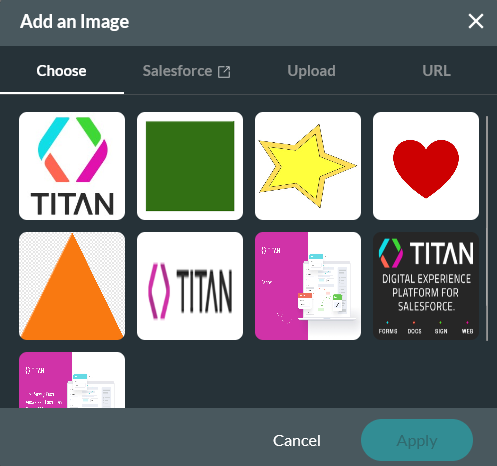
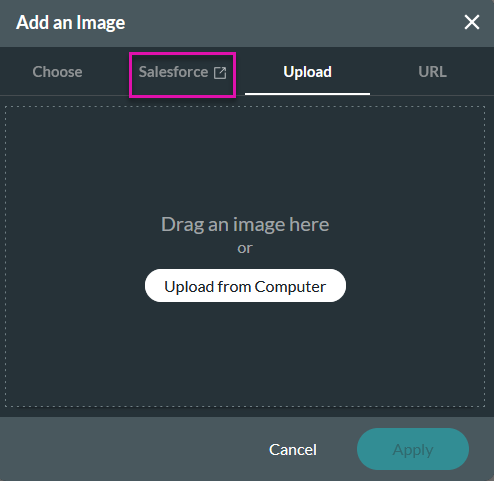
You can choose to display one of your previously uploaded images or upload a new image.
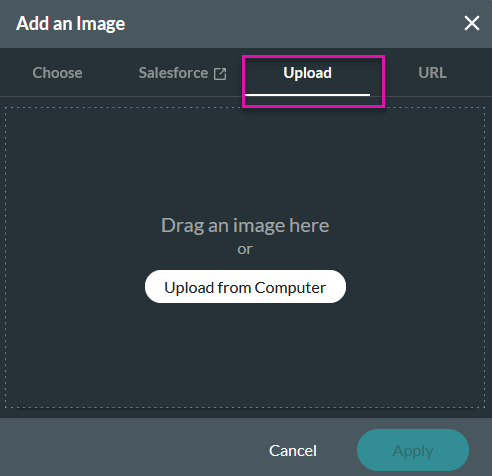
To upload a new image, click the Upload tab. You can upload from your computer or drag the image into the upload container.
Insert an Image Using a URL
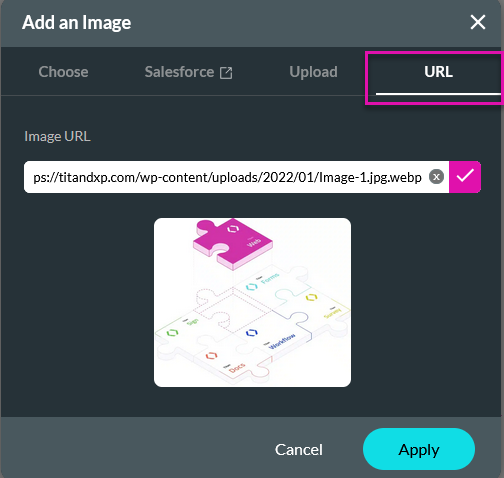
1. In the Add an Image window, click the URL tab.
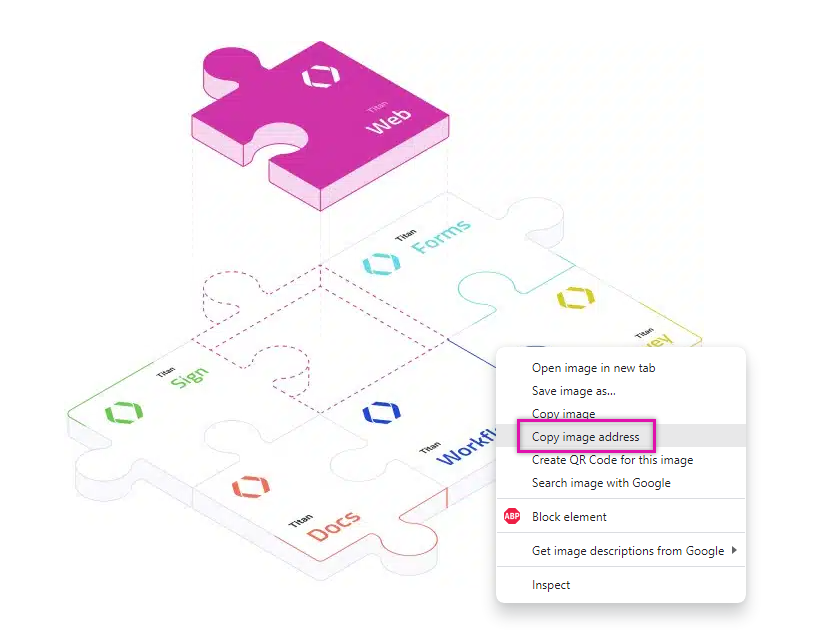
2. Copy an image URL directly from a website. The image must be from a public location for it to be displayed
3. Paste the URL into the Image URL field.
Using a Salesforce Image
We will review two options:
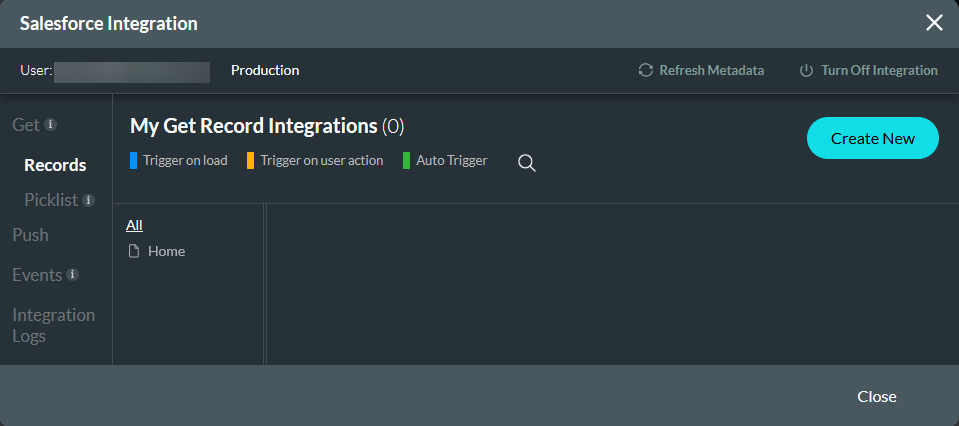
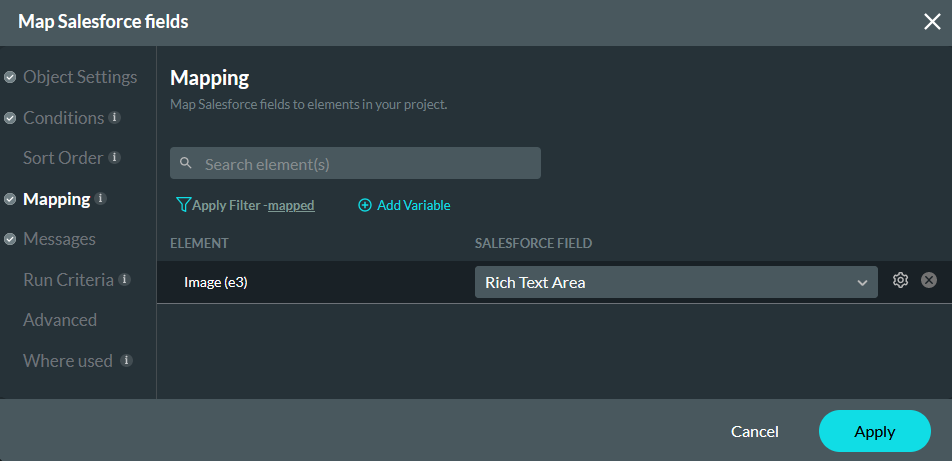
2. Select the Get Record tab and click Create New to configure a Salesforce get to retrieve the record that contains the rich text image.
3. When you come to the Mapping step of your get, ensure that the image in your project is mapped to the rich text area field in Salesforce.
1. Click on the + icon to open the element menu and click the media tab.
2. Drag the Image element onto your canvas.
You can choose to display one of your previously uploaded images or upload a new image.
To upload a new image, click the Upload tab. You can upload from your computer or drag the image into the upload container.
Insert an Image Using a URL
1. In the Add an Image window, click the URL tab.
2. Copy an image URL directly from a website. The image must be from a public location for it to be displayed
3. Paste the URL into the Image URL field.
Using a Salesforce Image
We will review two options:
- Pulling an Image from a Rich Text Area field in Salesforce.
- Pulling an image from a URL field in Salesforce.
2. Select the Get Record tab and click Create New to configure a Salesforce get to retrieve the record that contains the rich text image.
3. When you come to the Mapping step of your get, ensure that the image in your project is mapped to the rich text area field in Salesforce.
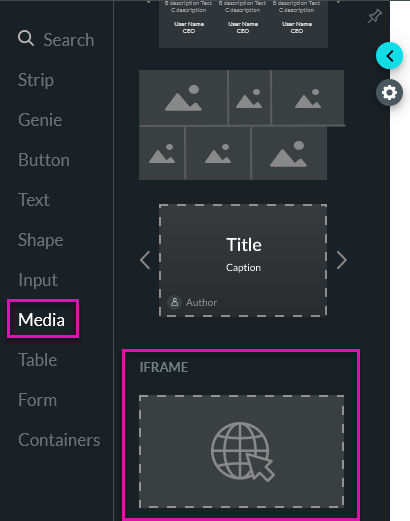
03 Gallery
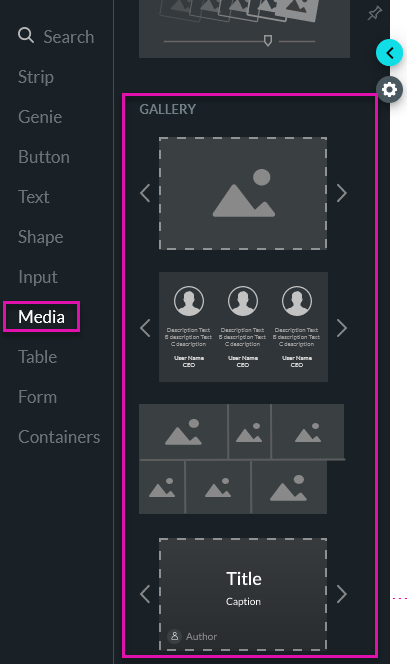
1. Navigate to the element menu.
2. Select the Media tab and choose from the listed Gallery elements.
Each gallery element type is suited to different needs:
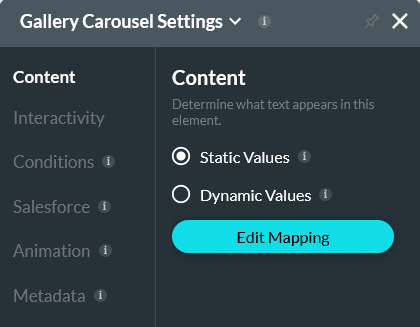
You can choose to upload static images for your gallery elements or map them dynamically from Salesforce.
2. Select the Media tab and choose from the listed Gallery elements.
Each gallery element type is suited to different needs:
- The carousel displays a slideshow of multiple images that end users can click through.
- The testimonial carousel is an easy way to display positive reviews of your product or service.
- The extended gallery gives you the option to add more content to your gallery container.
- The gallery grid displays all the images at once in a grid format.
You can choose to upload static images for your gallery elements or map them dynamically from Salesforce.
04 Videos
1. Navigate to the element menu and select the media tab. Drag and drop a video element to the canvas.
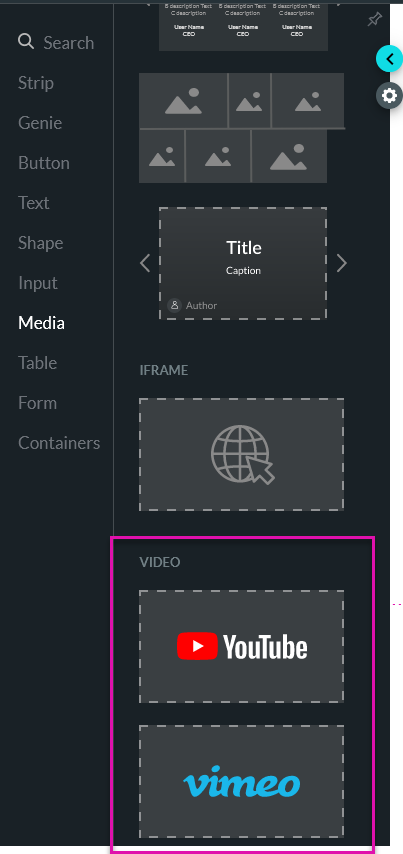
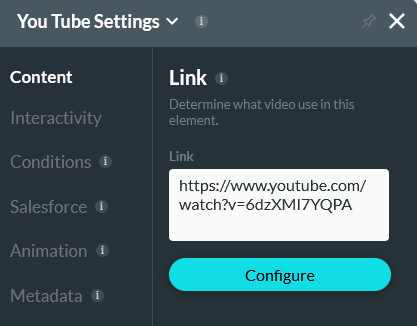
2. You can choose to insert a URL or use a video from Salesforce.

You can update the video link in the video settings menu.
2. You can choose to insert a URL or use a video from Salesforce.
You can update the video link in the video settings menu.
05 Animation
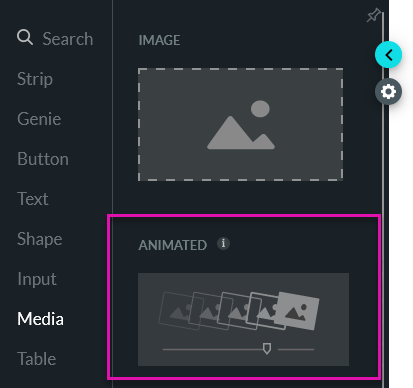
1. The animation element is found under the media tab in the element menu. Drag and drop the animation element onto your canvas.
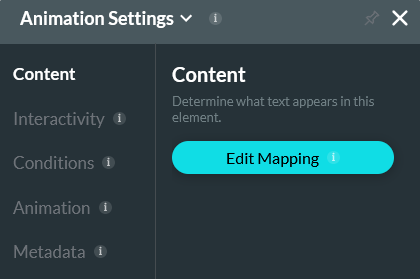
2. To configure your animation element, navigate to the animation settings menu and click Edit Mapping.
3. Click Add Image Item. You can choose to upload more than one image. Click Select Image. You can choose a previously uploaded image, or an image in Salesforce, link a public image URL, or upload an image from your PC.
4. Using the Animation In and Animation Out dropdowns choose how each image will animate in and out.

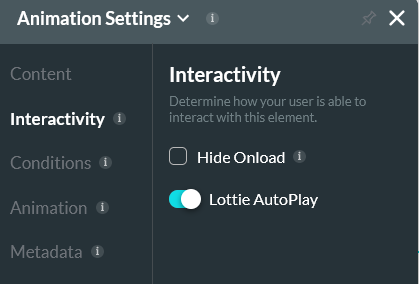
You can choose to autoplay your animation by navigating to the Animation Settings menu, selecting the Interactivity tab, and enabling Lottie AutoPlay.
2. To configure your animation element, navigate to the animation settings menu and click Edit Mapping.
3. Click Add Image Item. You can choose to upload more than one image. Click Select Image. You can choose a previously uploaded image, or an image in Salesforce, link a public image URL, or upload an image from your PC.
4. Using the Animation In and Animation Out dropdowns choose how each image will animate in and out.
You can choose to autoplay your animation by navigating to the Animation Settings menu, selecting the Interactivity tab, and enabling Lottie AutoPlay.
06 Iframe
When working with iframes, it is important to note that you cannot insert any website in an iframe. The owner of the site must allow the site to be displayed within an iframe.
1. Navigate to the element menu select the Media tab, and drag the iframe element onto your canvas.
2. Navigate to the iframe settings menu and paste your URL into the link field.
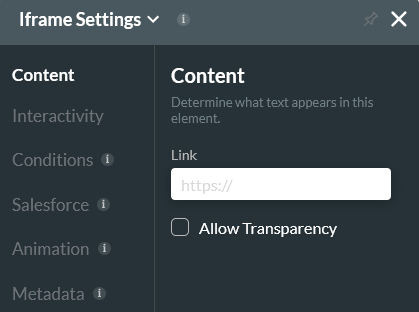
Your project will load your iframe. This means you can host another website within your Titan web project.
1. Navigate to the element menu select the Media tab, and drag the iframe element onto your canvas.
2. Navigate to the iframe settings menu and paste your URL into the link field.
Your project will load your iframe. This means you can host another website within your Titan web project.