Upload Files to a Single Record (7 min)
01 Getting Started
02 Setup
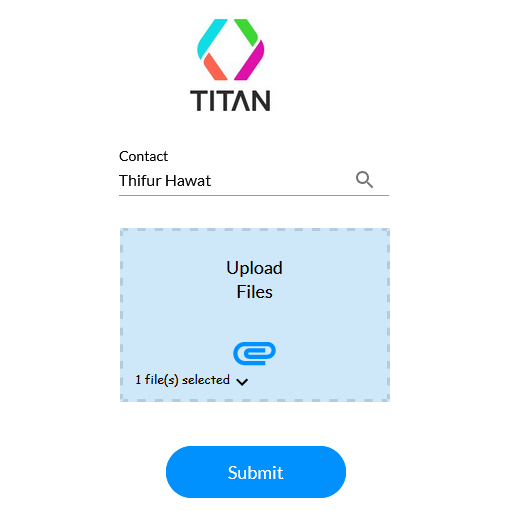
A simple web project was created consisting of the following elements:
- Lookup - Configured to pull the Contact Object in Salesforce.
- File Uploader - Configured to push the uploaded file to the Salesforce contact.
- Button - Configured to push the files to Salesforce when clicked.
- Table View Table - Configured to display the contact’s associated files.
03 Salesforce Push
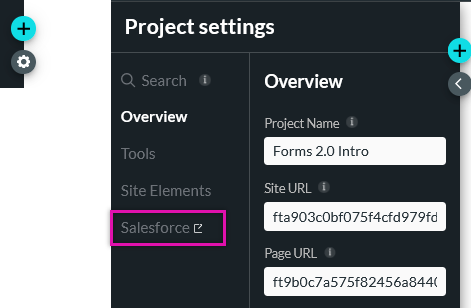
1. Click the Project Settings gear icon and select the Salesforce tab.
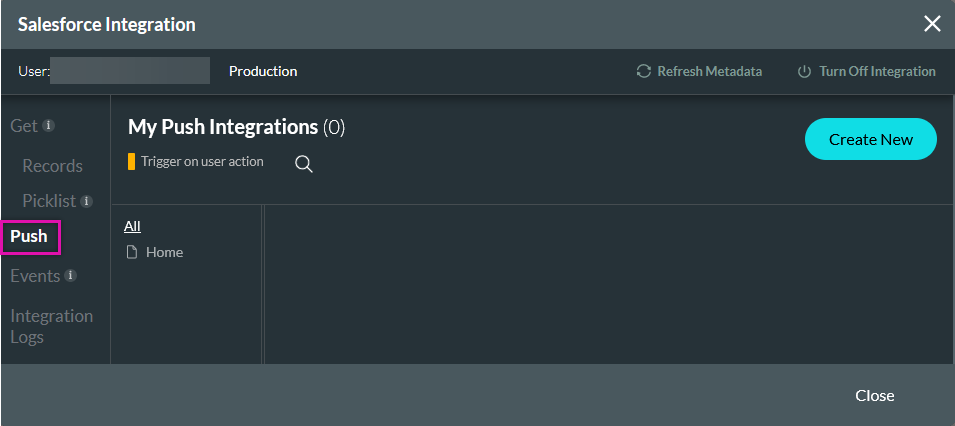
2. Click Create New under the Push tab.
04 Object Settings
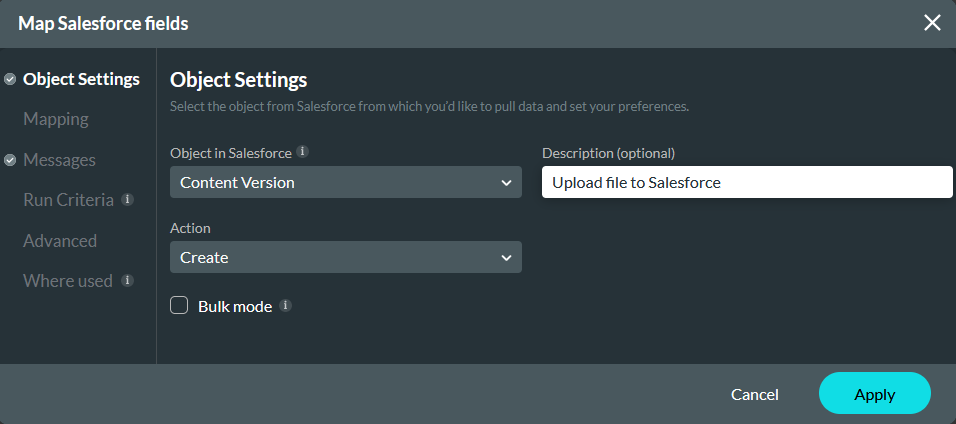
Configure the following:
- Object - Content Version/Files
- Action - Create
- Description - Upload file to Salesforce
05 Mapping
Map the following:
- Version Data - Choose File/File
- First Publish Location ID - Lookup Contact Value
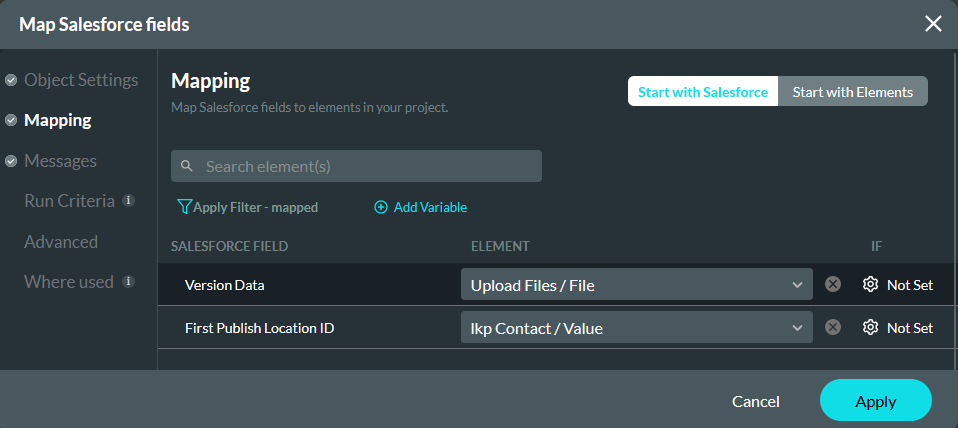
You can also choose to configure a custom title for the file upload.
06 Invoking the Push from a Button
Now that the push has been configured, we will need to assign it to an interactive element to invoke the push action.
1. Select the button you want to assign the action to and click the Interactivity icon in the button menu.

The On Click Action window opens.
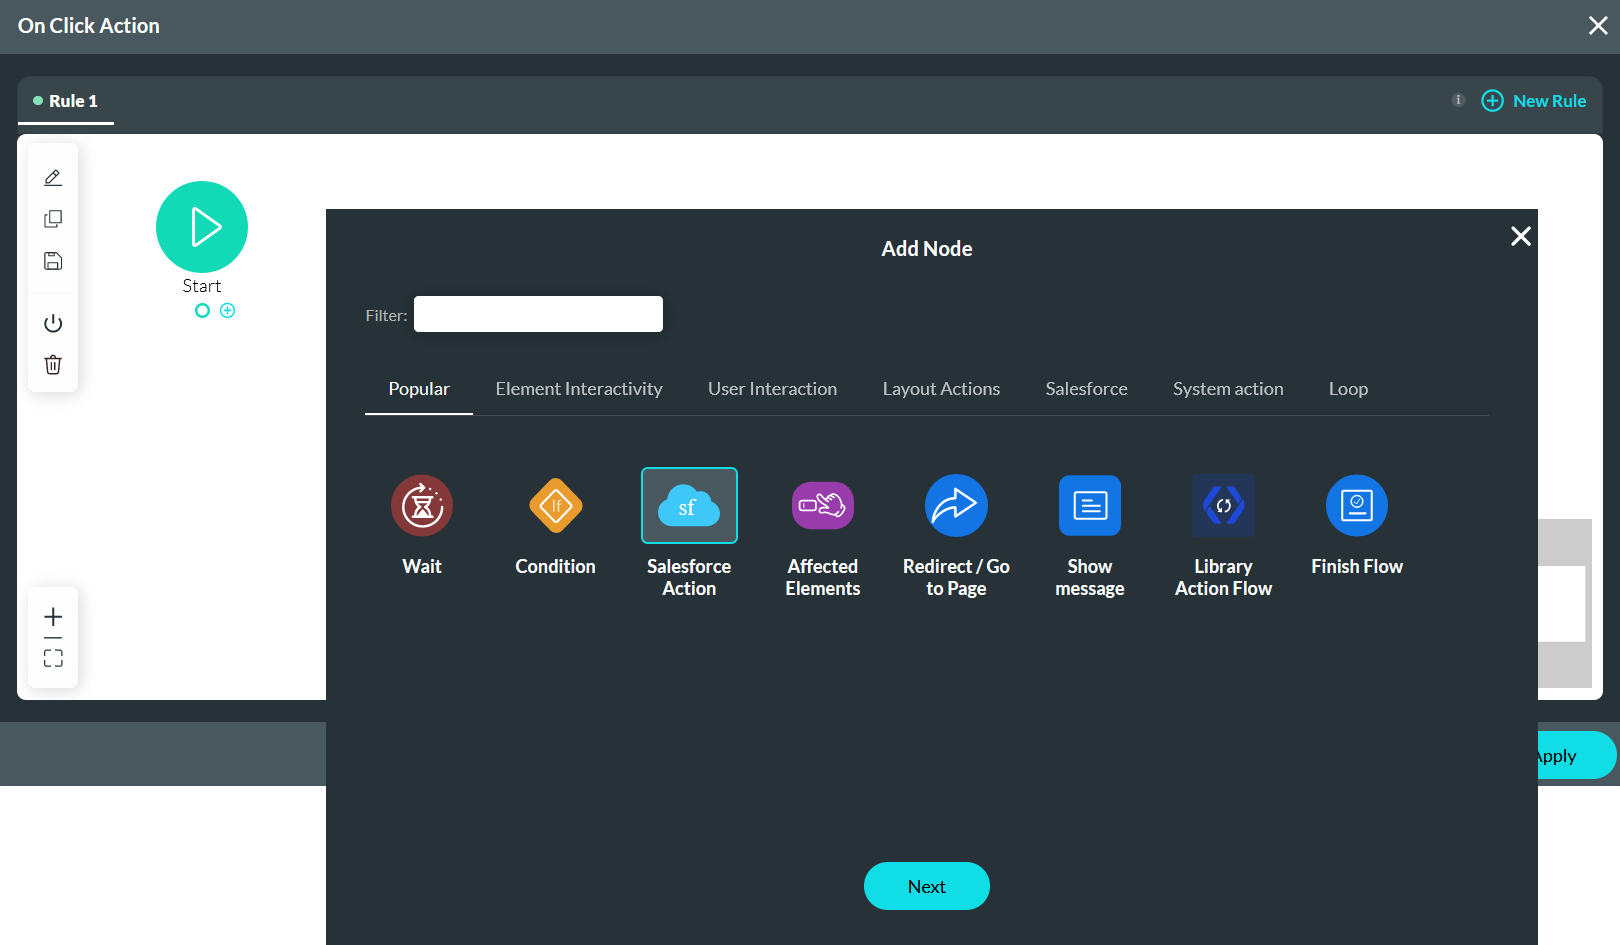
2. Click the Start + icon, choose Salesforce Action as the node, and click Next.
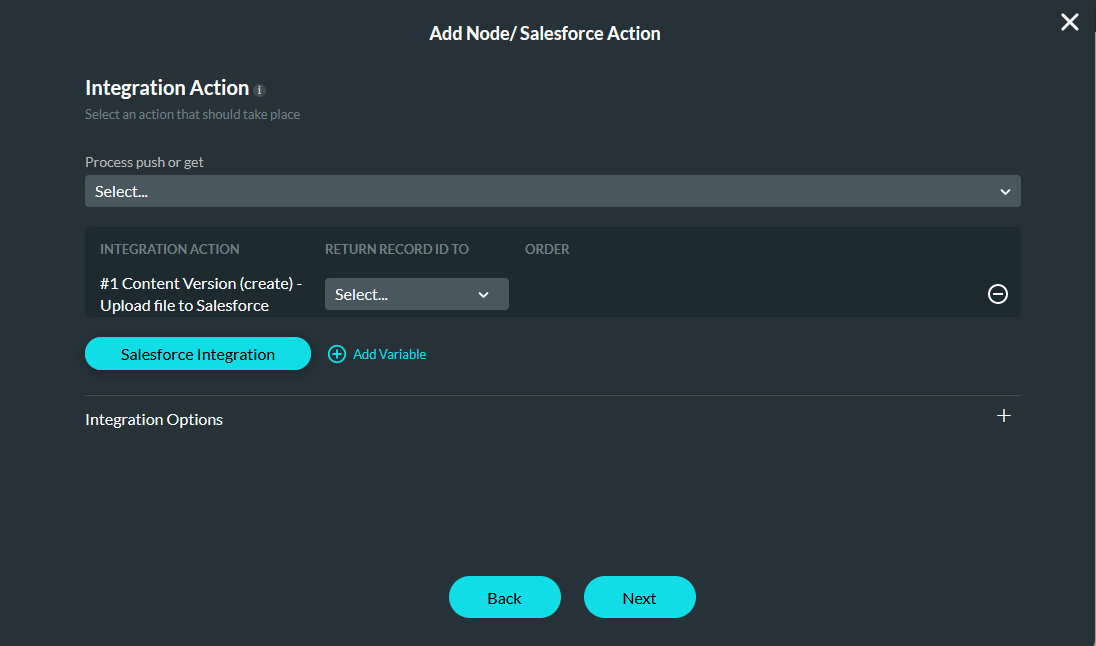
3. Use the dropdown to select the configured Salesforce push. Click Next.
Note: The dropdown will display the description entered for the push. This is why we recommend giving each action a description as it allows you to easily choose the correct action.
4. Enter a Tag and click Insert.
07 Preview
A user can find a contact in Salesforce, upload a file to the project, then click the “Submit” button.
