Download File (8 min)
01 Getting Started
02 Setup
- Lookup—Configured to pull the Contact Object in Salesforce. A condition was added to the lookup: if the value is changed, it will trigger the Table Files Get.
- File Uploader - Configured to push the uploaded file to the Salesforce contact.
- Button - Configured to push the files to Salesforce when clicked.
- Table View Table - Configured to display the contact’s associated files
03 Table Configuration
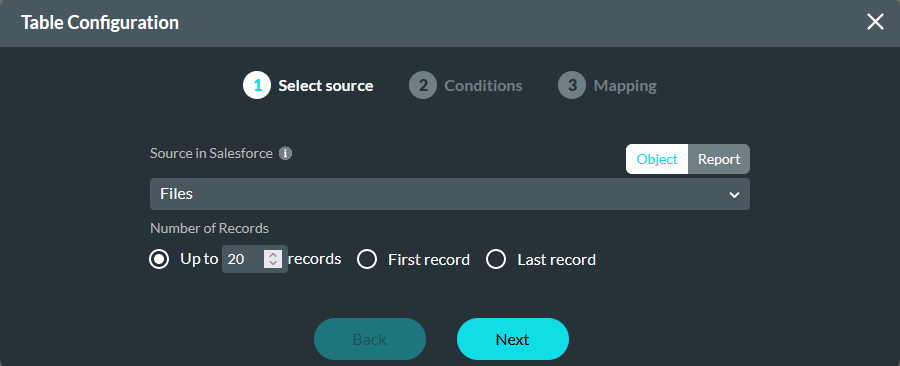
1. Insert a Table View element into your project. The Salesforce Configuration window opens.
2. Choose Files as the Salesforce source in the Select Source step. Click Next.
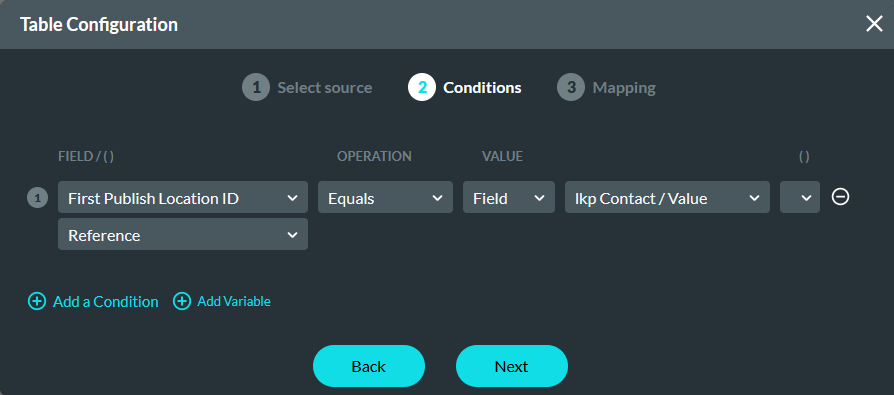
3. In the Conditions step, configure the First Publish Location ID to equal the Lookup Value. -
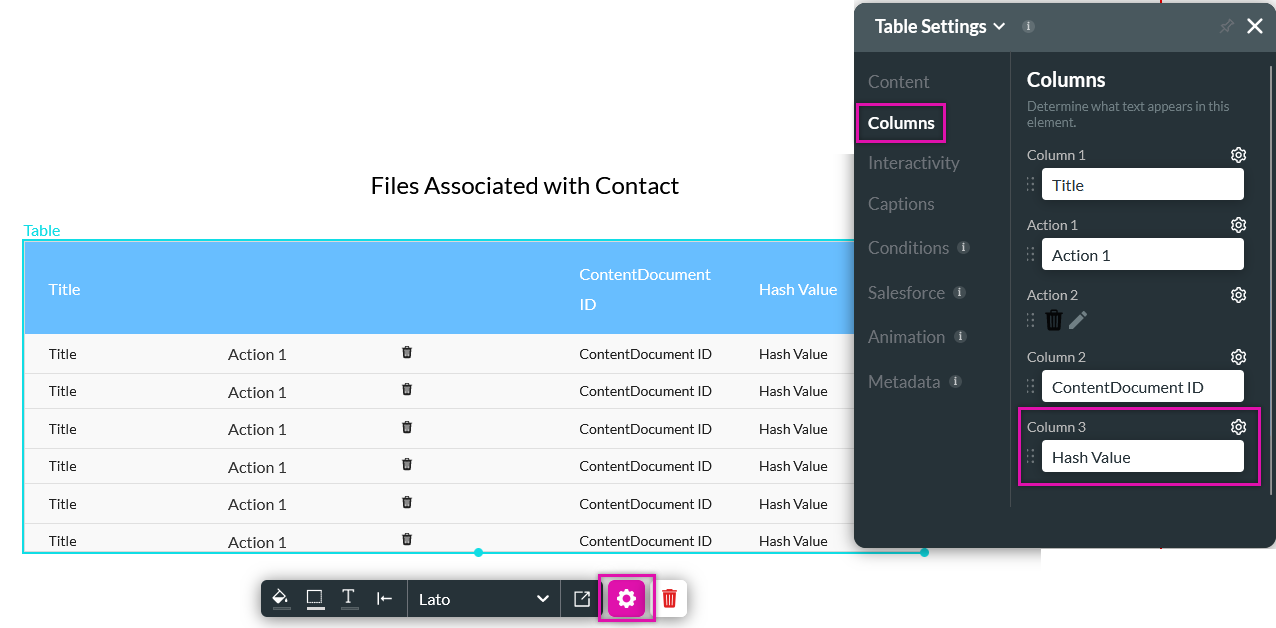
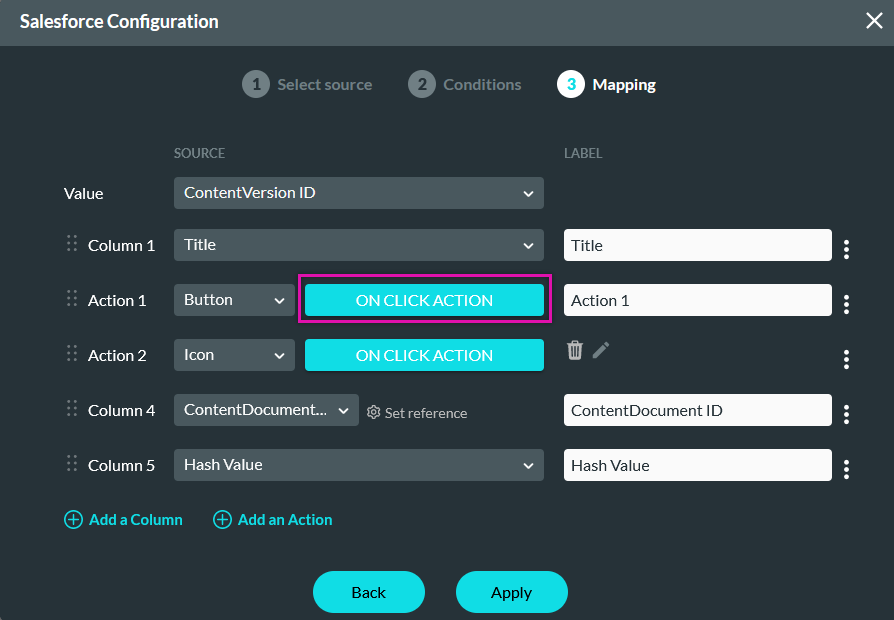
4. In the Mapping step, add five items, configure them, and click Apply.
- Column 1 - Title
- Action 1 - Button - On Click Action - Download
- Action 2 - Icon - On Click Action - Bin Icon
- Column 4 - ContentDocument ID - ContentDocument ID
- Column 5 - Hash Value

The table should display as follows:

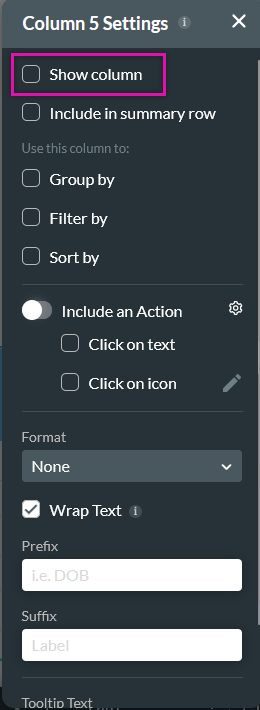
04 Hiding the Hash Value Column
1. Click the Table gear icon. The Table settings menu opens.
2. Select the Columns tab and click the Hash Value gear icon.
3. Disable the Show Column checkbox. This will allow the information to be stored but not displayed to the end user.
05 Setting Up Variables
To populate the hash value, we will need to create a variable.
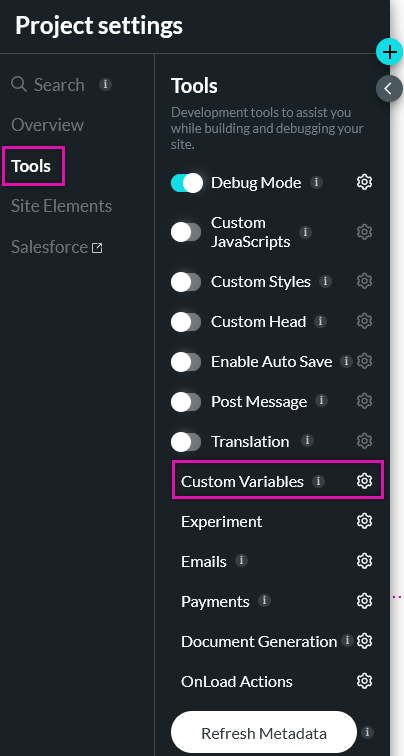
1. Navigate to the Project Settings and select the Tools tab.
2. Click the Custom Variables gear icon.
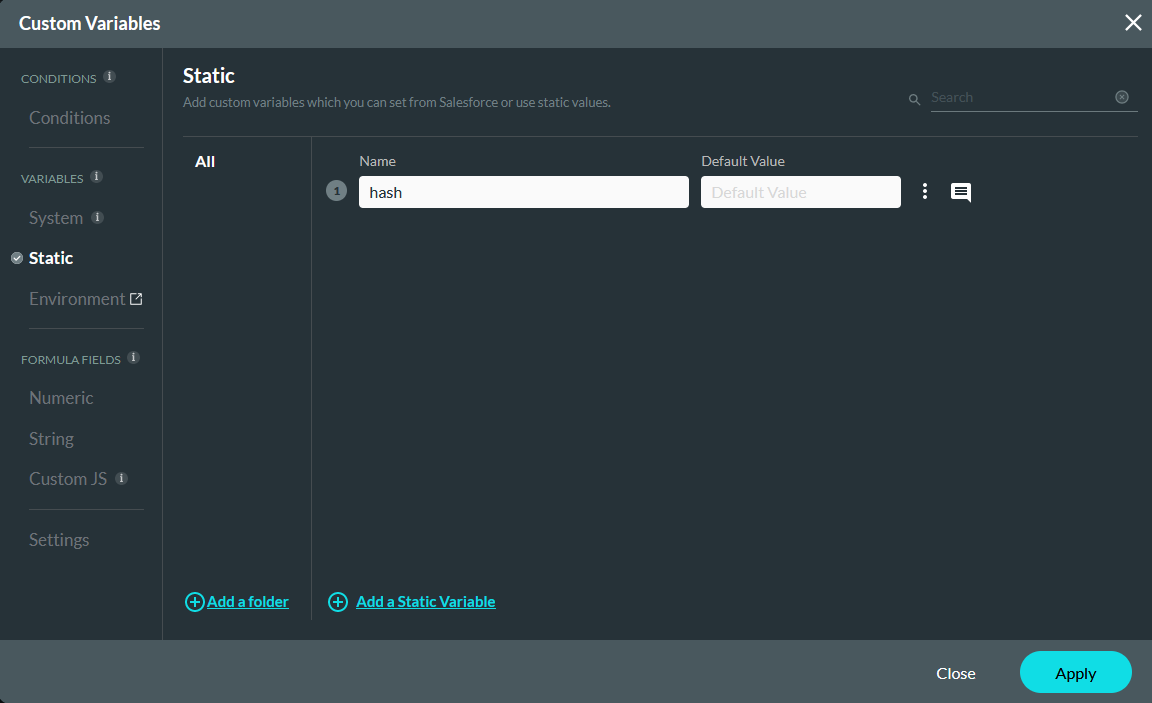
3. Create a new static variable labeled - hash. Click Apply. This variable will be used to store the hash value from Salesforce.
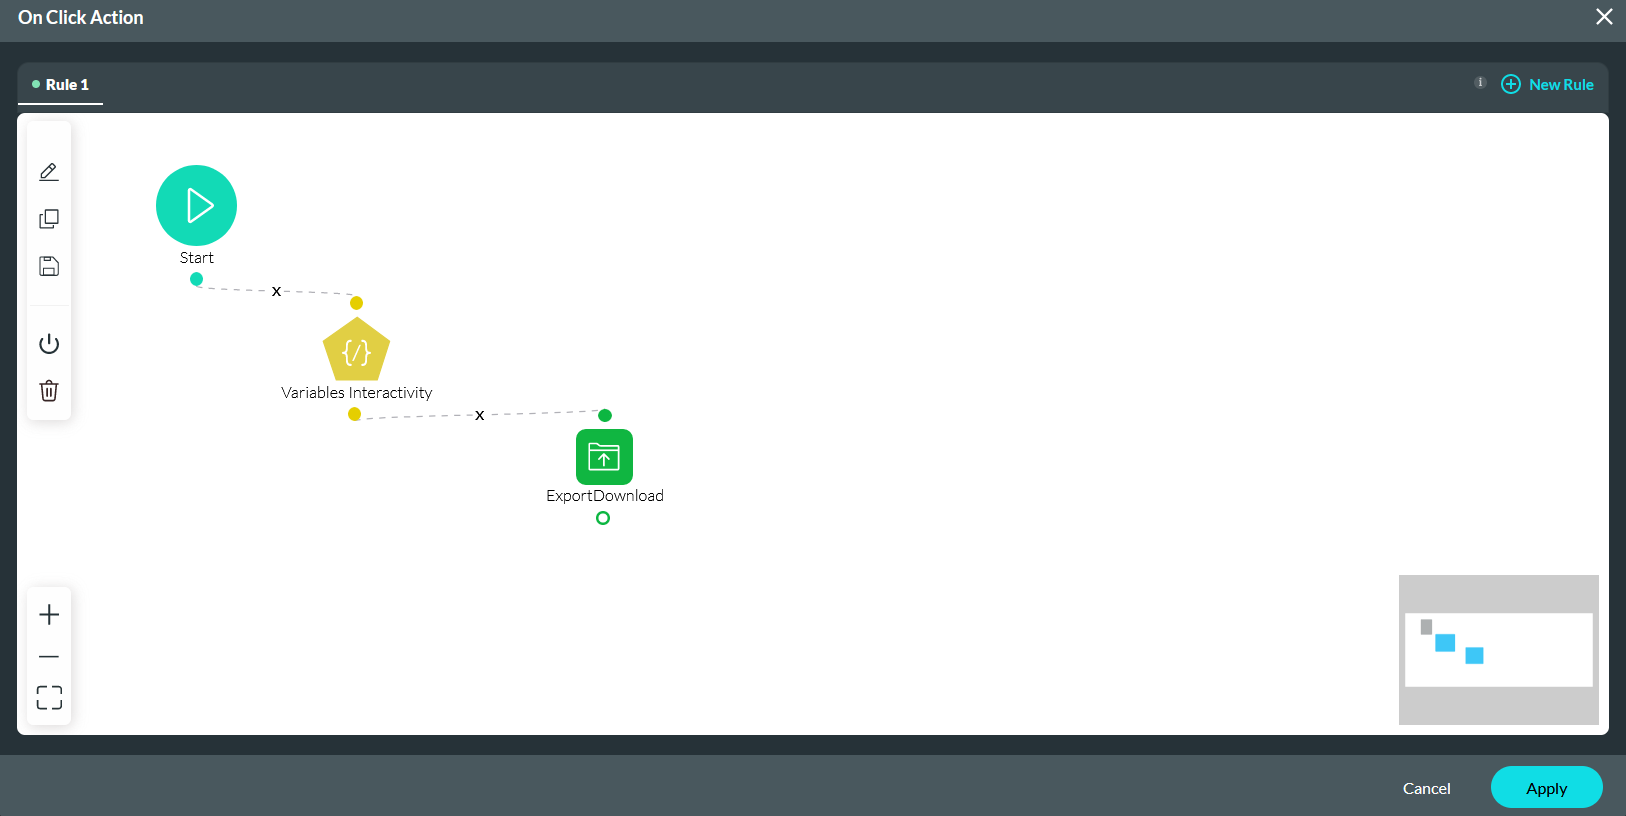
06 Download Action
1. Navigate back to the Mapping step of your table configuration.
2. Select On Click Action.
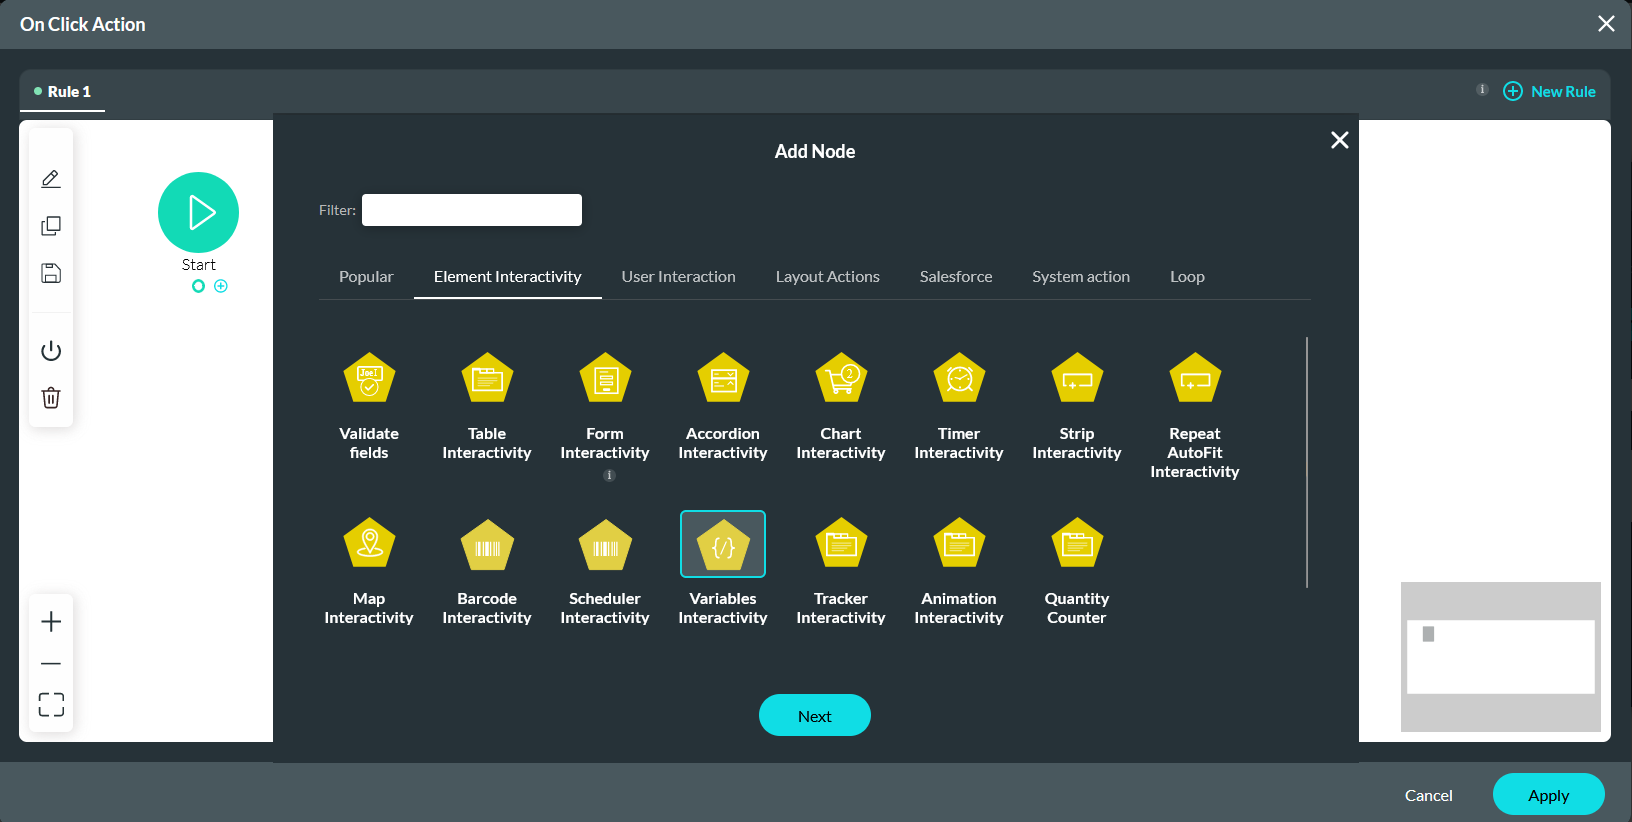
3. Click the Start + icon, choose Variables as the node, and click Next.
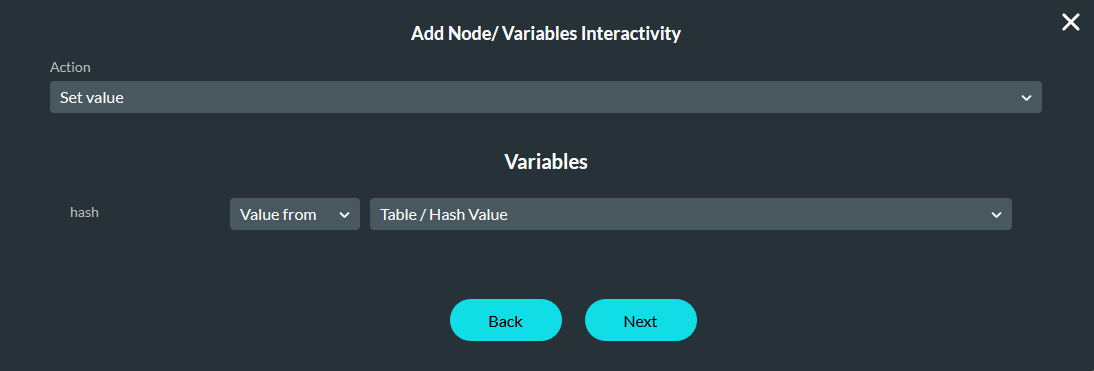
4. Use the dropdowns to configure the following, then click Next.
- Action - Set Value
- Hash - Value from - Table/Hash Value
5. Enter a Tag and click Insert.
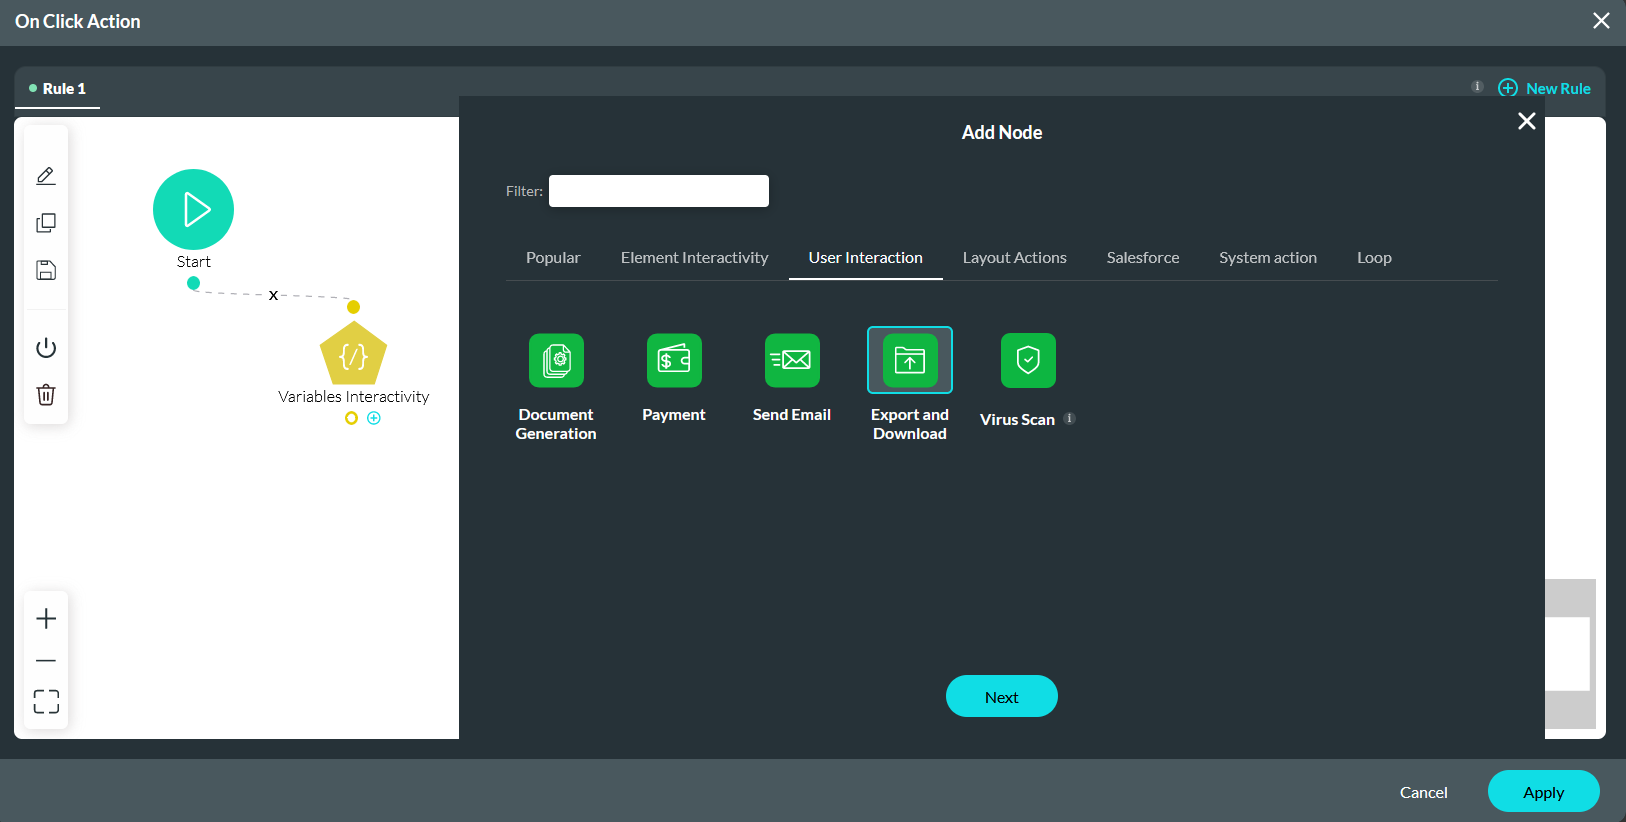
6. Click the Variable Interactivity + icon, choose Export and Download as the node, and click Next.
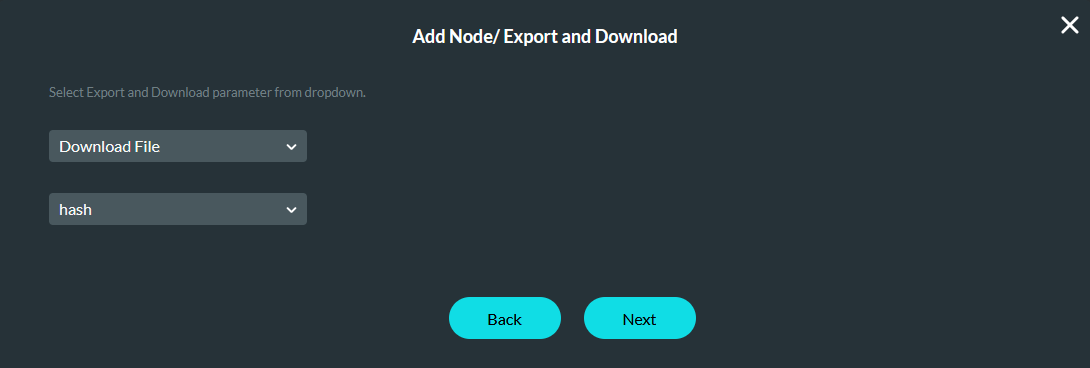
7. Use the dropdowns to configure the following and click Next.
- Download File
- hash
8. Enter a Tag and click Insert. The On Click Action nodes should display as follows.
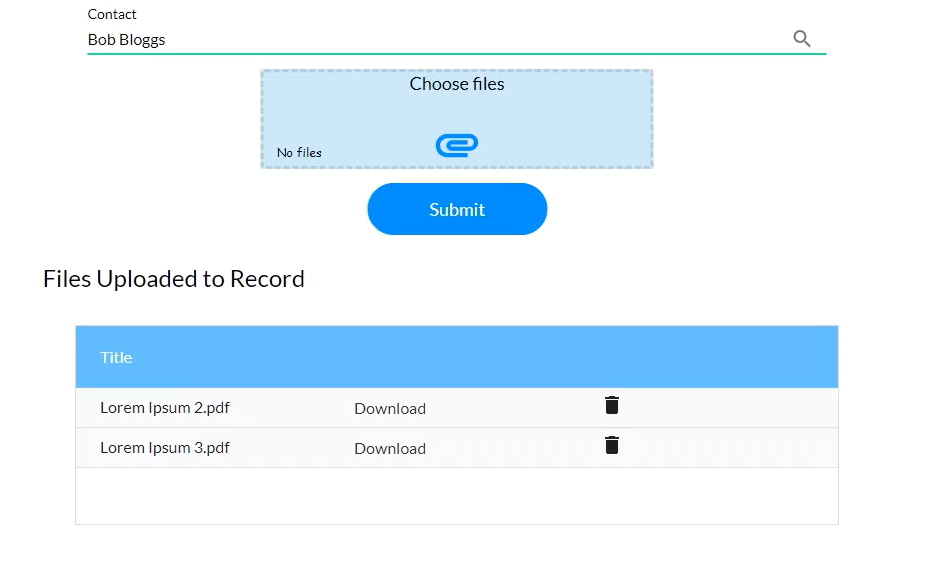
07 Preview
Using the lookup, you can find a contact in Salesforce. The table displays any files associated with that contact. To download the files, click the download button.