Delete File (11 min)
01 Getting Started
02 Setup
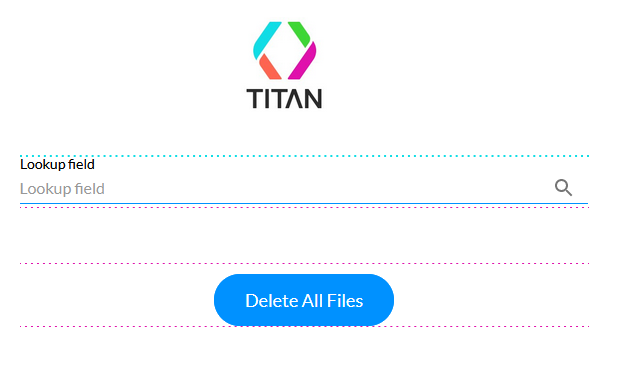
The following elements were inserted into the project:
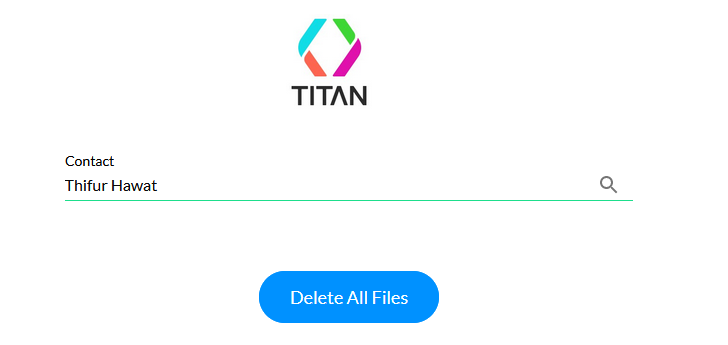
- A Lookup element is configured to bring in Contacts from Salesforce.
- A button. This button will be used to delete files from Salesforce.
03 Setting Up Variables
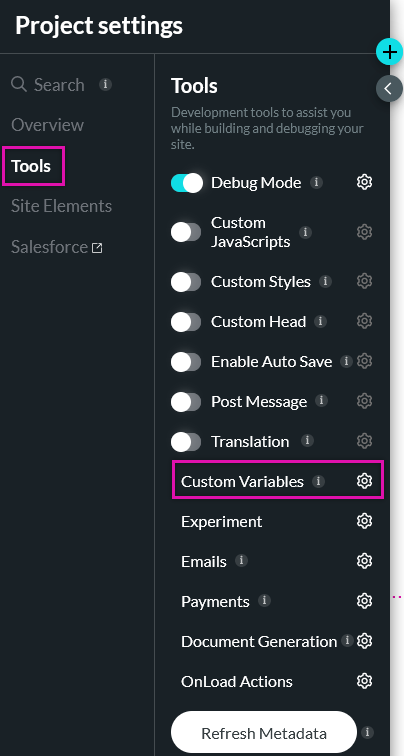
1. Navigate to the Project Settings and select the Tools tab.
2. Click the Custom Variables gear icon.
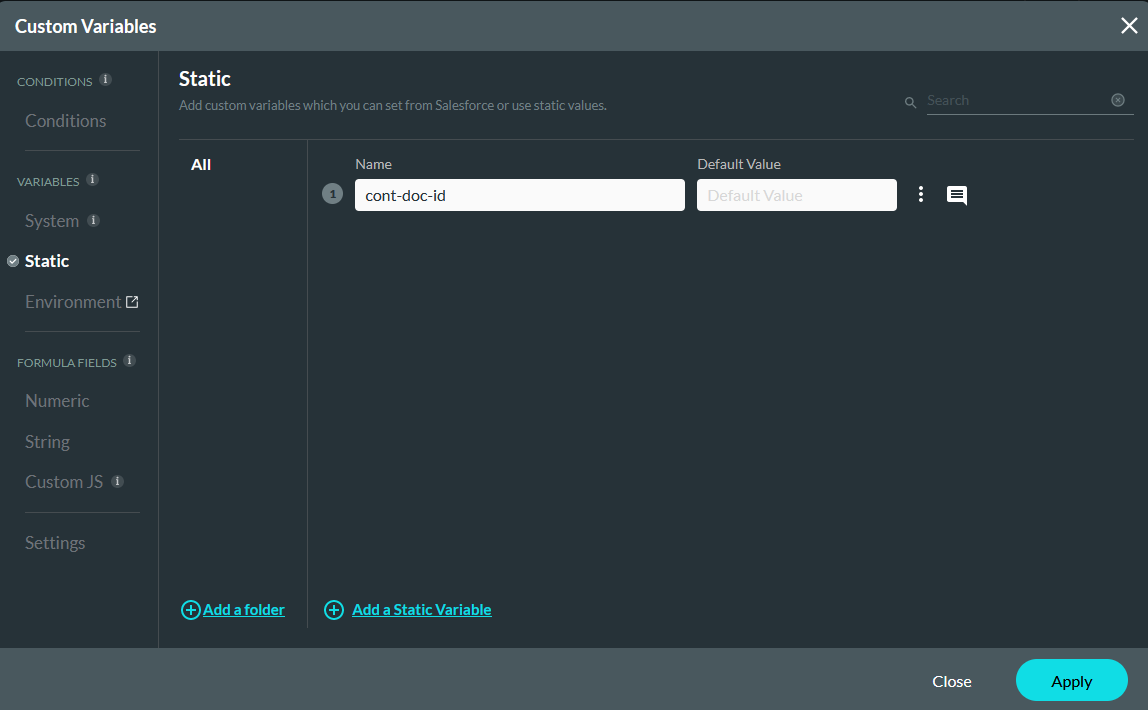
3. Create a new static variable labeled - cont-doc-id. Click Apply.
04 Salesforce Get Record Action
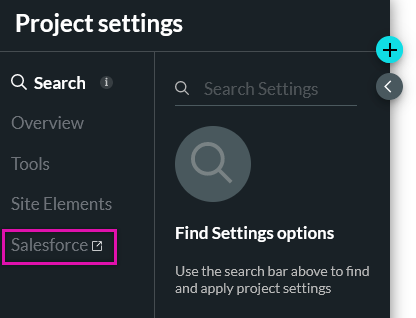
1. Navigate to the Project Settings menu and select the Salesforce tab.
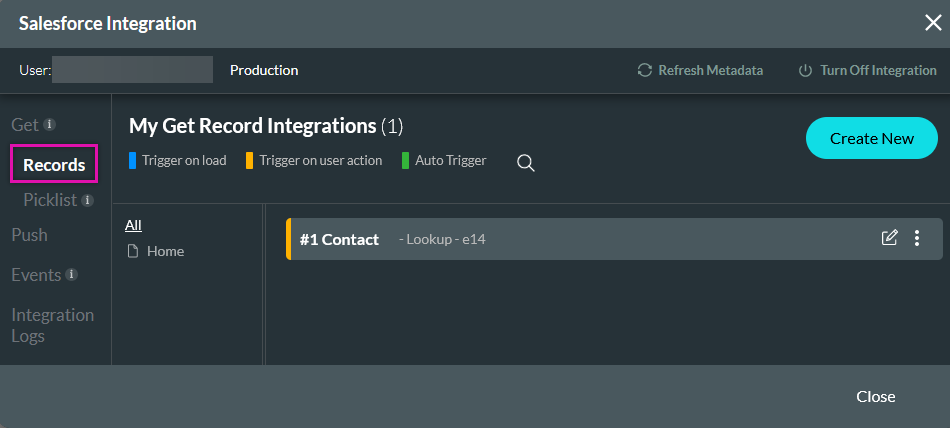
2. Click Create New under the Get Records tab.
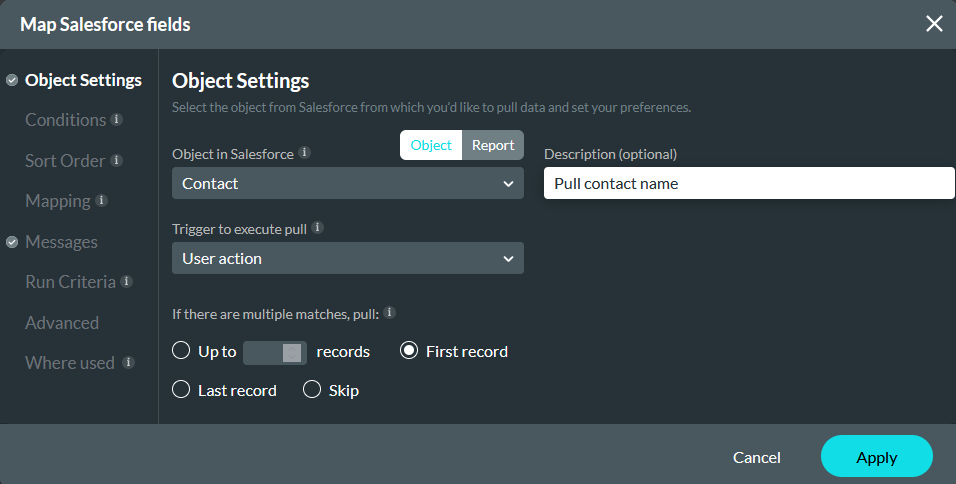
3. In the Object Settings tab, configure: Contact as the Salesforce Object, User Action as the Trigger, add a description, and set the Multiple Matches to First Record.
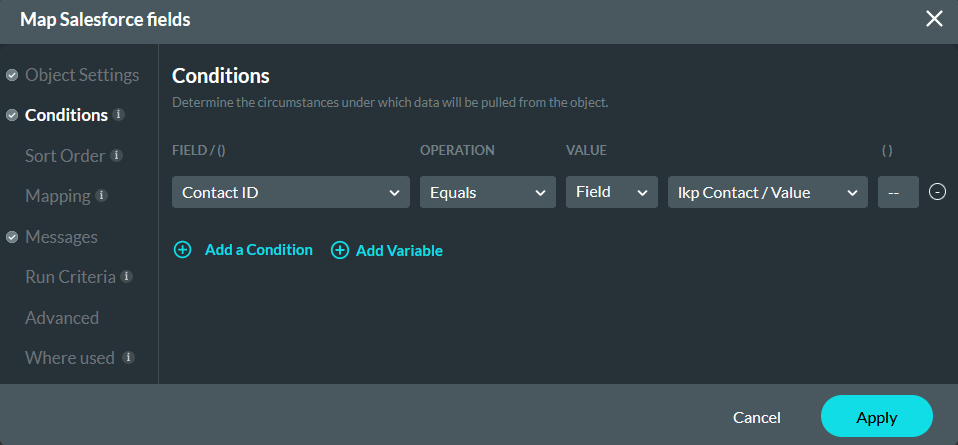
4. In the Conditions tab, configure: Contact ID equals the Lookup Value. Click Apply.
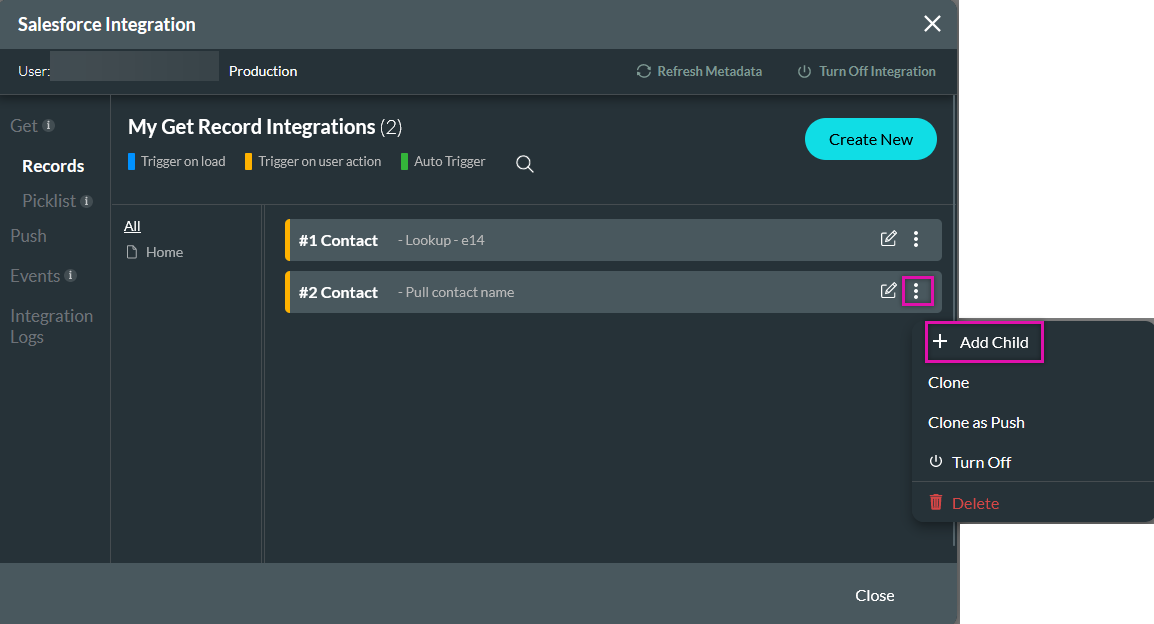
5. Select the Get Record ellipsis menu and click + Add Child from the submenu.
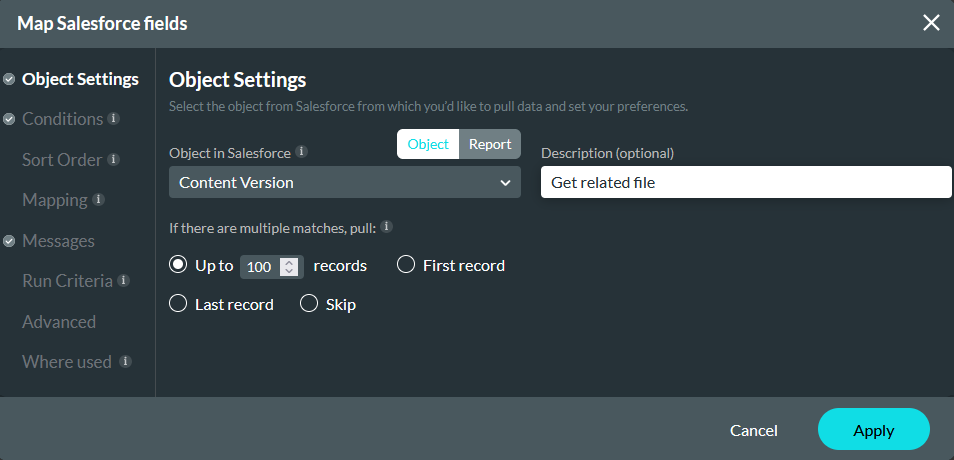
6. In the Object Settings tab, configure: Content Version as the Salesforce Object, add a description, and set the Multiple Matches to Up to 100.
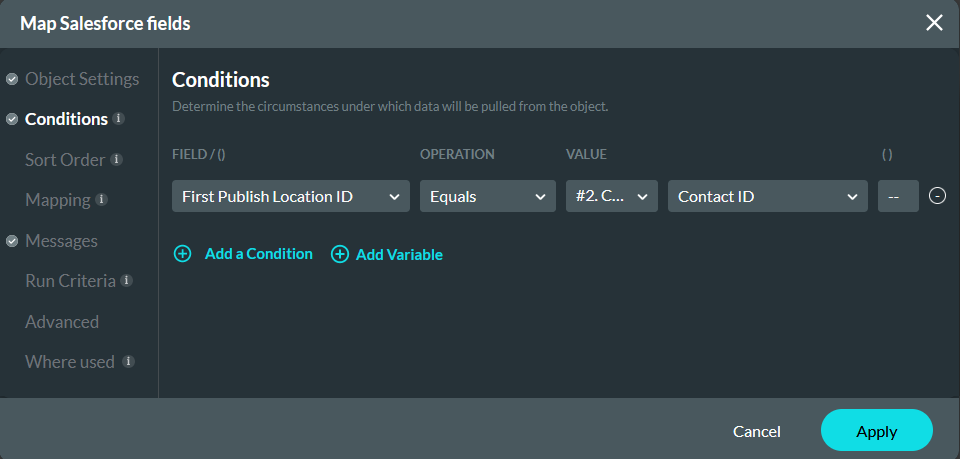
7. In the Conditions tab, configure: First Publish Location ID equals the Contact ID. This condition will already be configured as this is a child get.
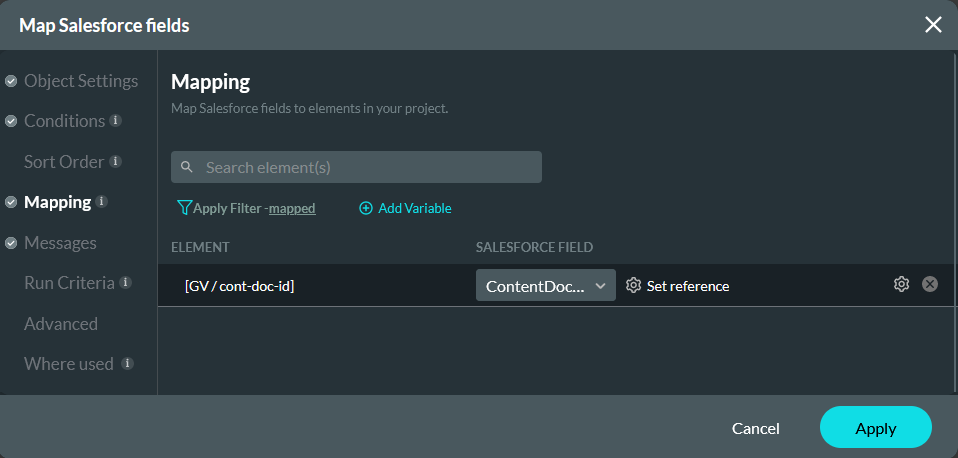
8. In the Mapping tab, configure: Global Variable/ cont-doc-id - ContentDocumentID. Click Apply.
05 Salesforce Delete Action
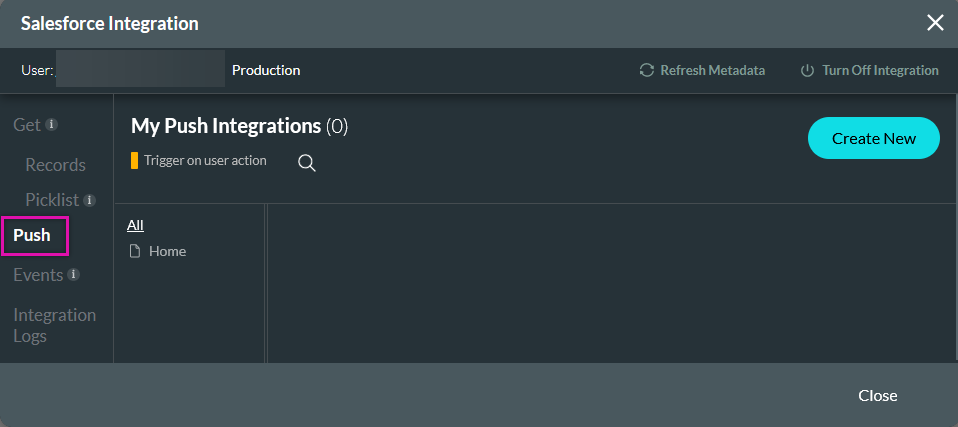
1. Navigate to the Salesforce Integration window, and under the Push tab click Create New.
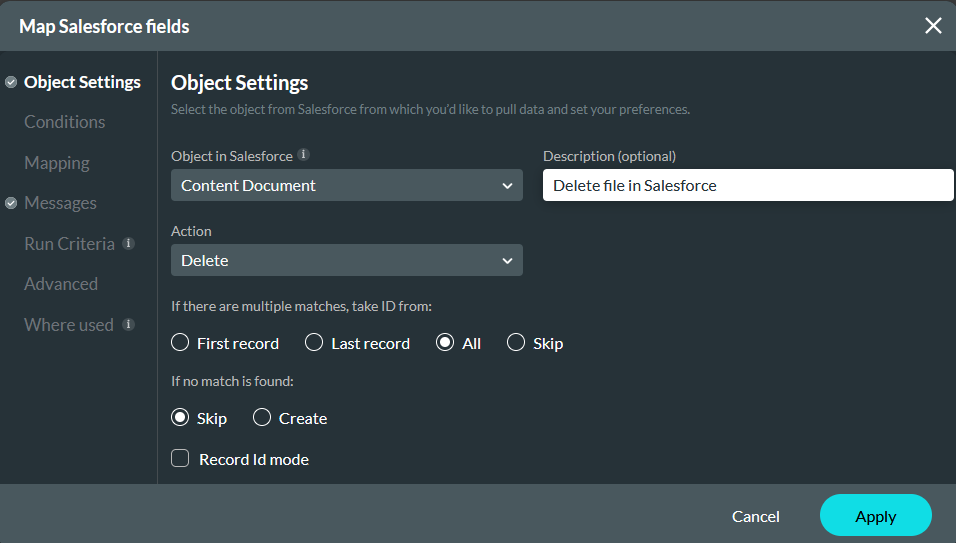
2. In the Object Settings tab, configure: Content Document as the Salesforce Object, Delete as the Action, add a description, and set the Multiple Matches to All.
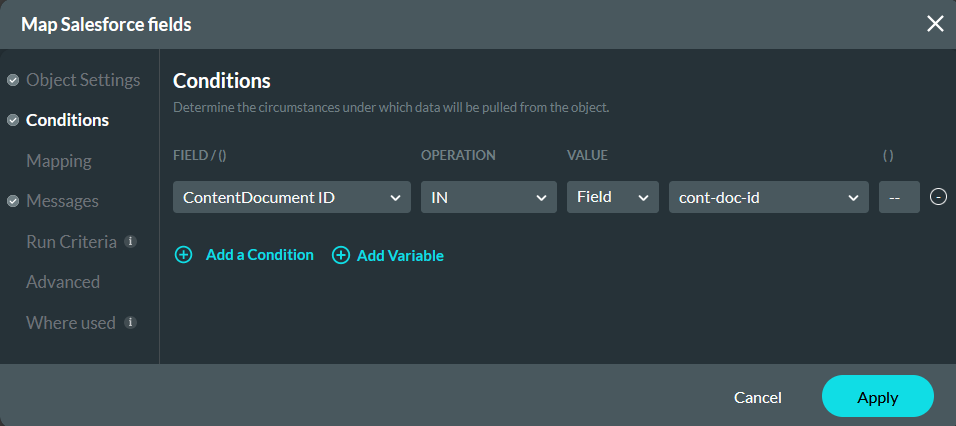
3. In the Conditions tab, configure: ContentDocument ID IN con-doc-id global variable. Click Apply.
06 Invoking the Action
1. Select the button and click the Interactivity icon in the menu.

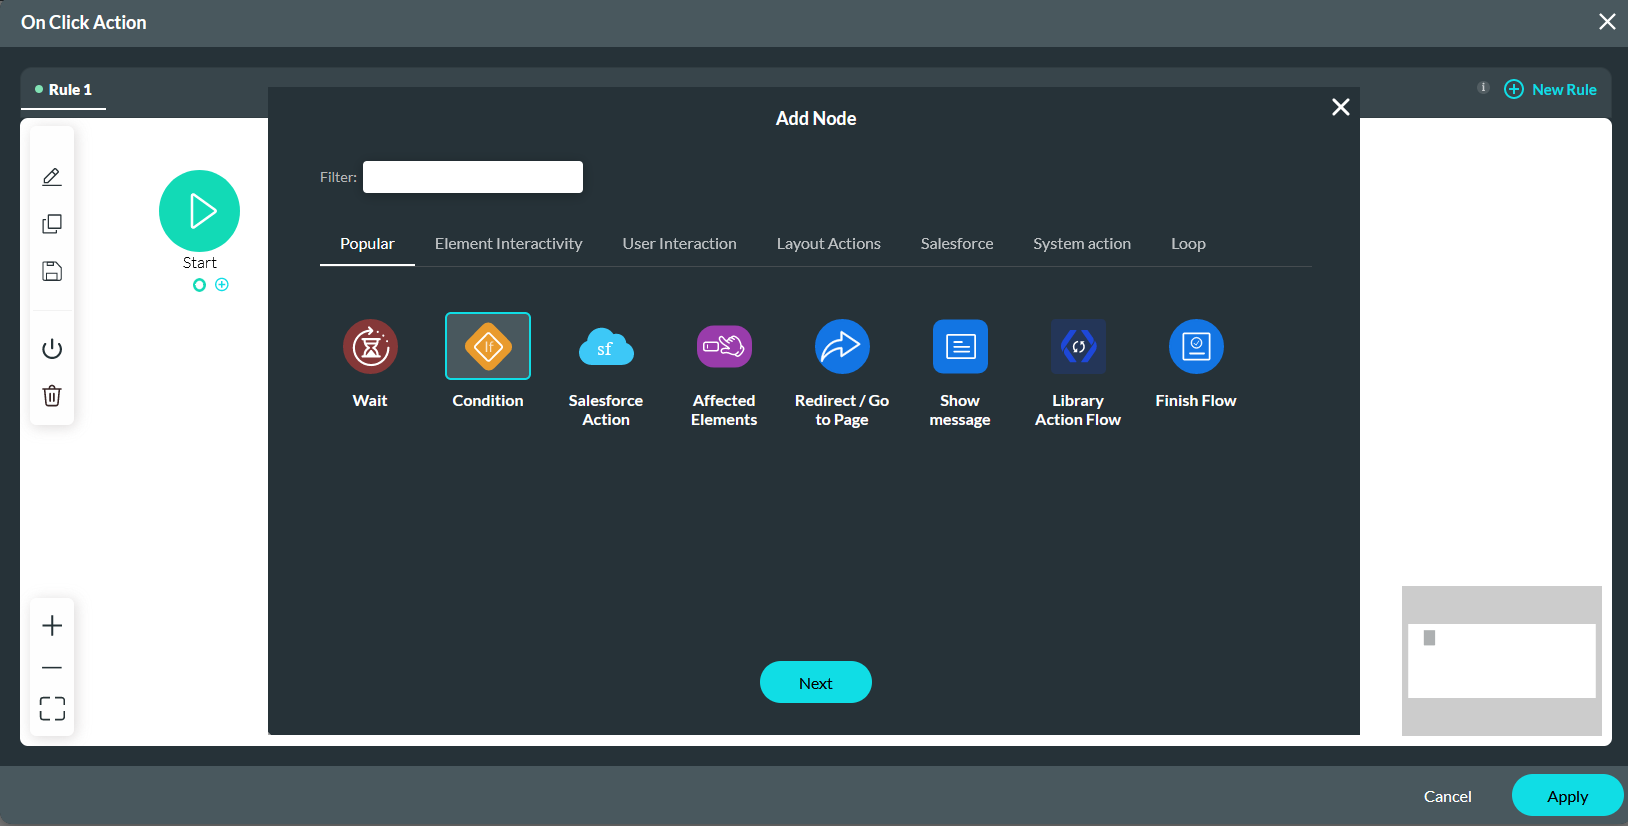
2. Select the Start + icon, choose Condition as the node, and click Next.
3. Configure Rule 1 that the Lookup value must not be empty. Click Next.
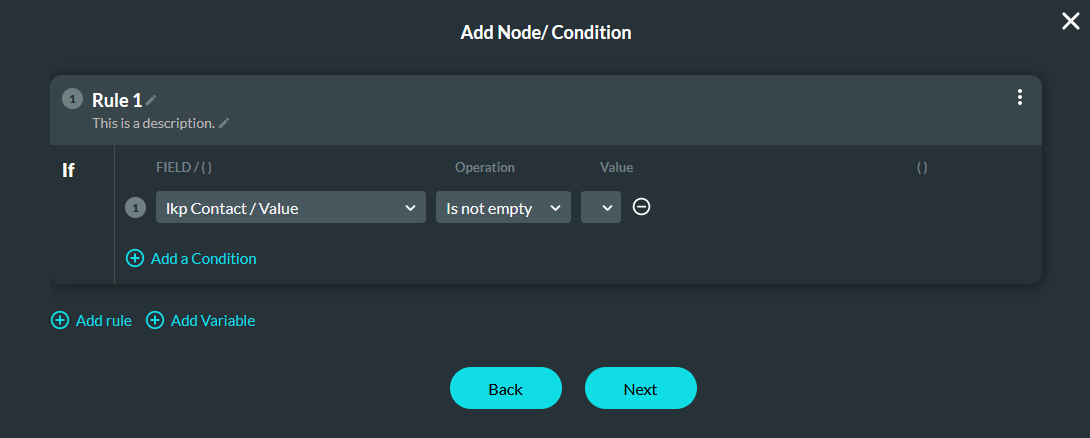
4. Enter a Tag and click Insert.
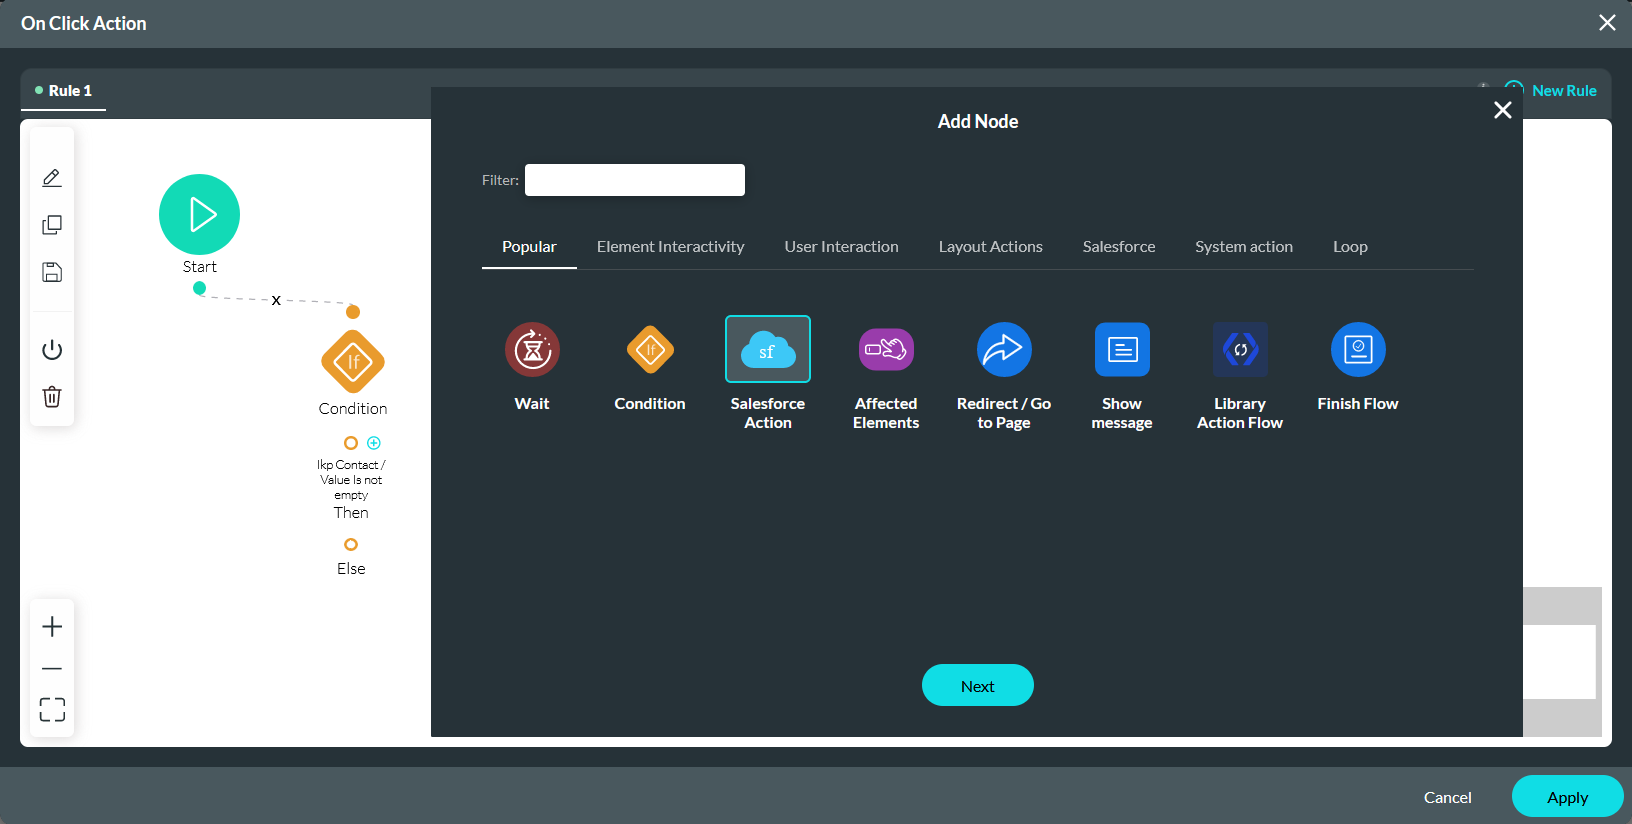
5. Click the Then + icon, choose Salesforce Action as the node, and click Next.
6. Use the dropdown to select the Contact Get and the Files Delete actions.
7. Expand the Integration Options menu and enable Custom Order of Execution.
8. Label the Get action as 1 and the Delete Push action as 2.
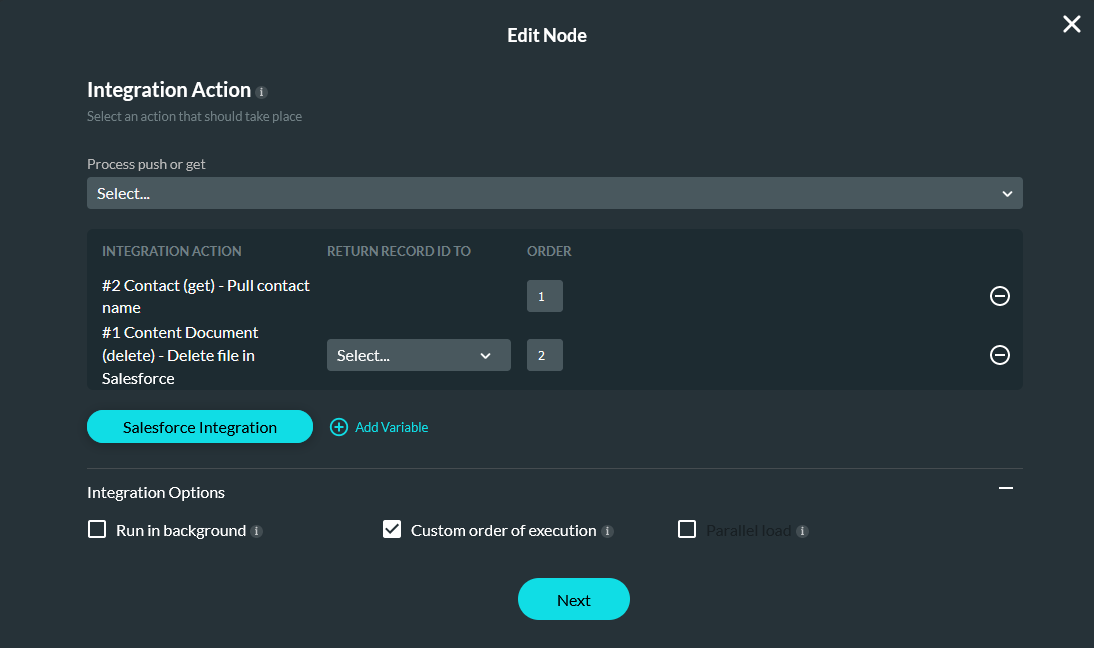
9. Enter a Tag and click Insert.
The node should display as follows:

07 Preview
Using the Lookup element, you can find a contact in Salesforce. Once the contact has been found, clicking the button will delete all files associated with that Contact.