Start Action (3:30 min)
Completion requirements
01 Getting Started
This tutorial covers how to use the start node to trigger a flow. The start node lets you link your flow to any Web or Forms 2.0 project. This allows you to skip the step of creating variables and mapping them.
02 Configuring the Start Node
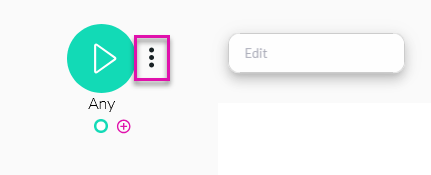
1. Click the Start node ellipsis icon and select Edit from the submenu. The Edit Node window opens.
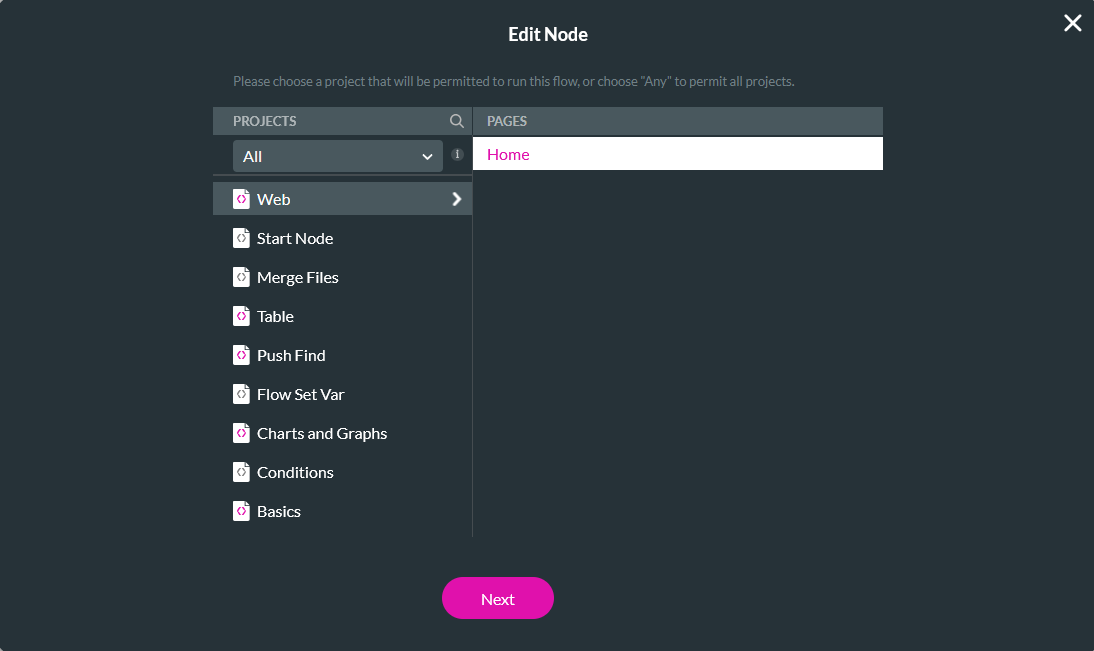
2. Using the dropdown menu, select the project and page from which you want to trigger the flow. Click Next.
3. Enter a tag name and click Save.
The Start node is now configured to trigger on the home page of the selected web project.

2. Using the dropdown menu, select the project and page from which you want to trigger the flow. Click Next.

3. Enter a tag name and click Save.
The Start node is now configured to trigger on the home page of the selected web project.
03 Send Email Node
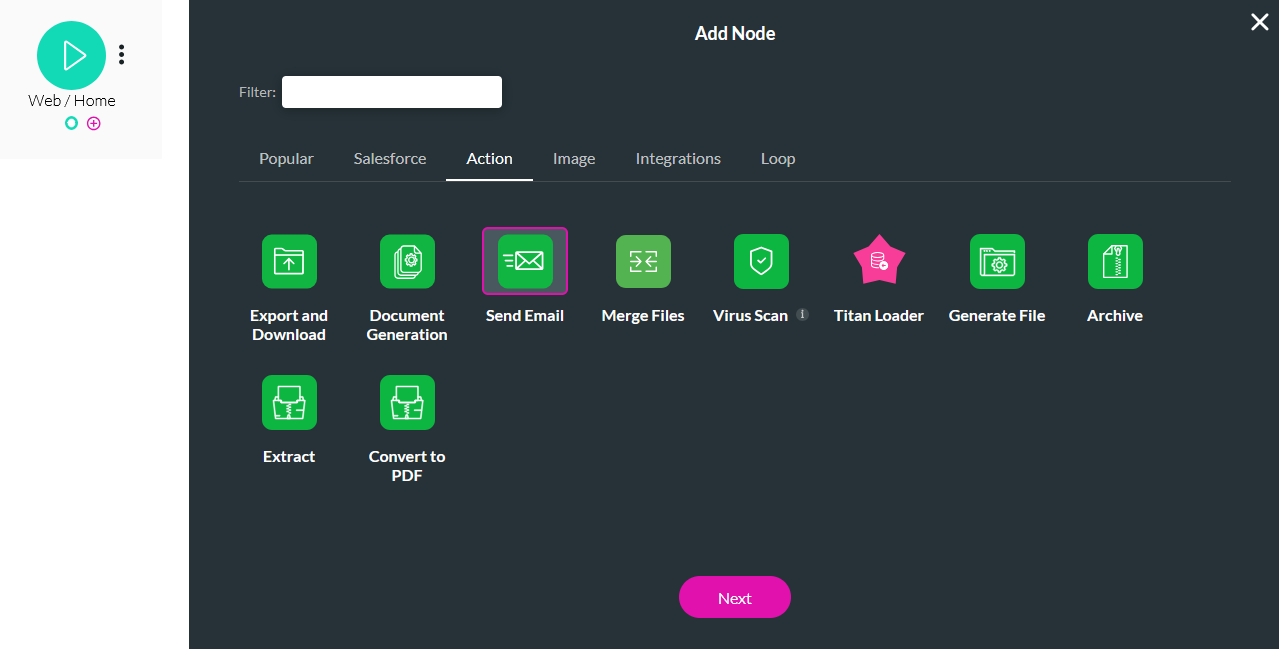
1. Click the Start + icon, choose Email as the node, and select Next.
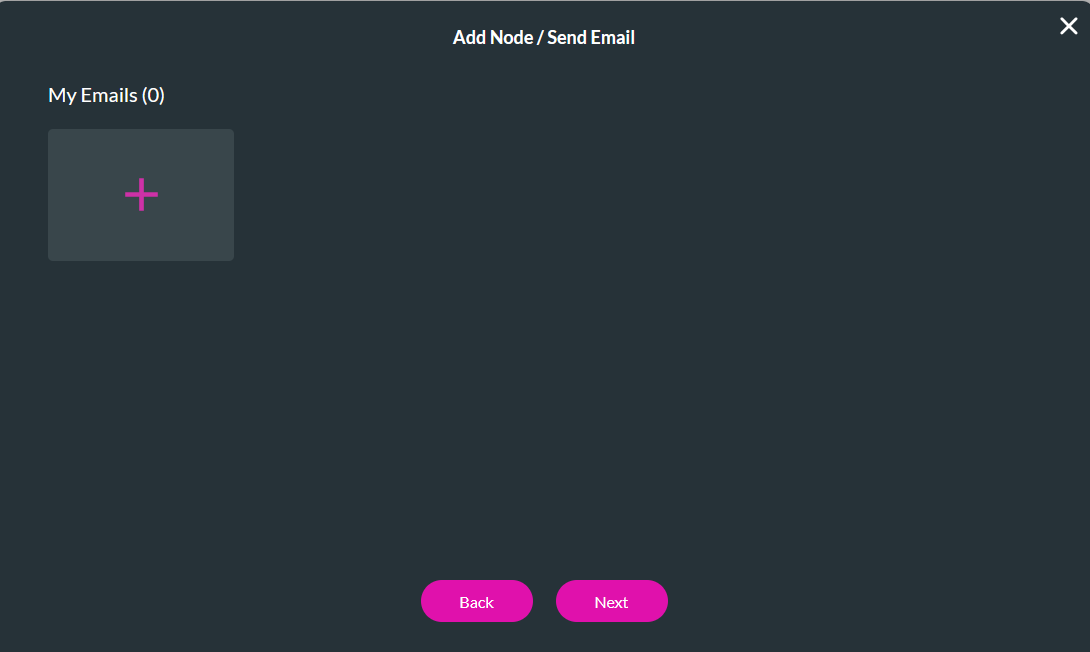
2. Click the My Emails + icon to start configuring your Email.
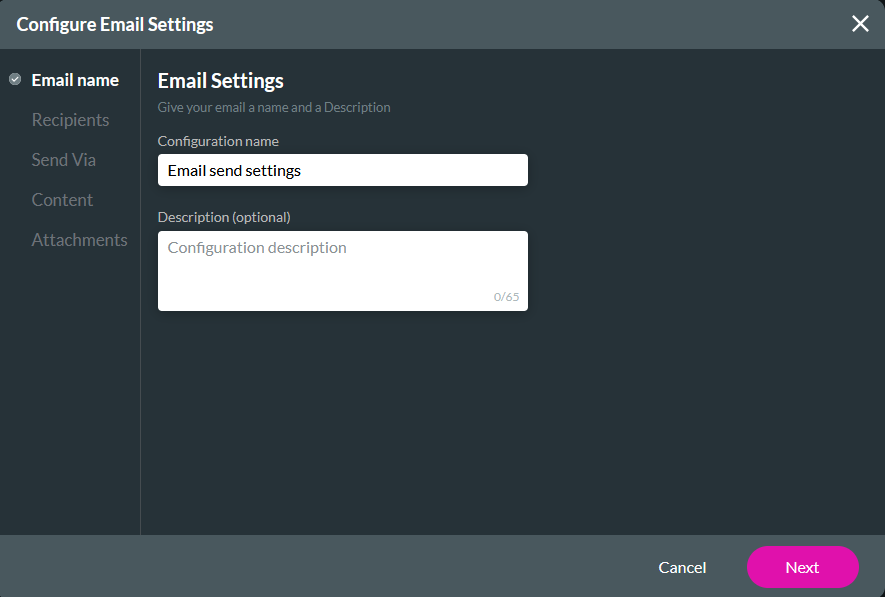
3. In the Email Name tab, configure the name and add a description for your Email.
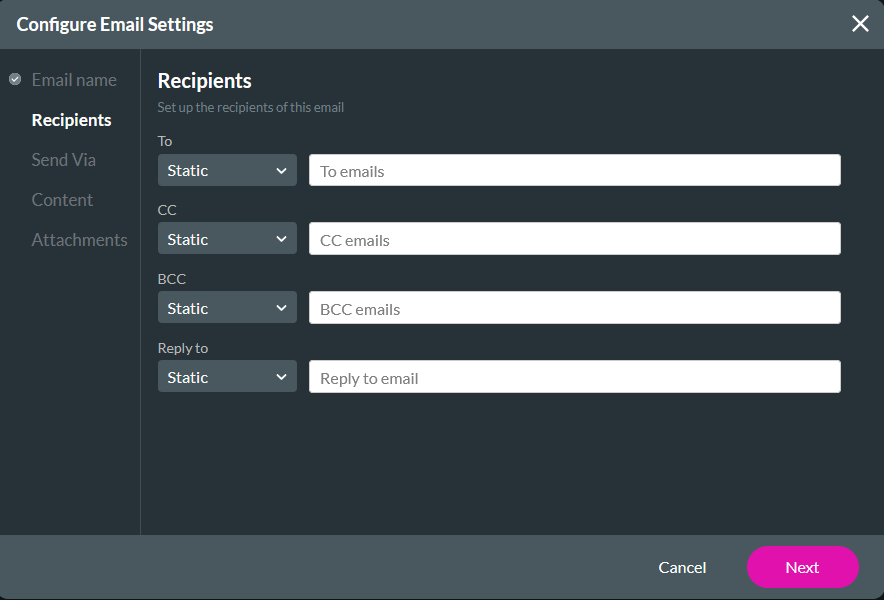
4. In the Recipients tab, configure who you want to send your Email to and the inbox to which the replies will be delivered. You can also reference your web projects for your recipients by using the dropdown menu.
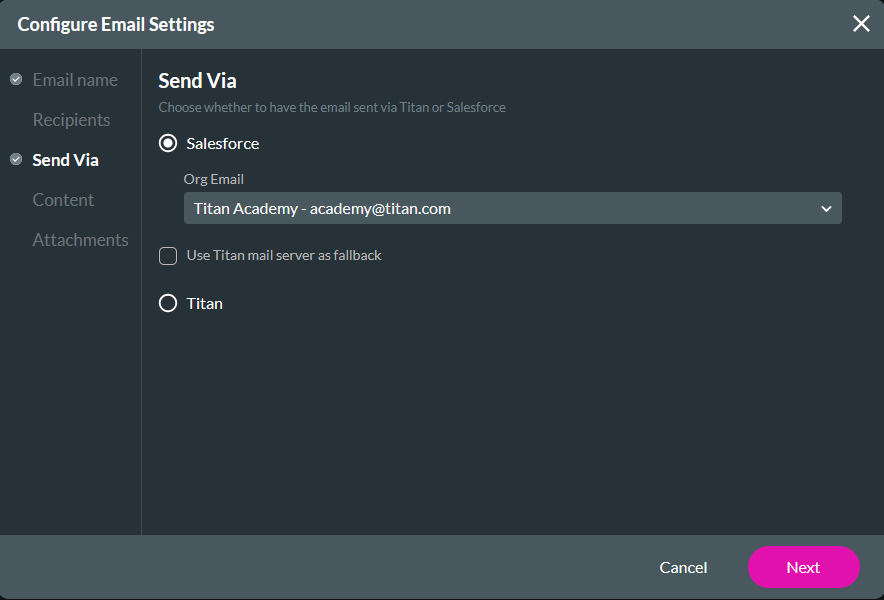
5. In the Send Via tab, choose how you would like to send your Email.
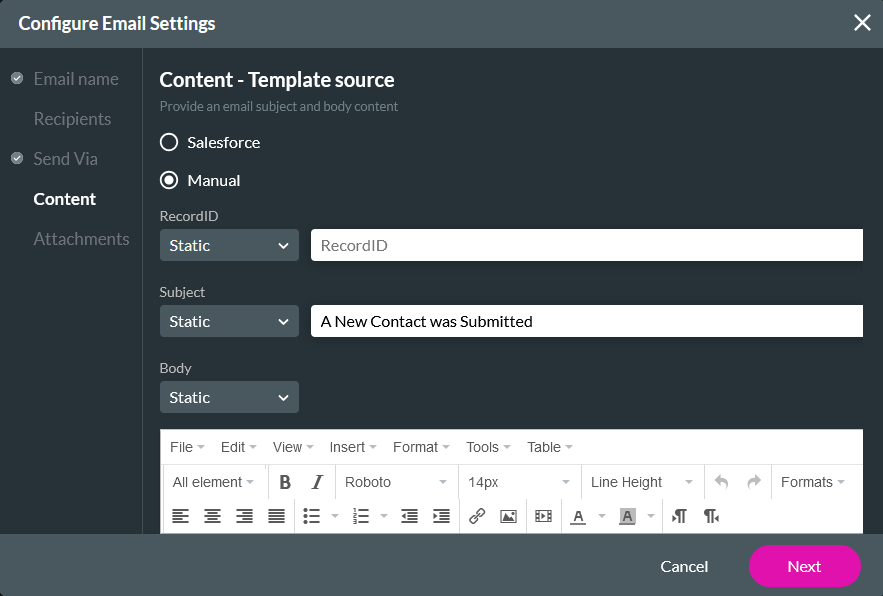
6. In the Content tab, configure your email content. You can incorporate dynamic fields from your web project into your email body. Click Next.
7. Select your configured Email and click Next
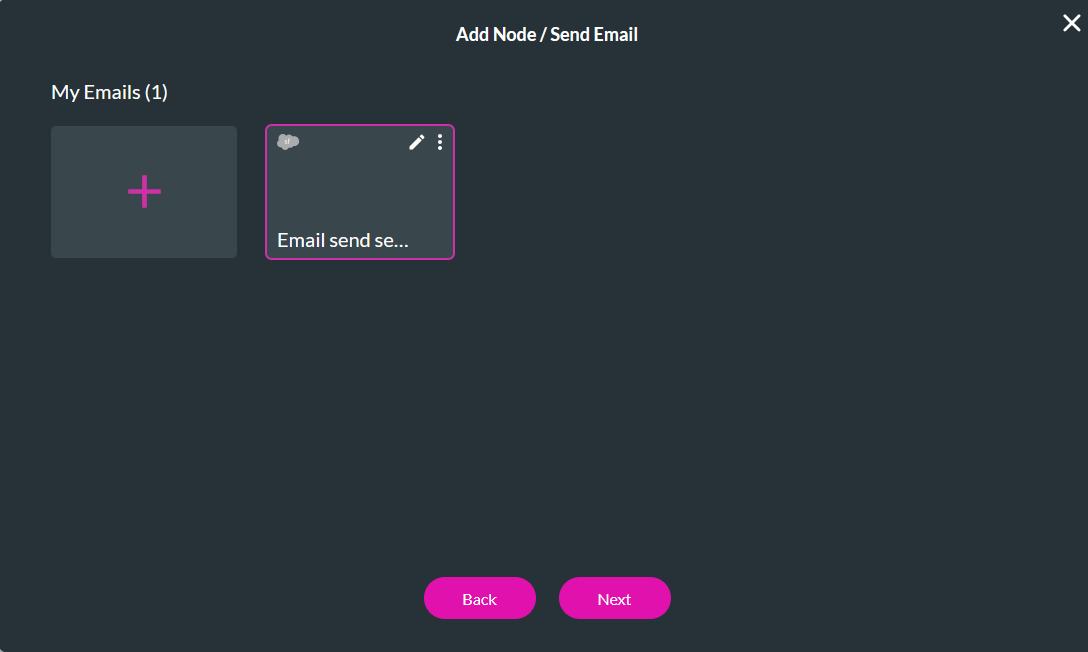
8. Enter a Tag name and click Insert.
Your flow is now configured to send an email.
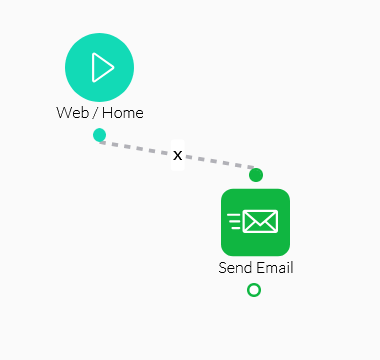

2. Click the My Emails + icon to start configuring your Email.

3. In the Email Name tab, configure the name and add a description for your Email.

4. In the Recipients tab, configure who you want to send your Email to and the inbox to which the replies will be delivered. You can also reference your web projects for your recipients by using the dropdown menu.

5. In the Send Via tab, choose how you would like to send your Email.

6. In the Content tab, configure your email content. You can incorporate dynamic fields from your web project into your email body. Click Next.

7. Select your configured Email and click Next

8. Enter a Tag name and click Insert.
Your flow is now configured to send an email.

04 Invoking the Flow
Navigate to the Web project you selected when editing the Start node.
1. Select the button and click the Interactivity icon in the menu.

2. Select the Start + icon, choose Flow as the node, and click Next.
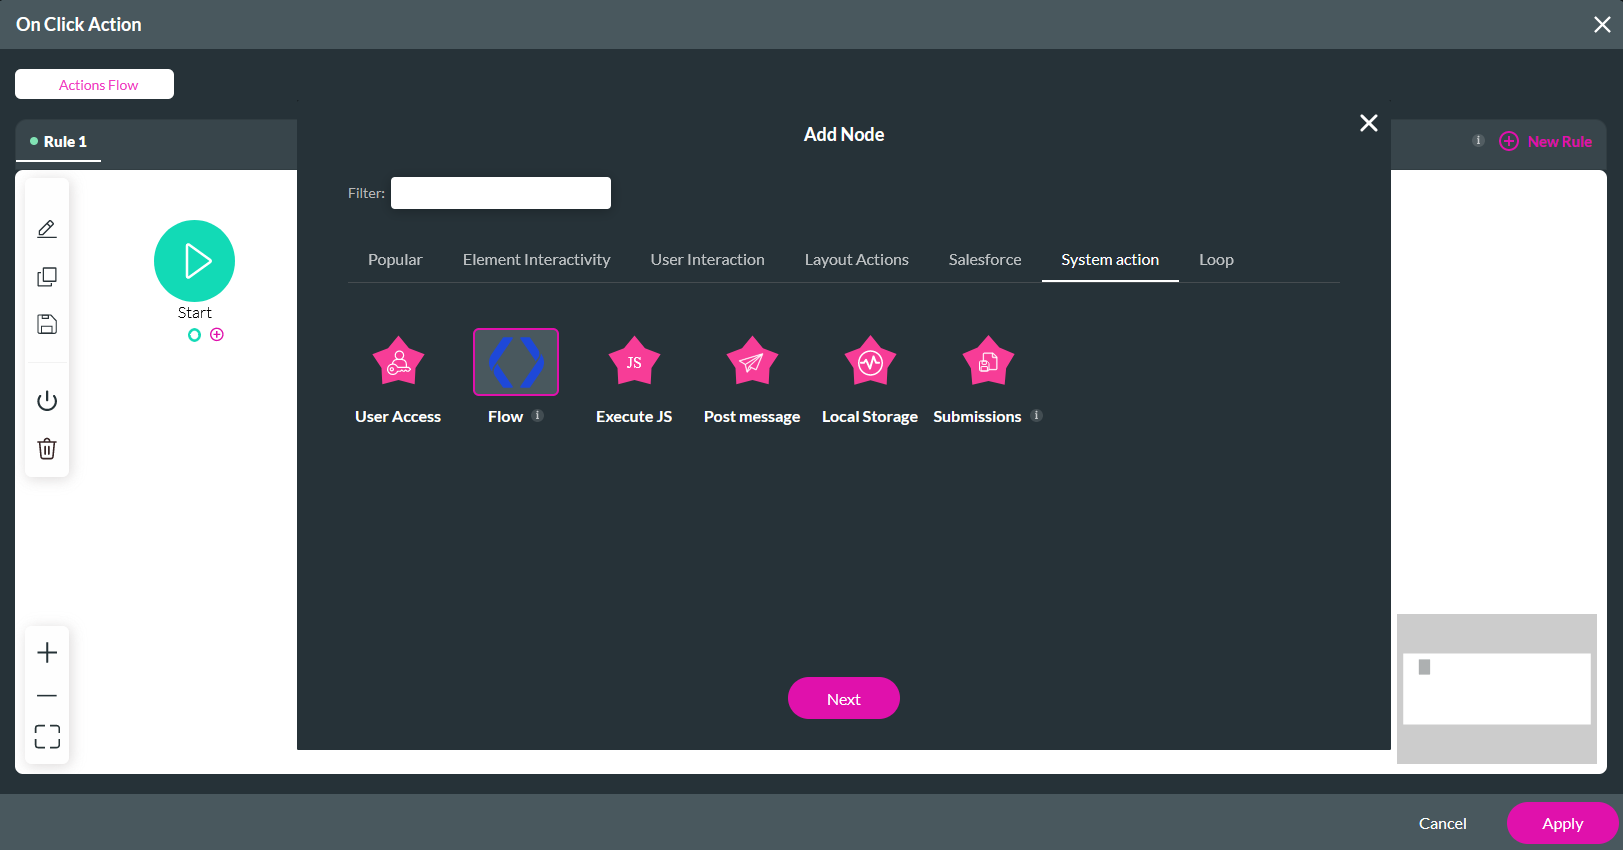
3. Use the dropdown to select the Start Node we just configured. We do not need to configure any parameters for this Flow. Click Next.
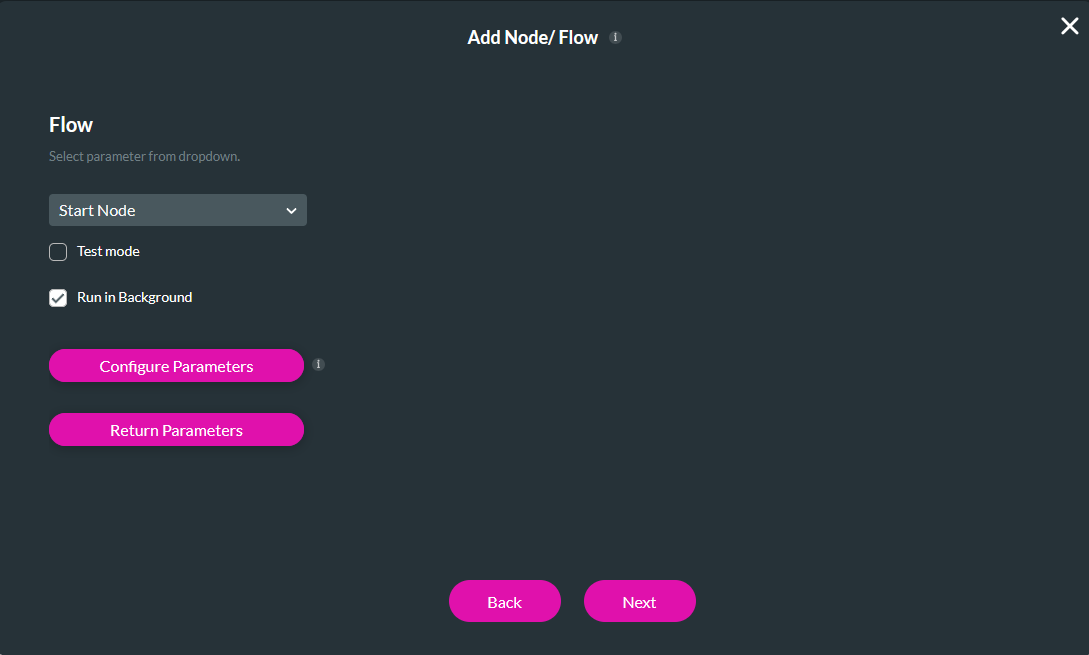
4. Enter a tag name and click Insert.
When the user clicks the button, the Flow automatically triggers and sends the configured email.
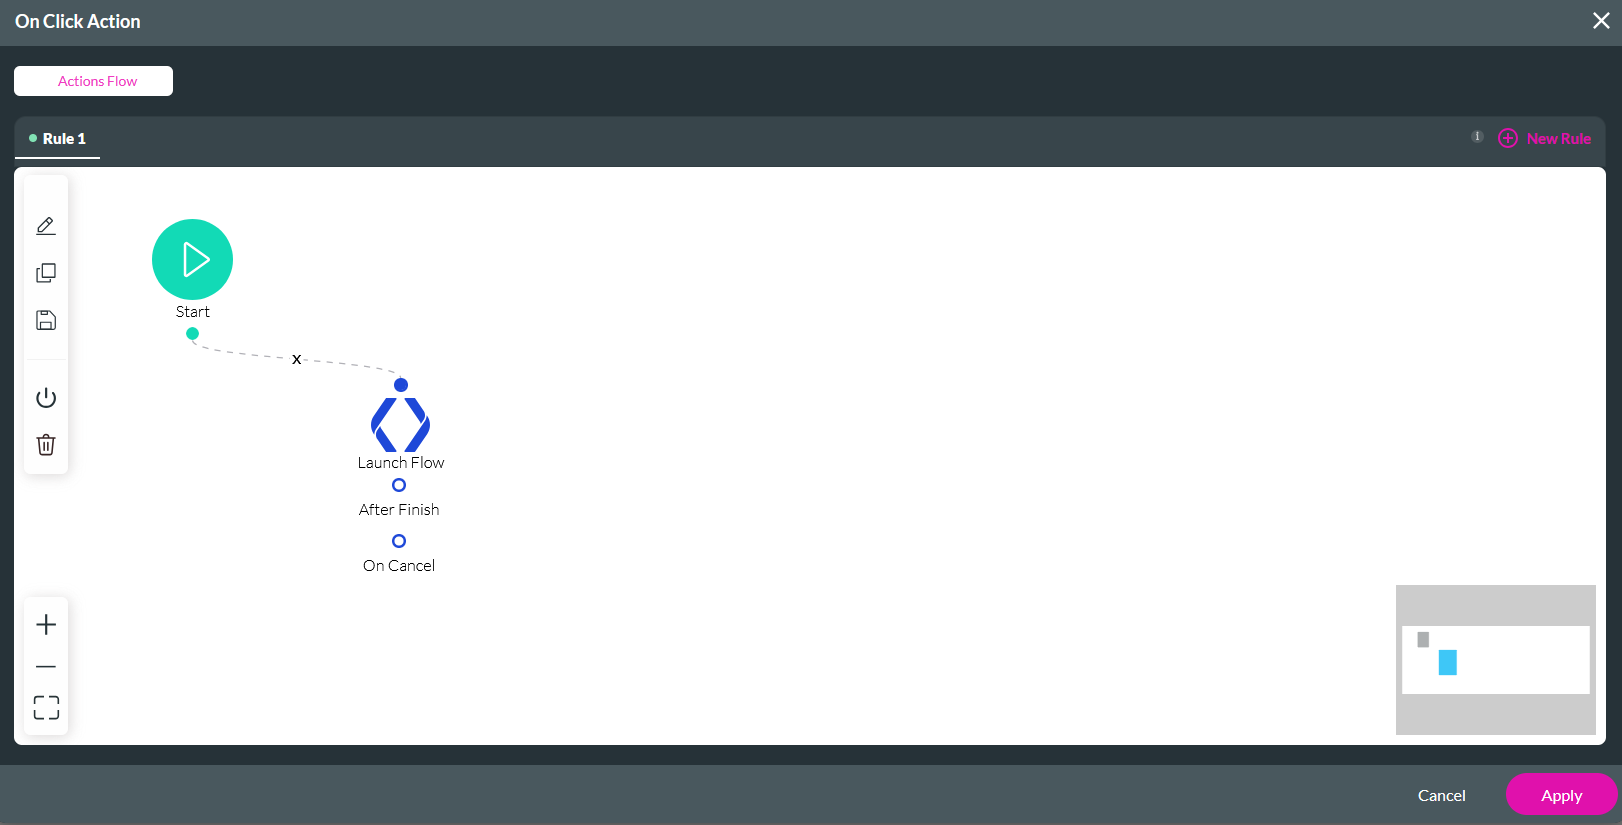
1. Select the button and click the Interactivity icon in the menu.

2. Select the Start + icon, choose Flow as the node, and click Next.

3. Use the dropdown to select the Start Node we just configured. We do not need to configure any parameters for this Flow. Click Next.

4. Enter a tag name and click Insert.
When the user clicks the button, the Flow automatically triggers and sends the configured email.
