REST API (6 min)
01 Getting Started
02 Setup
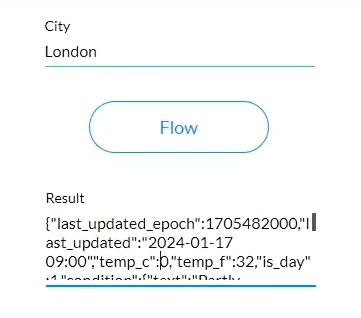
For example, we will call a weather API and return the results to a web project. This includes a static variable with the label: result.
03 Static Variables
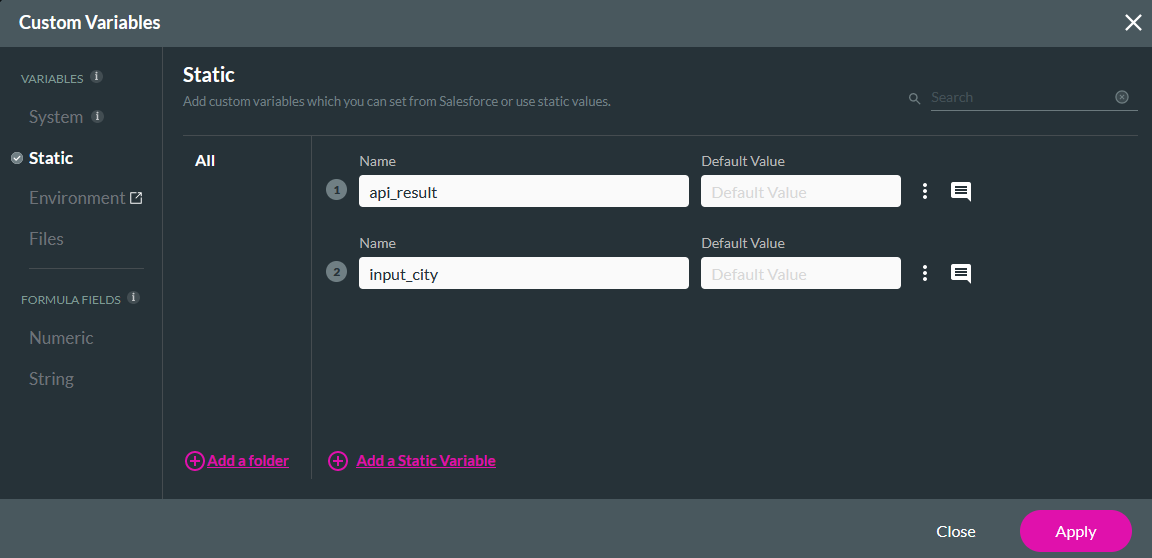
A static variable was created to hold two values, one for the API result and the other for the city the user selects in the web project.
04 Custom API Node
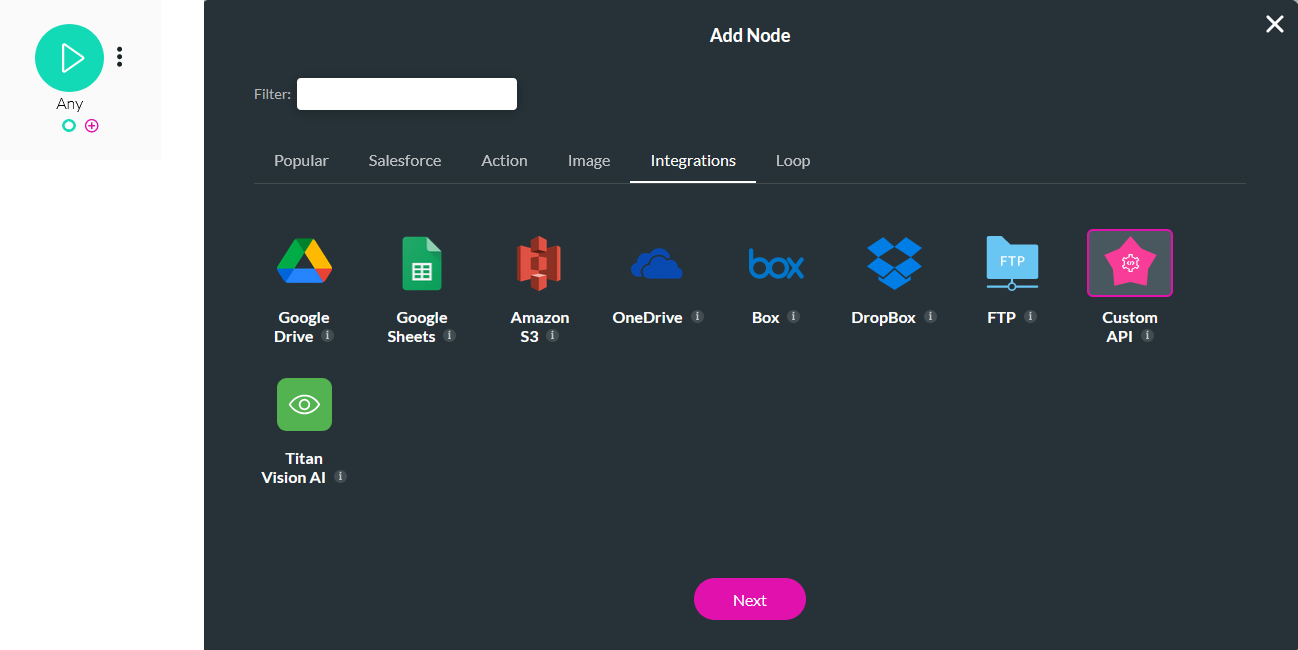
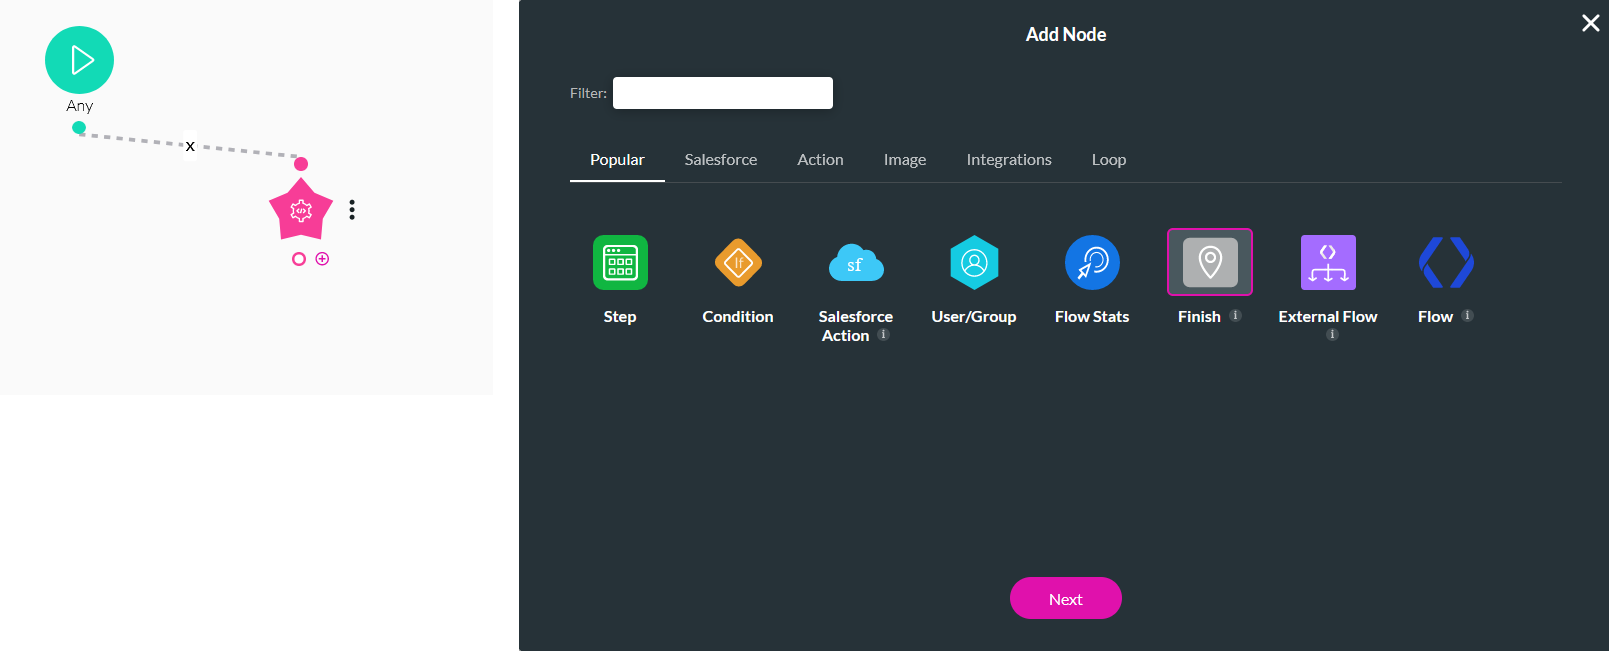
1. Click the Any + icon, choose Custom API as the node, and click Next.
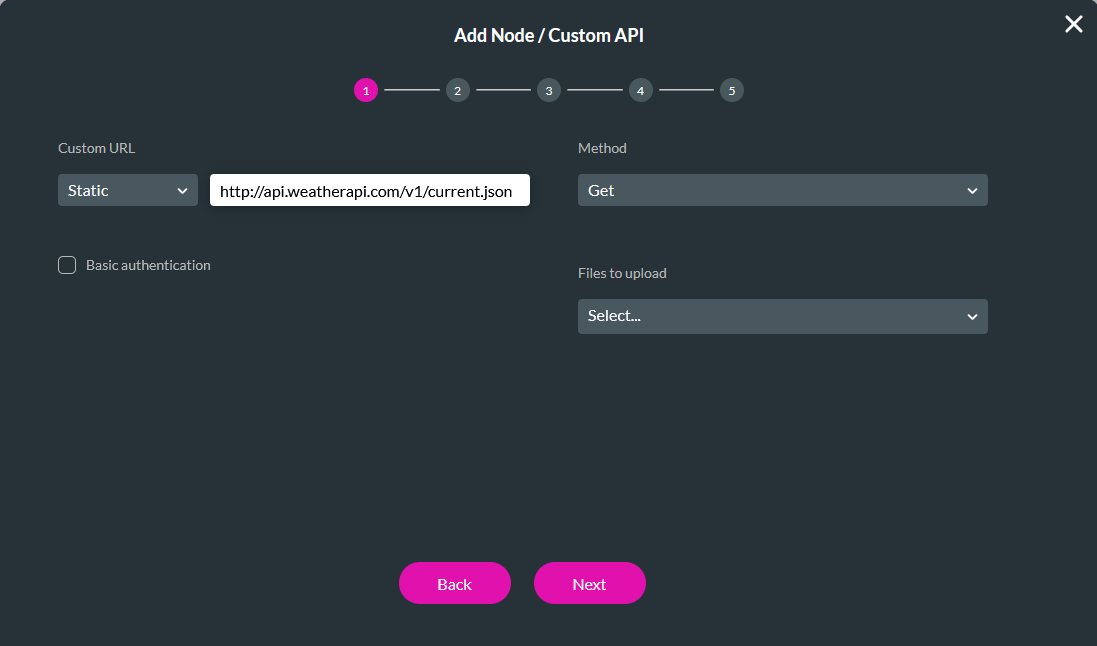
2. Provide the details for your API and click Next.
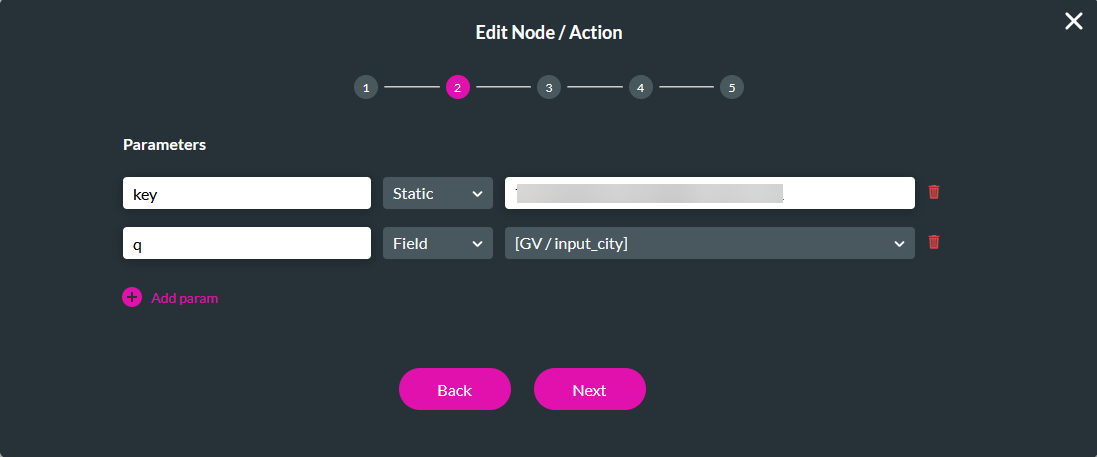
3. Add any required parameters. According to our app, we needed two. Click Next.
For our example, we did not require step 3. If you need this step for your API, set your headers using the provided fields.
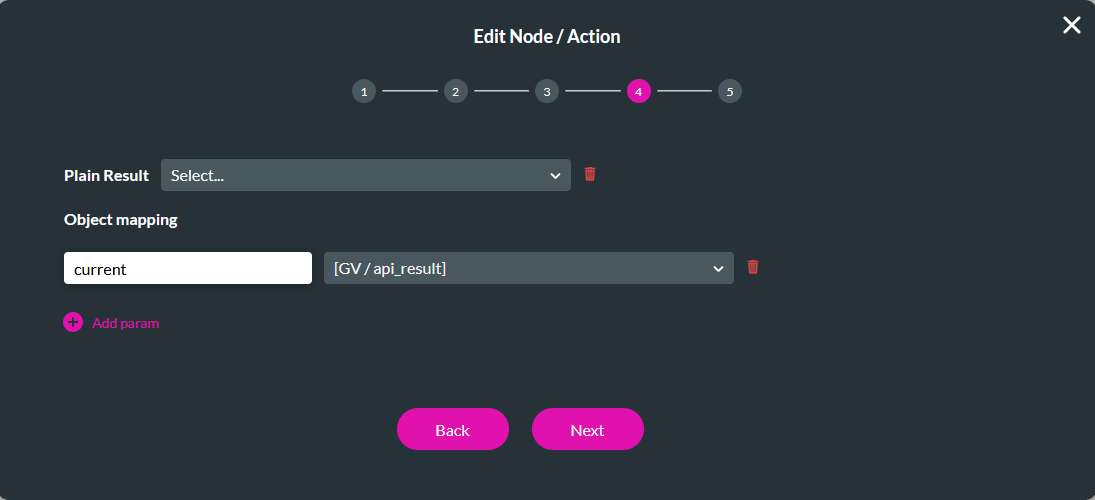
4. Use the Add Param icon to add required parameters to your node. For example, we want to map part of the API result to the static variable.
5. Enter a Tag name and click Insert.
6. Click the Custom API + icon, choose Finish as the node, and click Next.
7. Enable the api_result variable and click Next.
8. Enter a Tag name and click Insert.
Save and publish your flow.
05 Invoking the Flow
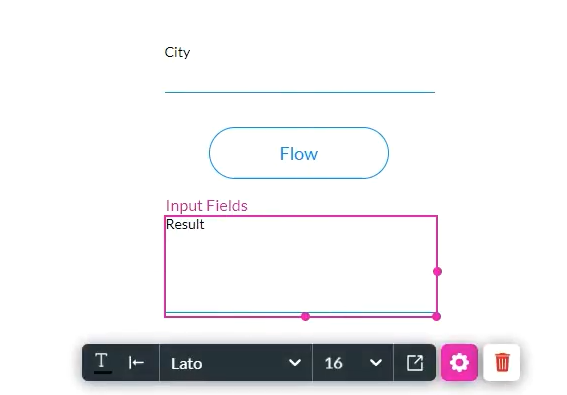
1. Navigate back to your web project.
2. Click the Interactivity icon from the button menu.

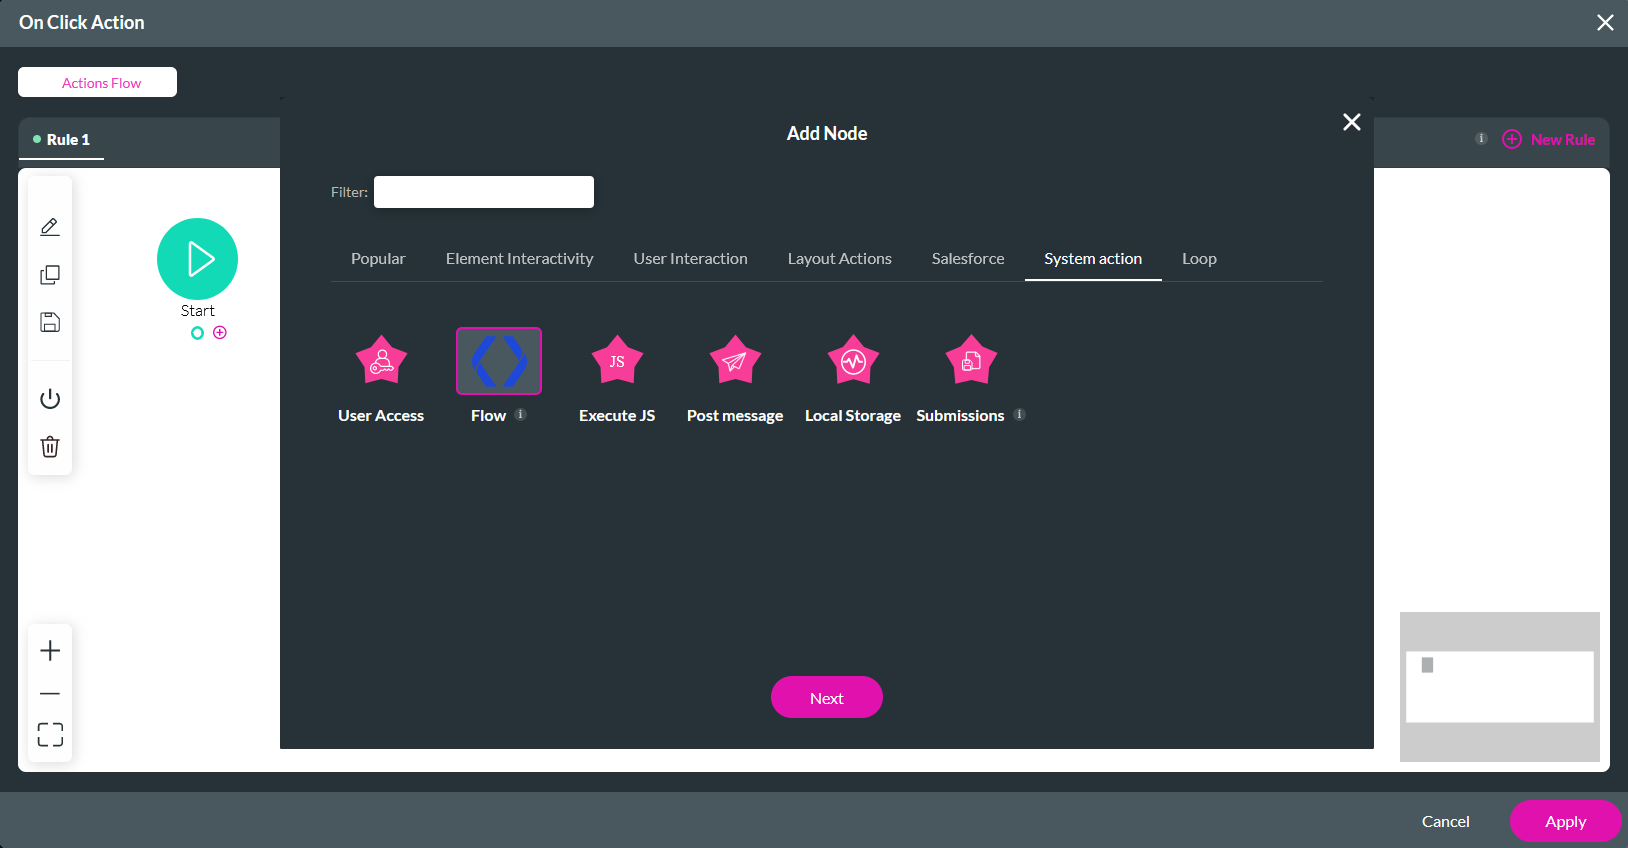
3. Click the Start + icon, choose the Flow node, and click Next.
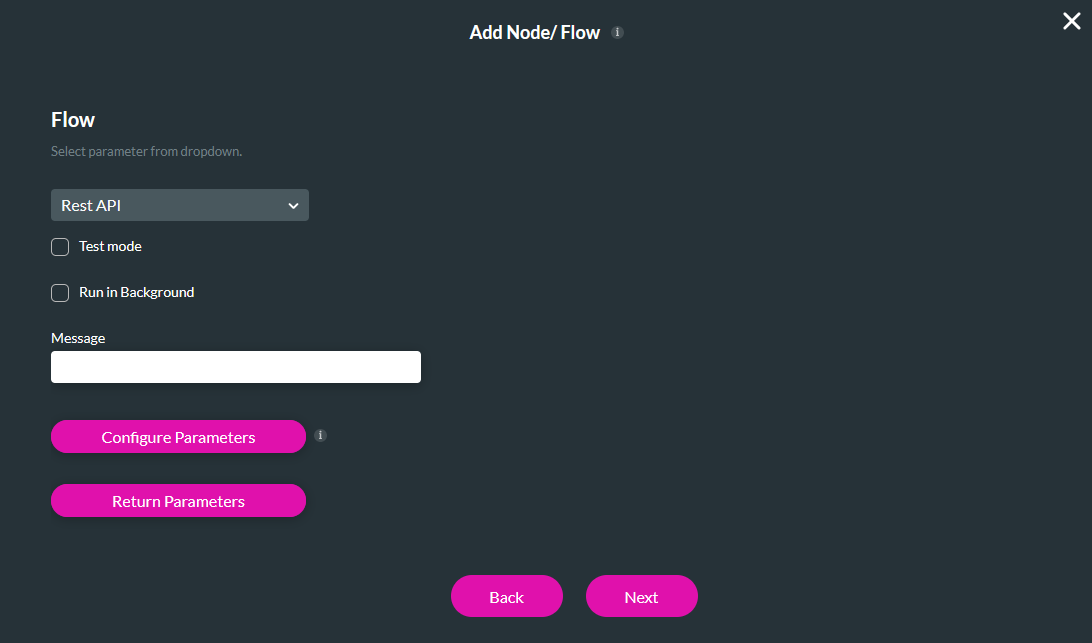
4. Use the dropdown to select the Rest API Flow.
5. Disable Run in Background.
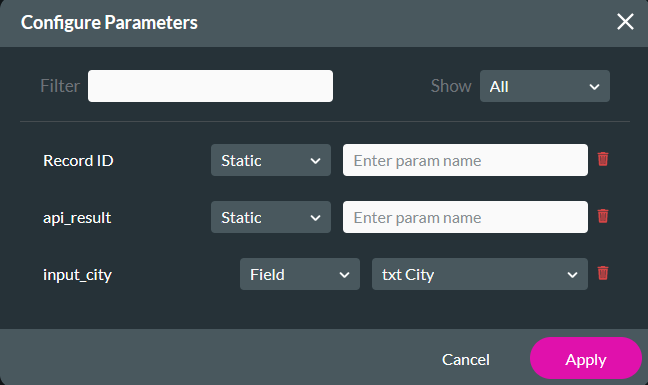
6. Click Configure Parameters.
7. Configure the input_city as the City text input field. Click Apply.
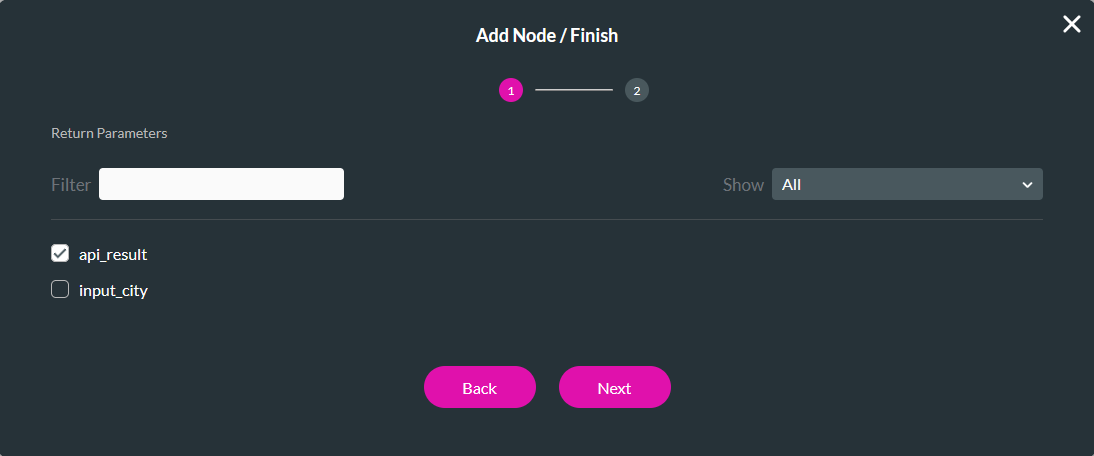
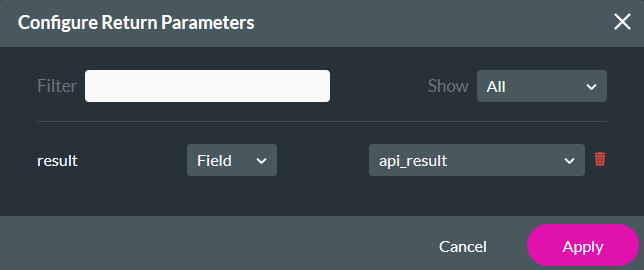
8. Click Return Parameters.
9. Map the result variable to the field api_result. Click Apply.
10. Click Next, enter a Tag name, and click Insert.
The result will display in the field when the user provides a city name and invokes the flow.