From Titan Web (8 min)
Completion requirements
01 Getting Started
This tutorial covers how to trigger a Flow from a Web project.
02 Setup
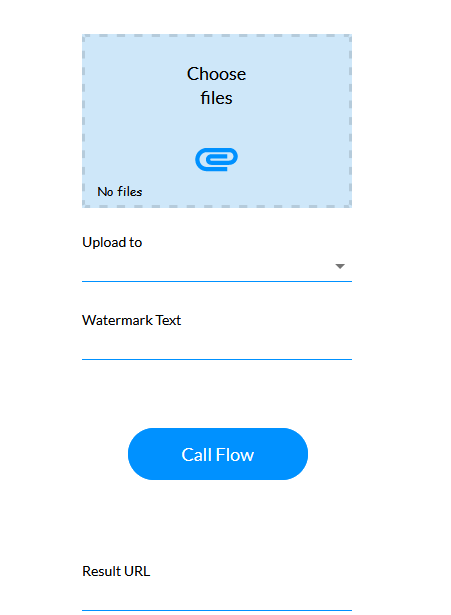
A Web project was configured; this project will be used to invoke the Flow. The Web project consists of the following components:
A Flow project was configured, saved, and published.
The following variables were configured in the Flow project:
- A file uploader.
- A dropdown that users will use to choose where they want their file uploaded to, Google Drive or OneDrive.
- A text input where users can add watermark text that will be added to the image.
- A URL field will display where the file has been uploaded to.

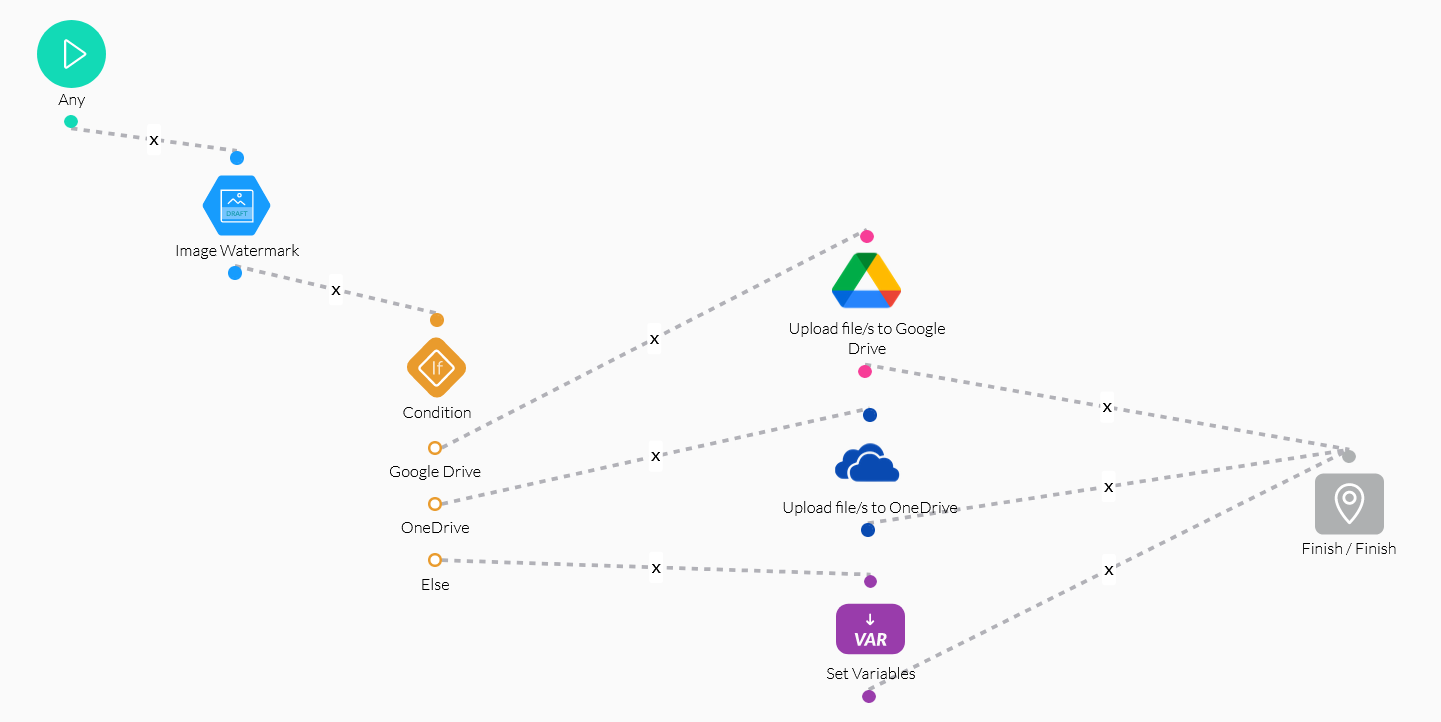
A Flow project was configured, saved, and published.
- A watermark will first be added to the image.
- Depending on the user selection, a condition was configured to upload the file to a specific drive.

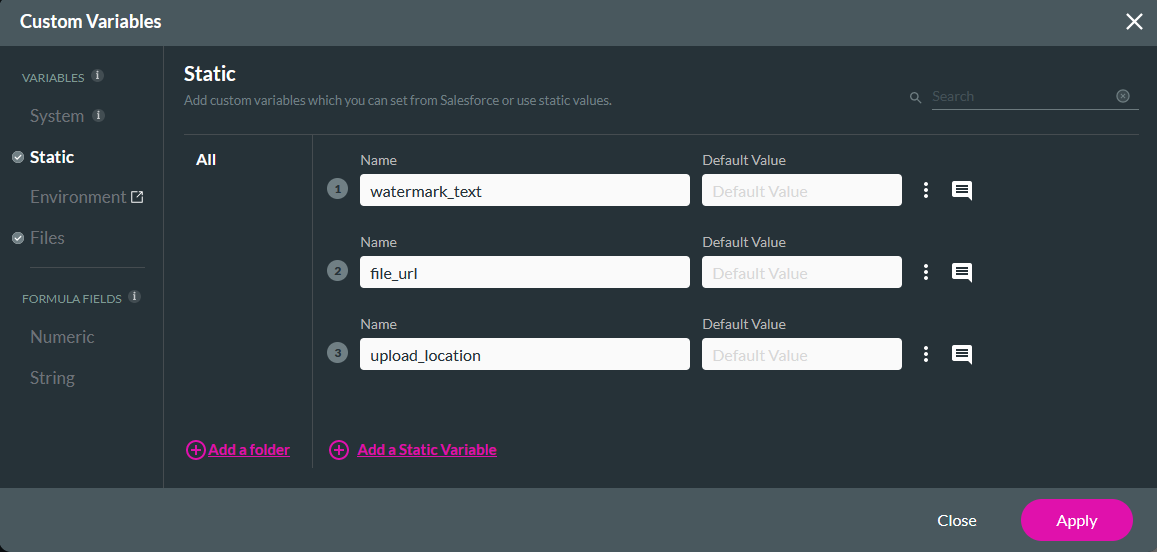
The following variables were configured in the Flow project:
- Static:
- watermark_text
- file_url
- upload_location
- Files:
- input
- output
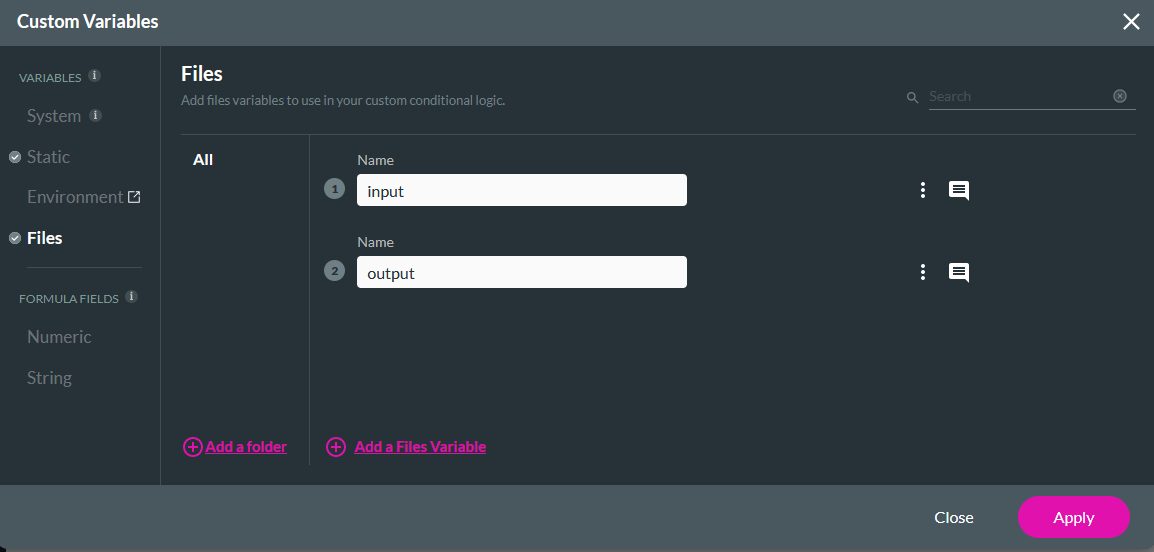
03 Global Variable
We need to create a variable in the web project.
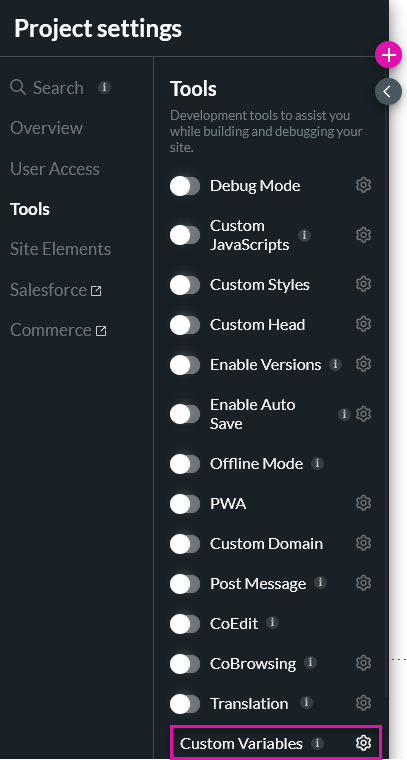
1. Navigate to the Project Settings menu, select the Tools tab, and click Custom Variables.
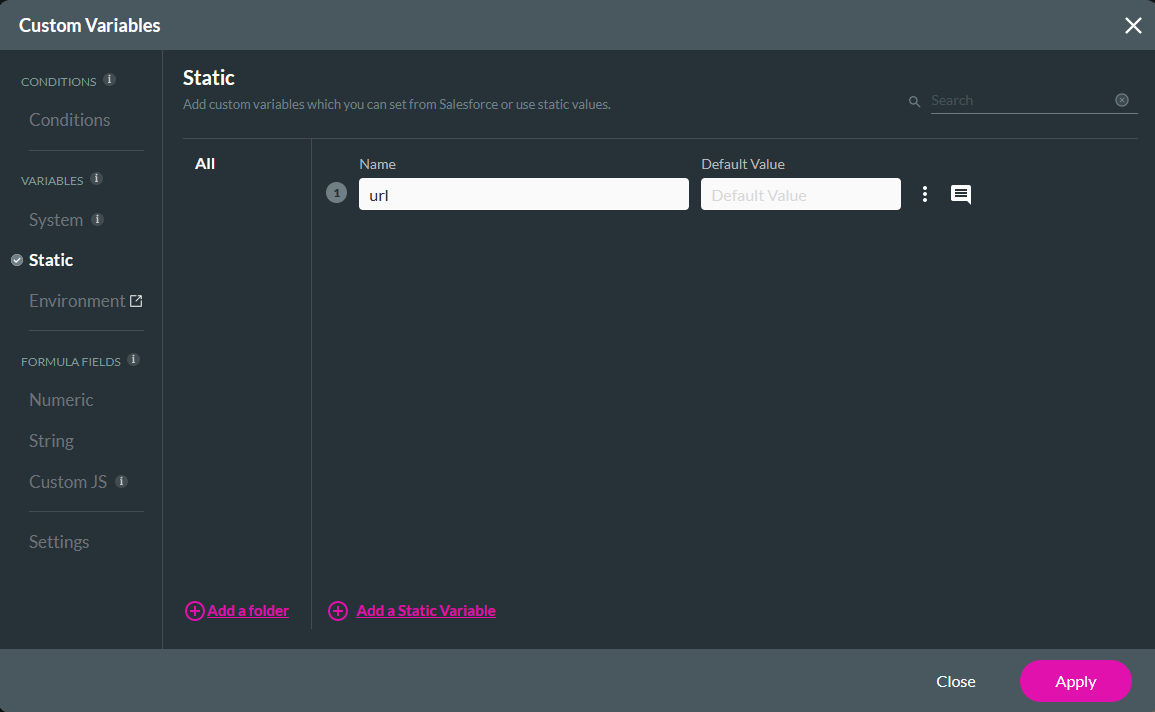
2. Create a Static Variable labeled URL and click Apply.
1. Navigate to the Project Settings menu, select the Tools tab, and click Custom Variables.

2. Create a Static Variable labeled URL and click Apply.

04 Invoking the Flow
A Flow can be invoked from any action, such as clicking a button.
1. Select the button and click the Interactivity icon in the menu.

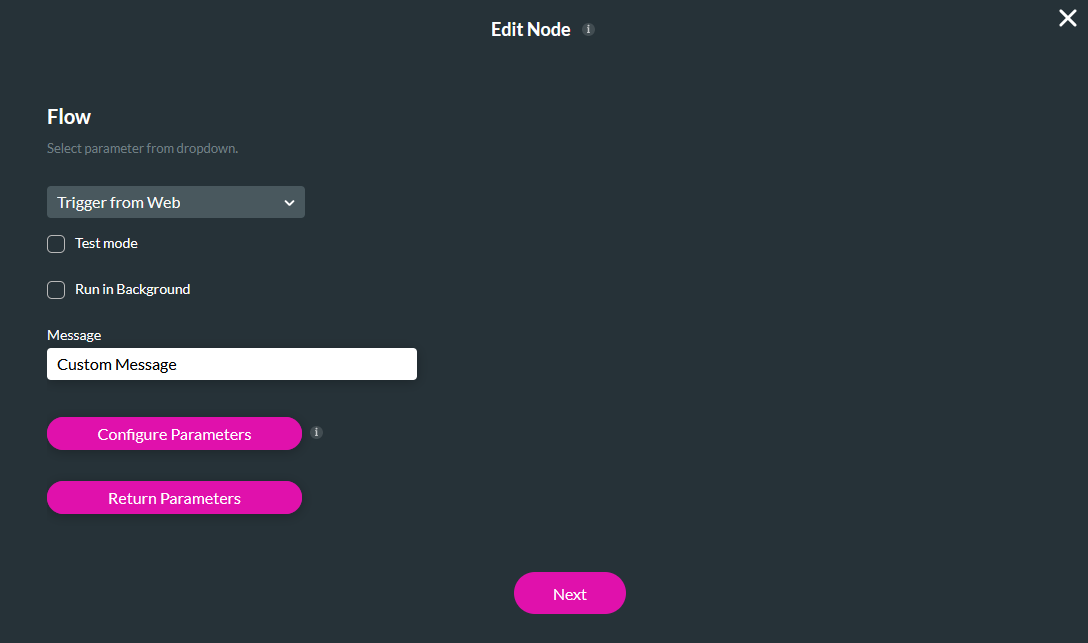
2. Select the Start + icon, choose Flow as the node, and click Next.
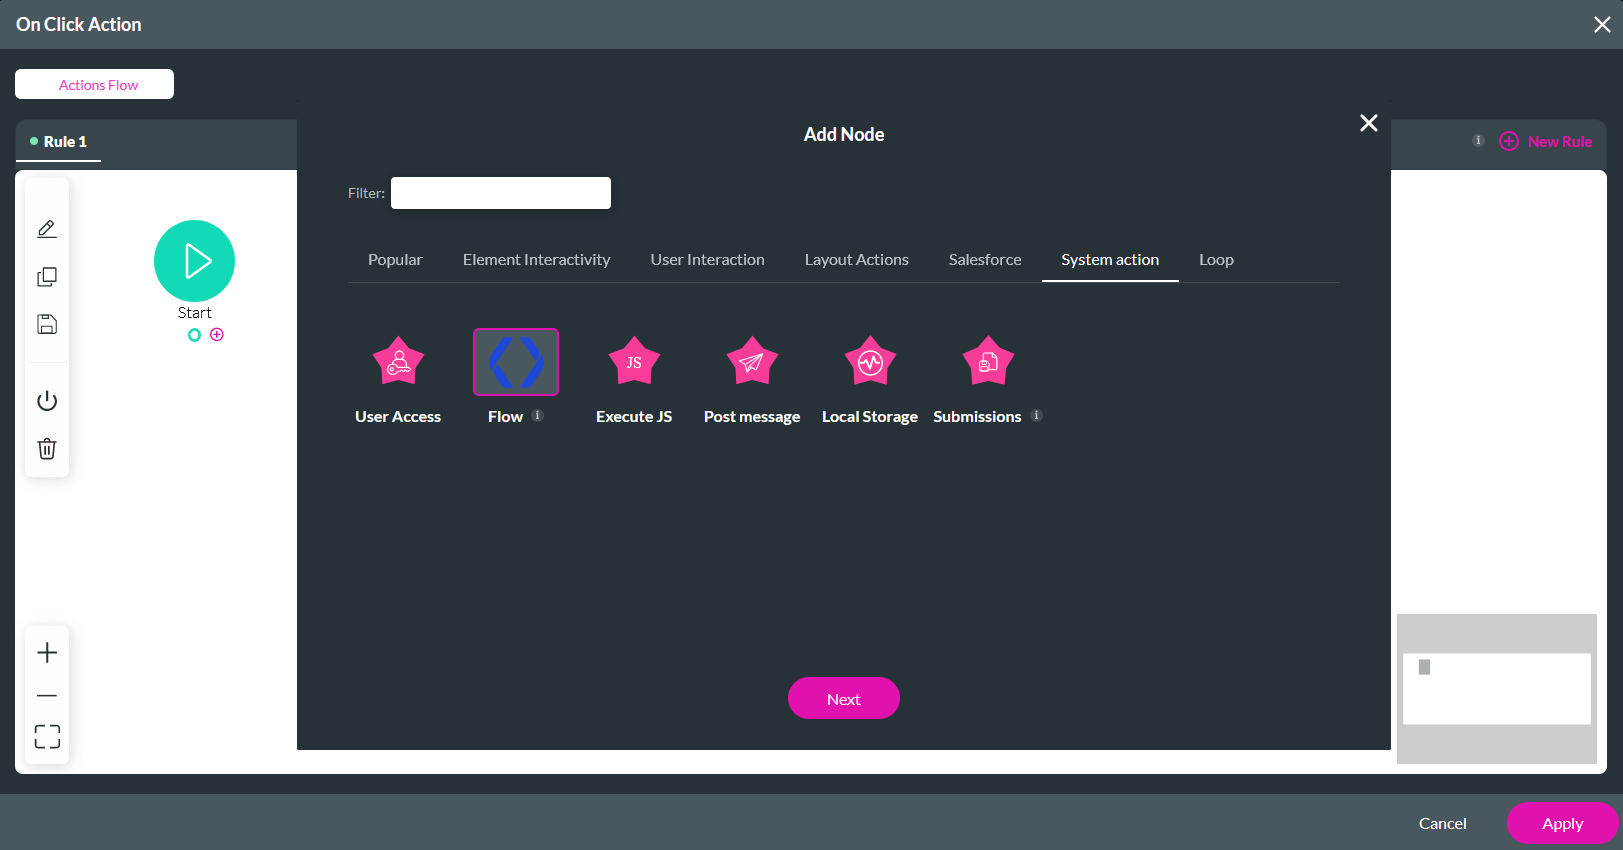
3. Use the dropdown to select your Flow, disable Run in the Background if you want your screen to freeze when the Flow is triggered, and add a custom message.
4. Click Configure Parameters.
5. Configure the following in the Configure Parameters window and click Apply.
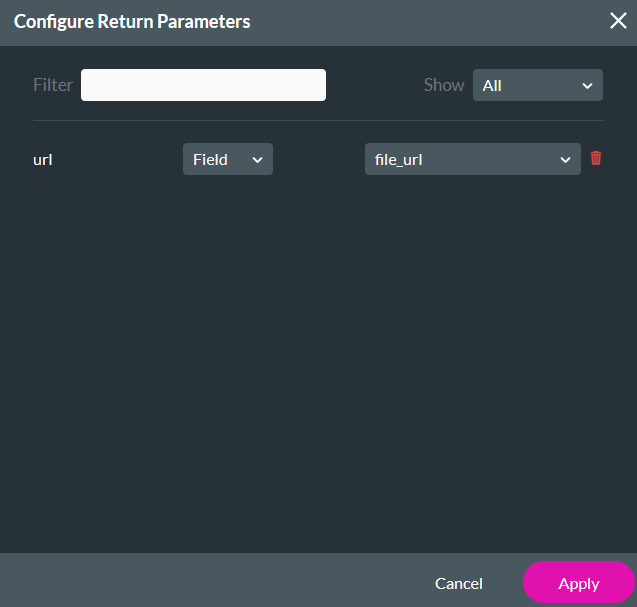
7. Configure the following in the Return Parameters window and click Apply.
8. Click Next, enter a Tag name, and select Insert.
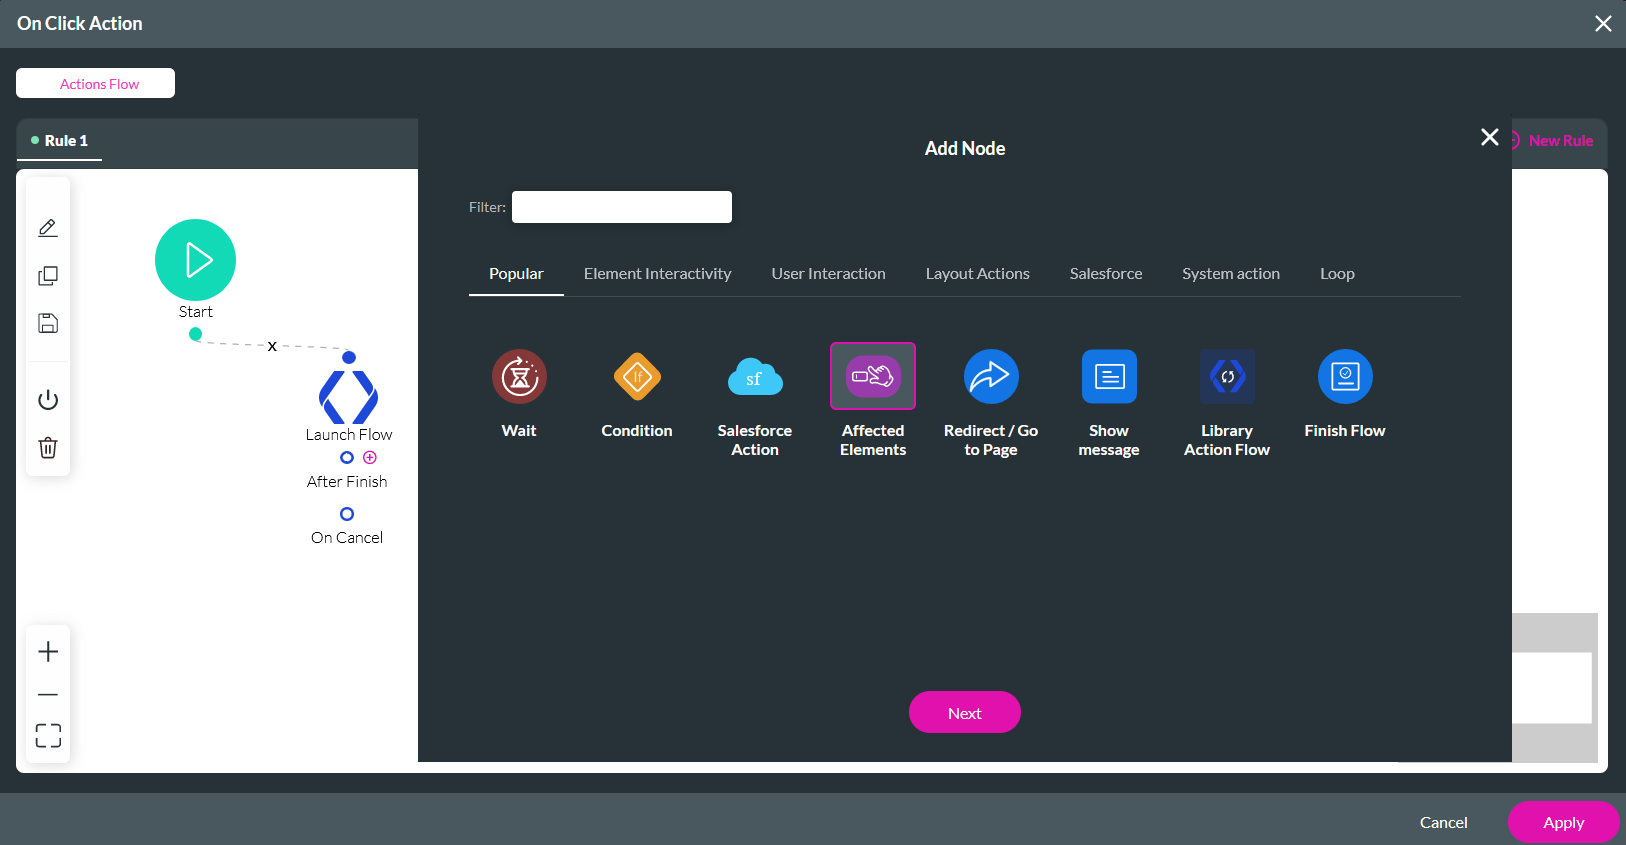
9. Select the After Finish + icon, choose Affected Elements as the node, and click Next.
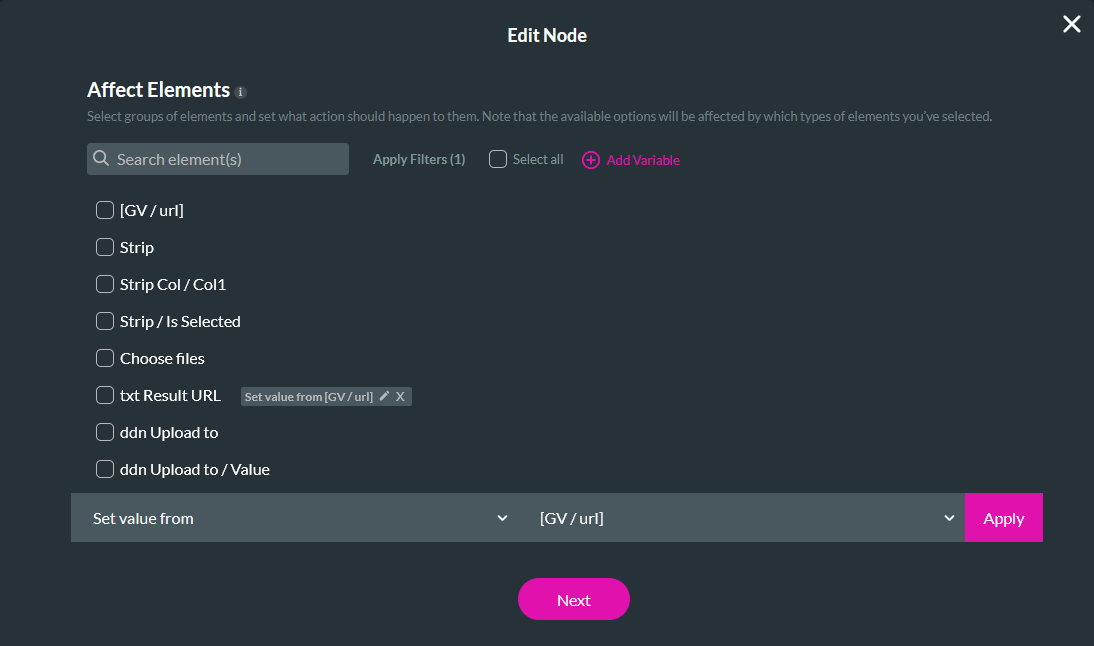
10. Select the text element that will display the URL result.
11. Configure the following using the dropdowns, click Apply, and Next.
12. Enter a Tag and click Insert.
1. Select the button and click the Interactivity icon in the menu.

2. Select the Start + icon, choose Flow as the node, and click Next.

3. Use the dropdown to select your Flow, disable Run in the Background if you want your screen to freeze when the Flow is triggered, and add a custom message.
4. Click Configure Parameters.

5. Configure the following in the Configure Parameters window and click Apply.
- Input - Field: Choose files / File
- watermark_text - Field: txt Watermark Text
- upload_location - Field: ddn Upload to/Value
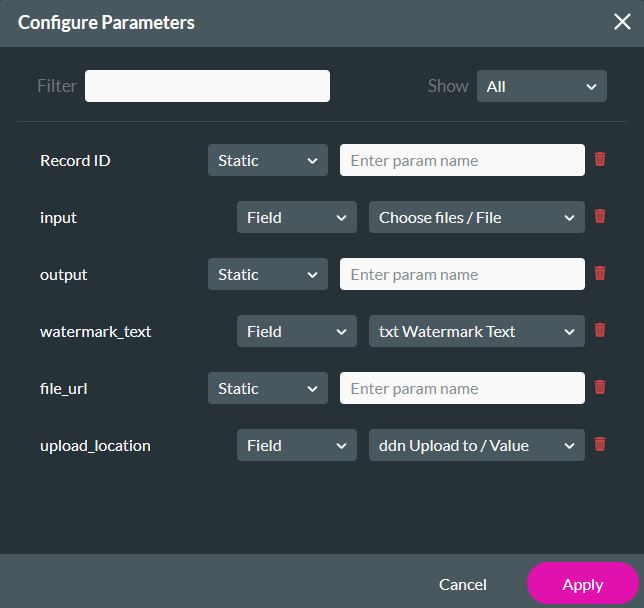
7. Configure the following in the Return Parameters window and click Apply.
- URL - Field: file_url

8. Click Next, enter a Tag name, and select Insert.
9. Select the After Finish + icon, choose Affected Elements as the node, and click Next.

10. Select the text element that will display the URL result.
11. Configure the following using the dropdowns, click Apply, and Next.
- Set value from
- GV / URL

12. Enter a Tag and click Insert.
05 Preview
A user uploads a file, chooses a storage solution, adds watermark text, and invokes the flow. The file is watermarked and uploaded to the chosen storage solution. The link to the file is populated in the text field.
